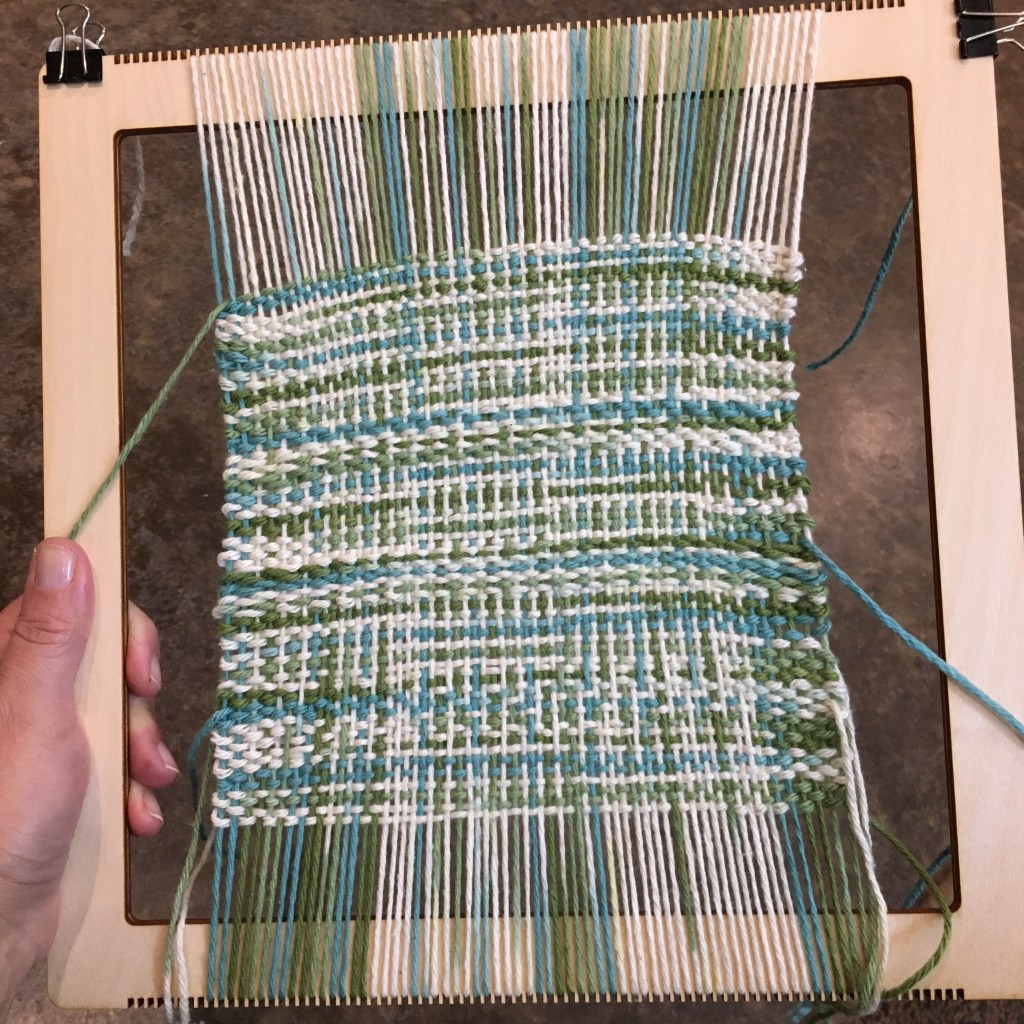
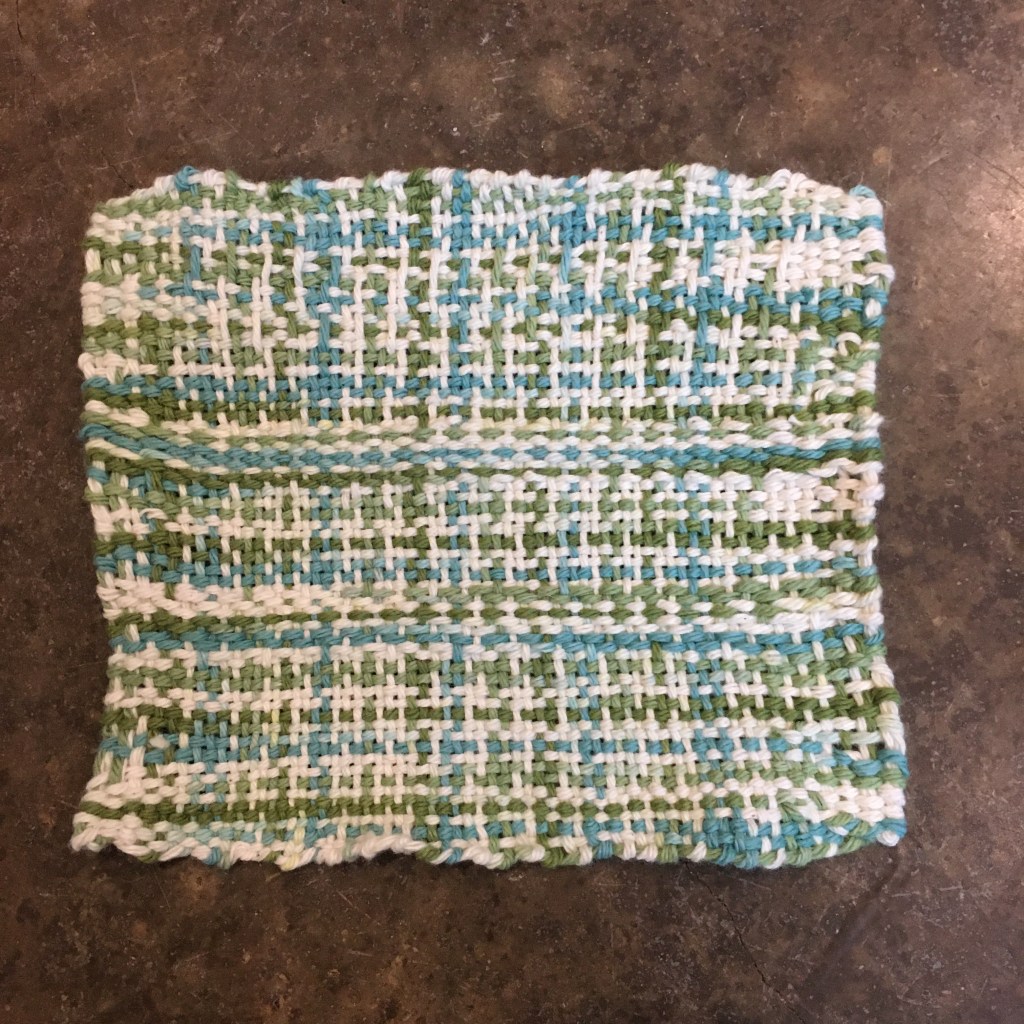
I had some more of the variegated cotton yarn, so I attempted another weaving with my mini loom. I am not particularly fond of variegated yarn for crochet or knitting (I’ve had this cone of cotton for probably over 10 years), but I quite like the effect using it for the warp and weft of weaving.
Trying a smaller weaving project
I gave myself more room on the loom this time, going for a smaller washcloth. I’m still having trouble with tension, but it is getting better. I tried some areas of linen weave, but I don’t quite have my head wrapped around the technique yet. More practice is required. It was easier to pull the weft through the work for the fringeless method to finish off the washcloth, so working smaller was a good choice.
Finished cotton wash cloth
I still have the loose edges issue, but it is better. I think I have some more variegated yarn around here somewhere…
As I’ve been trying more and more ancient crafts, I realized that I haven’t done much weaving. I was reminded when we pulled out my youngest’s loop loom (Harrisville Designs makes Friendly Looms and cotton loops that actually fit, and are of great quality). I helped her through the process, which planted the idea in my head. So I started researching the next step in weaving. There are many! I didn’t know how I would like it, so I didn’t want to invest much money in buying, or much time in making, a loom. In my curiosity delving into the internet, I also found reference to fringeless weaving. Yes please! I’m not a fan of the fringe. This train of thought took me to Purl & Loop, a small Oklahoma based company that produces portable mini looms. Again, yes please. My projects need to be portable, even if it is only to be carried from the living room to the backyard. I chose a 12” loom because I figured I could make smaller on a larger loom. I have a stash of cotton worsted weight yarn, so I asked Purl & Loop and they said they had success with the number 8 with worsted weight. What am I going to make? Wash cloths. This is my go to project for learning a new yarn craft. Even a wonky wash cloth is useful. And my washcloths will be wonky for awhile. All my crocheting, knitting, and nålbinding yarn skills don’t translate to weaving!
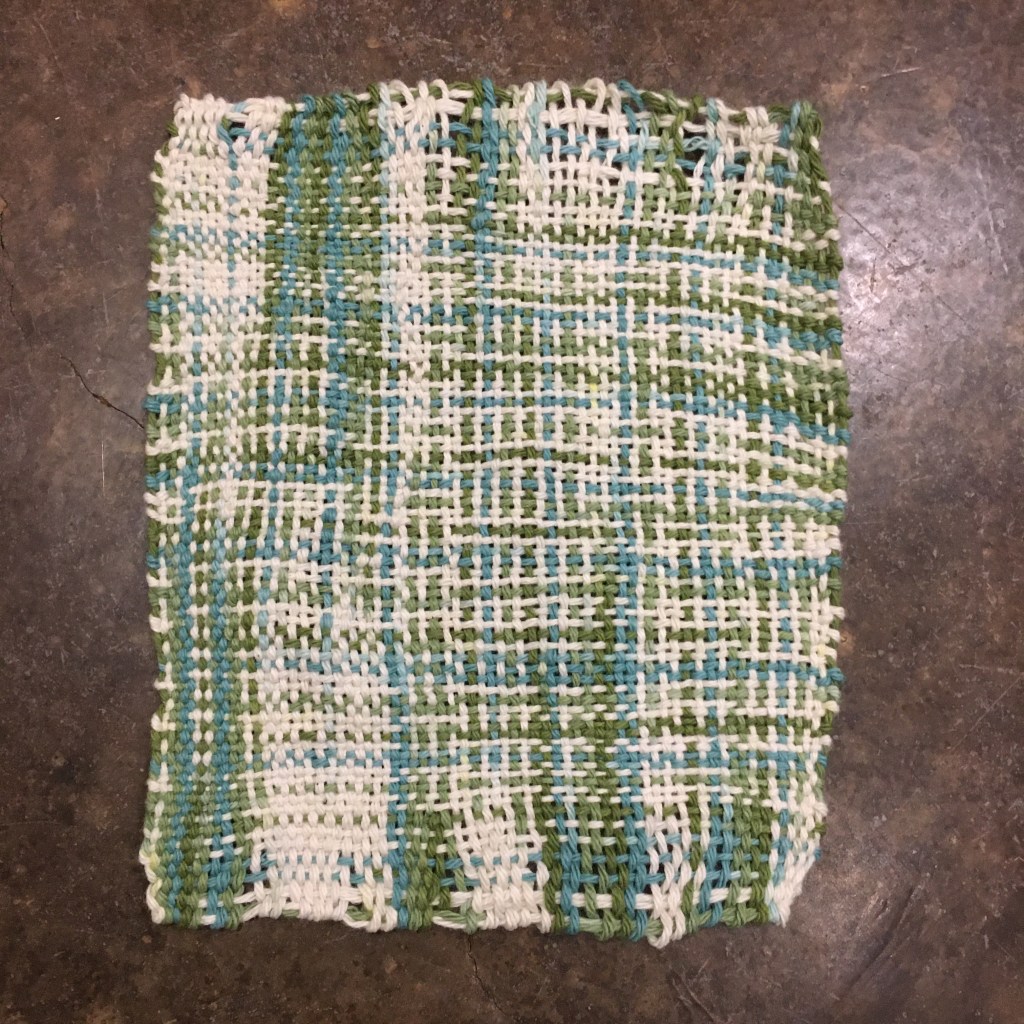
First attempt at weaving, I need practice
Putting on the warp (up and down static yarn) went smoothly. I used bulldog clips to hold the ends of the yarn. I started simple (I thought) with a plain weave. I had read about making sure the ends of the weave weren’t too tight, but somehow I ended up with loose ends and a tight middle. So more research is needed. I may even have to resort to watching a video.
First fringeless washcloth, wonky but useful
I am pleased with my purchase. The loom pieces are laser cut and sanded, so are very smooth. They are sturdy, but light and definitely portable. Izzy even tried some lap time while I wove, but was bapped too many times with the loom! I did get a cute picture before she gave it up as a bad time for lap time.
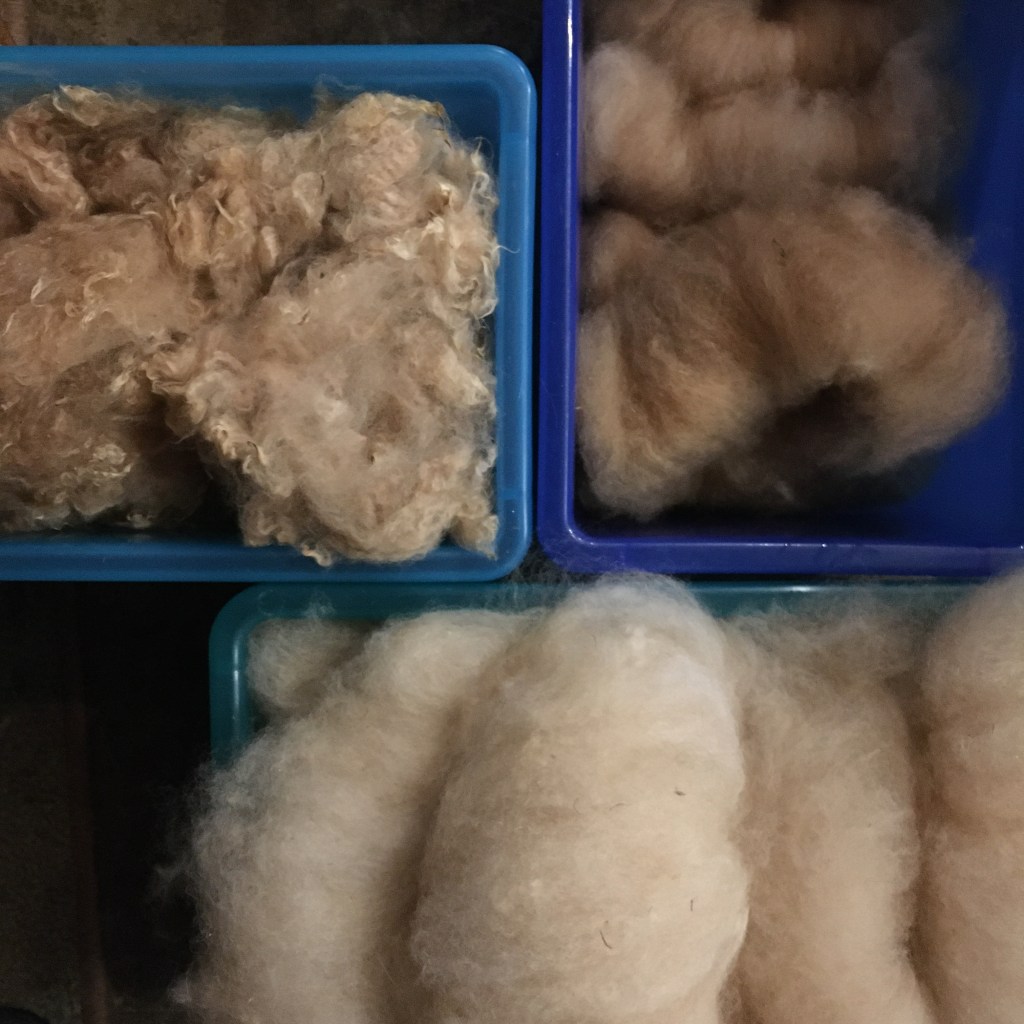
For my next yarn color it was time to use Donna Bella’s fleece (a fawn colored alpaca from Alpacas of Aledo). I was not planning on blending this round, but as I was carding I noticed a distinct color difference in some of the rolags (the roll of fiber that comes off the carder). So I separated the lightest and darkest colors and will spin them separately. I’m also going to reduce the number of rolags I spin per spindle to 10 to lighten the weight when I ply the last bits. (I used 12 rolags per spindle for the dark brown and fawn blend.)
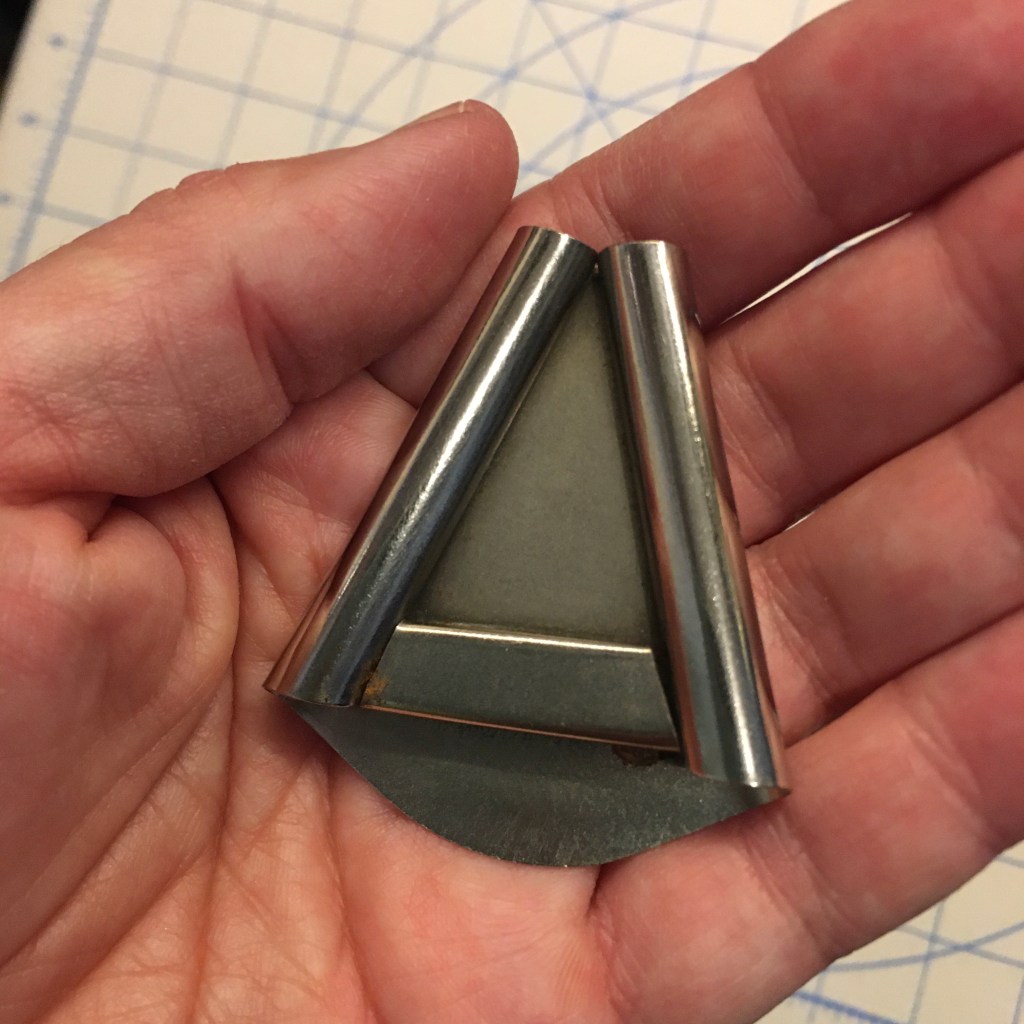
I dug out an old bias tape maker from my sewing box and put it to use making fabric ties for cloth masks. I’m honestly not sure whether this particular well-made piece came from one of my grandmothers, or from a bundle of goodies from a garage sale. There are no makers marks, and definitely no remaining packaging.
Bias tape maker
This tool makes 3/4” single fold bias tape. For garments, bias tape is cut on the … wait for it … bias. Which means at a 45 degree angle to the fabric grain. It makes a tape that is more flexible than those cut along the grain. But I am making fabric ties from scrap fabric, so I can get more by cutting with the grain. (Here is a great blog post about bias tape, if you want to know more from a quilter’s perspective.)
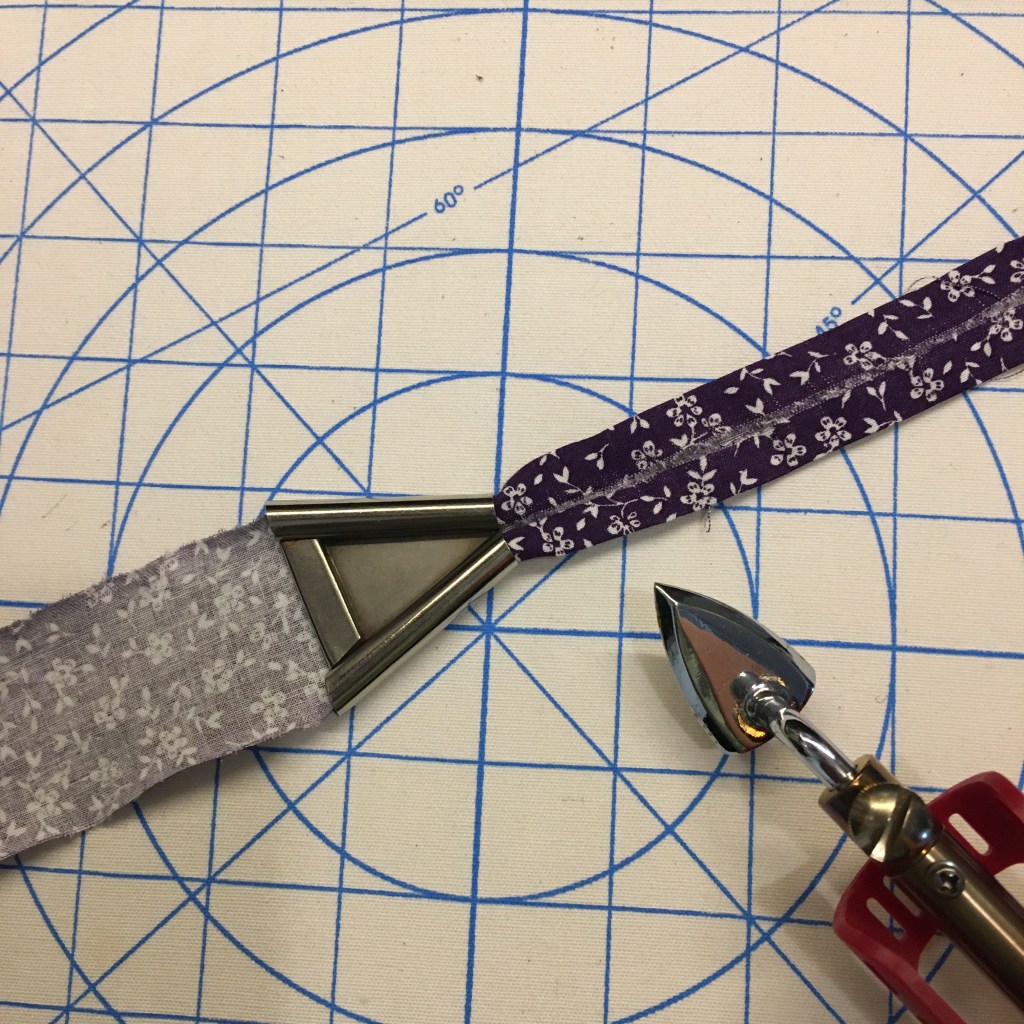
Bias tape maker in use
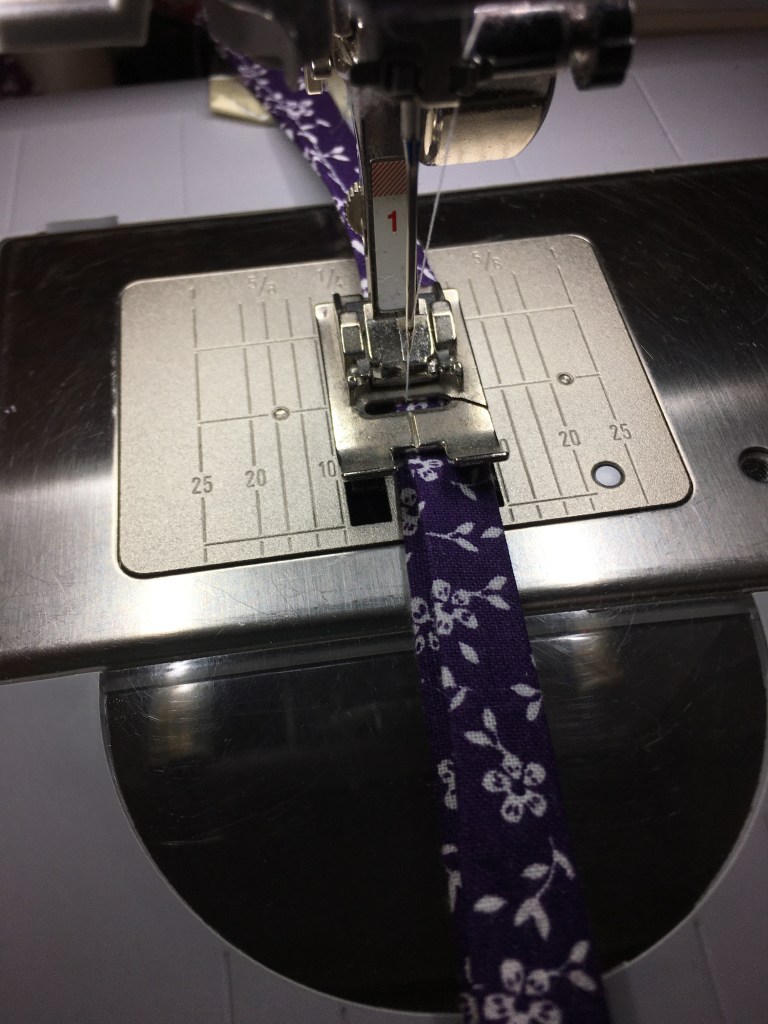
To make the ties, I fold the single fold bias tape in half to make double fold bias tape (it is nice when nomenclature makes sense). I then sew along the edge to finish the tie. I do tuck in the ends so they are neat. The mask pattern I’m using has a pocket for the ties (or elastic if you have it), which I really like because it means I can have ties that slide and can be changed out for different ties.
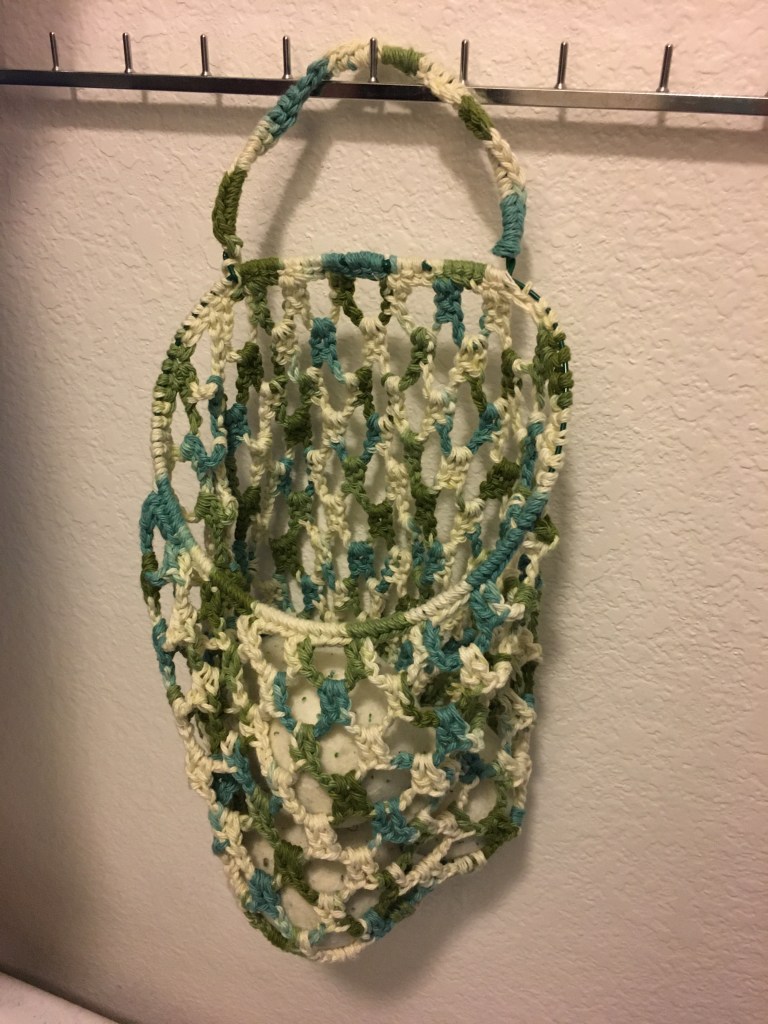
Awhile ago I switched to wool dryer balls in the dryer instead of dryer sheets. For the most part they work well (I do still use the sheet if I have a fuzzy blanket because the static is too much for the wool balls). I’ve been keeping the balls hanging next to the dryer in the nice cotton drawstring bag that they came in. Except getting the balls out of a drawstring bag when it is hanging is irritating. I thought about using a simple basket, but there is no where near the dryer to set a basket where it won’t fall off. It finally got to a point that the irritation was more than I could bear (honestly, it doesn’t take much right now). So I crocheted a hanging mesh bag with a wire rim so it was easy to get the balls in and out.
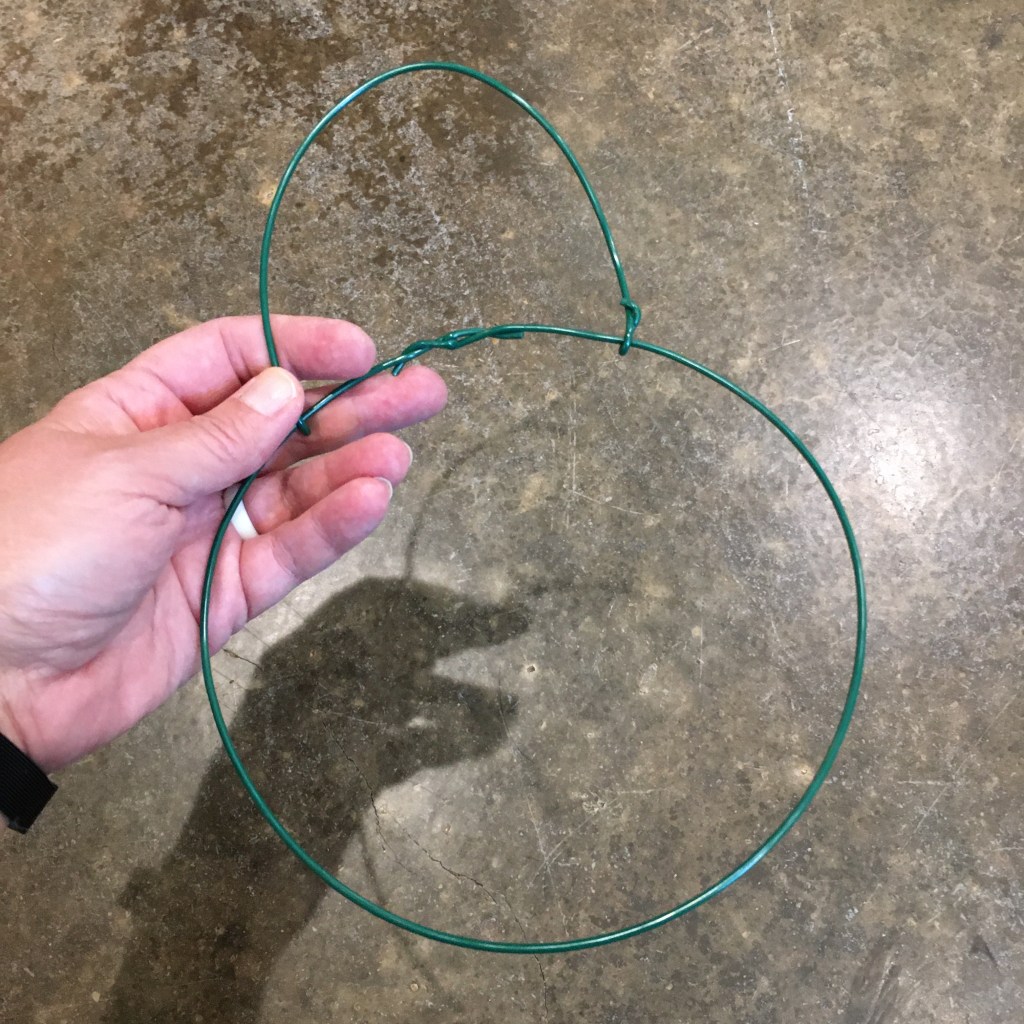
Coated steel wire rim with hanger
I started with coated steel wire from my wire stash. I used some variegated cotton, also from my stash (yeah, I haven’t been to a craft store in two months, <twitch>). I formed the wire into a loop with a handle, then did a single crochet around the wire to cover it. I crocheted the mesh (2 double crochet, chain 5, repeat, for those that want to know), from the top down and then decreased to close the bag. It functions! Hurray! It is also kind if fun to throw the balls at the bag to get them in.