I’m trying something different to get the yarn off my spindle.
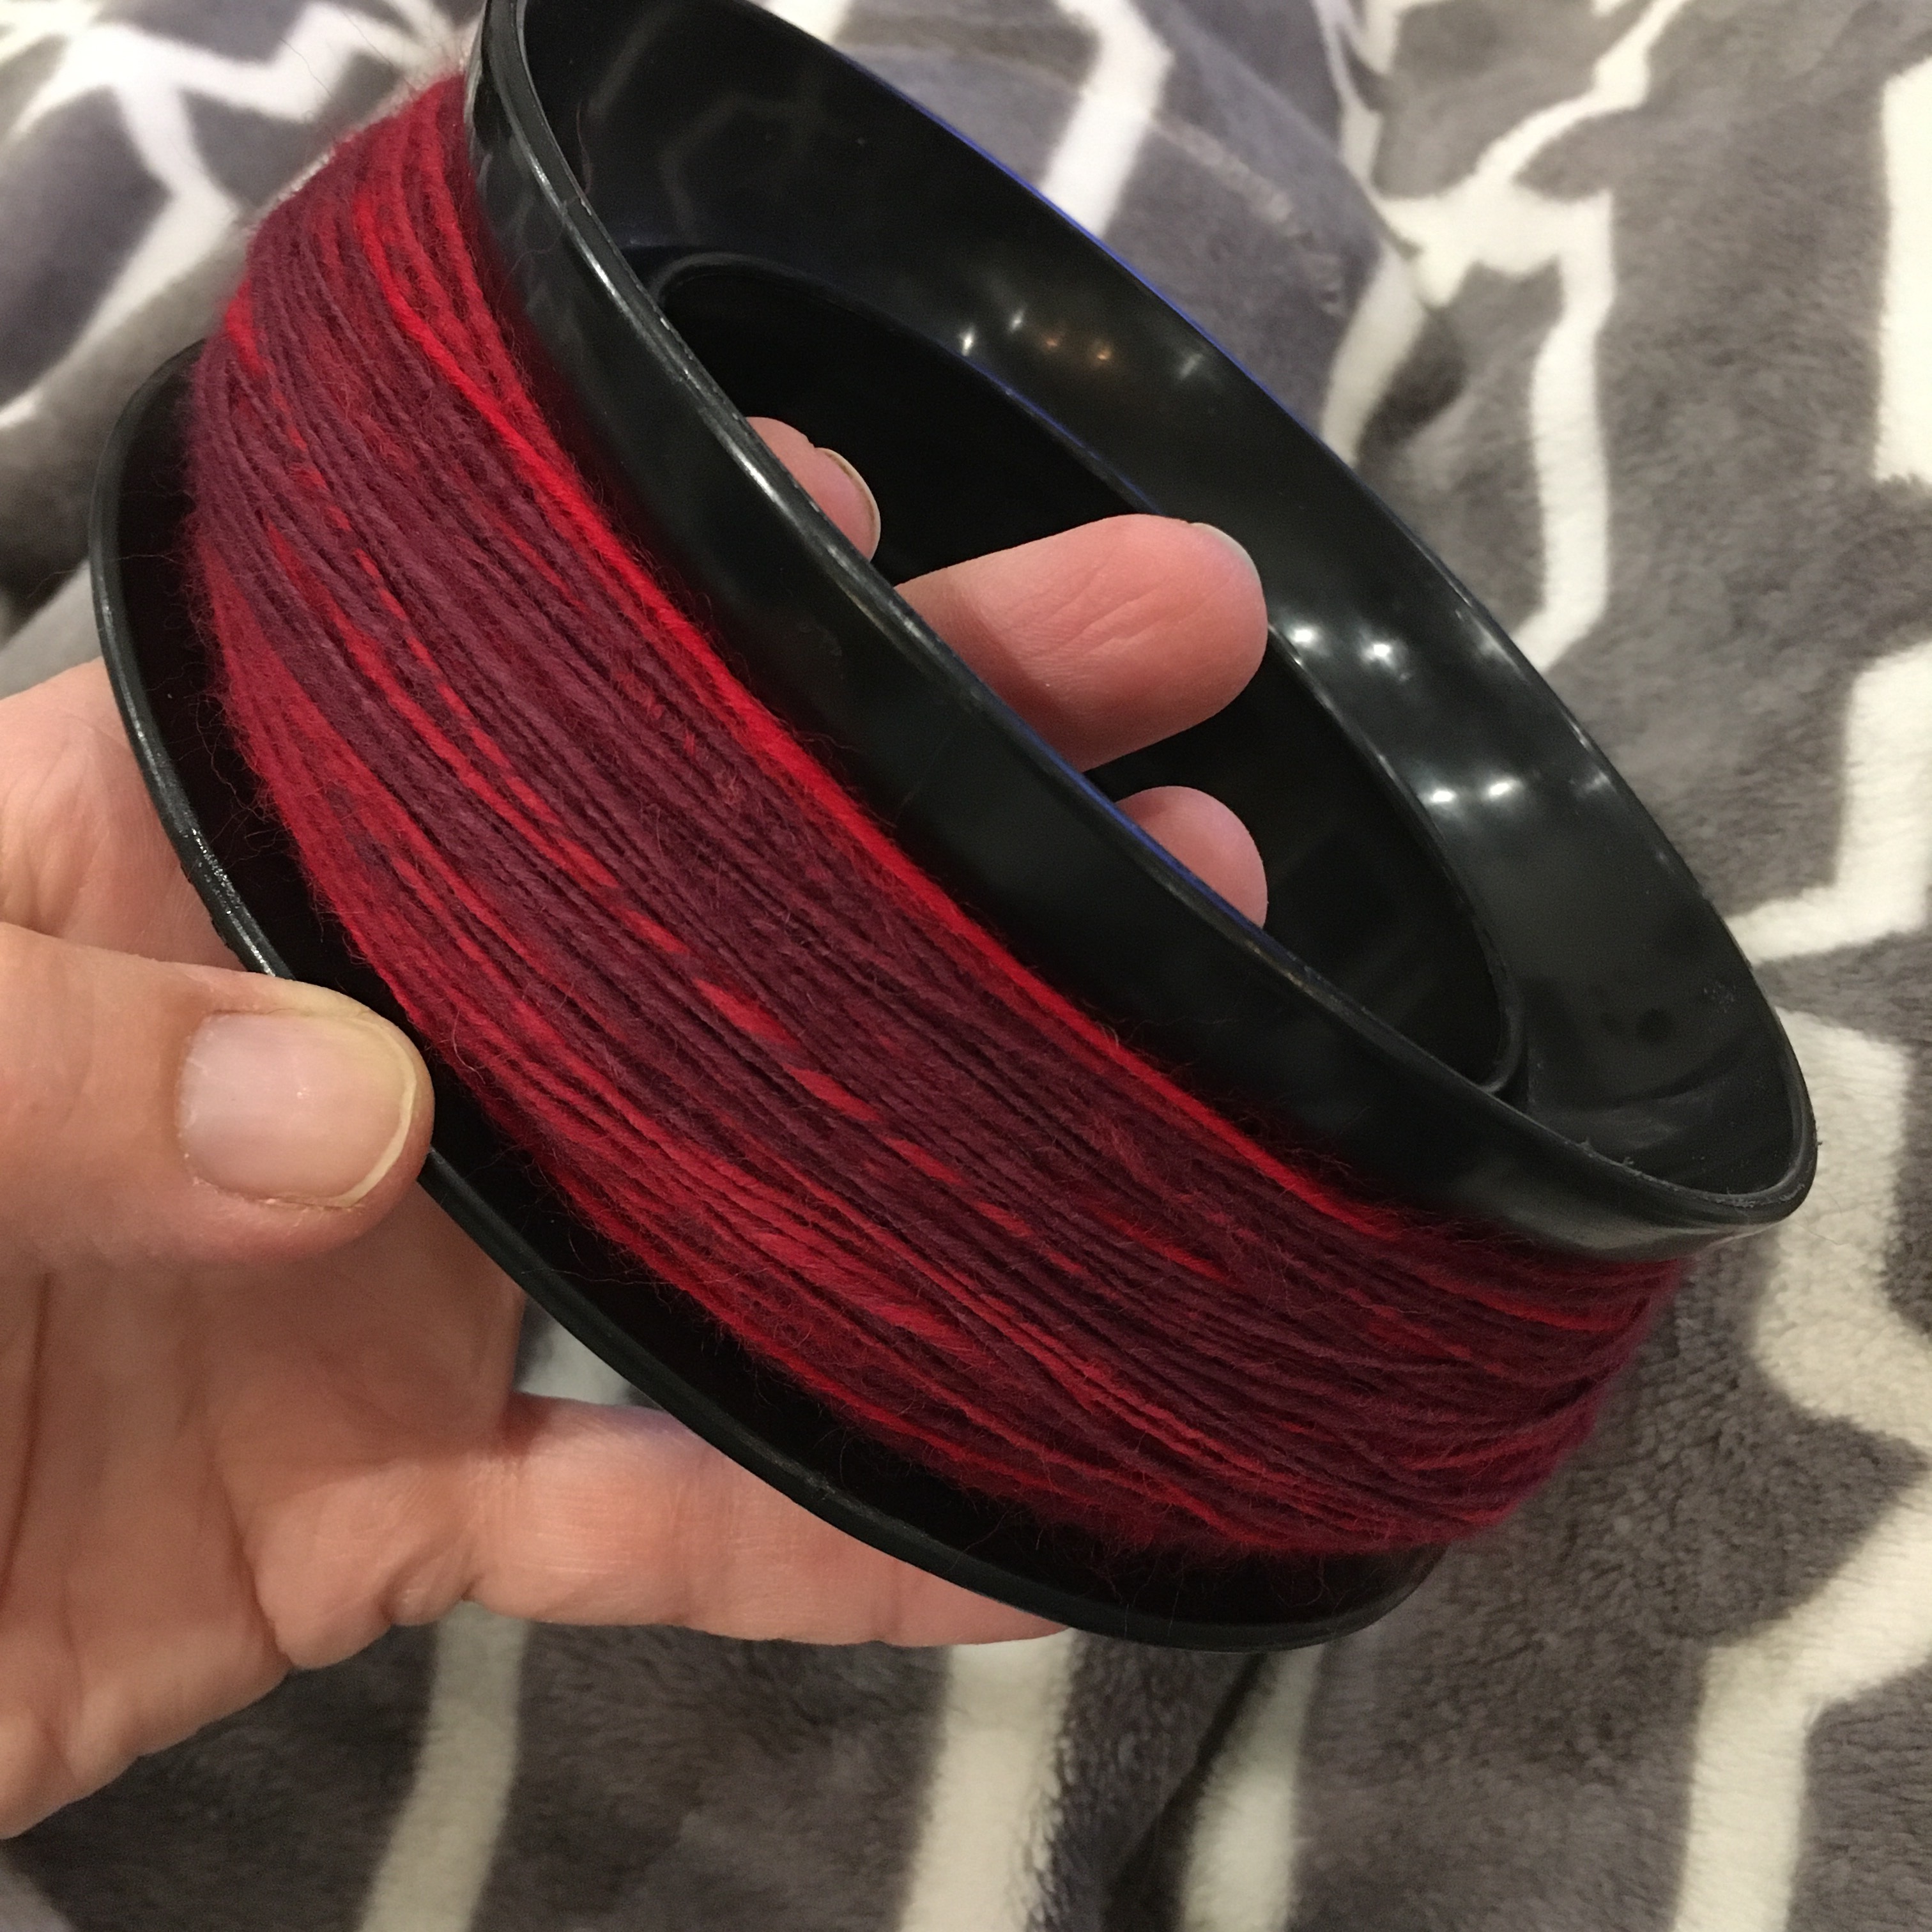
Fishing spool with single-ply yarn
This is a fishing spool, and winds up the yarn faster than the huggy spool I was using before, and holds more yarn. I actually did not buy this for fishing, but for winding up thread loaded with beads back when I was doing beaded crochet. I have also seen them marketed as kite string spools. I only have two, though, so the third spindleful will have to remain on the spindle when I ply. I could use three identical spindles to spin, and not transfer at all. I suppose that is the next project. Or maybe breakdown and buy some spools. Or make some. Hmm. Choices.
Snowball fights are a great way to get exercise and work off some pent up winter energy. We don’t get snow here very often, so I thought we could have pom pom fights instead. I have small inherited pom pom makers, but I wanted snow ball sized pom poms (and to make a good dent in my yarn stash). So I decided to try a couple different methods for using cardboard to make pom poms. (As a bonus, it is fun to say “pom pom”.)
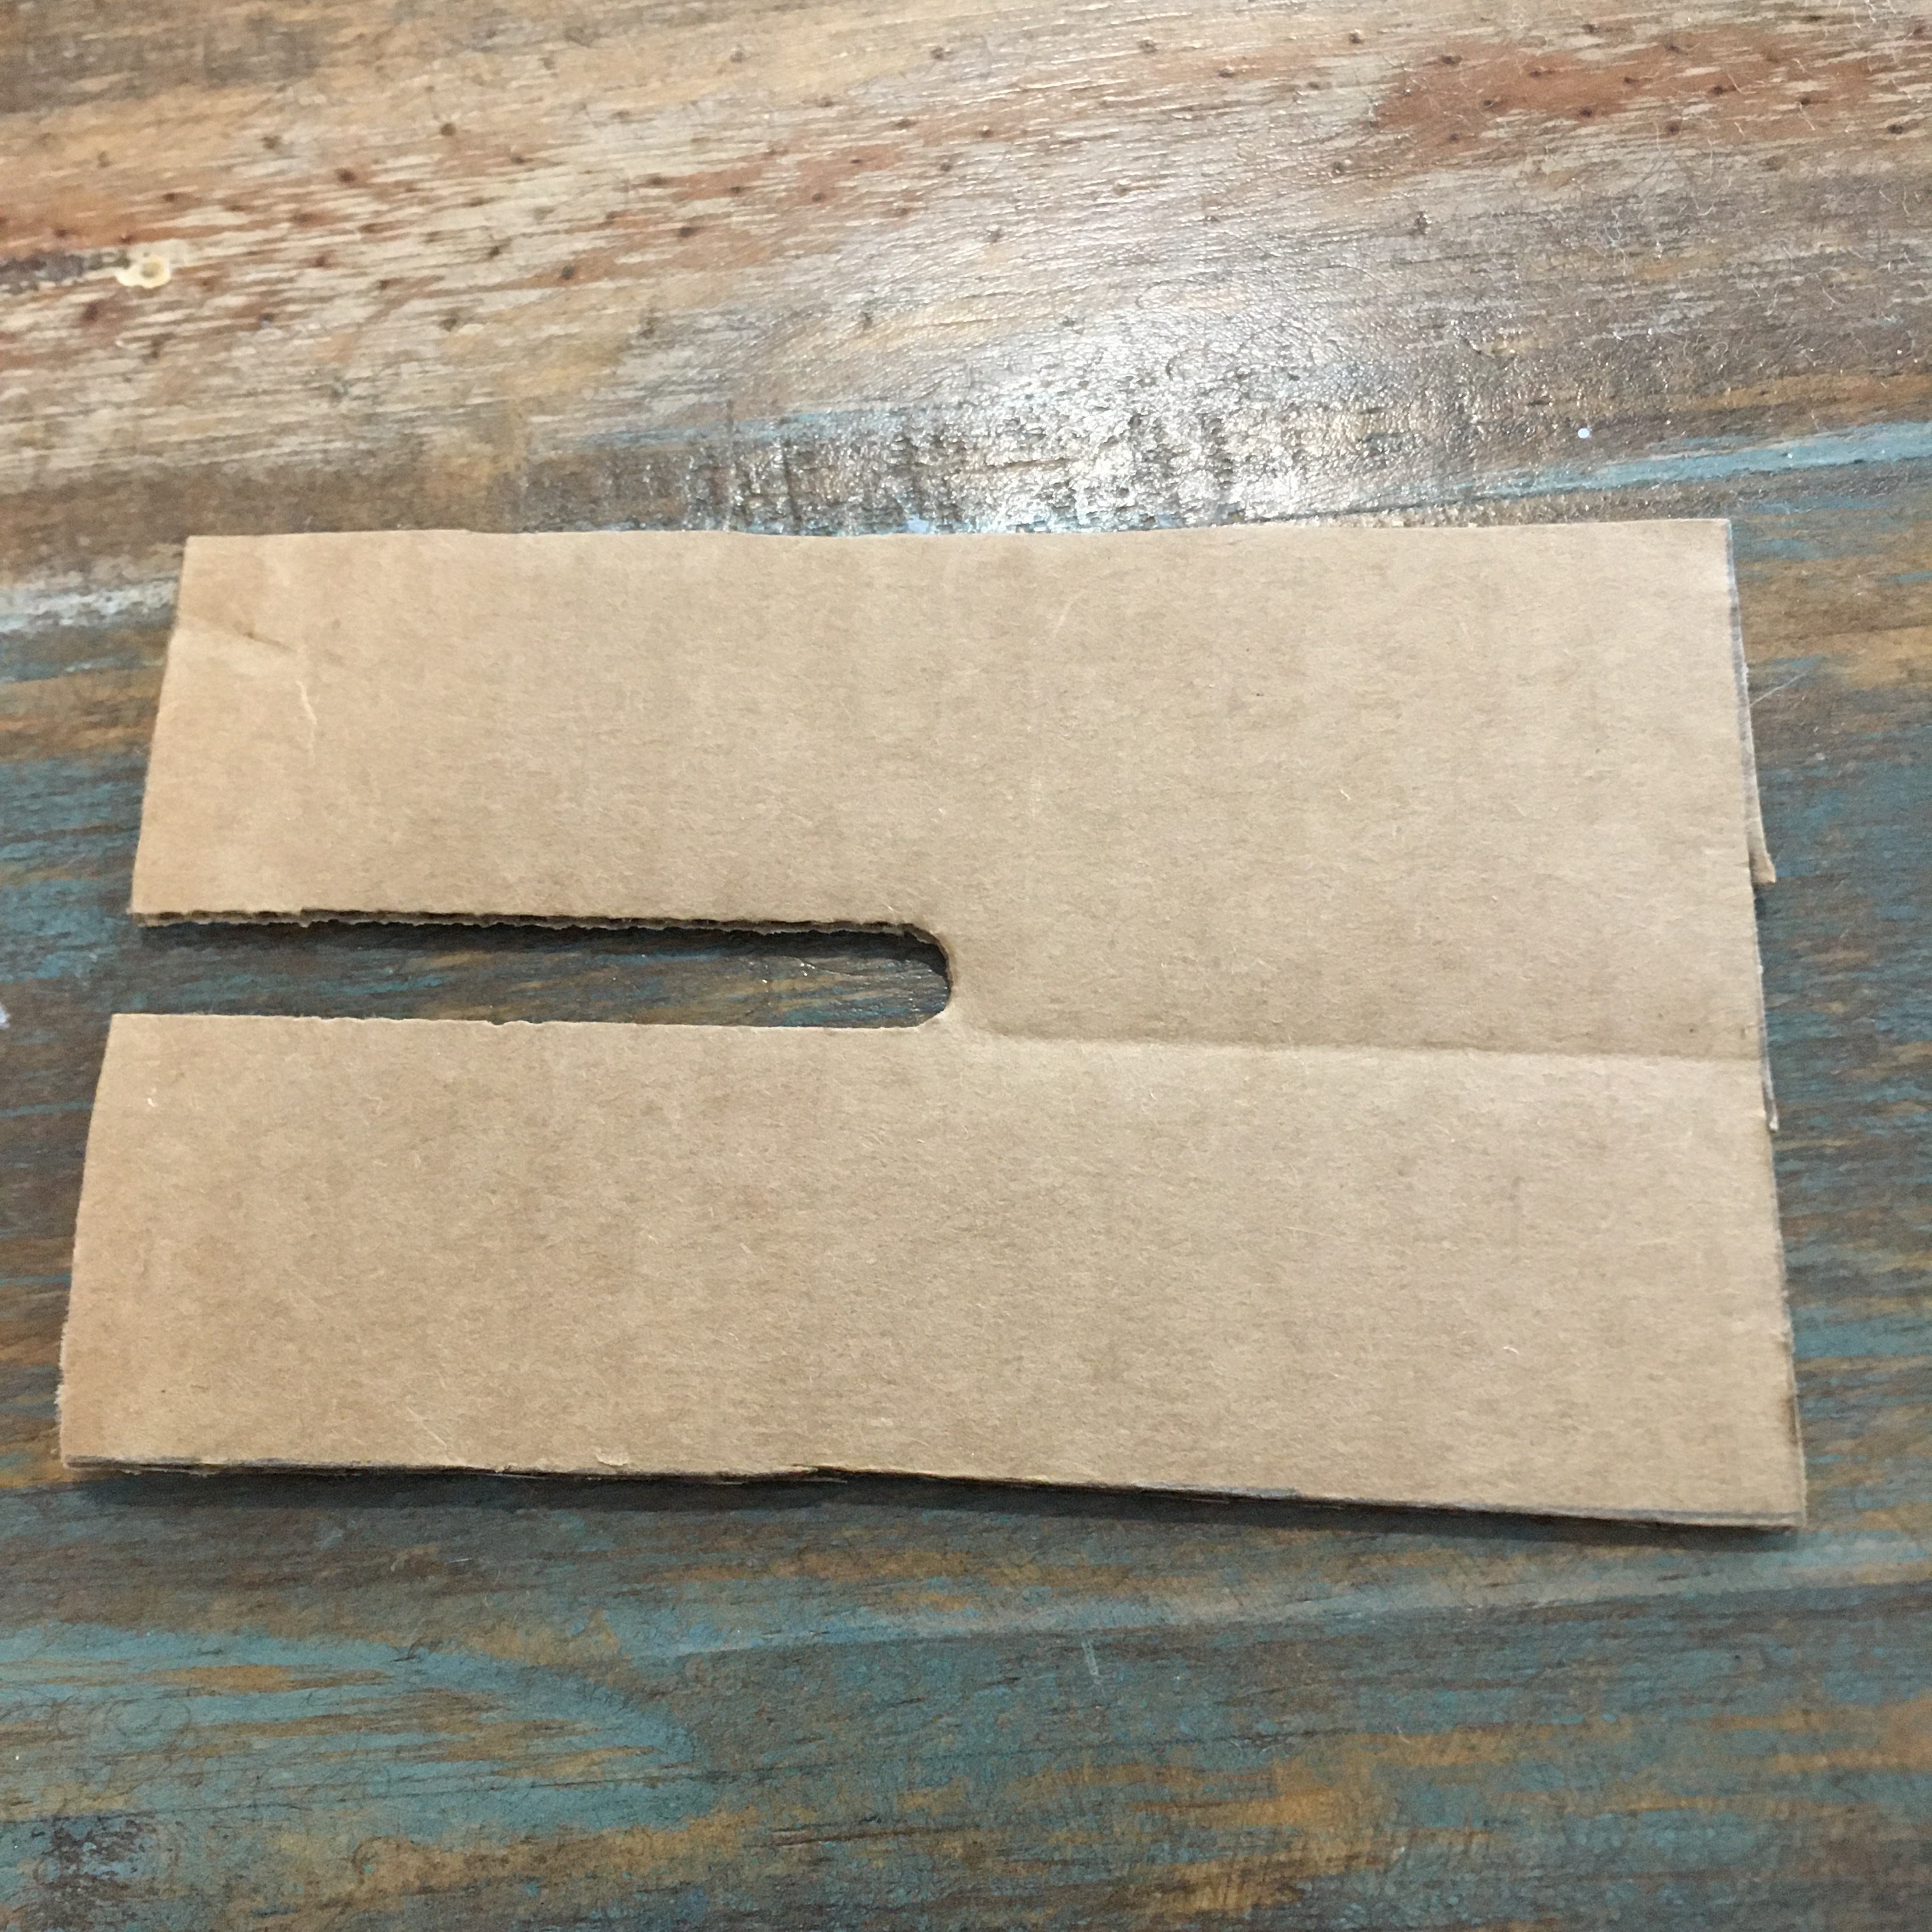
The first method uses a rectangle of cardboard with a slit cut partially lengthwise.
Simple Cardboard pom pom maker
It is easy to wind yarn onto this form (my youngest even had no problem wrapping), but the pom pom comes out more like a rugby ball.
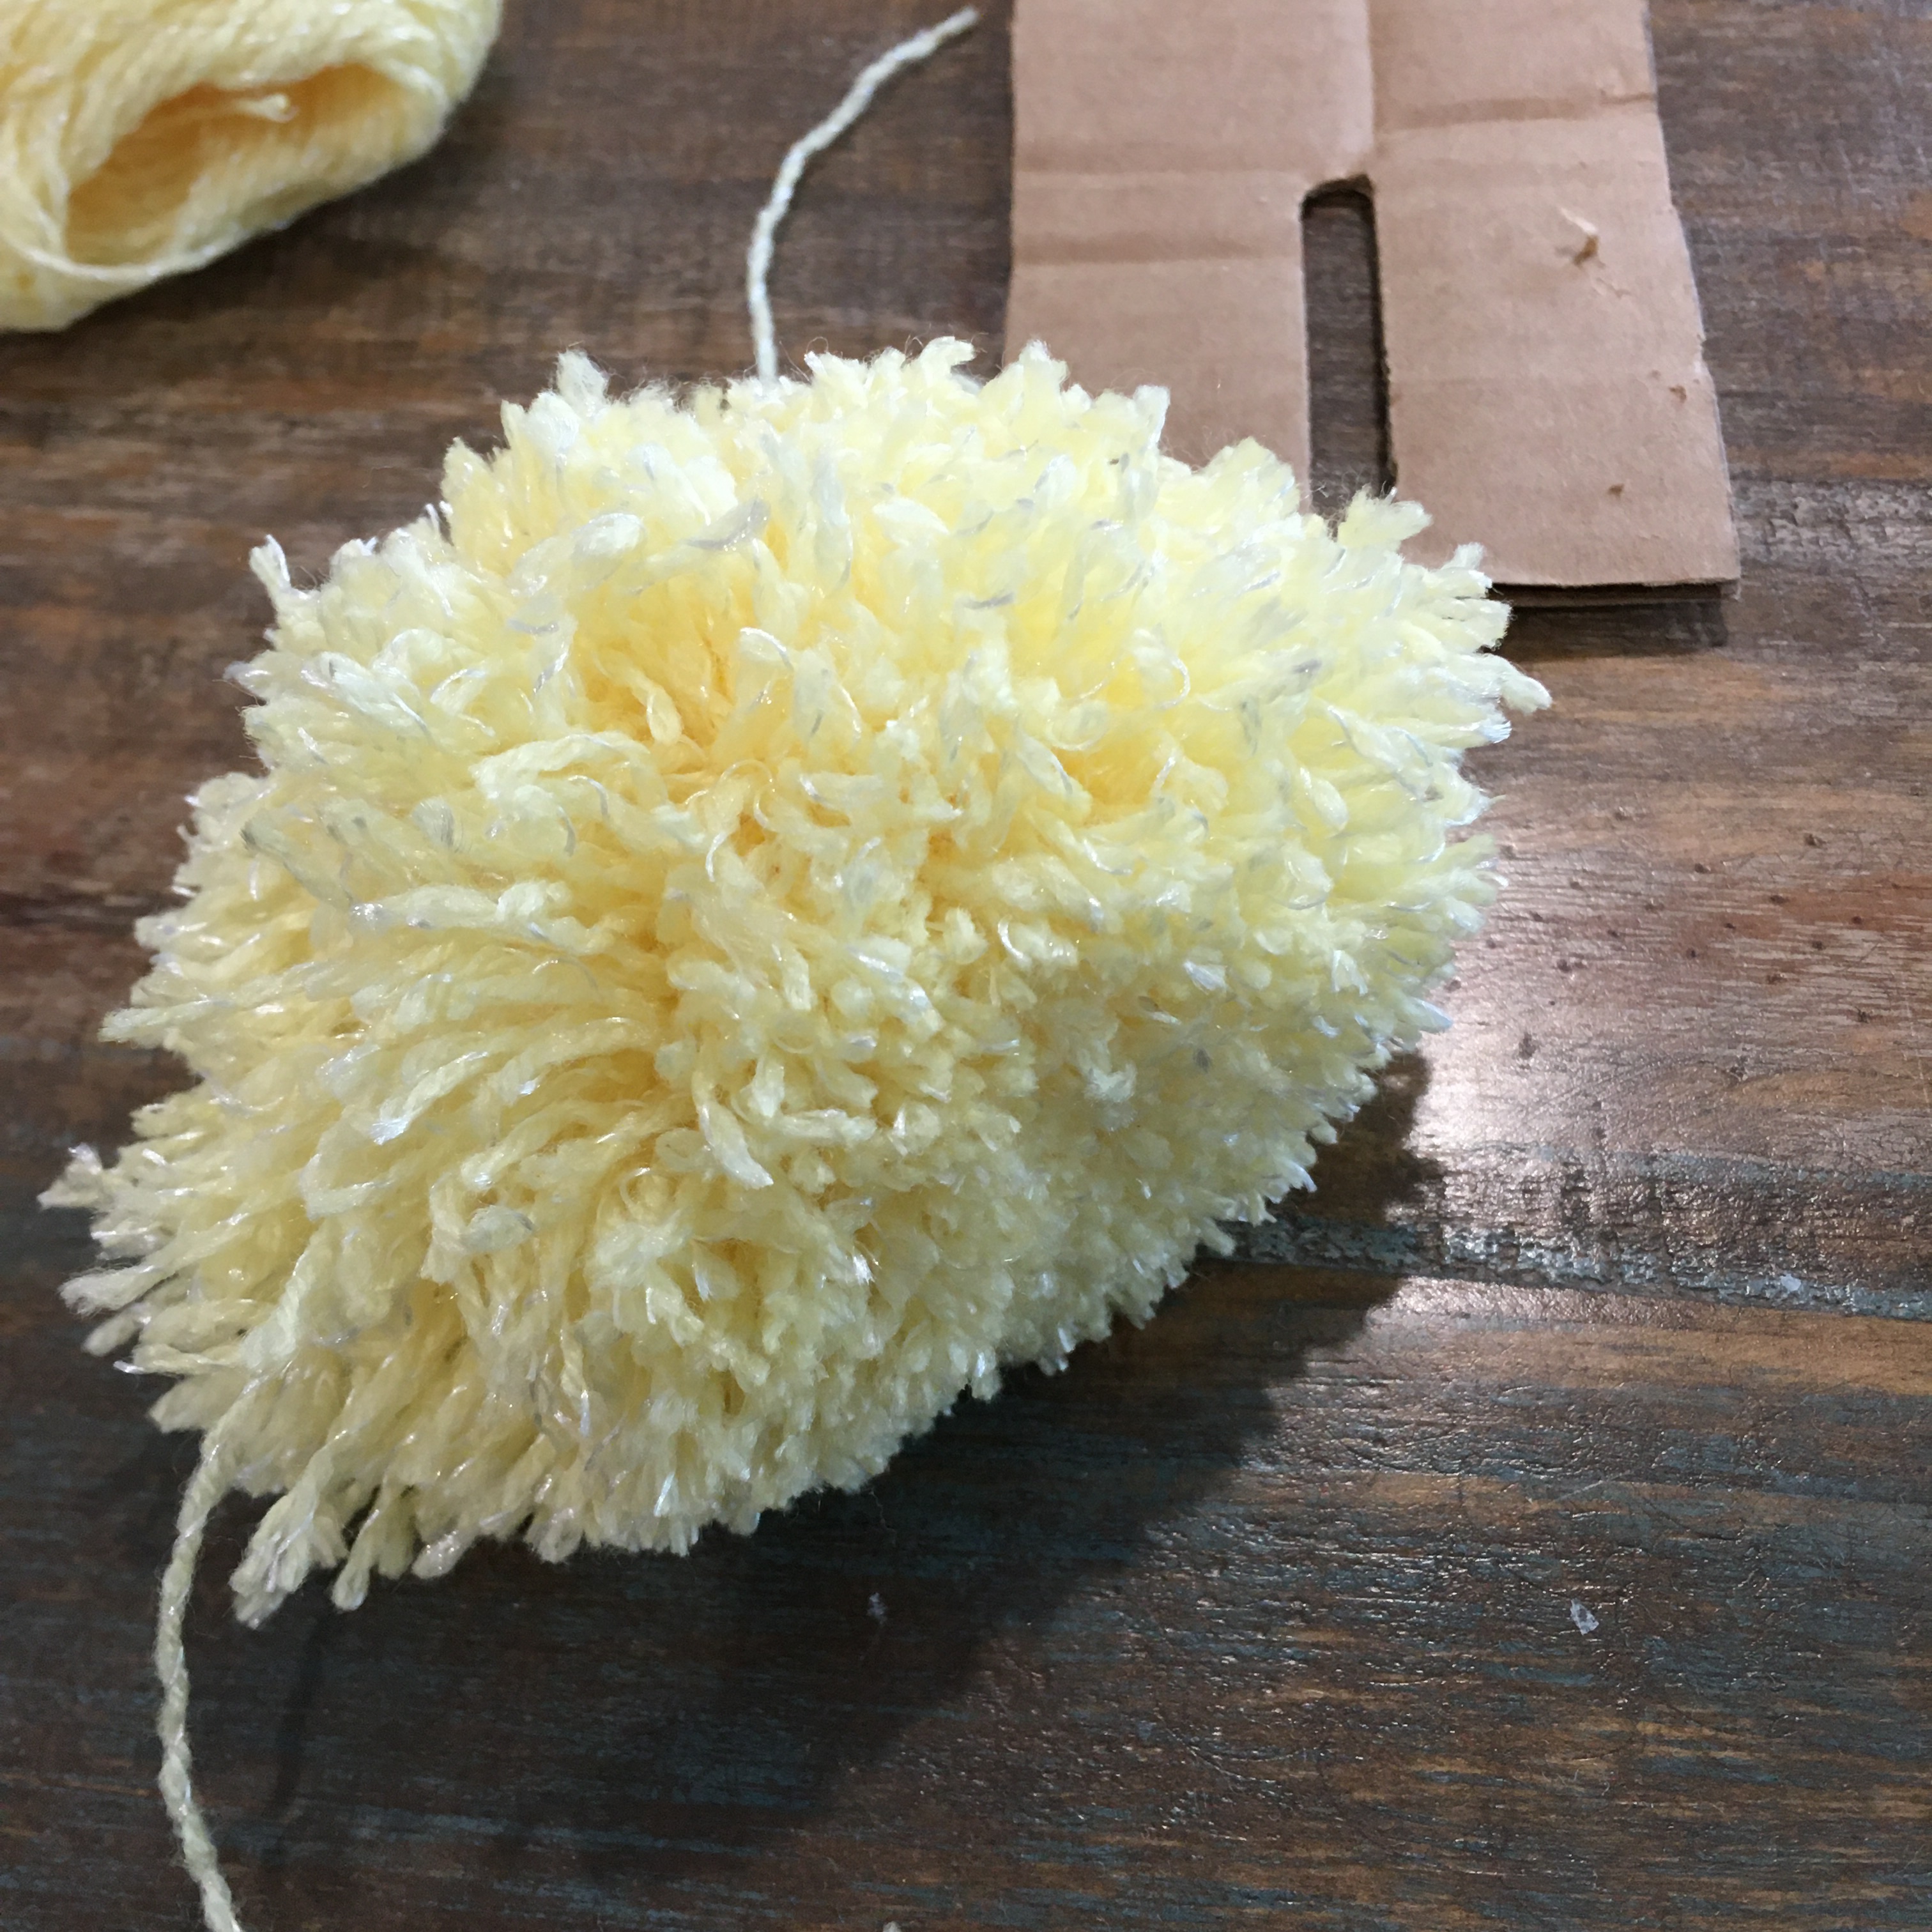
Untrimmed pom pom
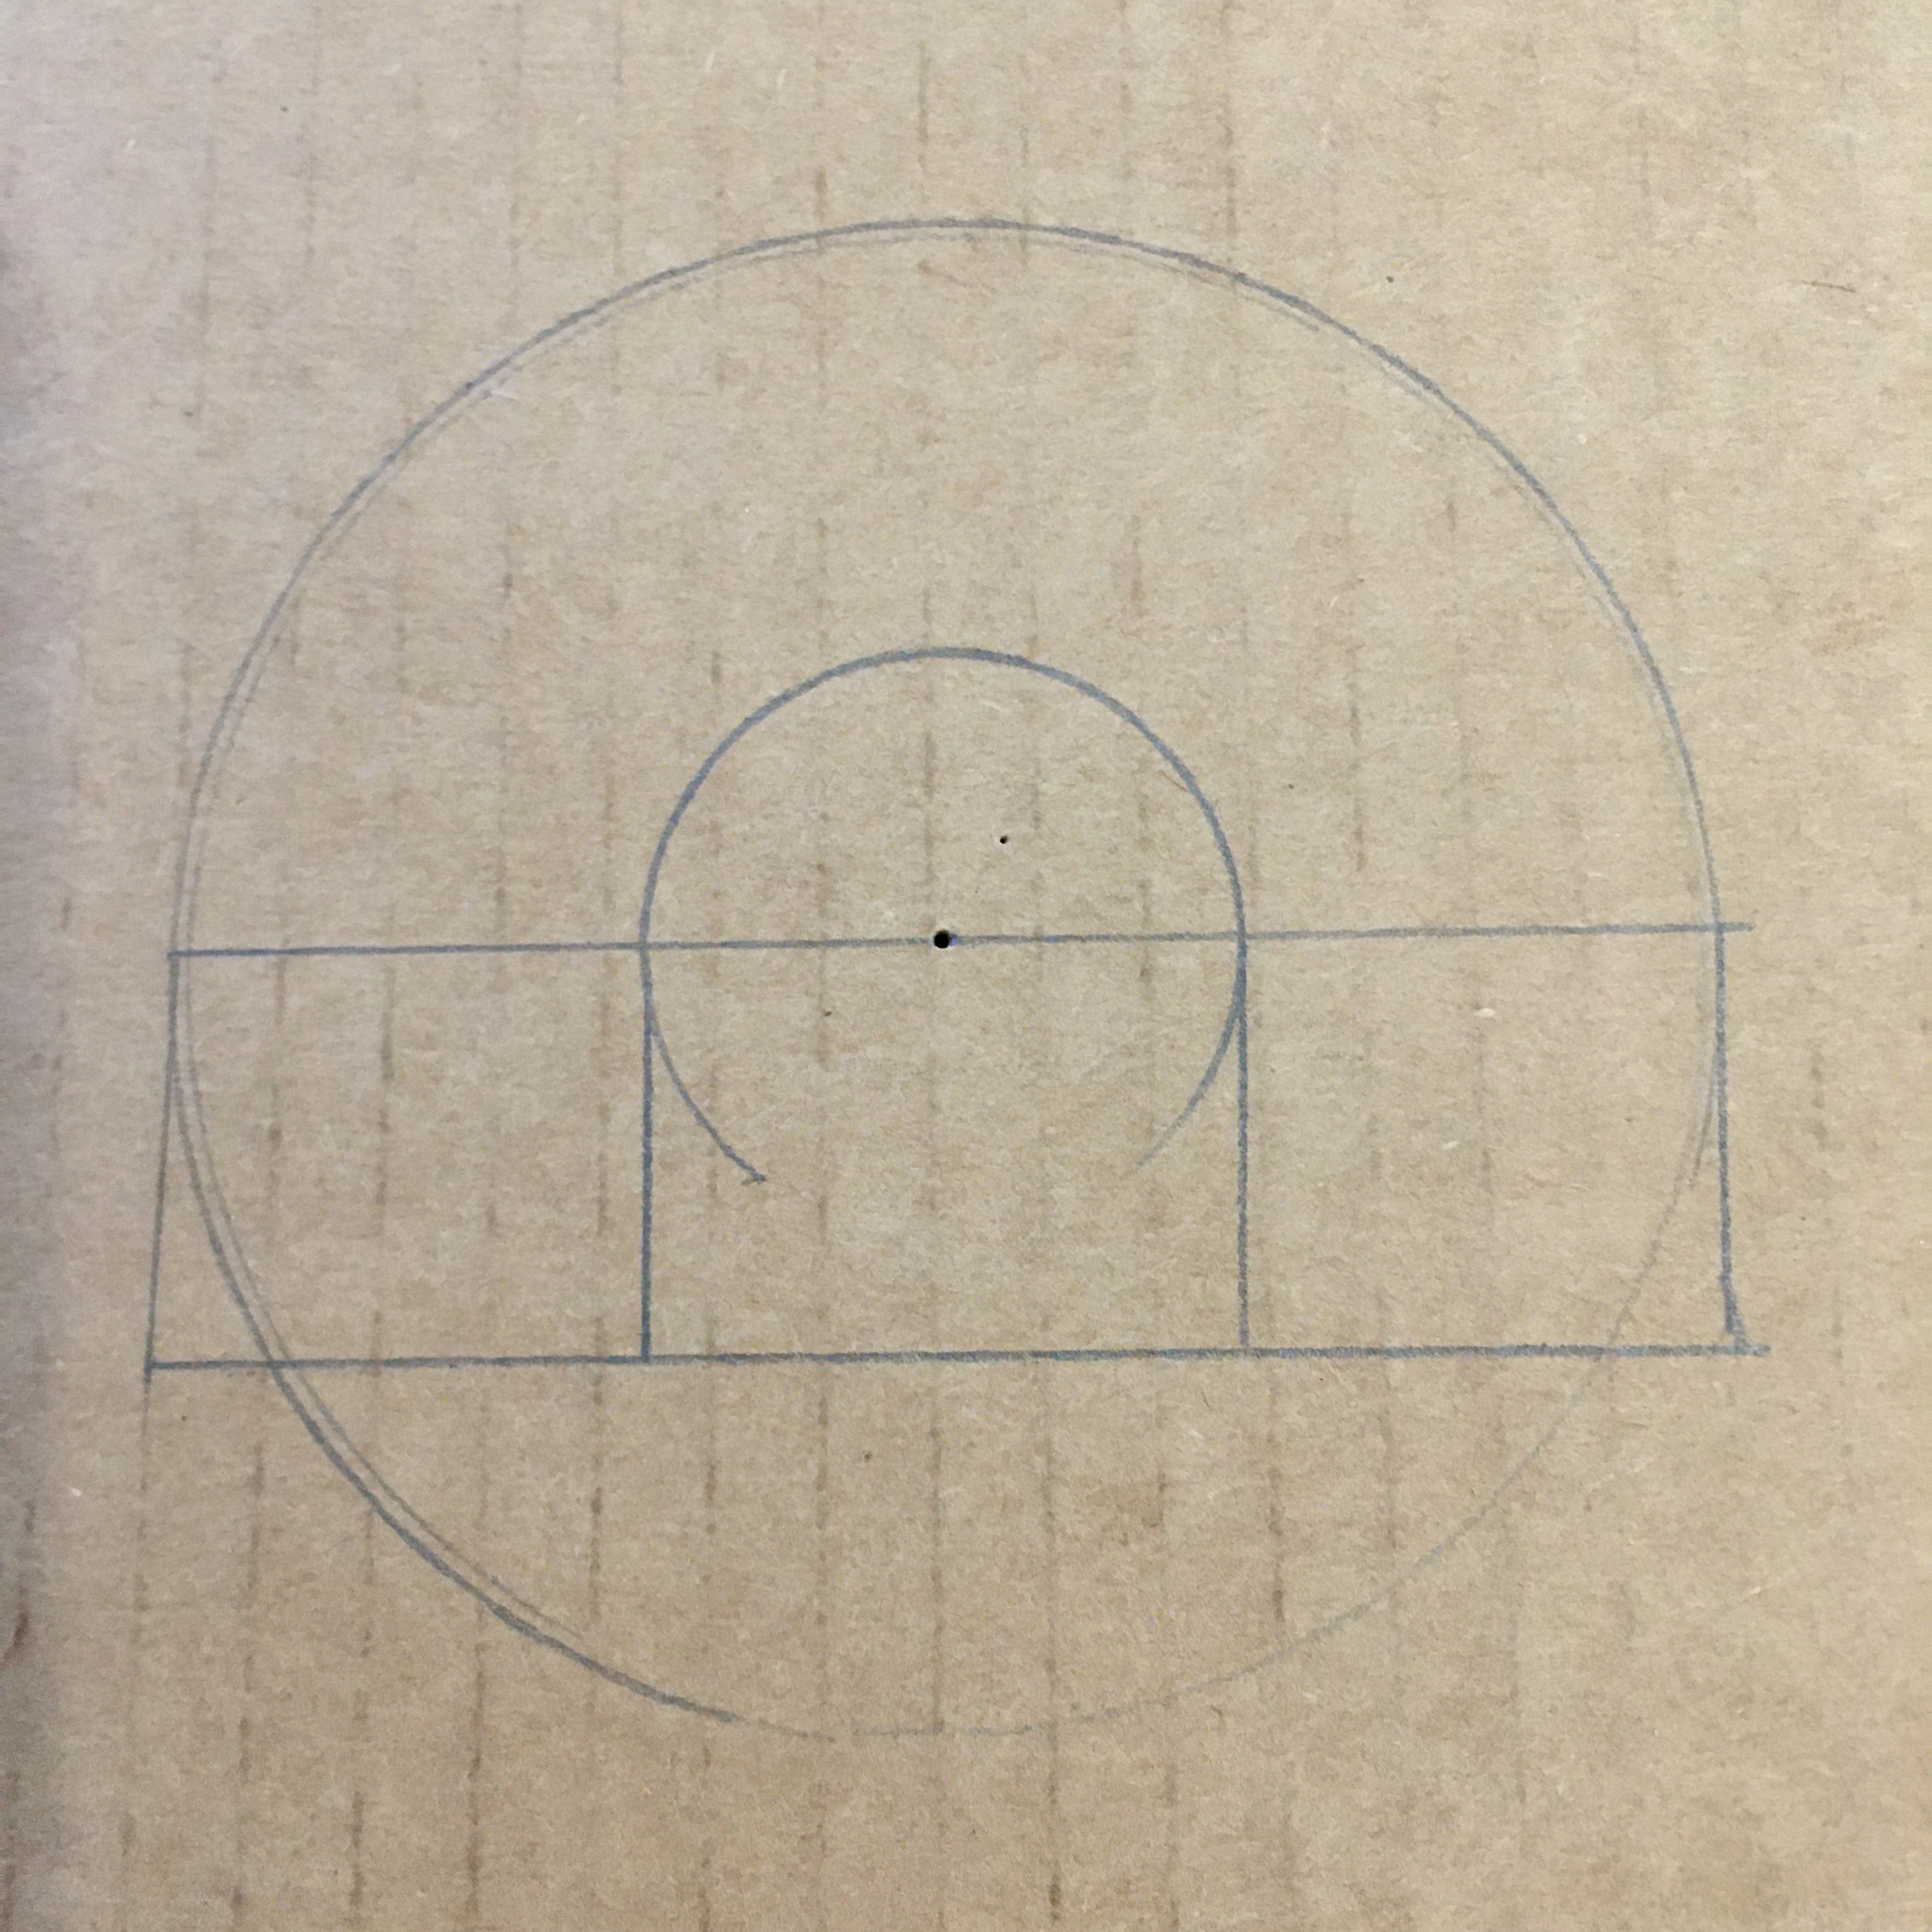
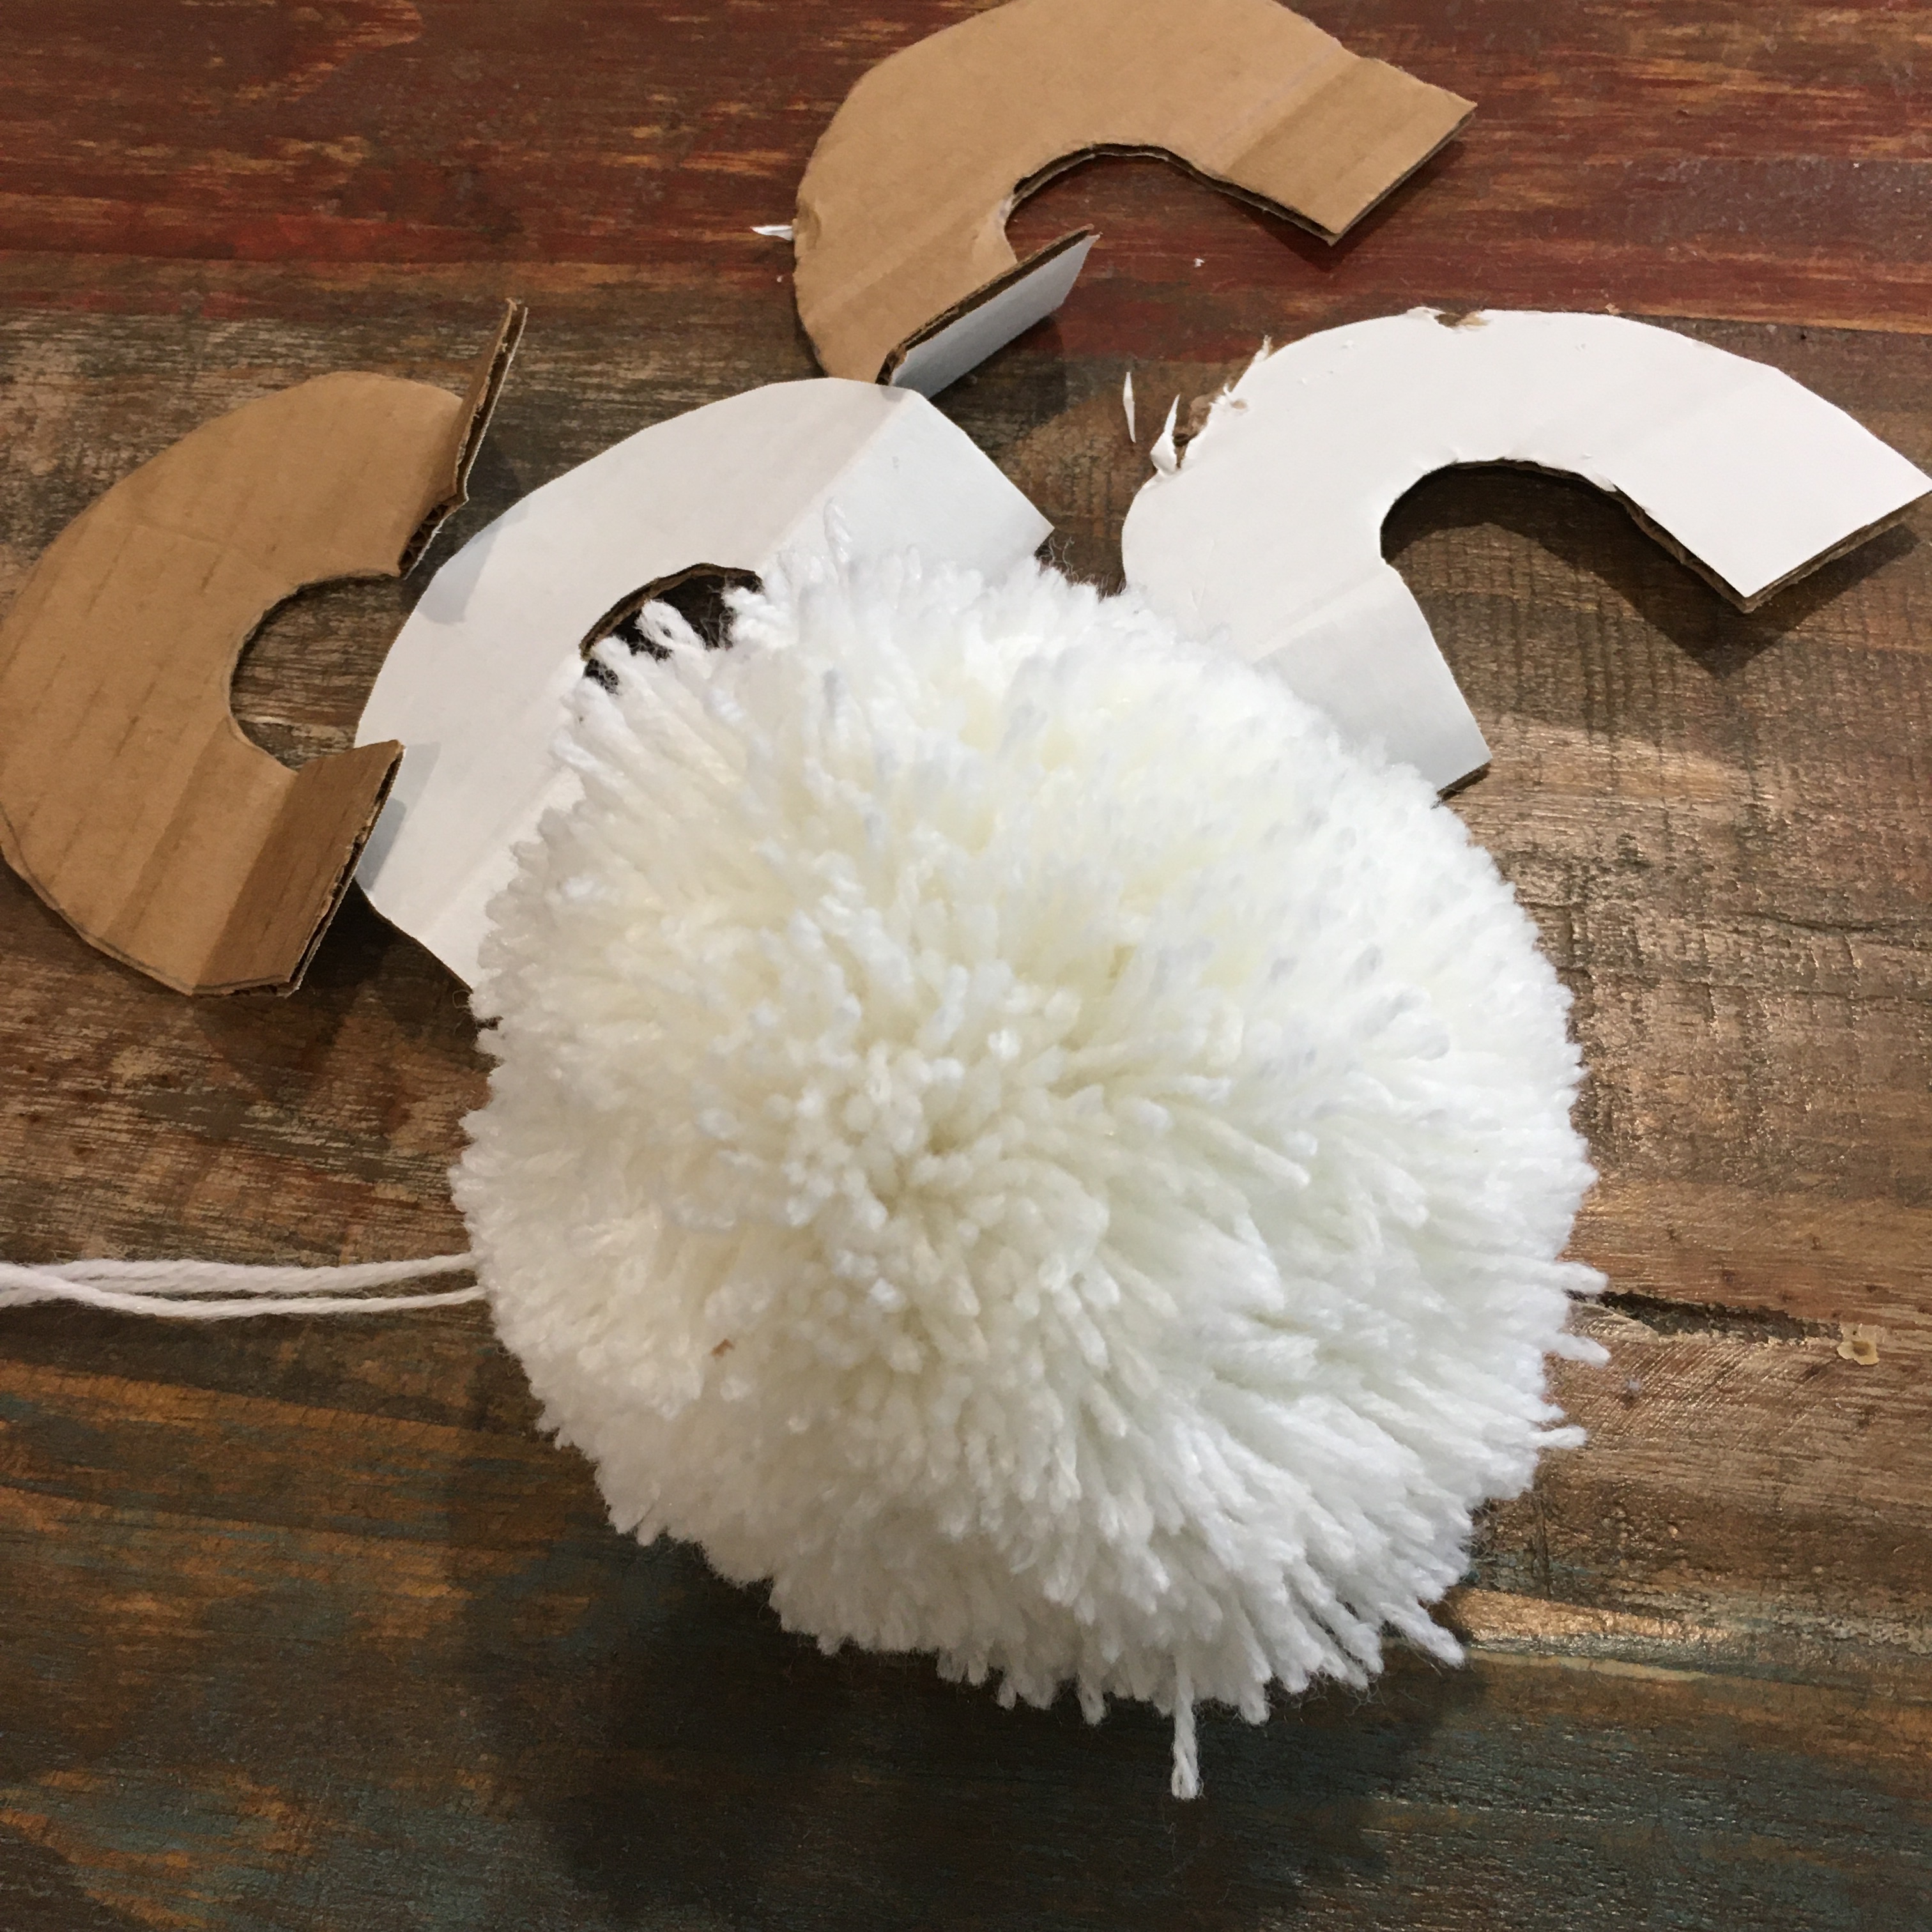
The second method requires the use of a compass to make a “U” shape and cut four matching pieces.
Drawn “U” shapeWrapping yarn around two “U” shapes
Wrapping the yarn on these forms is a little trickier. The flaps help keep the yarn in the circle, but sometimes catches the yarn on the wrap.
Fully wrapped cardboard form
Cutting the yarn on the “U” form was easier, and I could tie yarn around the center tighter. The resulting pom pom was also more round straight off the form.
“U” form pom pom
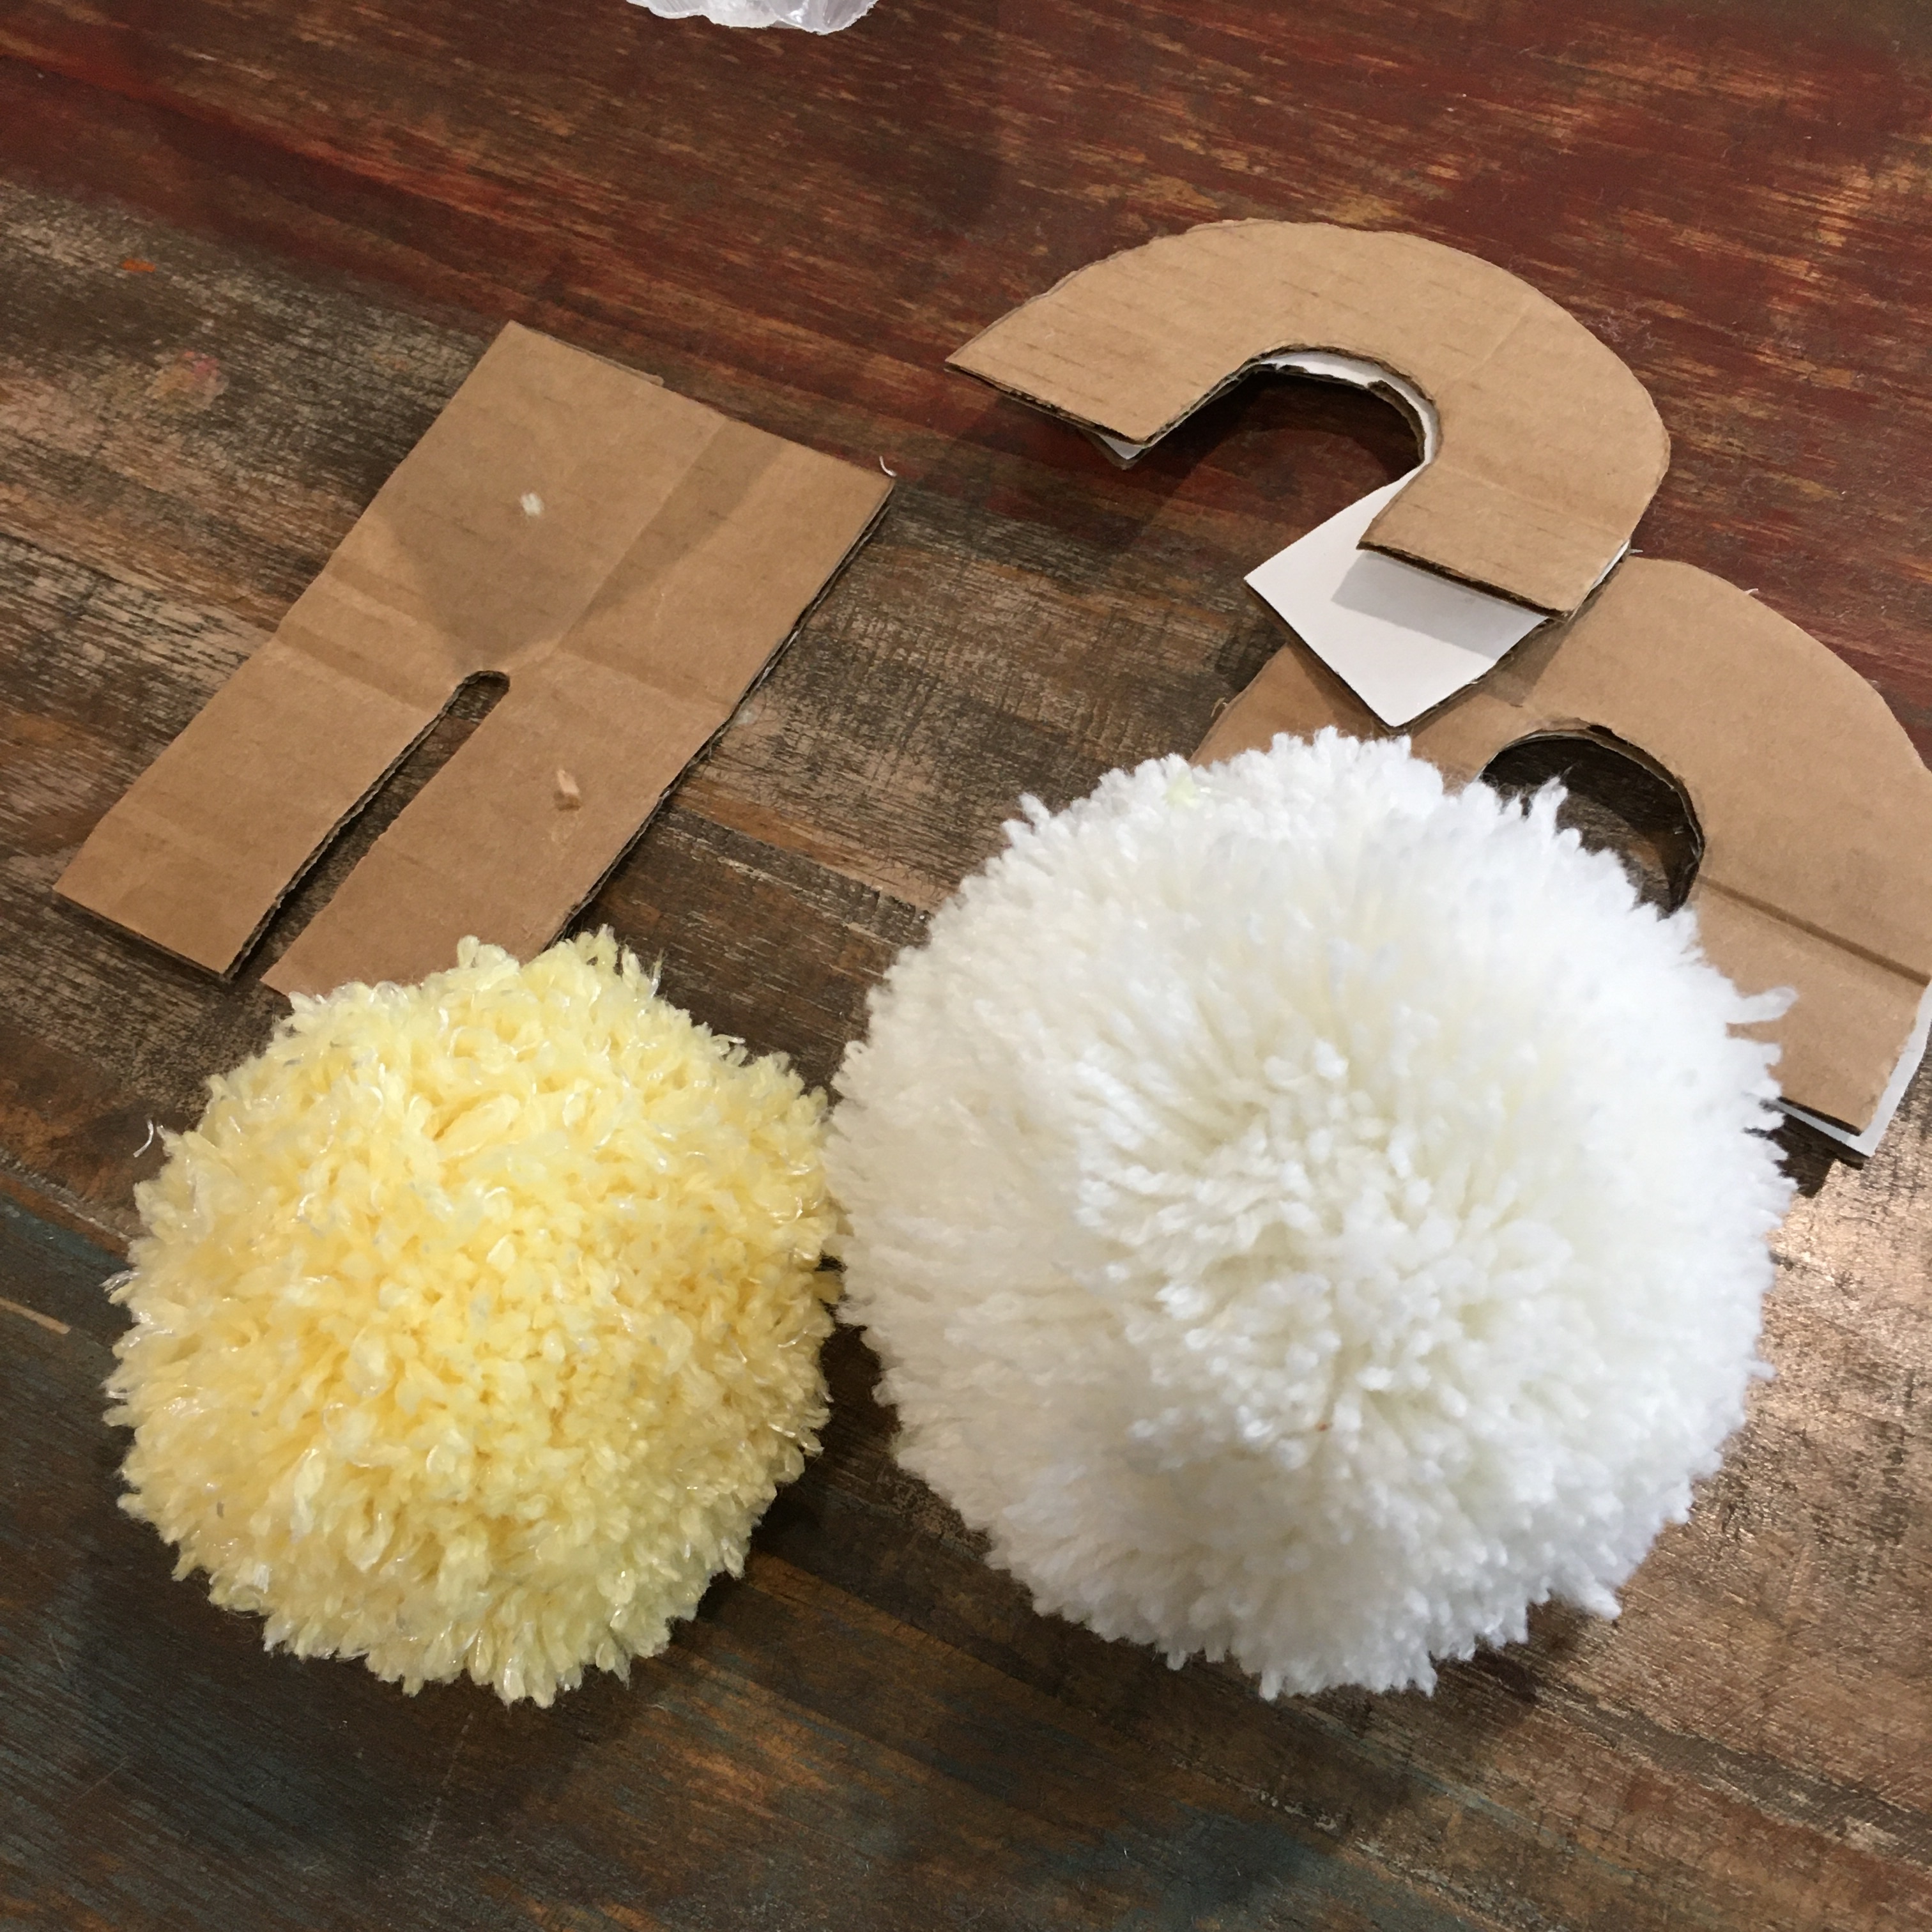
I trimmed both pom poms, which I think is really the trick to get nice pom poms.
Trimmed pom poms
Conclusion: the simple rectangle cardboard form is the easiest to wrap but needs more trimming. The “U” shape form isn’t as easy to wrap, but needs less trimming. Both really needed some trimming. If I had a group of kids, or needed to make a large number of pom poms, I would use the rectangle forms. If I were making pom poms myself, and needed full round pom poms, I would use the “U” form.
Pom pom. Really, say it a few times. You’ll feel better.
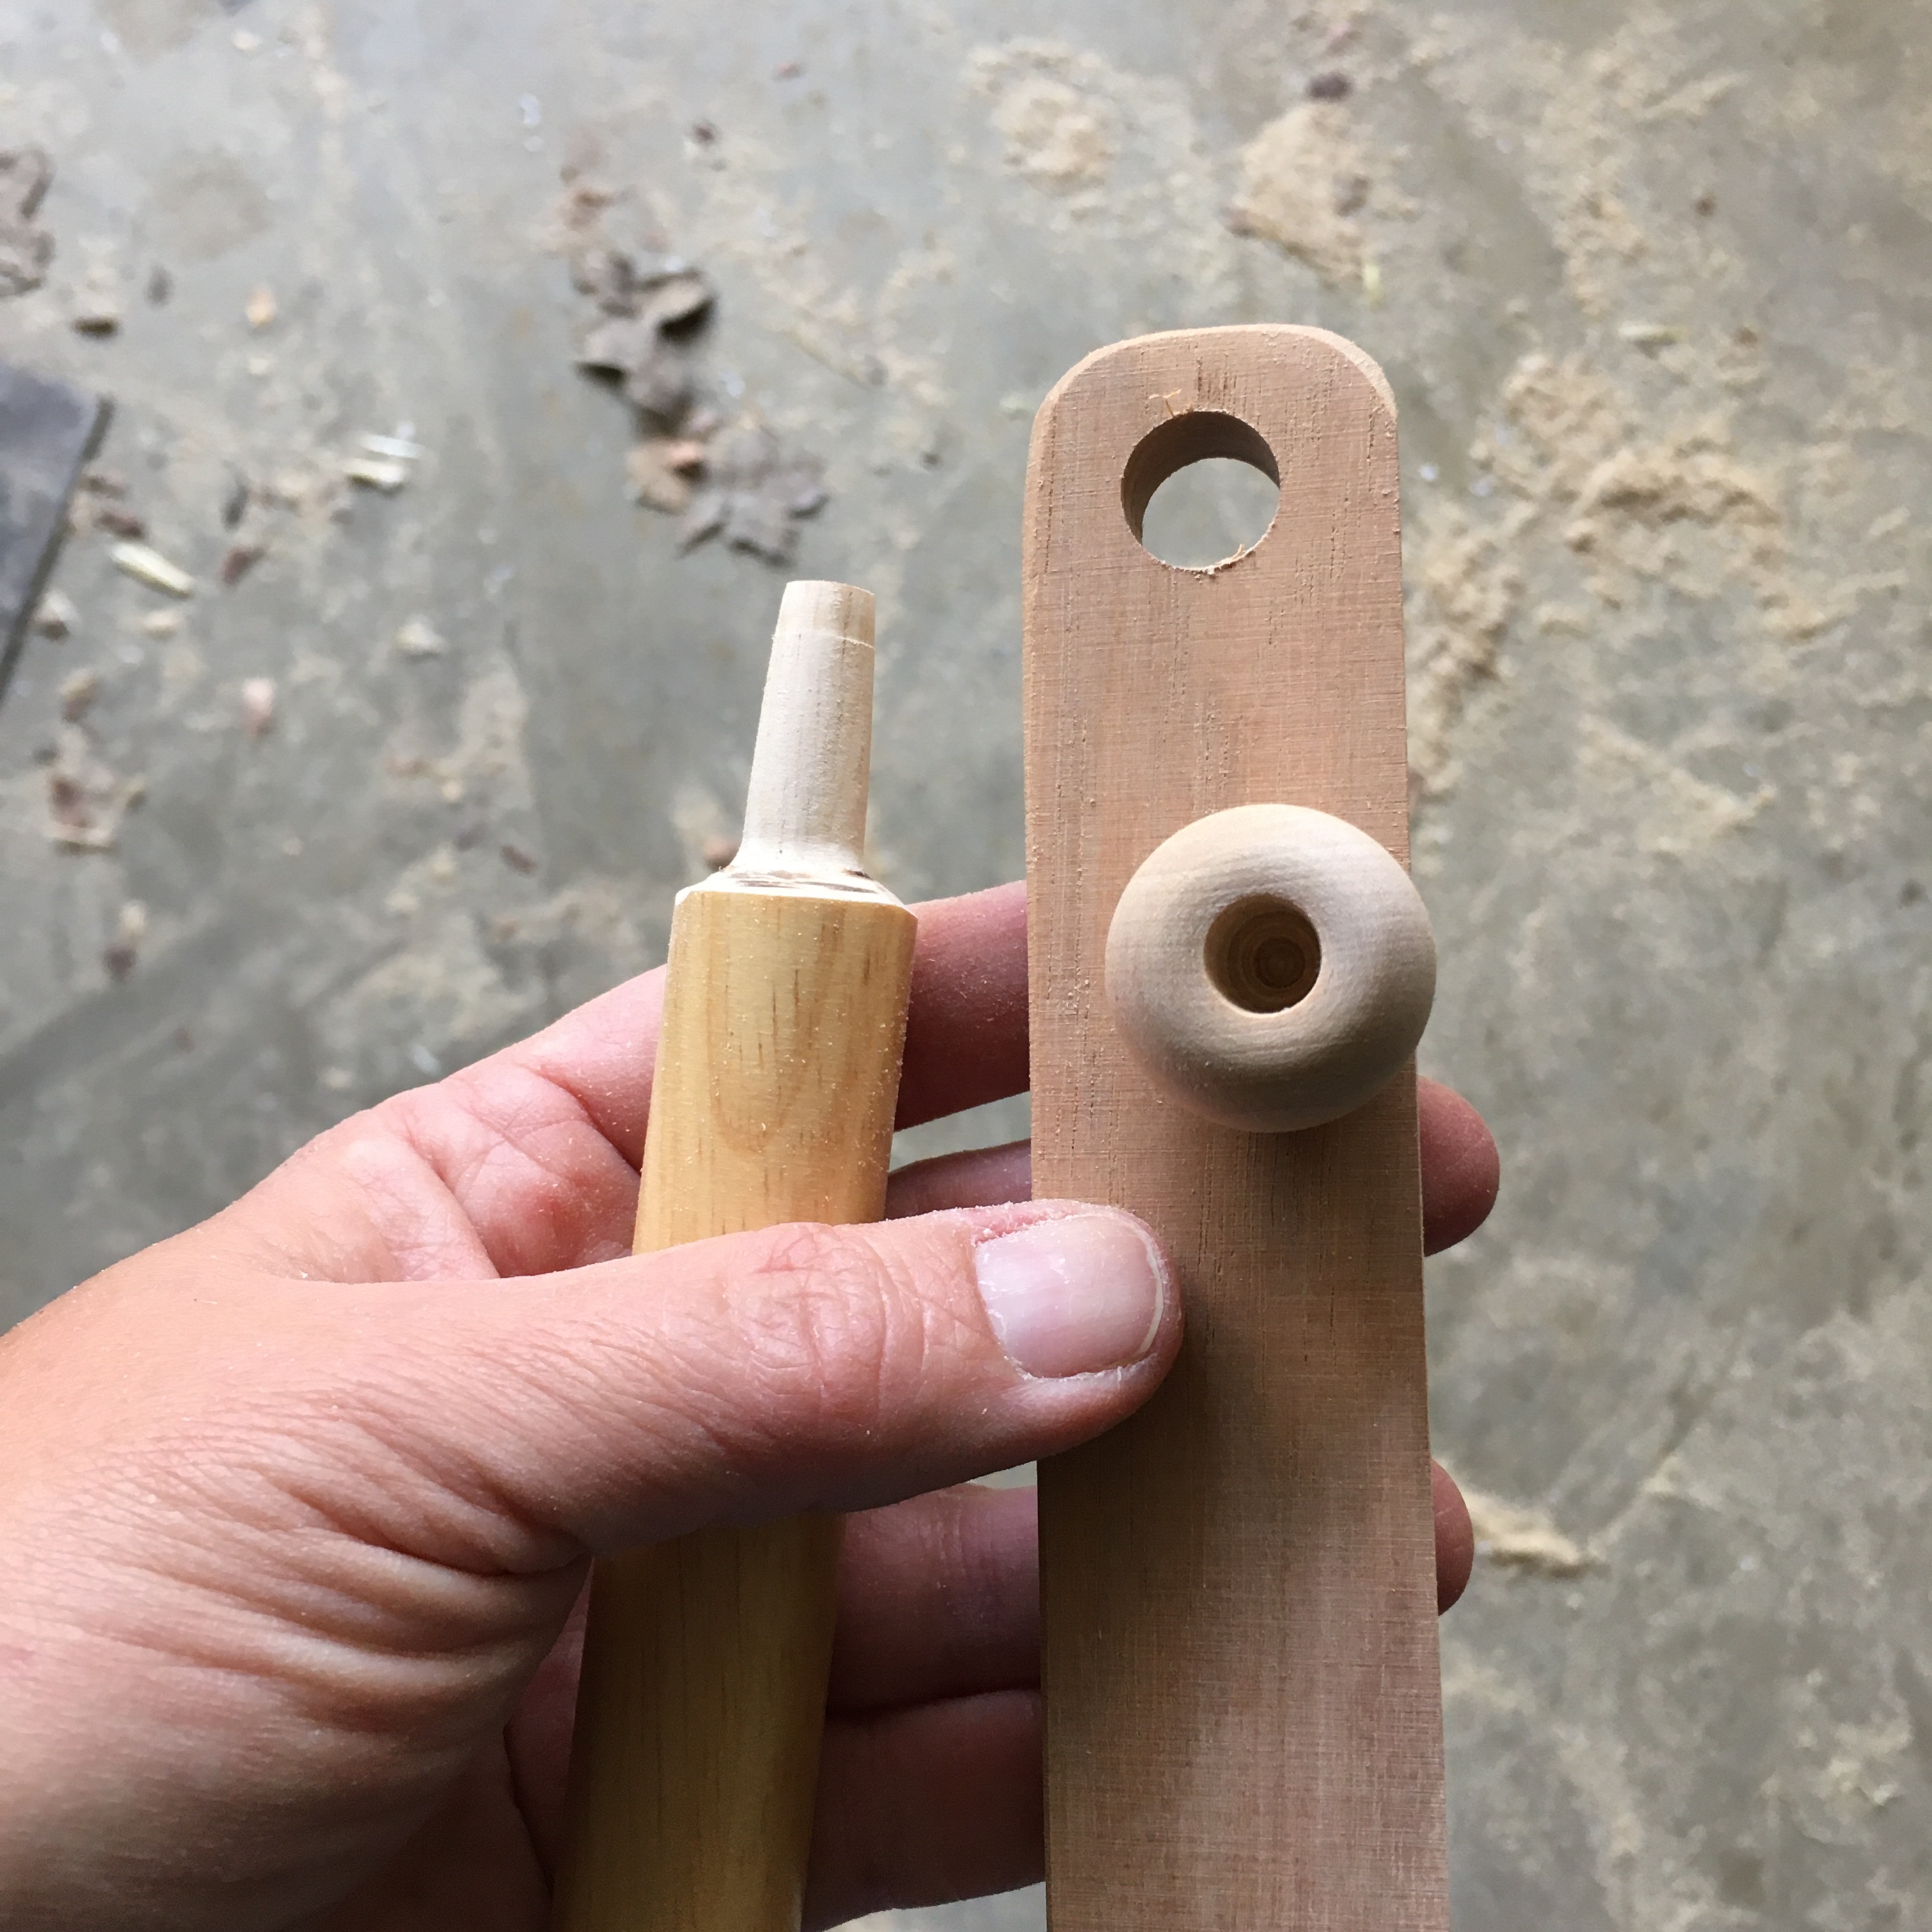
I tried another kind of spindle: a Mayan spindle. It uses a paddle on an axel to generate spin, and I’ve read that it is easier to use in confined spaces.
Mayan spindle parts
I sanded down the end of a dowel for the axel, sanded a scrap piece of hardwood, drilled a hole in one end, and drilled a hole halfway through a wood ball. The ball is friction fit onto the end of the axel to keep the paddle from flying off.
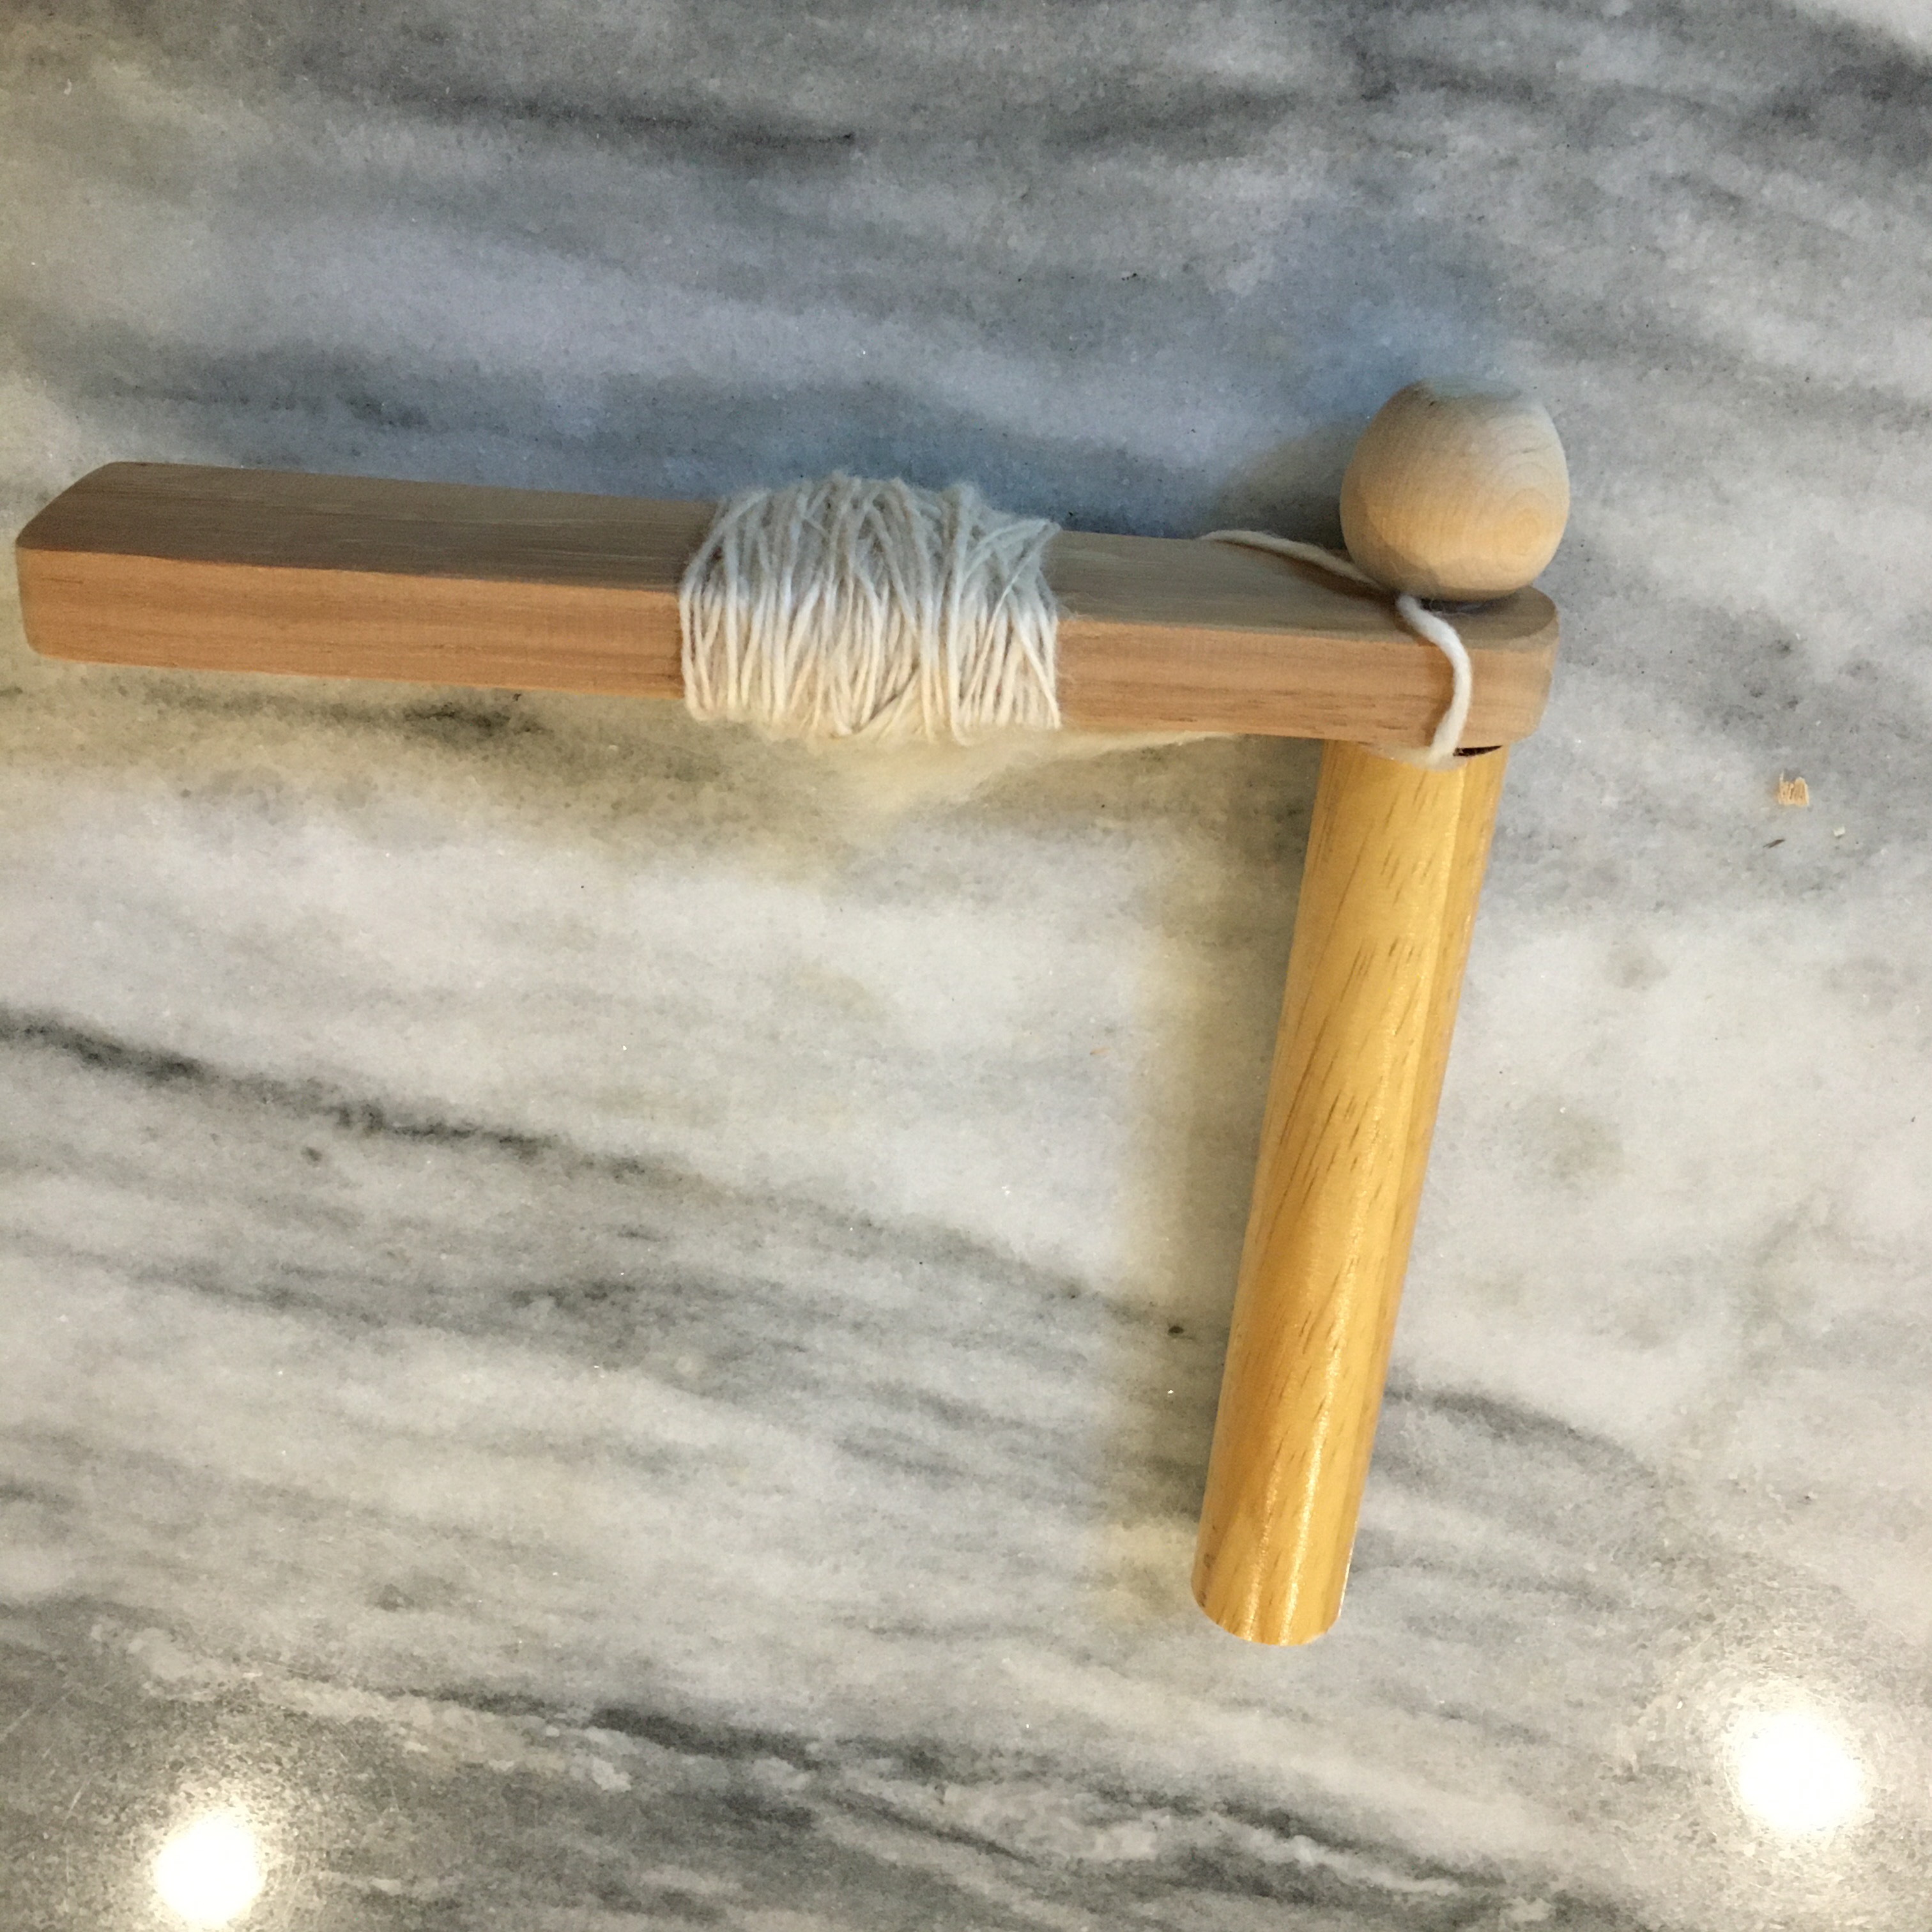
Spun fiber on a Mayan Spindle
I think I made the paddle too large. It was fairly easy to spin the paddle, but it is heavy. Since making this, I’ve also seen other variations where the paddle is slid onto the shaft, rather than being fixed.
The Mayan spindle doesn’t build up as much twist as fast as a drop spindle, so it is not my current go to spindle, but it was a fun experiment!
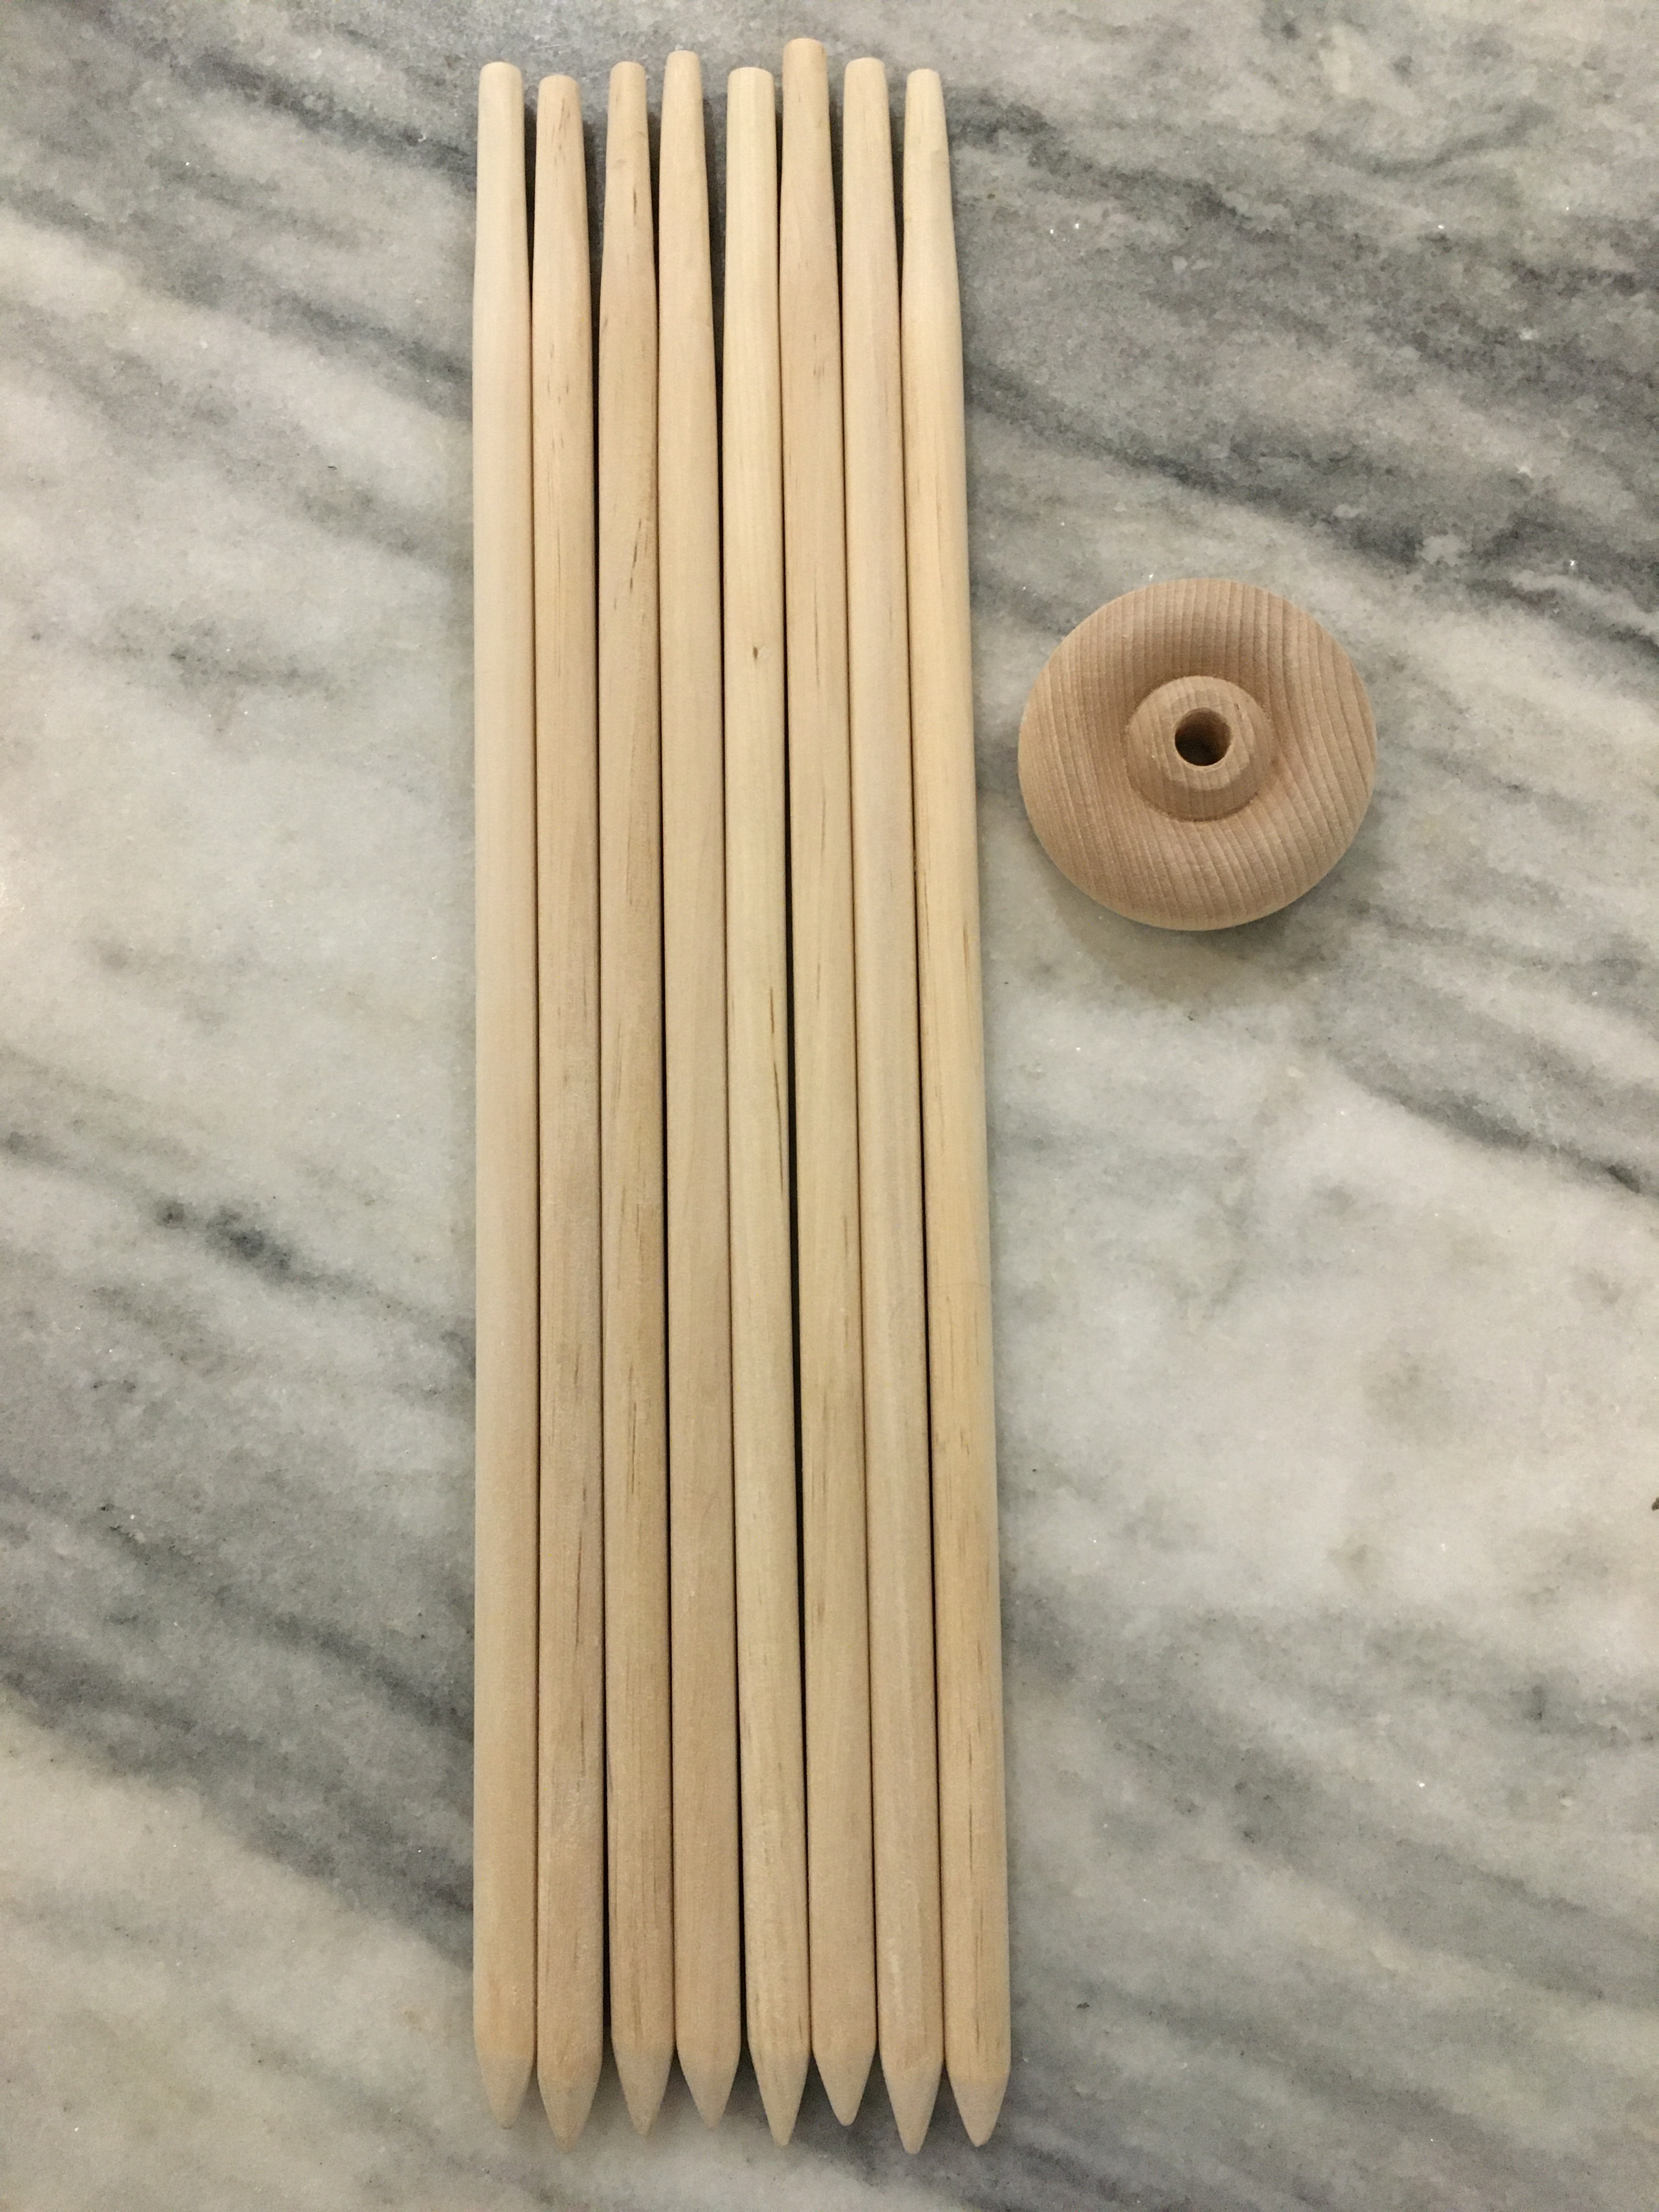
I have a number of people who want to learn spindle spinning, yay! So I needed a low cost way to make some spindles so they can try it out without a large expense. It turns out my leather smoothing tool that I used in one of my Frankenstein spindles is about $7. I’m glad I didn’t glue it in! I did find several posts on using wooden toy wheels. My local hobby store had packs of 8 wheels, and packs of 8 dowels! I bought the 2” wooden wheels (I wanted larger, but they weren’t in stock), and 3/8” dowels that were pre cut to 12”. I also purchased a pack of metal cup hooks.
Supplies for DIY spindles
I wanted the holes in the wheels to be smaller than the diameter of the dowel, but not quite as small as they came out of the bag, so I enlarged the hole with a 5/16” drill bit. With a band sander I then tapered the top of the dowel so the wheel could fit on, but not slide all the way down. Because the whorl (wheel) is friction fit, it makes it easy to switch out for a larger or lighter whorl later. I put a point on the other end so the spindle can also be used as a supported spindle (because why not?) I sanded the shaft (dowel) with 220 grit sandpaper, then 400 for a smooth finish.
Shaped and sanded shafts and whorl with enlarged hole
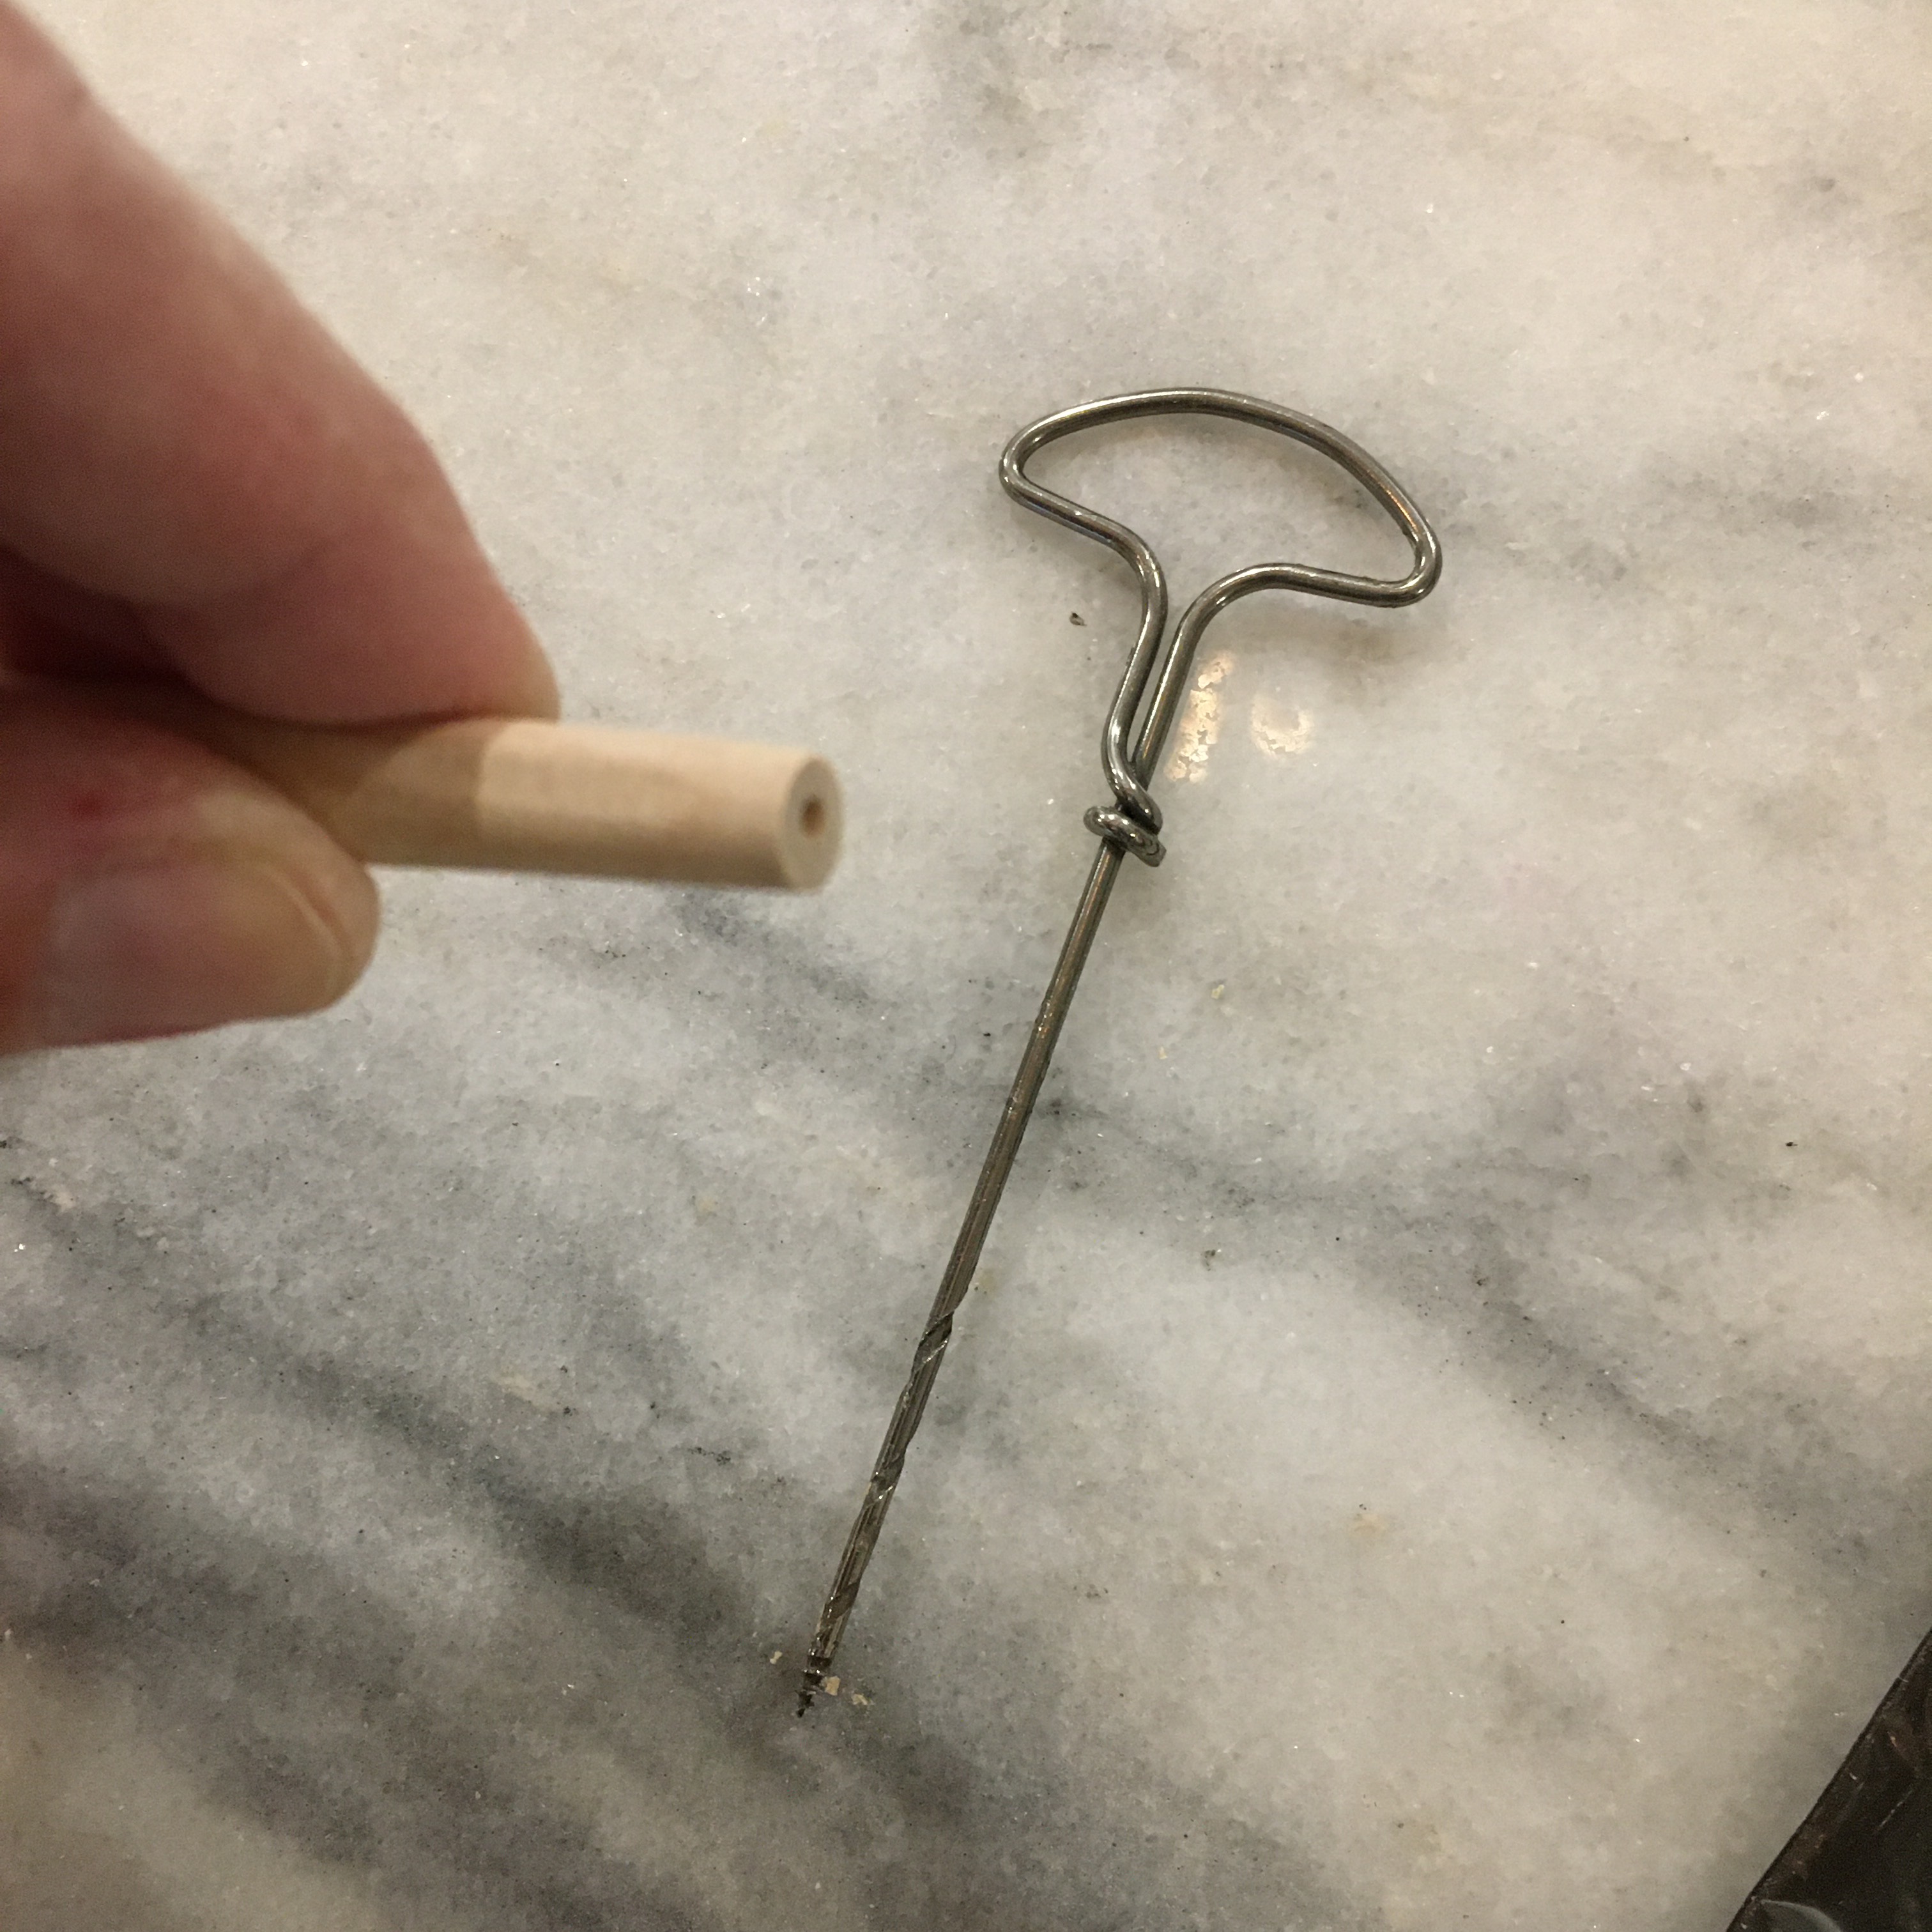
Then I used a small gimlet to make a hole on the top of the shaft for the cup hook (it is better to pre-drill the whole so when you screw in the cup hook, you are less likely to split the wood.
This is a gimlet, used to hand drill holes
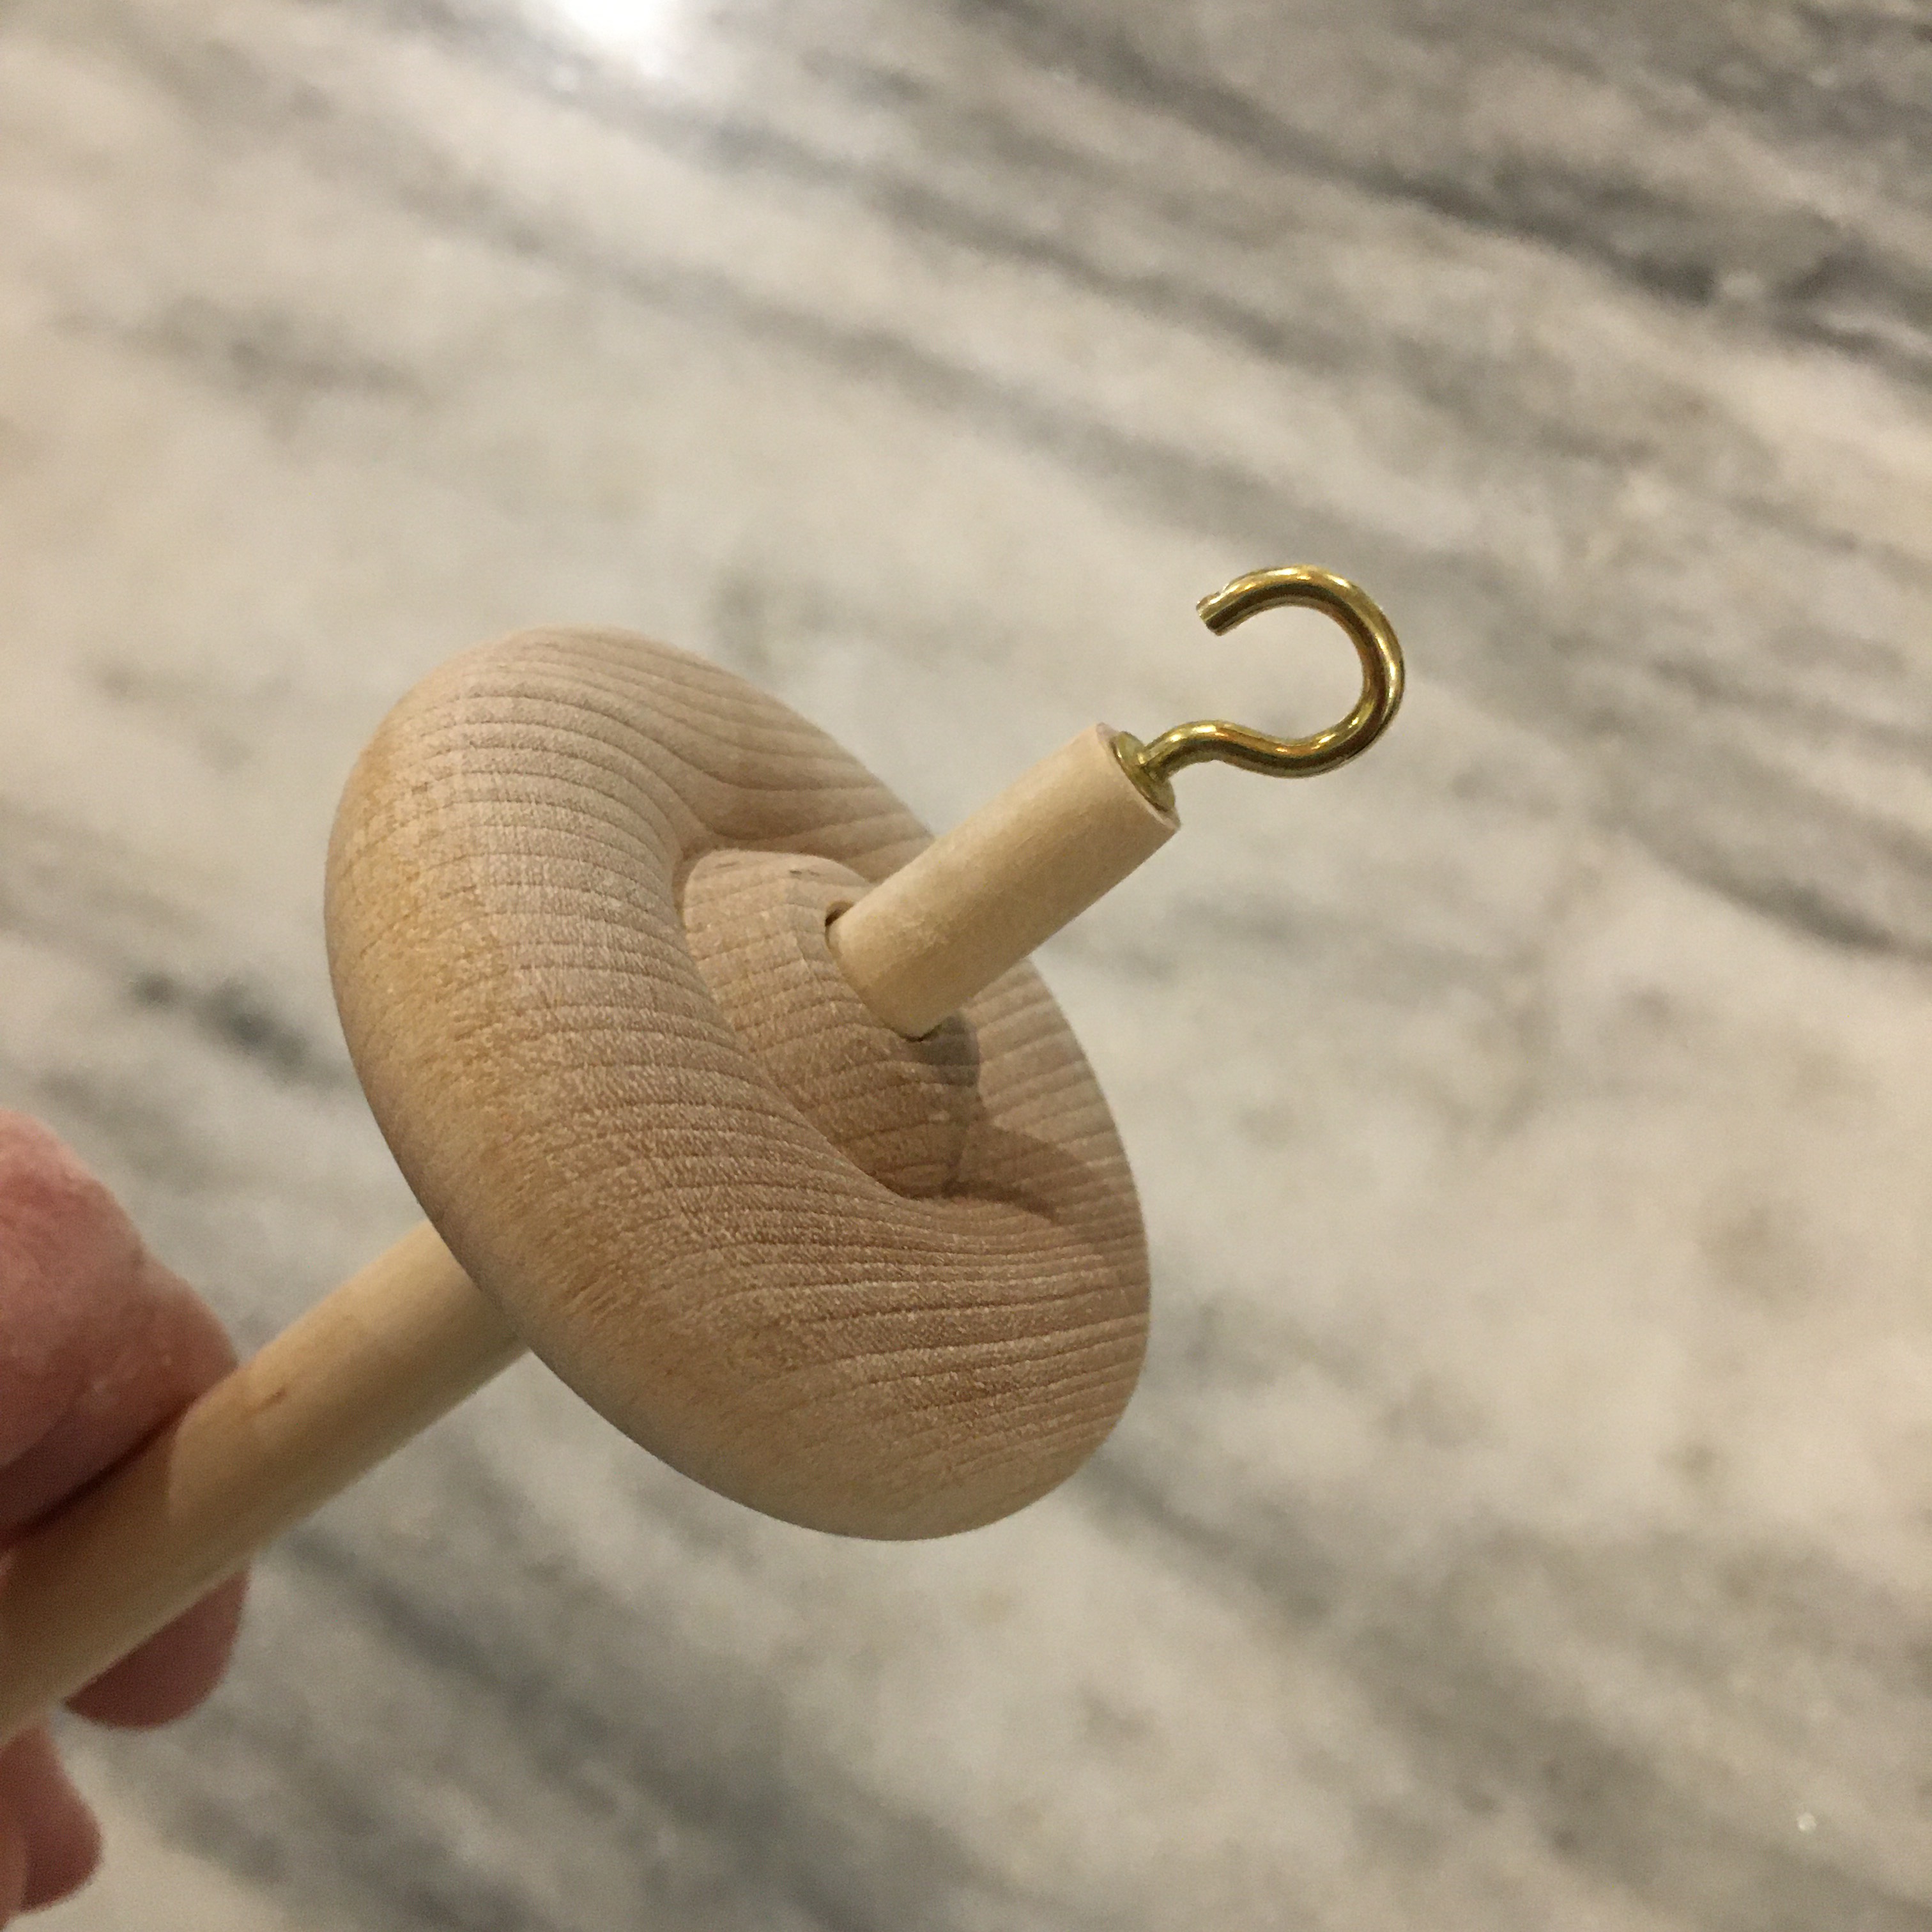
Finally, I slid the whorl over the shaft and screwed in the cup hook. Tada! Spindle!
Finished spindle top
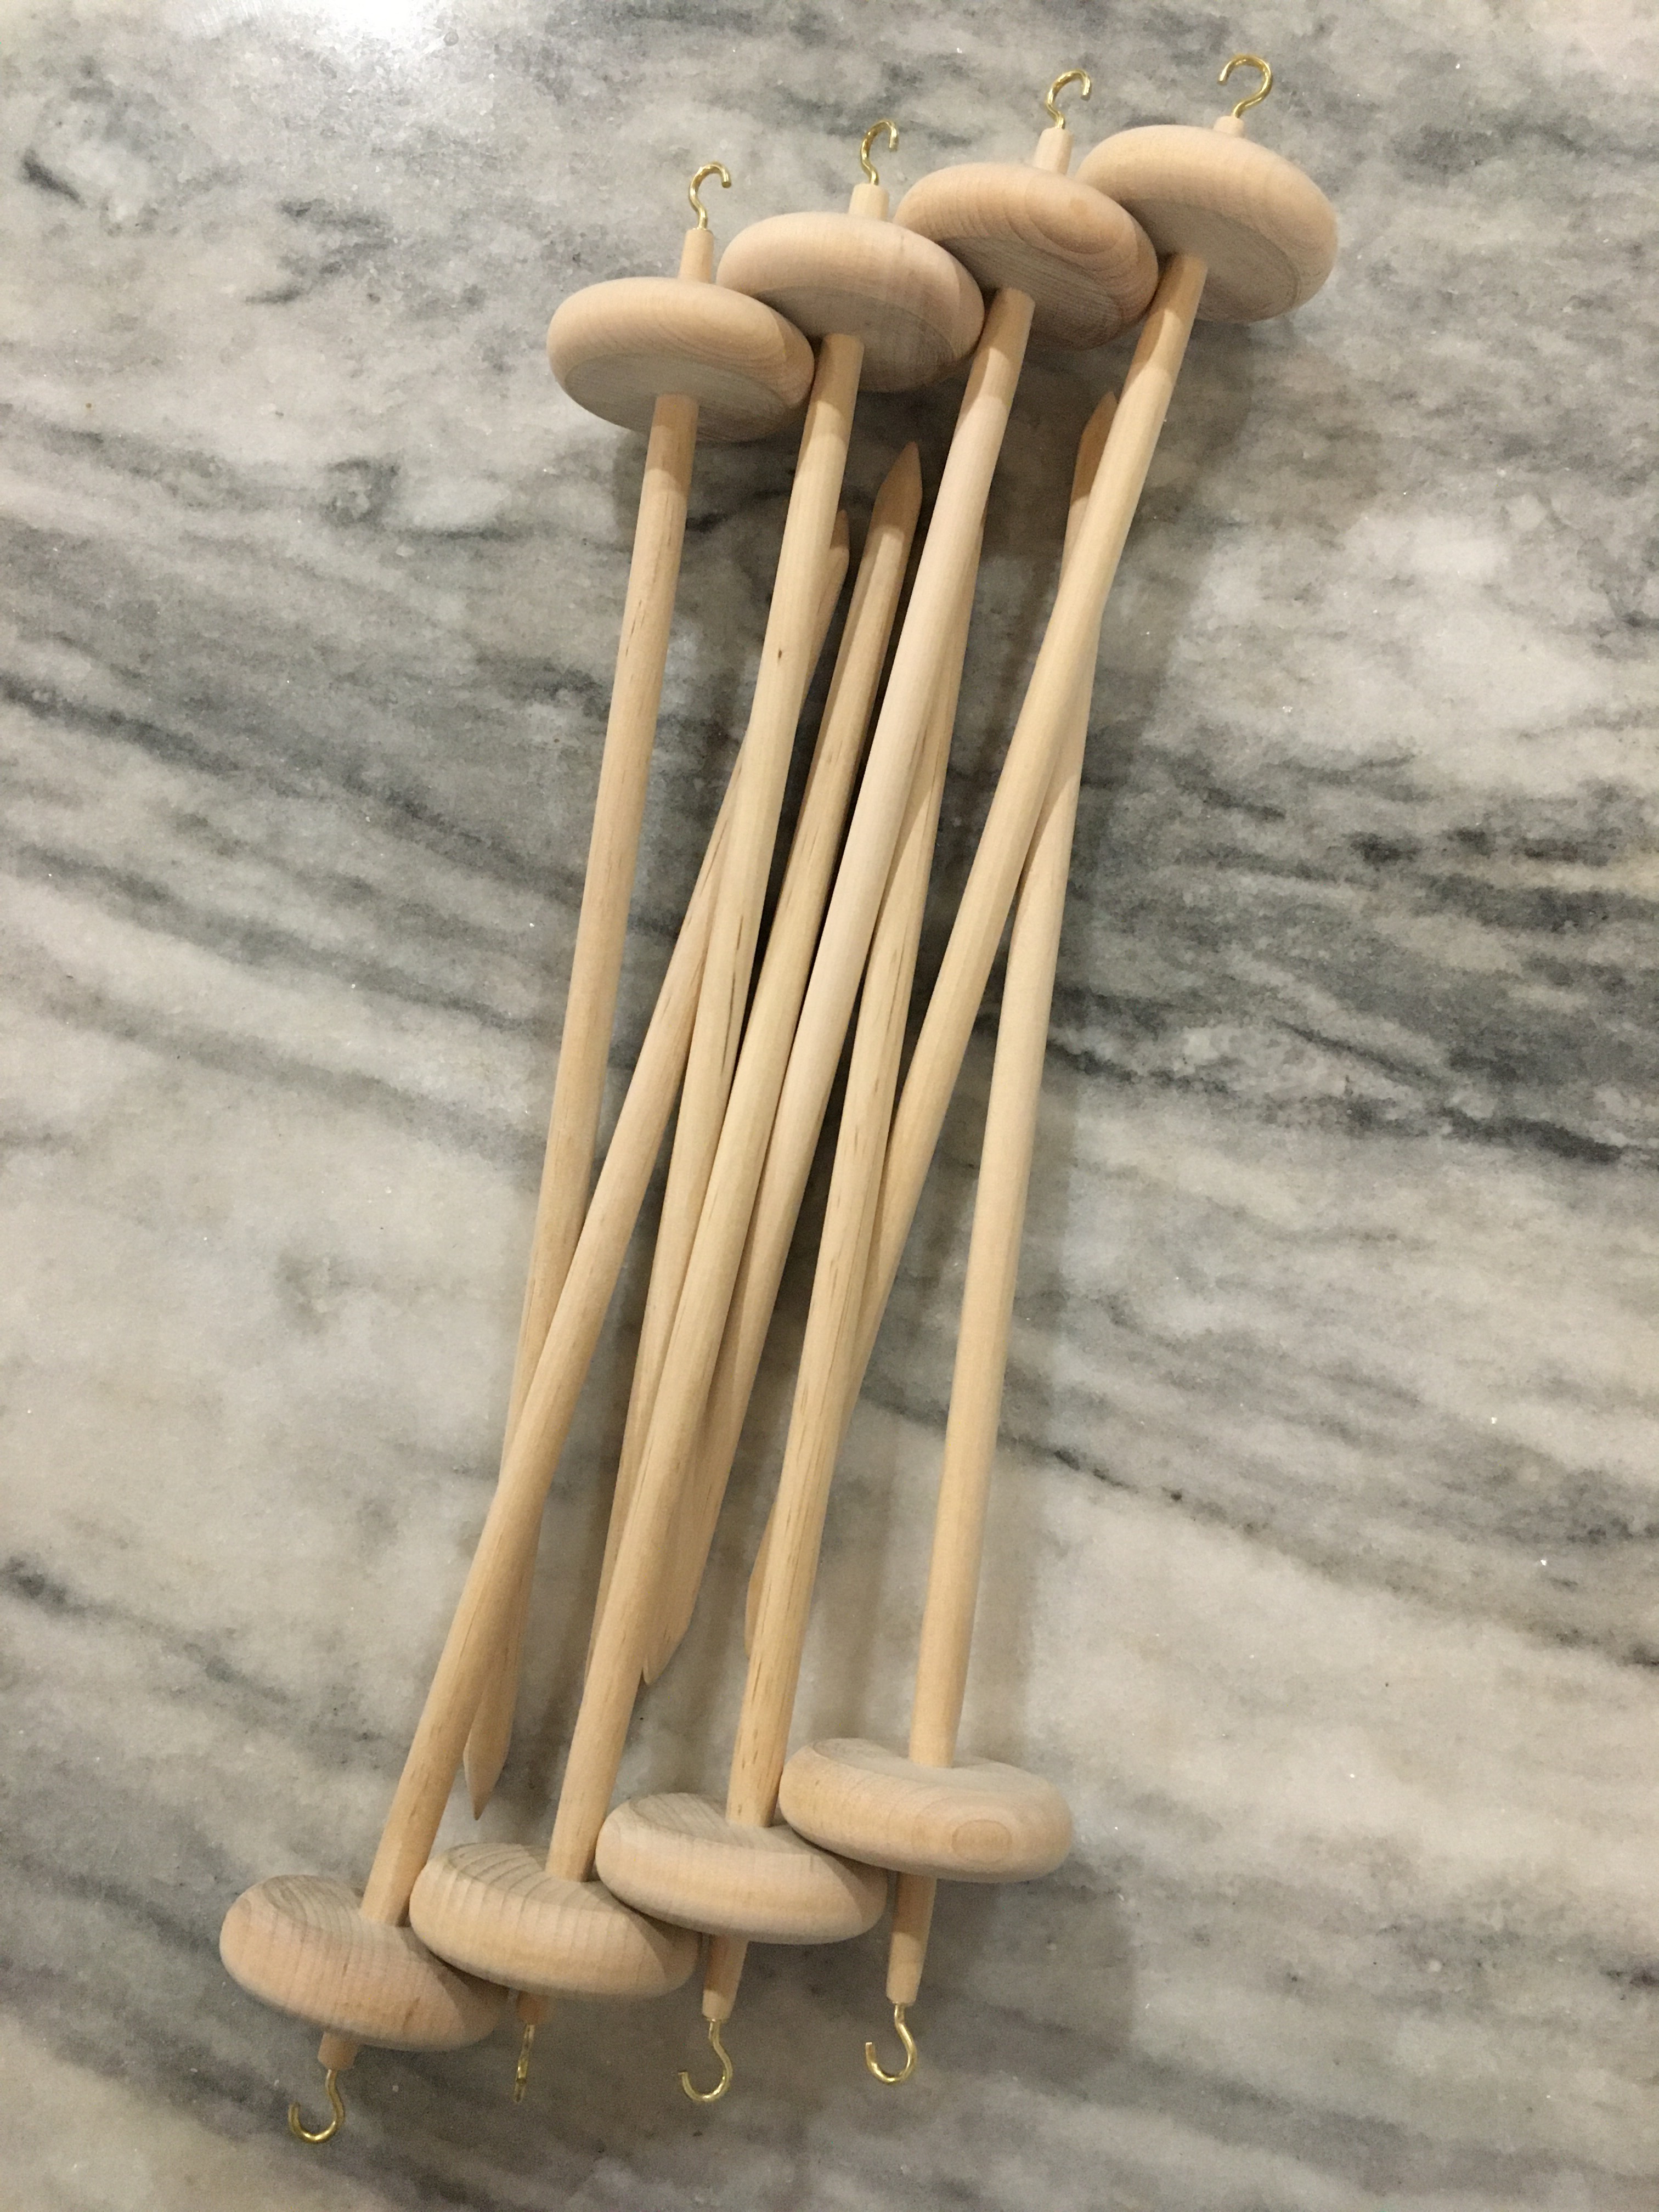
Since there were eight in the package. I made eight.
Eight finished spindles
Something else caught my attention in the craft store. There was a super bulky “yarn” that was more like roving (one of the ways fiber is prepped for spinning). I bought some (with a coupon!) and found that it is easy to spin! This particular “yarn” is made of acrylic, polyamide, and wool, and the fiber length is similar to merino wool. The store carried wool roving, but mostly for felting, not spinning, and in small quantities. There is enough fiber in the skein for hours of practice!
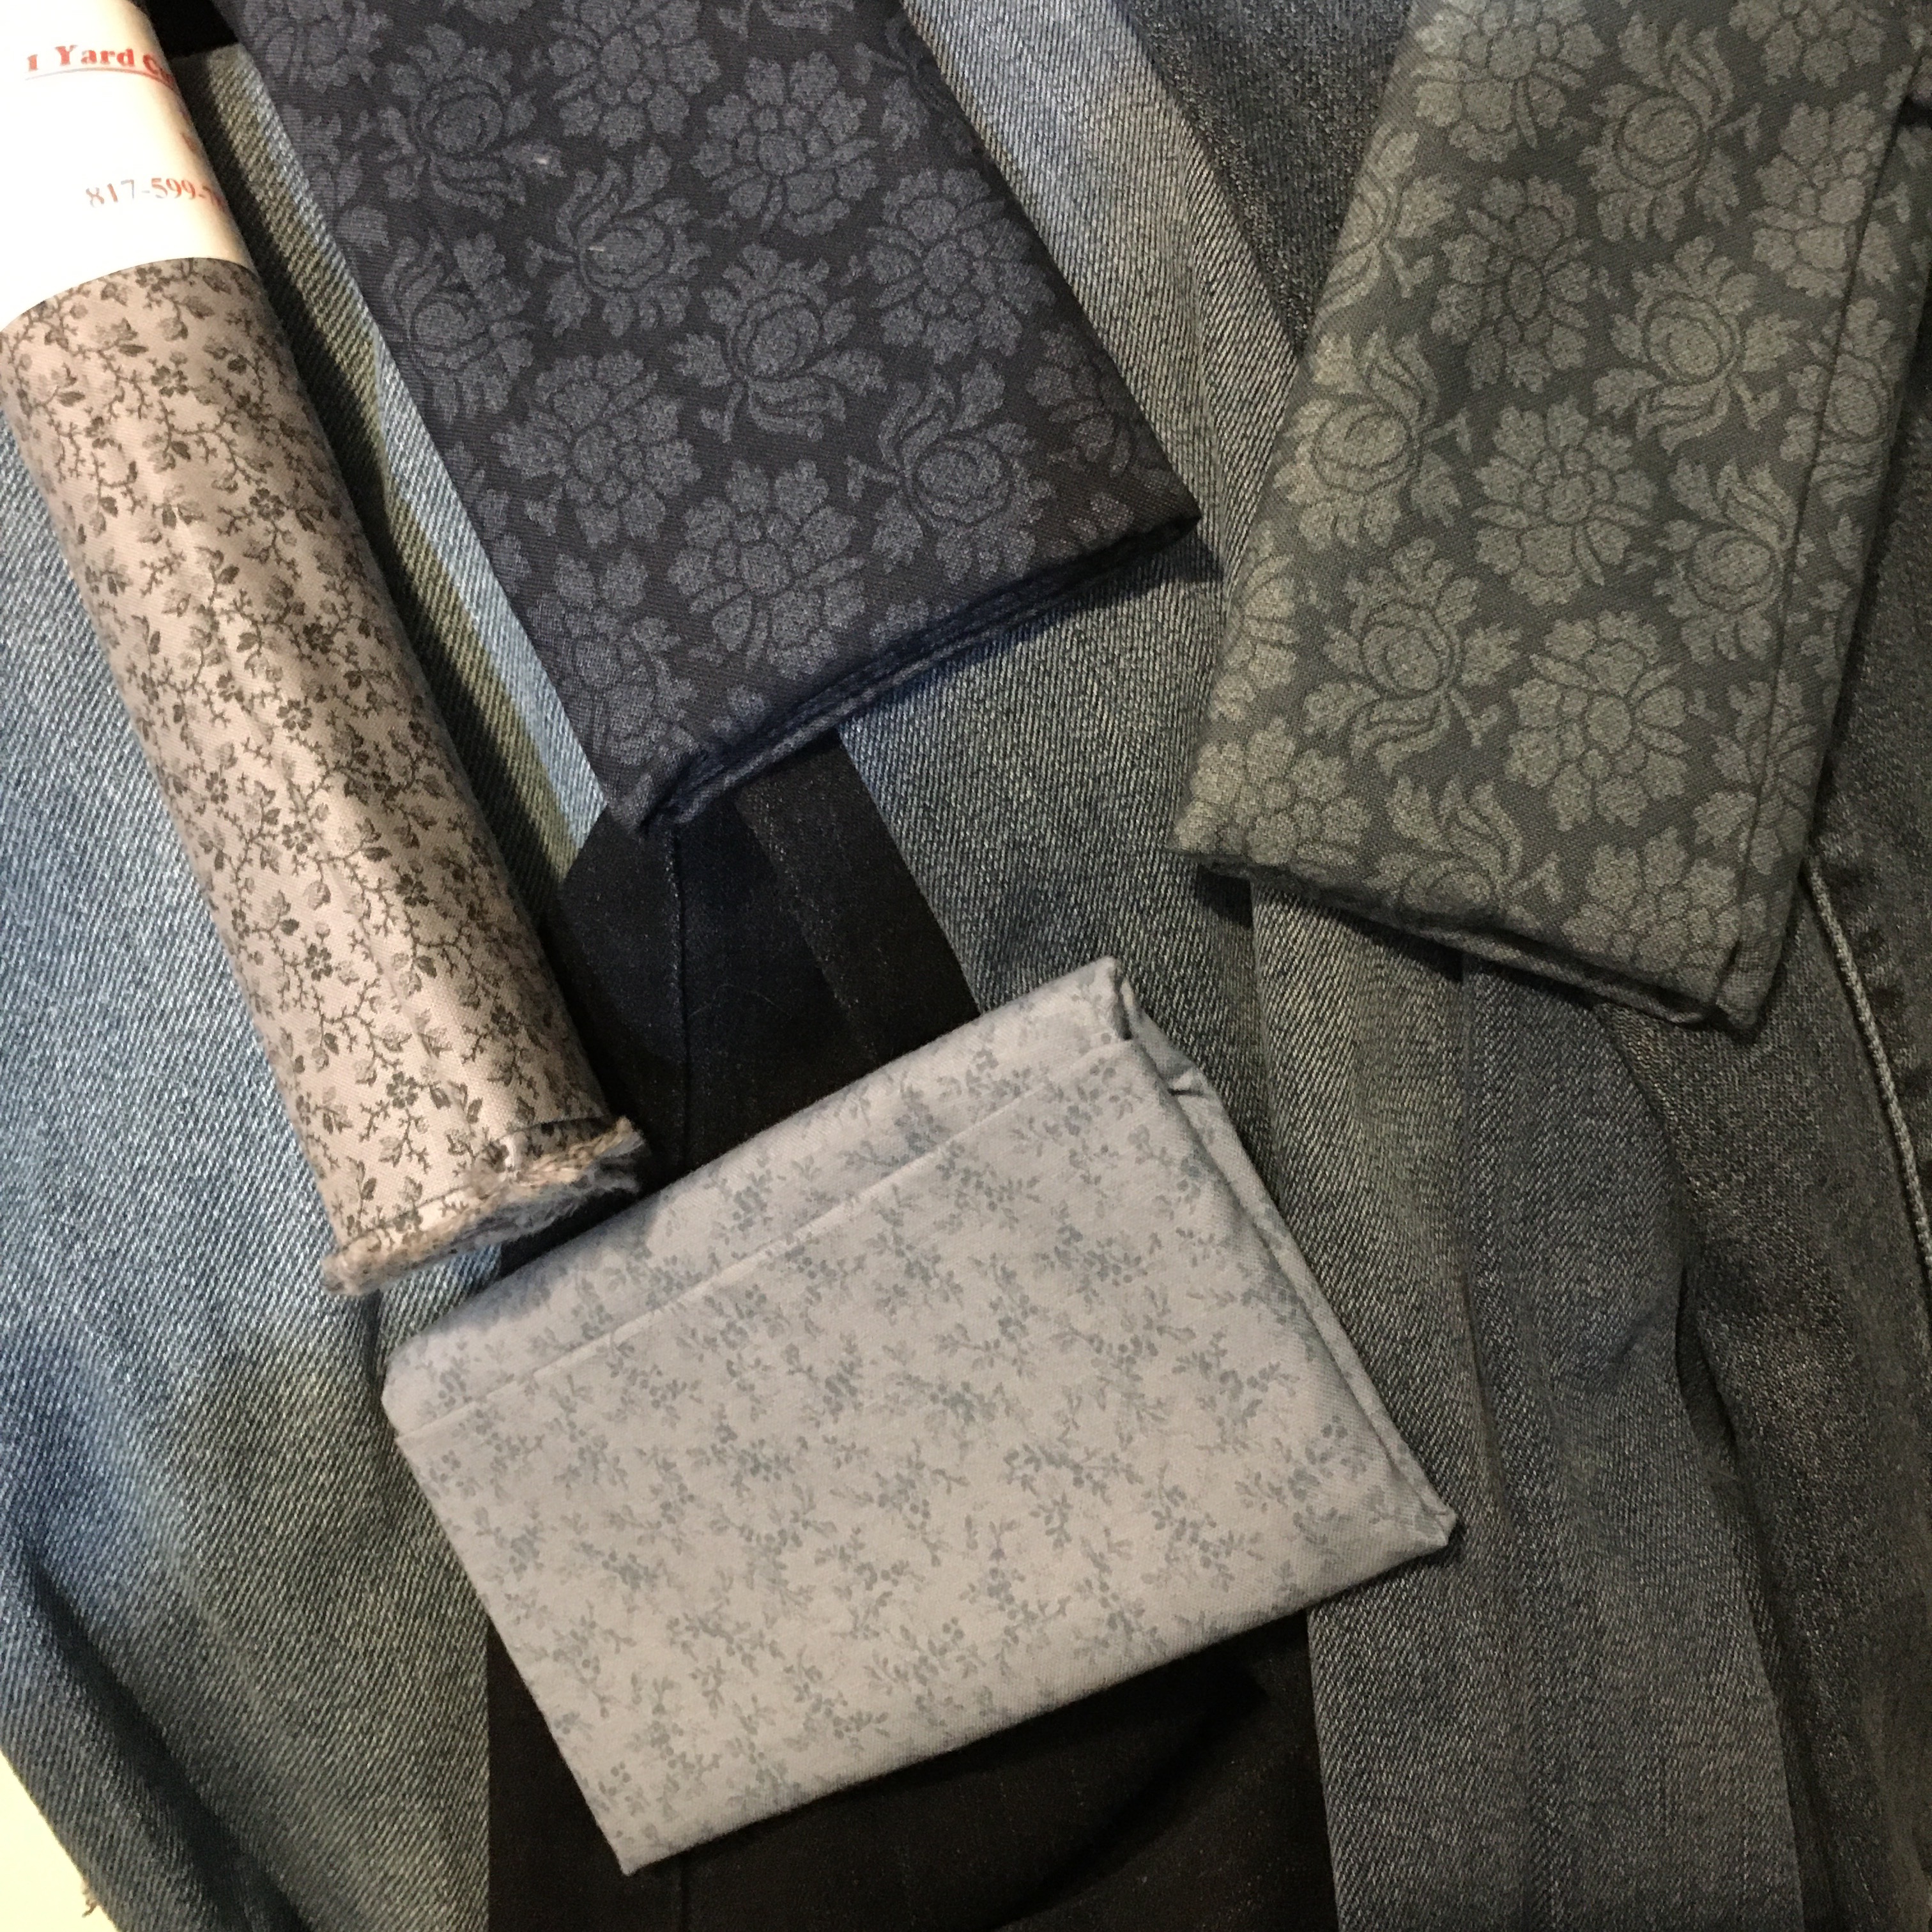
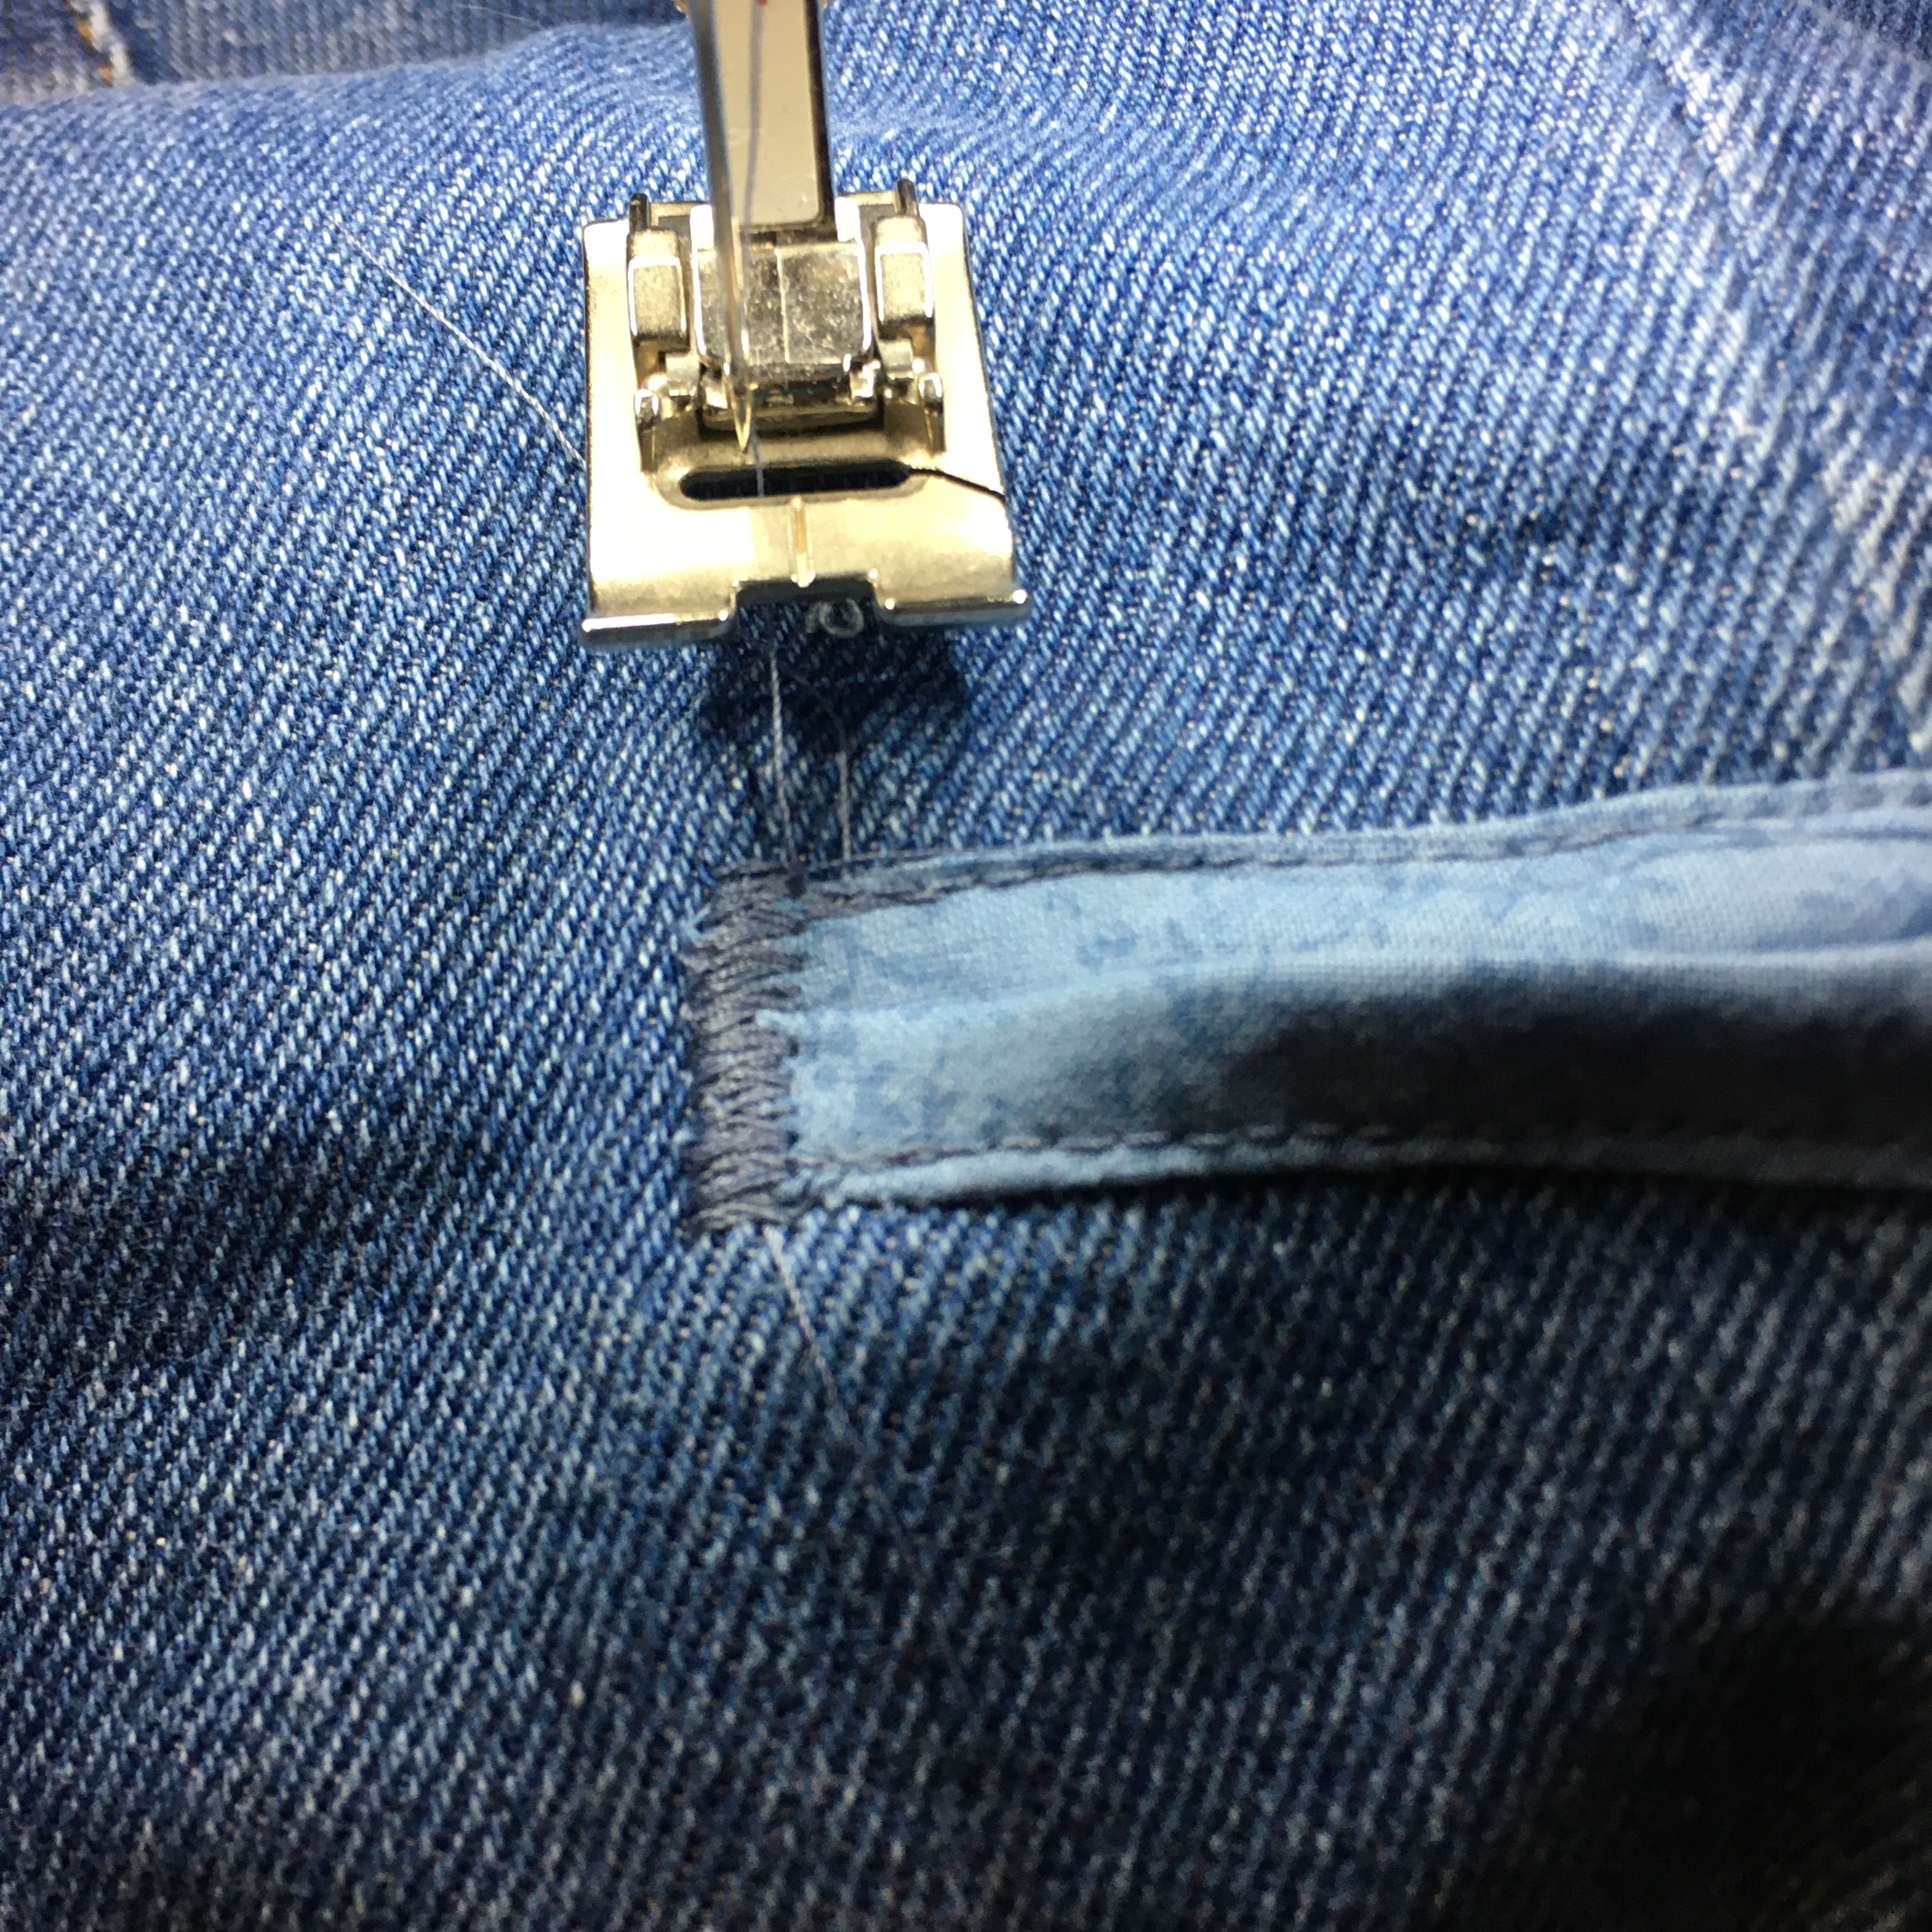
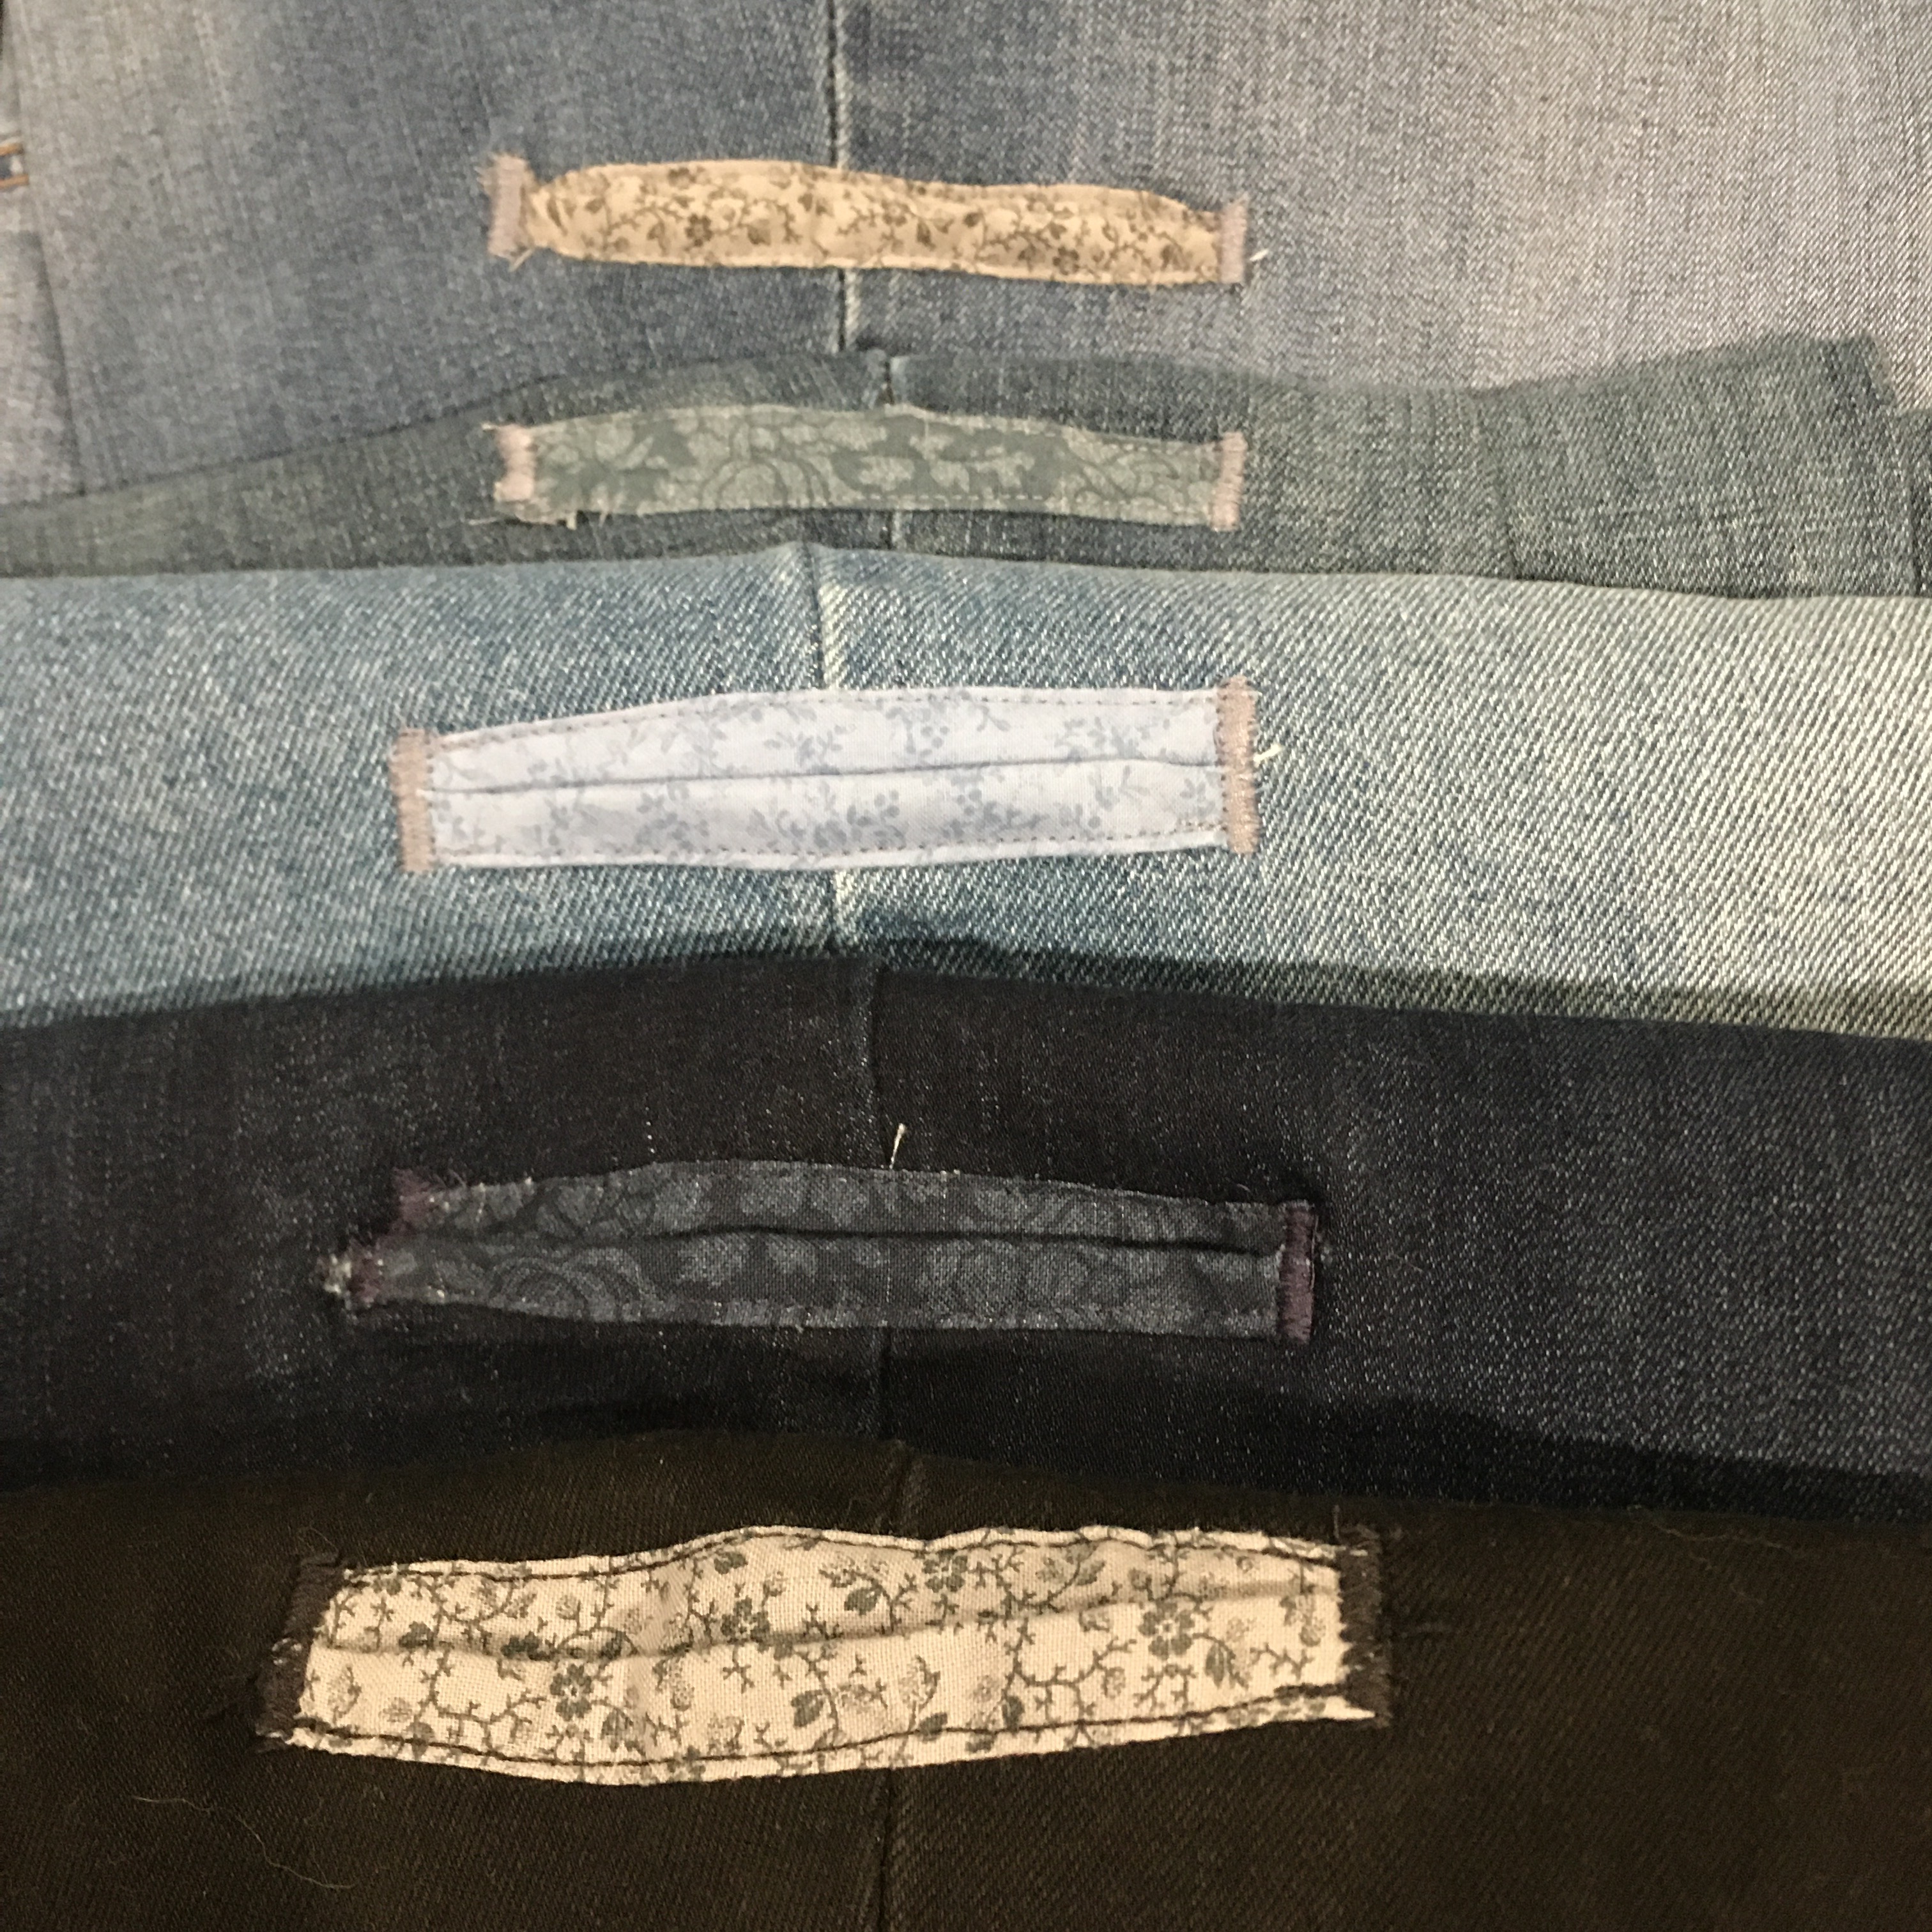
I love the cell phone pockets that I put in my capris this summer, and I decided to put pockets in all five pairs of my jeans. Rather than hand sew, I decided to use my sewing machine to speed up the process. It was a little trickier to get a neat pocket (I consider myself an adequate seamstress, my seams are mostly straight), but reinforcing the corners with a satin stitch was much easier.
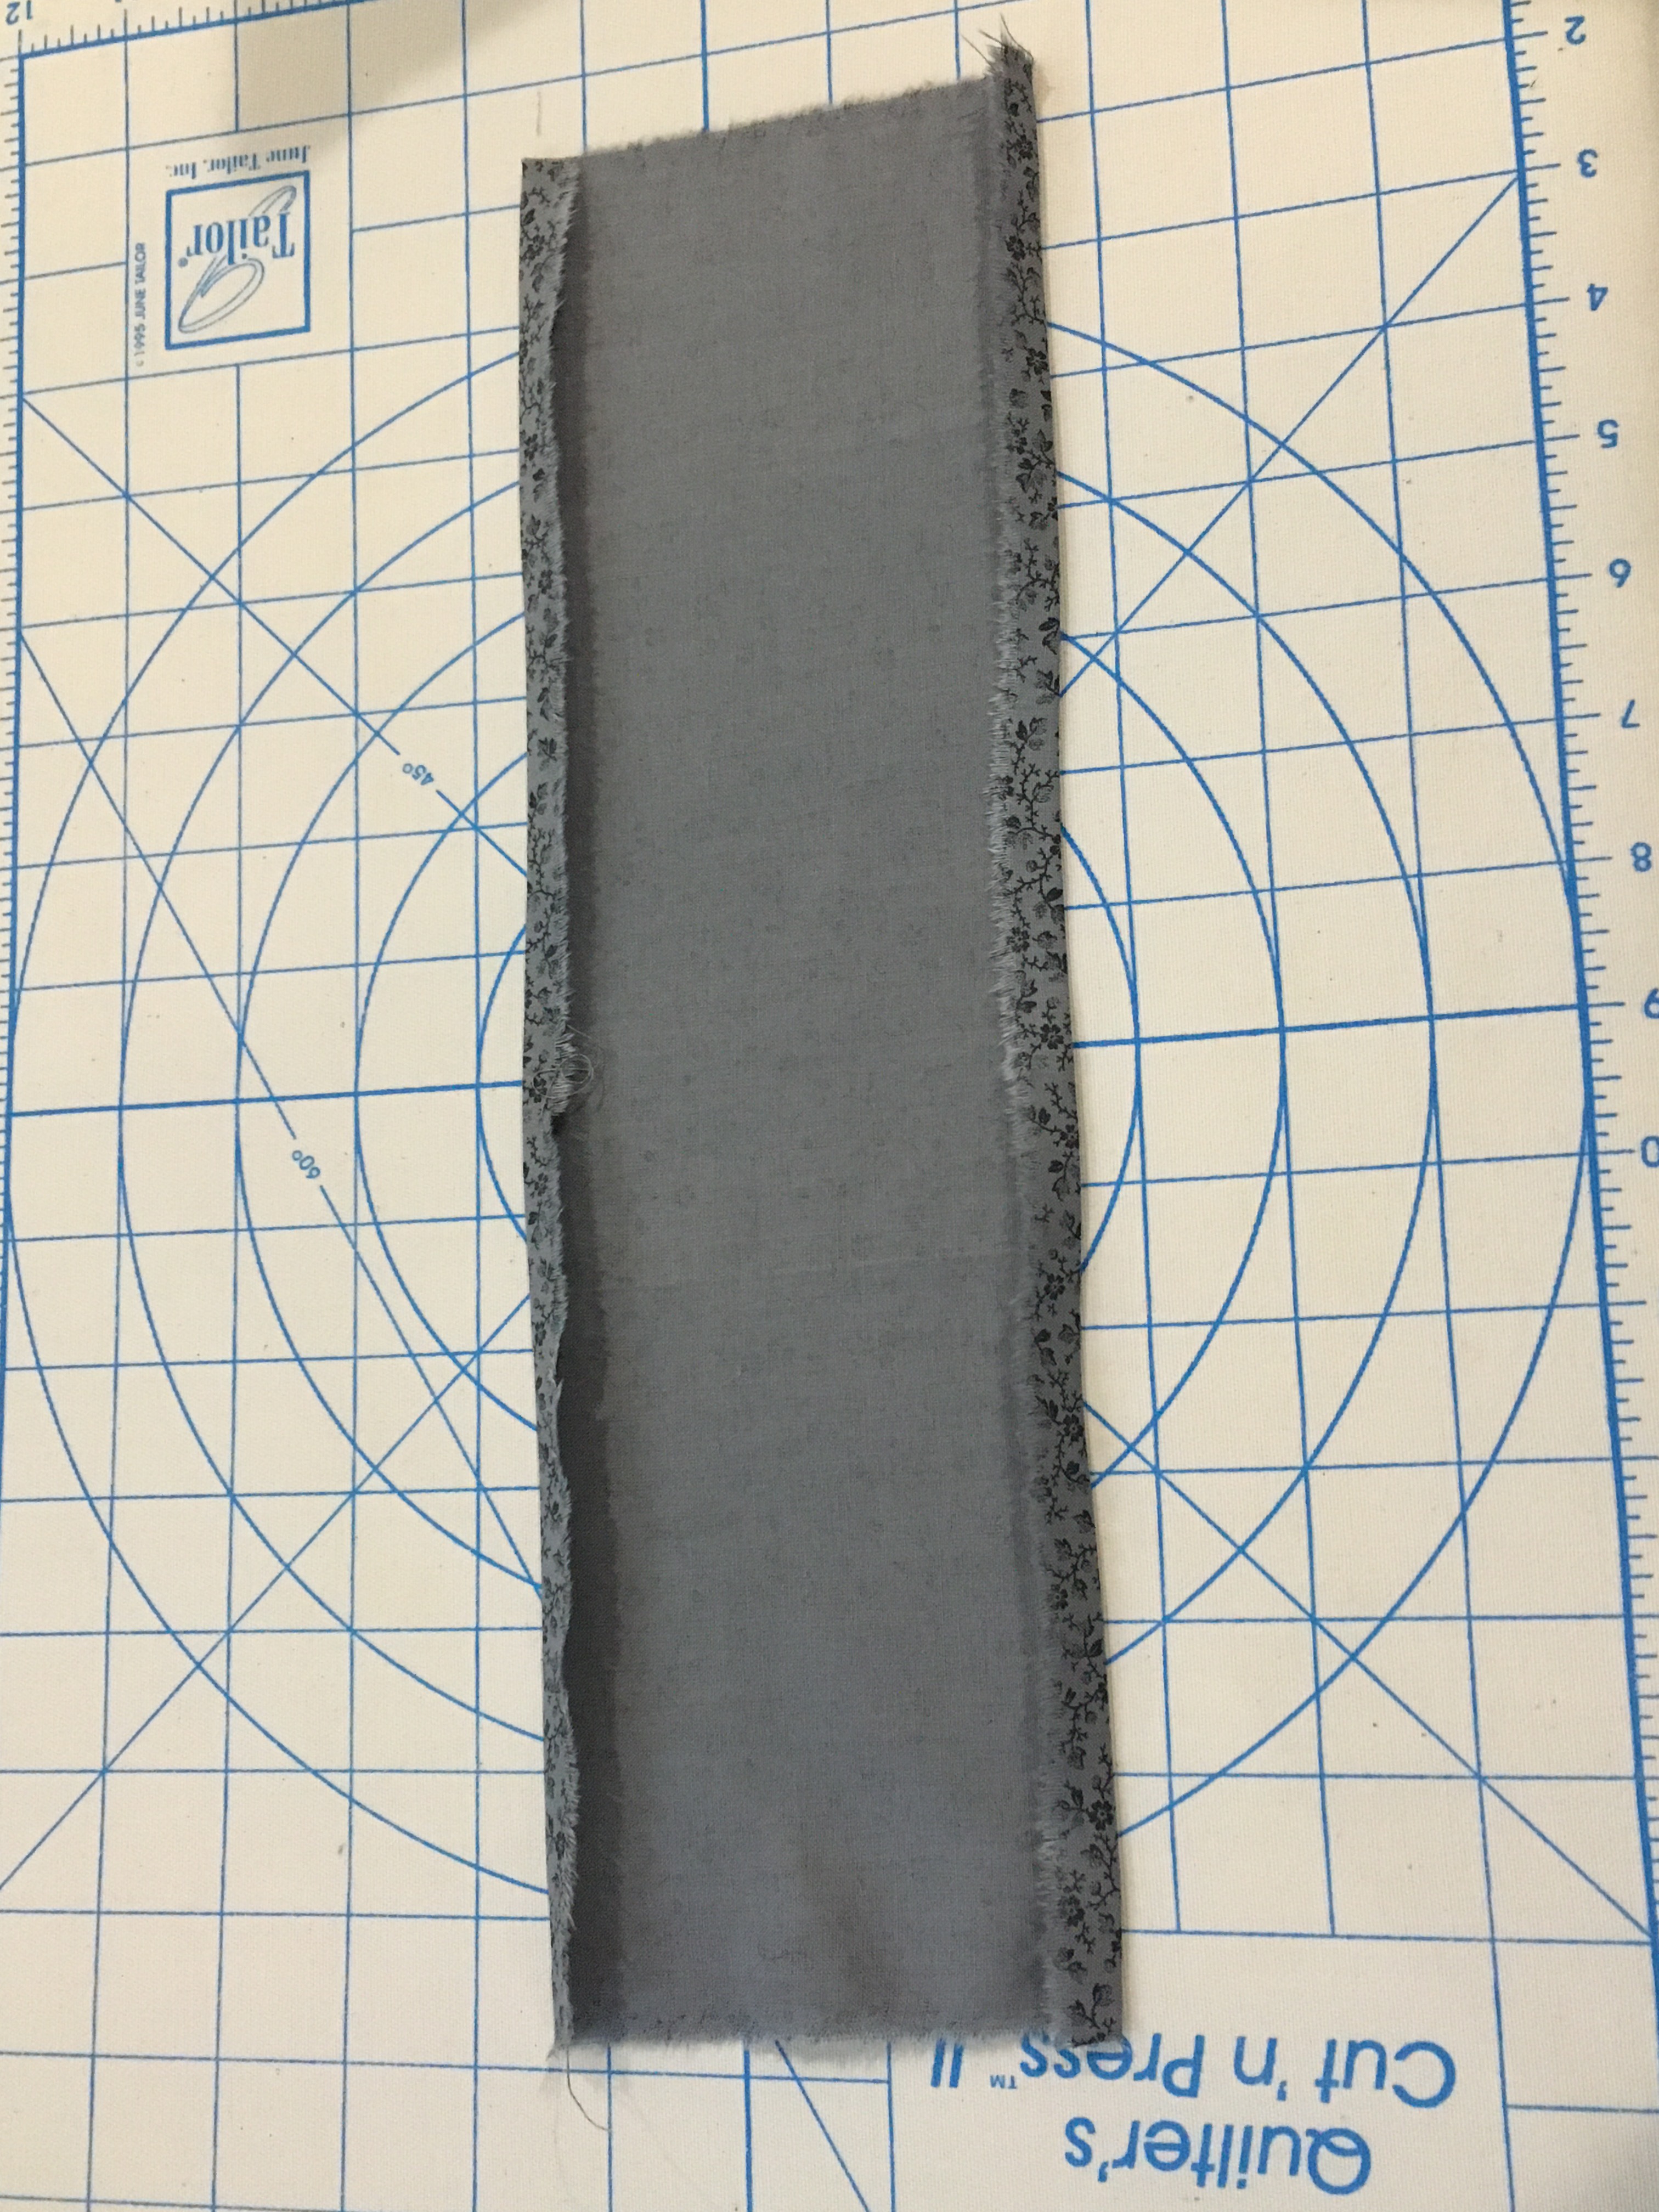
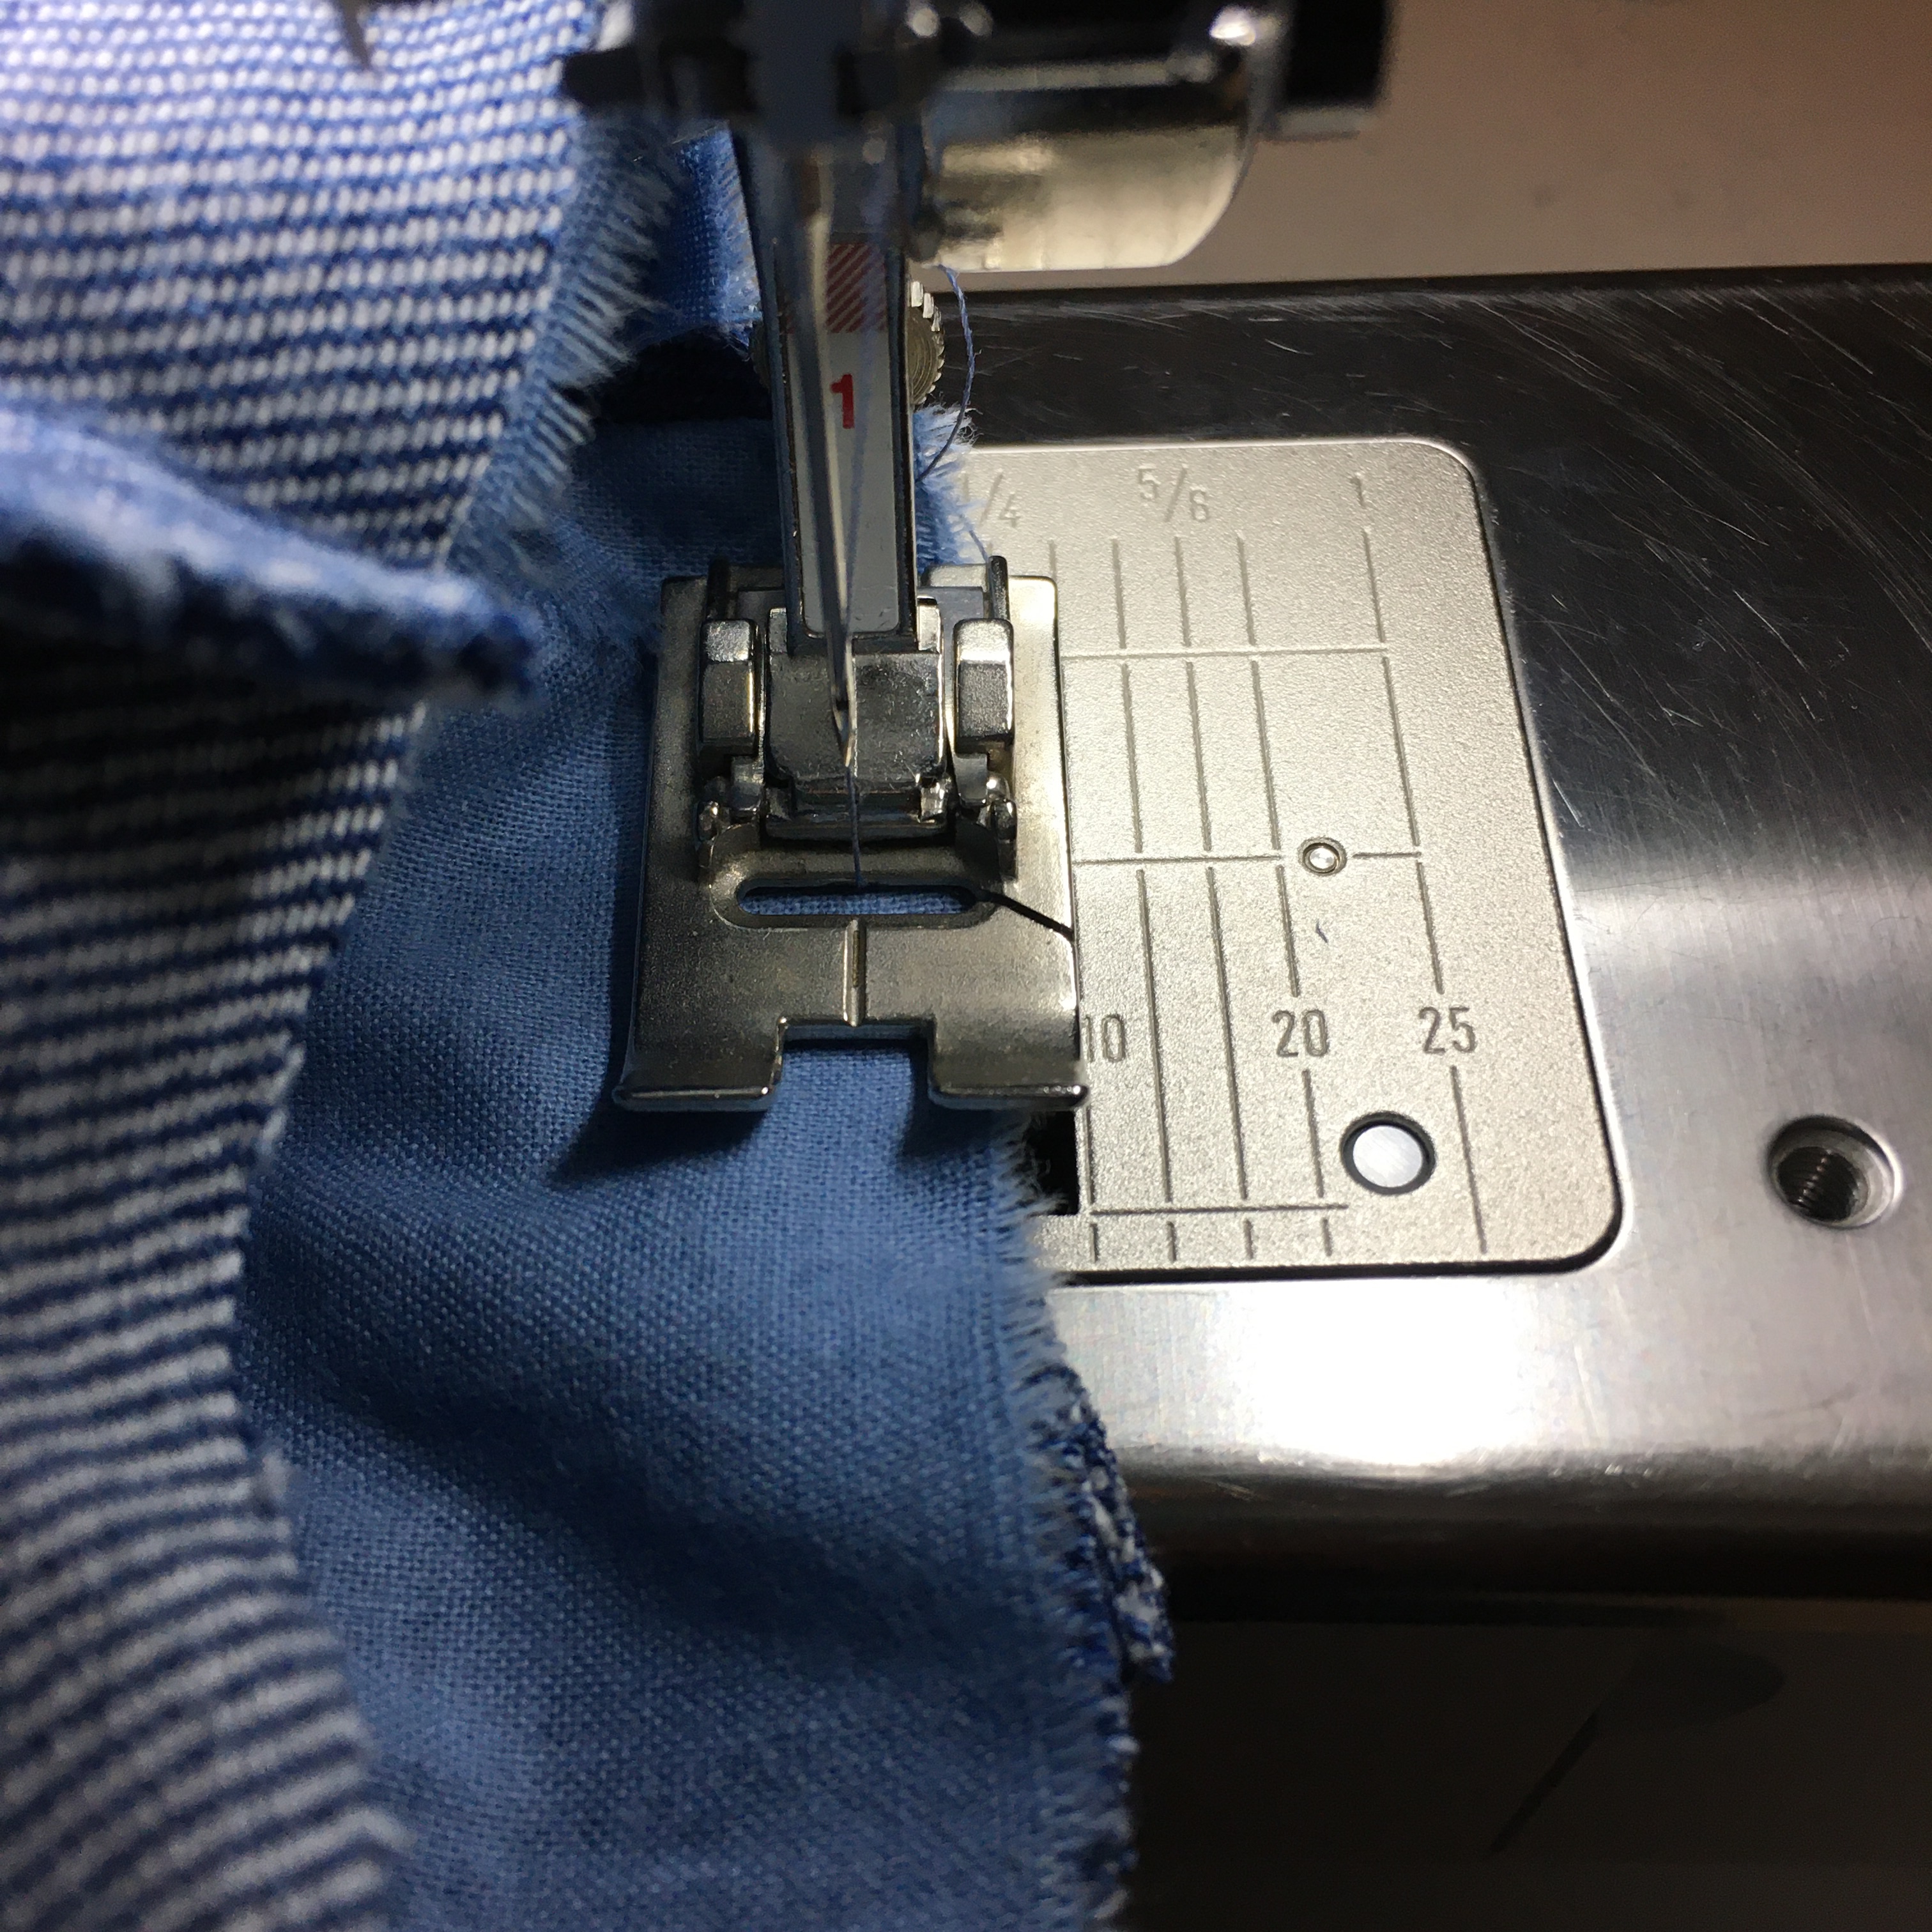
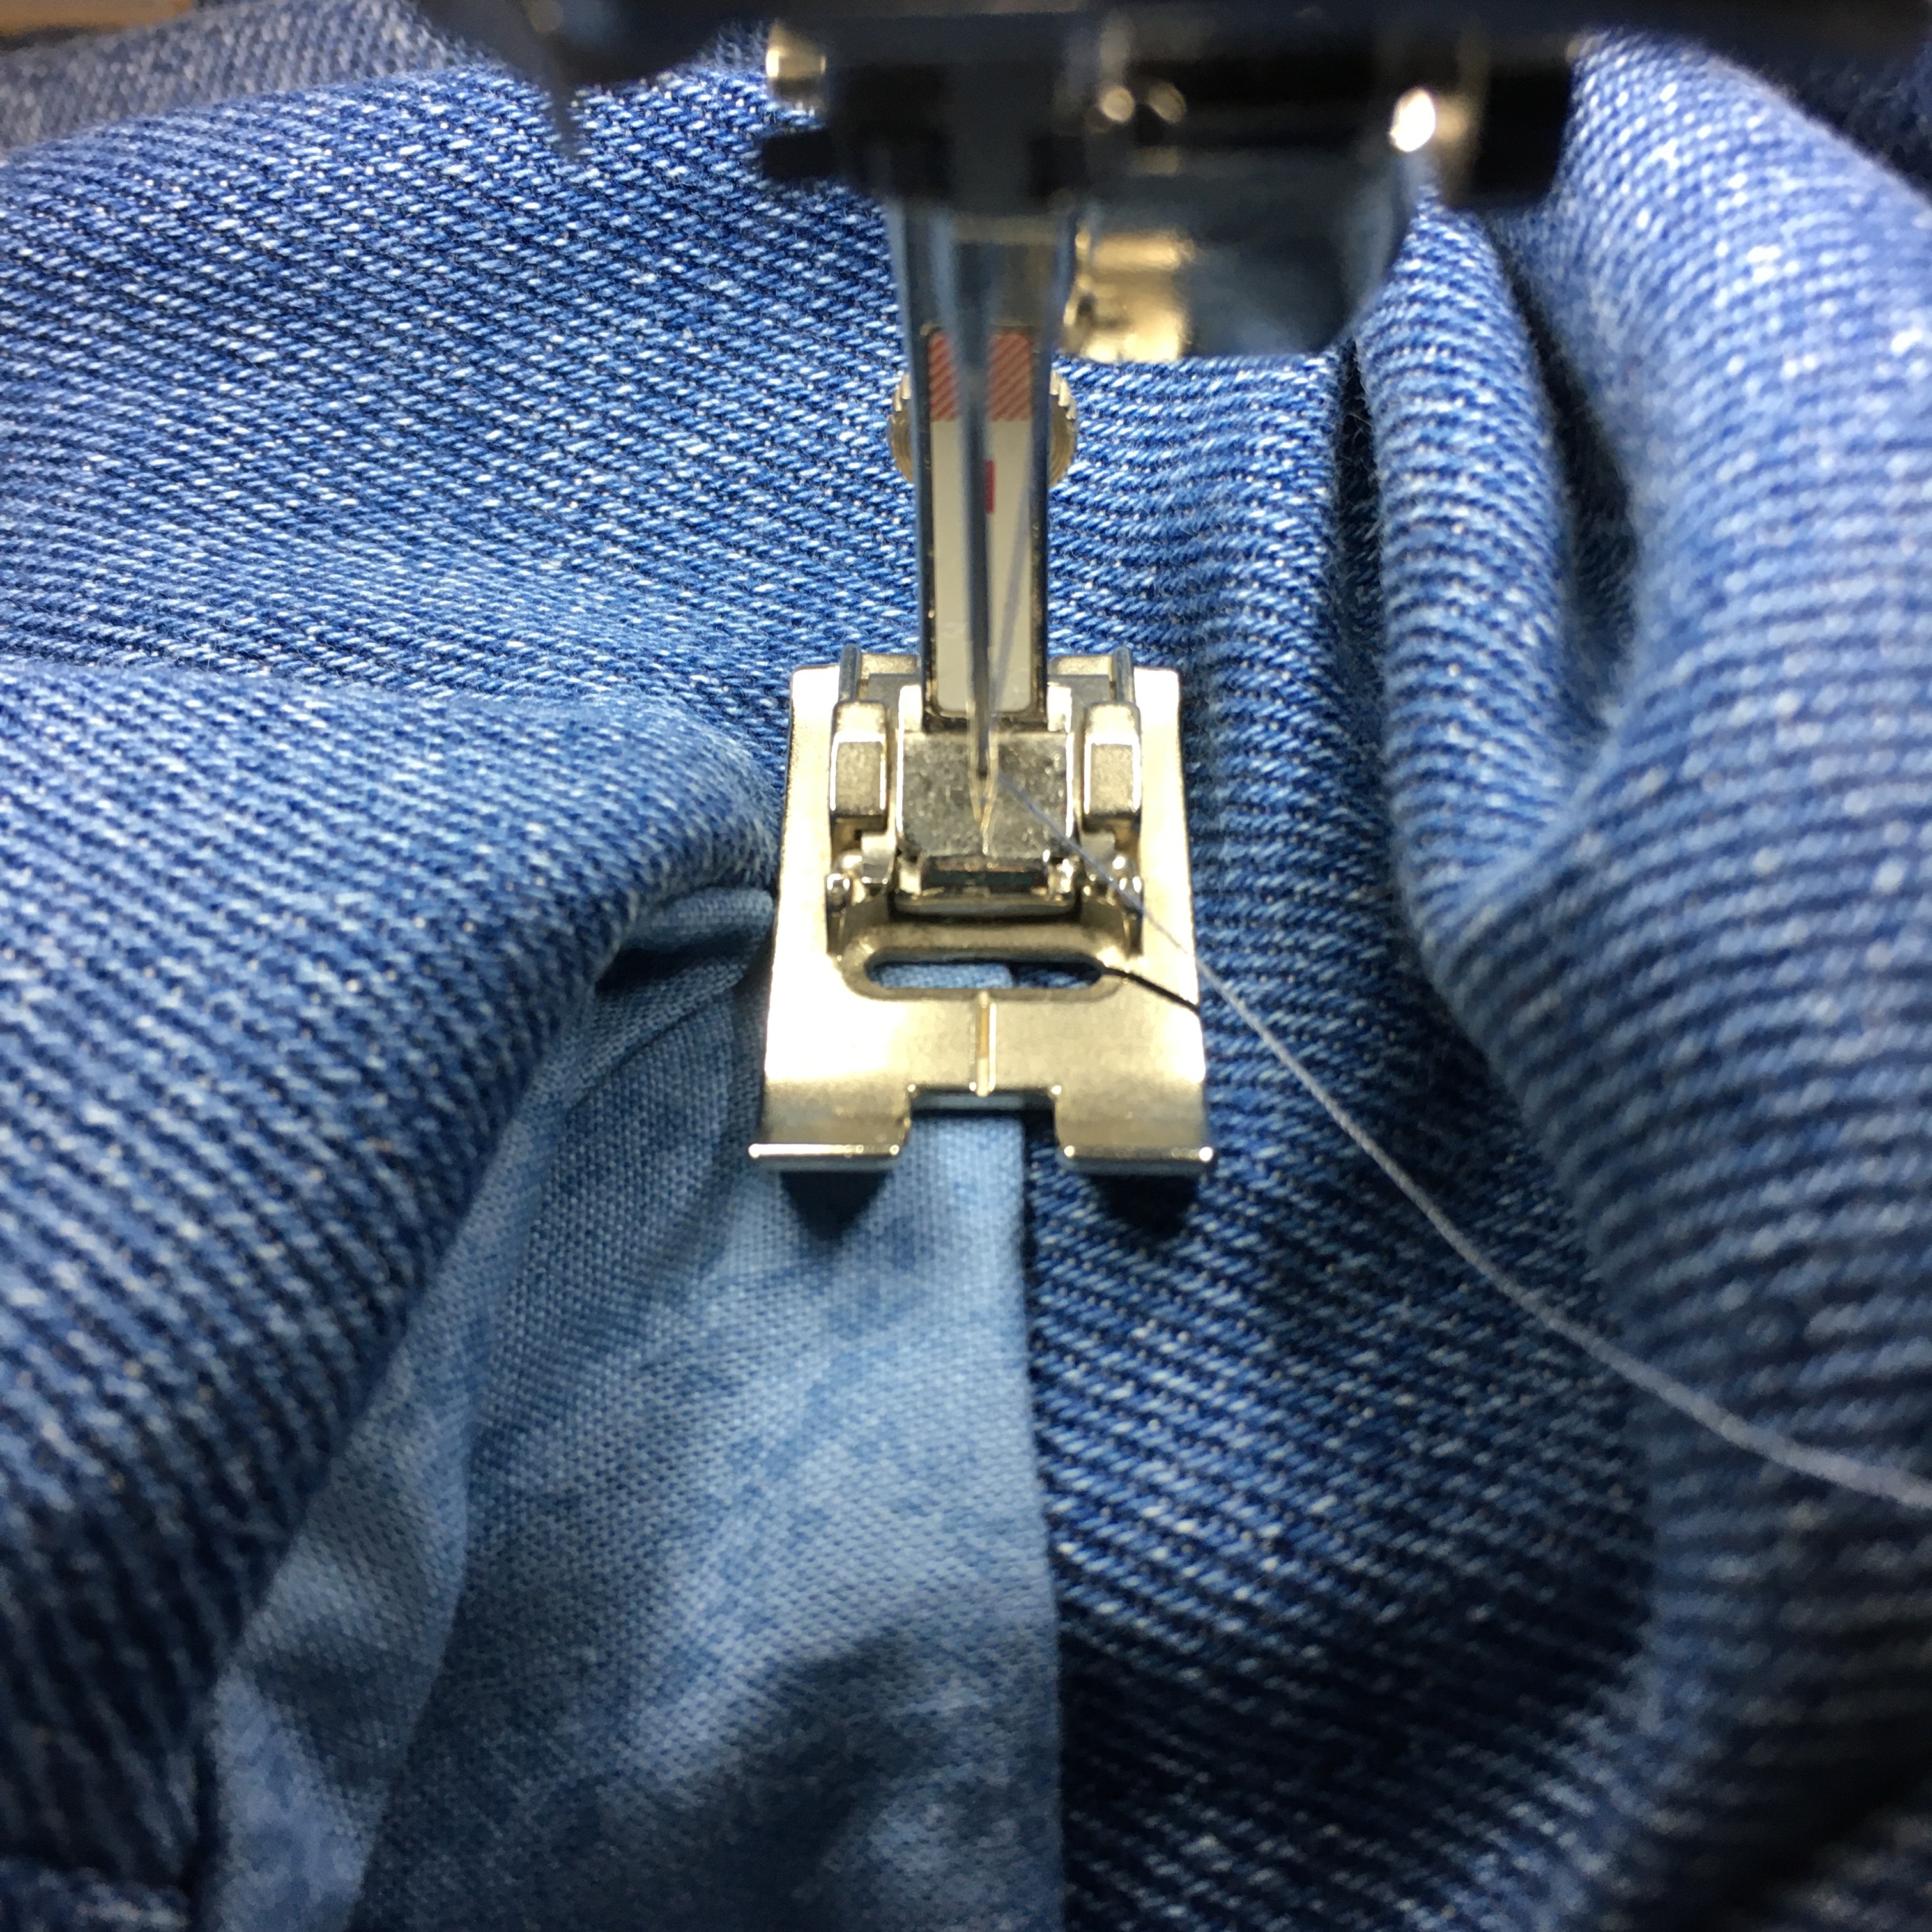
Some beautiful quilting fabric for the pocketsI cut the cotton material 5”x14” and ironed a 1/2” over on each long side.Using pins, I marked where to cut the jeans (I like the pocket on the right side, mid-thigh).I pinned the right sides together.I sewed 1/4” from the raw edges on both sides.After turning the pocket inside out, I over sewed close to the edge.I used a dense zigzag stitch to reinforce the ends of each pocket.Lastly, I sewed the sides of the pockets. I found the pockets were neatest if I did this last.All five pockets done. Not perfect, but perfectly serviceable.