Assembly Line

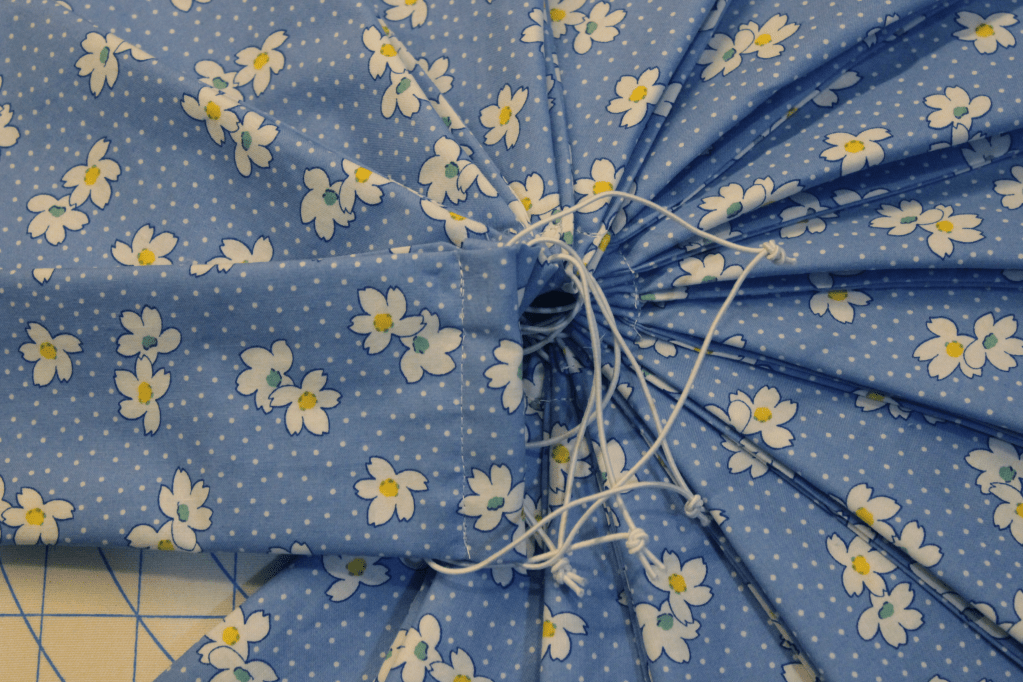
One of my readers requested a video of how I make my masks assembly line style. I have tried hard to capture the process. I also decided to use the opportunity to learn new video making software, so it was particularly painful, but I learned so many new things. I used Adobe Premier Pro; I have a long way to go, but for a first project I hope it came out useful. I have added captions and voice over. Although I must disclose that trying to do clean voice over when there are others in the house is not possible. My dear family tried very hard to be quiet for the ten minutes or so that I needed to record, then my dog came and had a good solid scratch and shake behind me. Sigh. The original pattern is not mine, but is from Cook Children’s website and is available here. It is my go-to mask pattern for making many masks. The video on my mask assembly line is available here. The fabric is called “Sunshine Garden” design number #17191 by Darlene Zimmerman for robertkaufman.com. I found it in the 1920s reproductions section of my local quilting store.
Spiral layout of finished cotton masks with ear loops

More alpaca yarn

Spun Alpaca

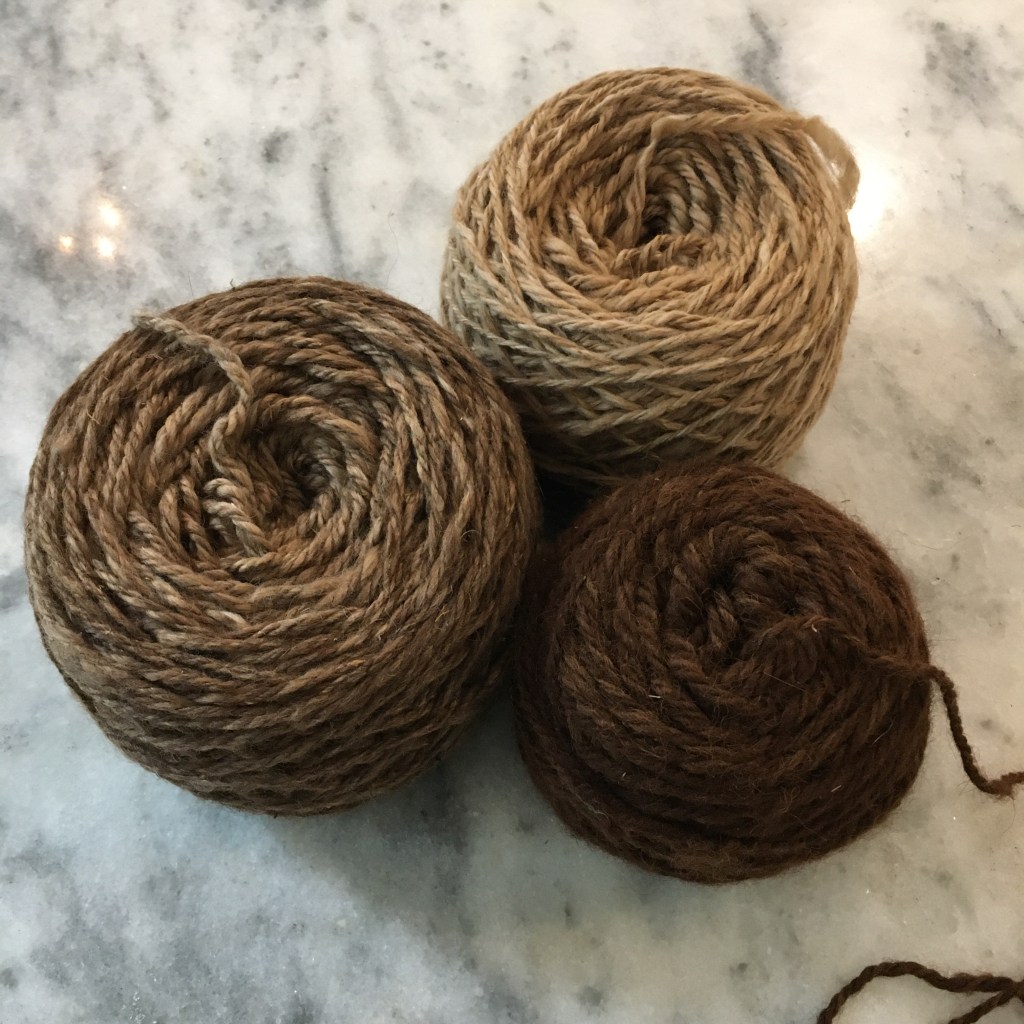
I now have spun and plied three colors of alpaca yarn. The Lazy Kate I made for plying also works well to hold a spindle full of plied yarn as I transfer the yarn to my niddy noddy. I did give the Lazy Kate a clear coat, but needed to use it before putting on a second coat. I modified my niddy noddy as well. The 18 inch center pipe made a 3 foot circumference skein, which is the maximum size my yarn swift can handle, which makes me uncomfortable. So I cut down the center tube to 12 inches so I get a two foot circumference. I also took off the end caps as they really aren’t necessary to hold the yarn in place on the arms, since the arms are so long. Really all the end caps were doing was making a nice cozy environment for mold. Ew.

Using a Lazy Kate and a PVC Niddy Noddy

I have to say, if I read this post a year ago I would have had to look up most of the terms. I’m learning!

Lazy Kate for drop spindles

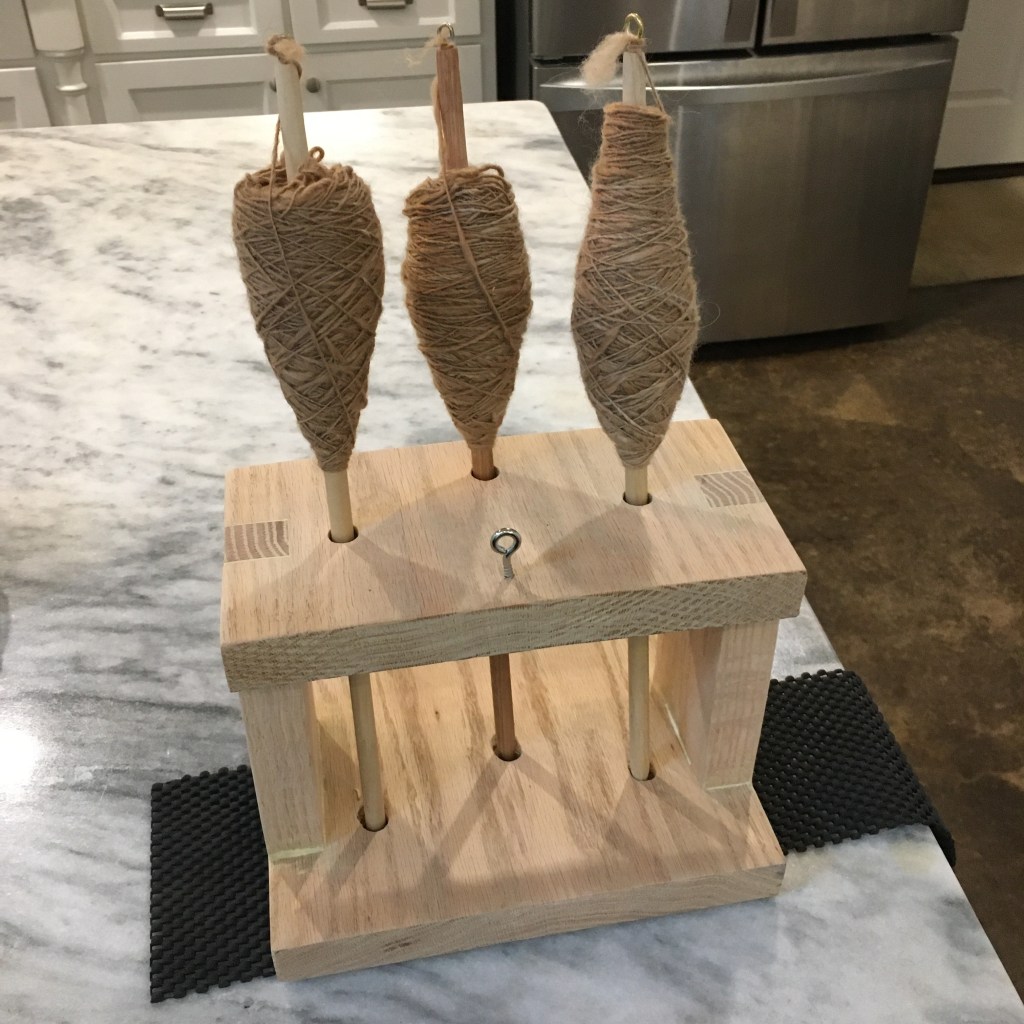
I finally made a wooden Lazy Kate. I had grand schemes to make something fancy and practice making dovetails, but alas I need more practice and on something smaller and softer than the 1” cupped oak plank I tried! Still, I managed to salvage the wood, which is nice and heavy, to make a functional tool. A Lazy Kate is used to hold spindles full of single ply yarn so the spinner can ply easily. It really should be a Genius Kate, or a Work Smarter Not Harder Kate. Poor Kate. She and Susan probably have some grievances. Anyway, I cut notches in sides of the top and bottom pieces and then cut pegs that fit in the notches for the sides. The holes for the spindle shafts are at a 5 degree angle because I saw another design that tilted the spindles. I used the largest section of wood for the base for stability, and glued the whole thing together.

Testing the Lazy Kate

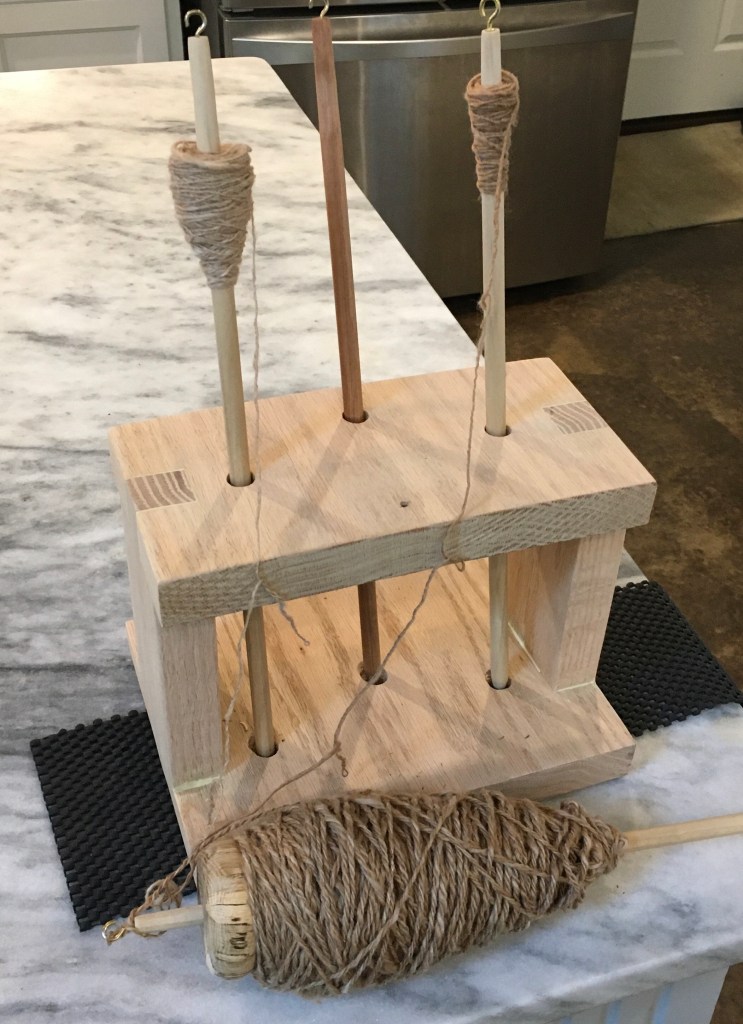
When the glue was dry, I did apply some wood filler to the gaps, and when that was dry sanded the whole thing first with an orbital sander, then by hand with 120 grit sandpaper. Before applying finish, I tested plying with it. I have seen another style with a loop to feed the threads through, so I tried that. Turns out it is easier not to use a loop. I also put a rubber mat under the base to keep it from sliding, which isn’t a bad idea, but the weight of the wood did a good job keeping it steady.

Plied yarn using the Lazy Kate

This is the best Lazy Kate I’ve made so far. It made plying easier as I didn’t have to fight the tool the whole time. The angle of the holes worked great, letting the spindles spin, but not spin out of control (I’ve seen other designs that use elastic or wrapped string to provide tension). Since it passed its test, I’ll give it a nice polyurethane clear finish!

Lucets

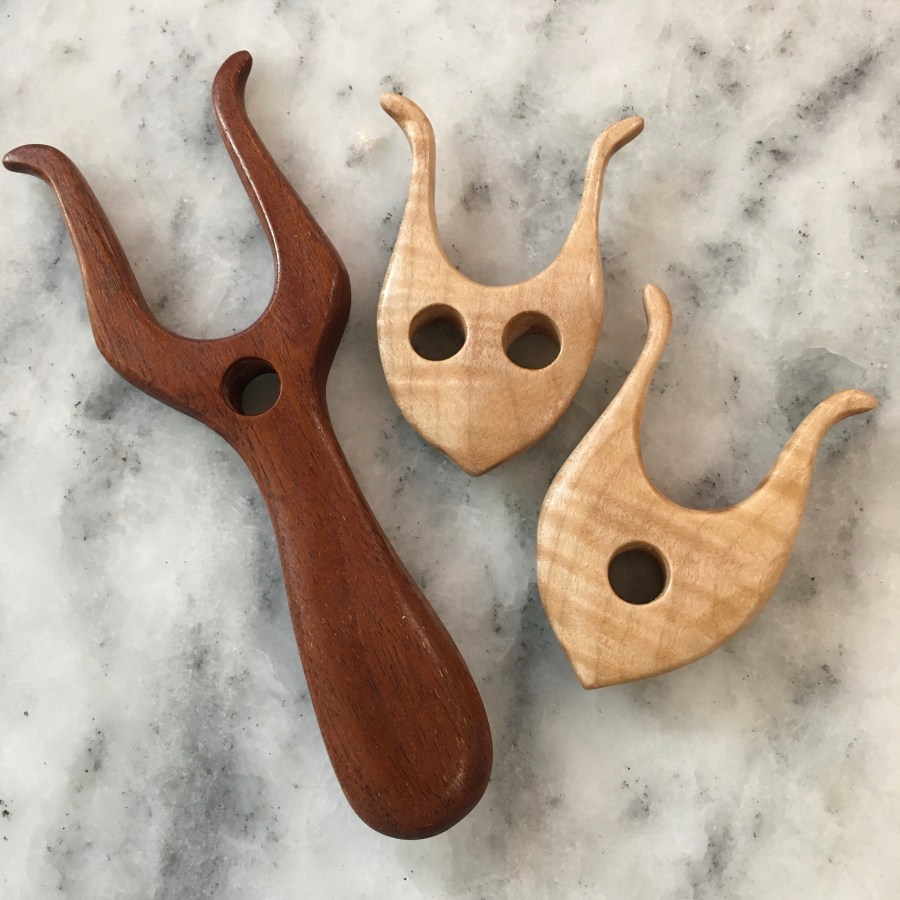
Laying out two styles of lucets

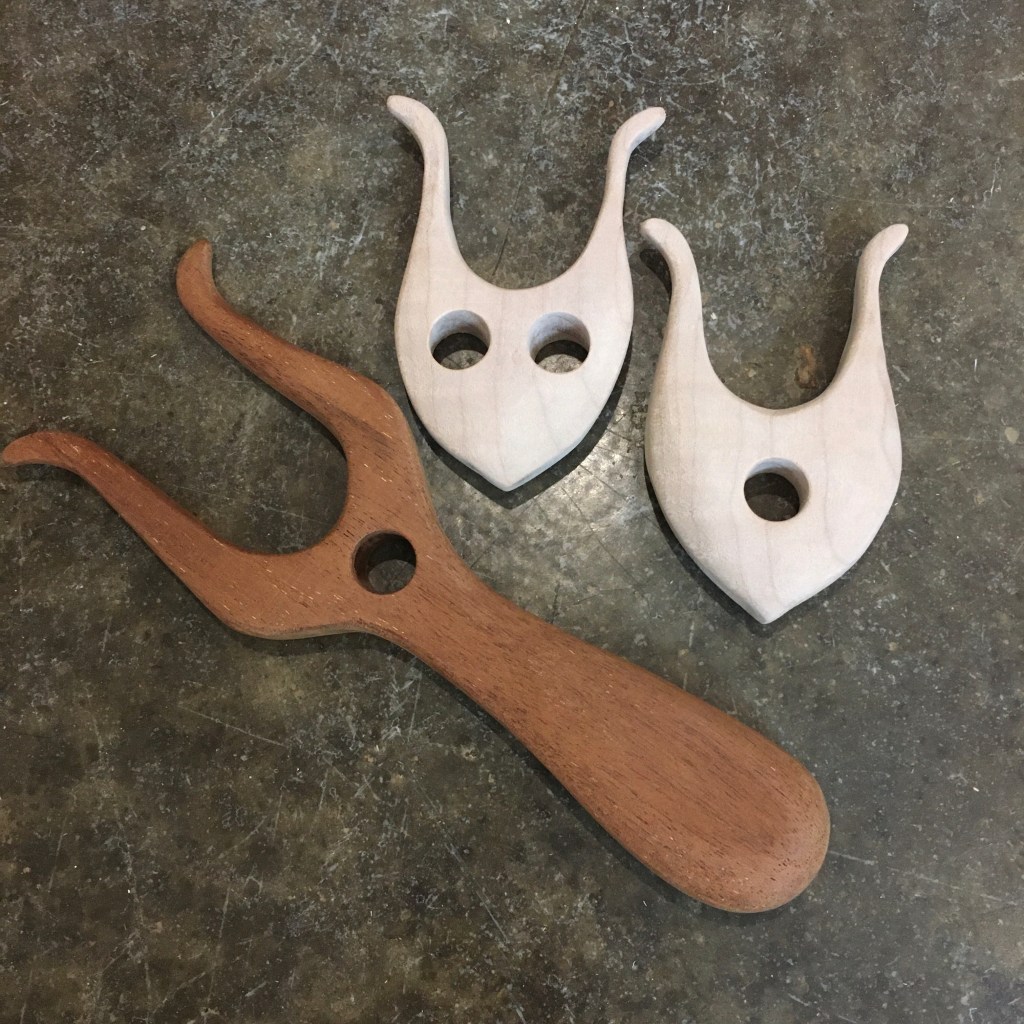
Here is another ancient craft I haven’t tried: lucet cords! It has been on my bucket list, but it wasn’t until my Mom was working on making elastic lucet cords for masks and hinted that a smooth wooden lucet would be nice, that I decided to finally make a lucet. Honestly, a lucet isn’t necessary to make a lucet cord; a forked stick would work, or even two fingers, but having nice tools is such a pleasure! I made up some designs in Illustrator, printed them out, and transferred the design to some scrap flame maple and padauk. I used almost every standing tool in the garage! Joy! I used a scroll saw to cut the shapes, a band saw to split the flame maple lengthwise, a band sander to rough out the shaping, an oscillating spindle sander to refine the shape some more, and the drill press to drill the holes. I hand sanded after all that, because nothing mechanical comes close to a hand sanded finish.

Sanded, unfinished lucets

I sanded the lucets down to 400 grit, did two rounds of water treatment, then before finishing, I just had to test them to make sure there were no final tweaks to the shape. They worked well! I like the handleless lucet best. I’m going to send the handled lucet and the owlish lucet to my Mom for testing. (Mom likes owls, and the handleless lucet is reminiscent of a great horned owl, so I drilled “eyes” instead of a single hole.)

Testing the owl lucet

I finished the lucets with four coats of tung oil. Oh how the flame maple shines! The padauk has a nice color too.

Finished lucets

Did you wash your hands?

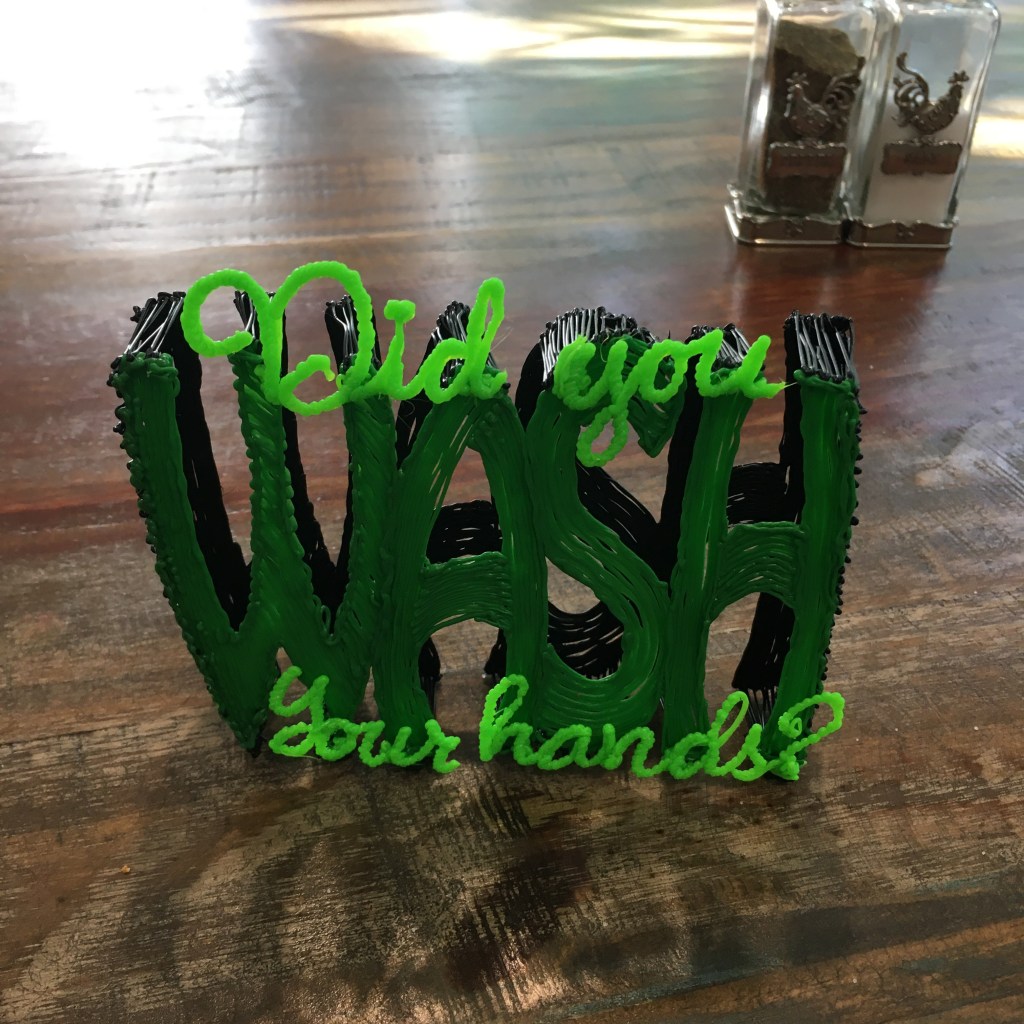
I have had a little paper tent with the hand written words “Did you wash your hands?” on our table for four months to remind us all to wash frequently and especially before eating. I thought it was past time to make something more lasting! I decided to use my 3Doodler, since the plastic is washable, it is light, and it wouldn’t take me too long to doodle up. I laid out the words in Adobe Illustrator, then put a clear work mat over the print out to trace the letters.

Making the sign with my 3doodle pen

I made two copies of “wash”, then used a book to space them apart so I could lay down the connecting lines and make the word 3D. I made the other words separately then “glued” them on with more molten plastic.

Useful 3D table decoration

I think it came out rather well! And certainly has a more decorative element than a folded slip of paper.