I am not a fan of ironing, but my steamer makes me happy. That and neat stacks of in-process masks.
Neatly pressed in-process masks (adult and kid sizes)
I also enjoy seeing the steamer do its work on the masks after they come out of the wash. I straighten out the wire, then steam the mask mostly flat. I’m sure there are wizards of ironing out there that could make them as crisp as new; I don’t have that patience, but I do appreciate storing mostly flat masks. Yes, these masks follow the first pattern I made in bulk. For the kid size, instead of starting with a 10”x14” piece of fabric, I downsized to 8”x14”. This pattern stores nicely, fits nicely, and is easy to make in an assembly line method, which means I can make more a little faster!
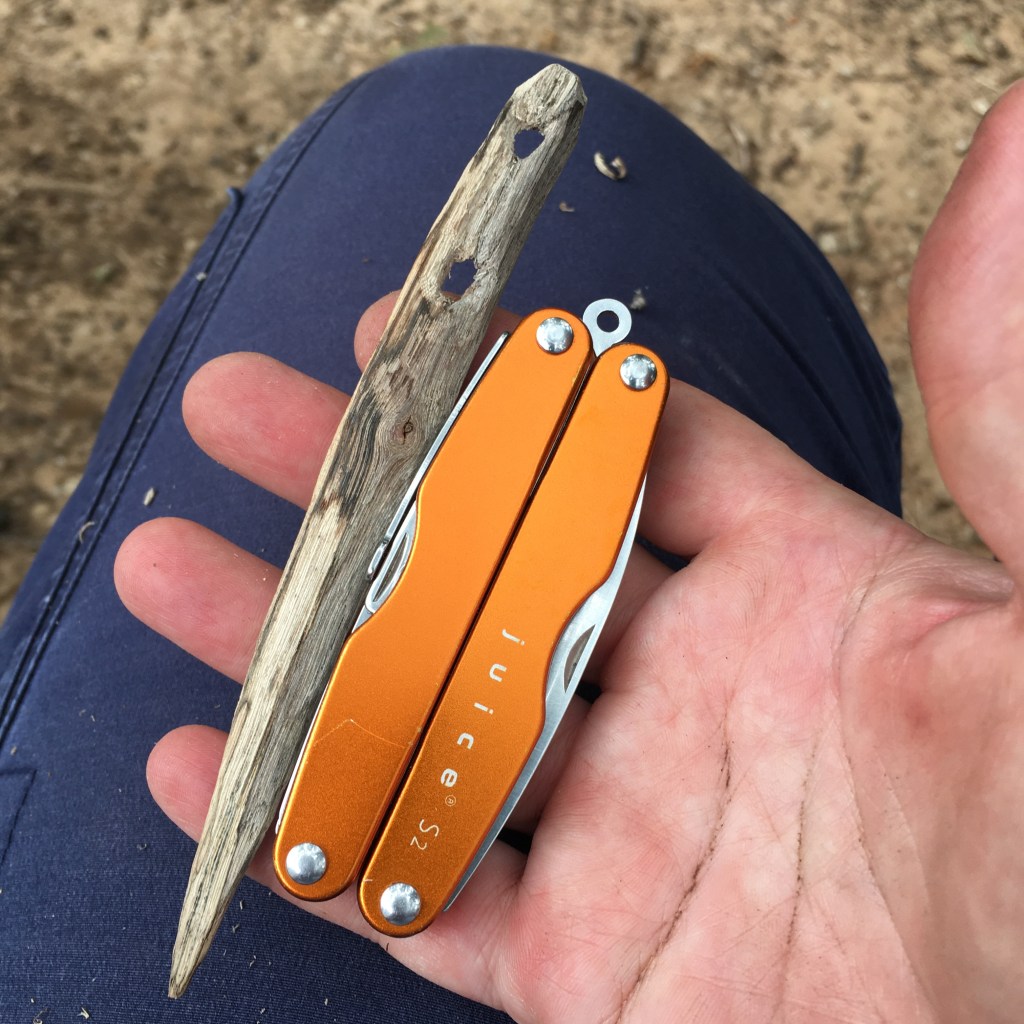
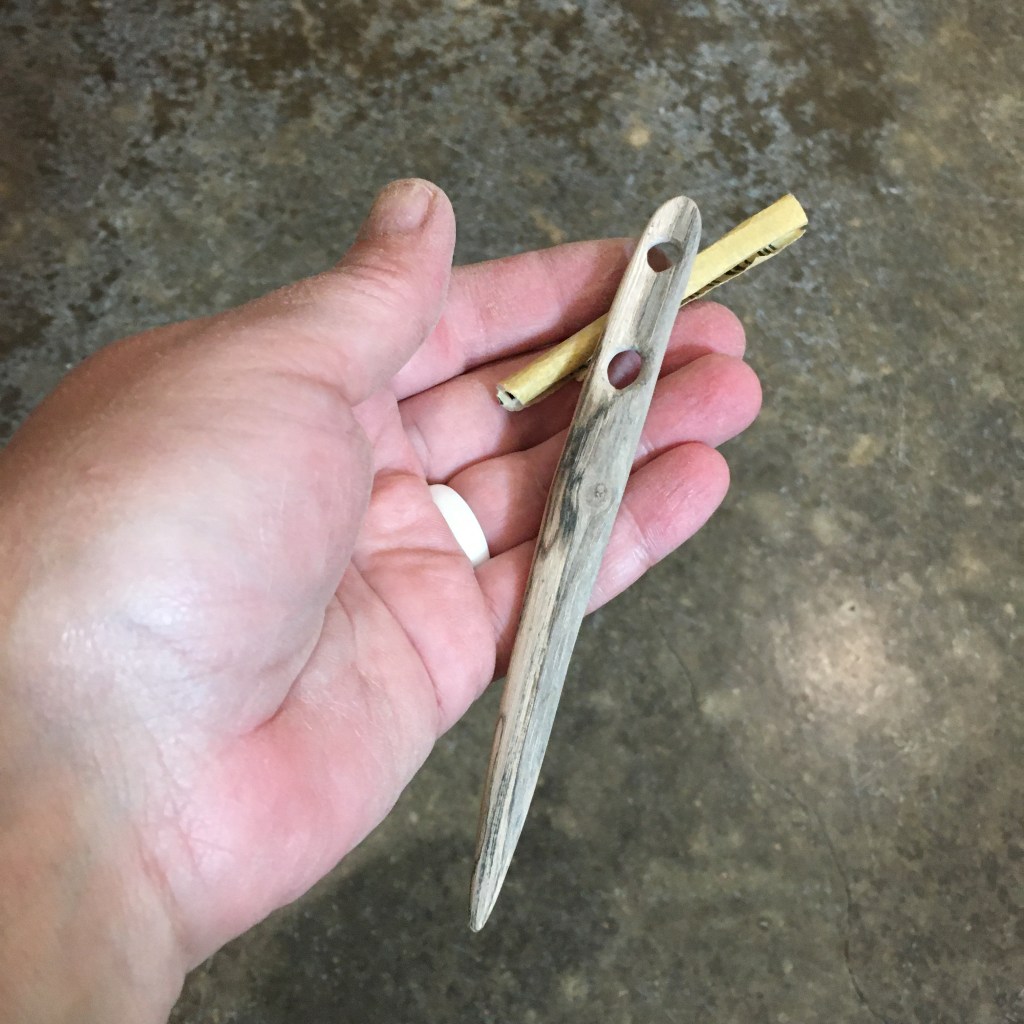
As we sat and watched the fire around the artist’s charcoal (see yesterday’s blog entry for more on that), I had extra lengths of grape vine stick, which happened to be a good length for a nålbinding nal. I had my pocket knife and decided to give carving a nal entirely by hand a try. Previously, I used a drill press for the holes, and a band sander for shaping. It was quite easy to carve the grape vine, and although it does have some flex, it is sturdy. I was able to carve out the eyes of the nal, which was the trickiest bit. I also added a channel along the eyes, which helps the loops of yarn pass through easily with the needle.
Grape vine nal, initial carving
After roughing out the shape with my knife, I took 120 grit sandpaper and refined the shape and the eyes. Then I used 220, 320, and finally 400 grit to smooth the wood. Rolling the sandpaper into a tight tube helped sand out the holes.
Nal sanded smooth
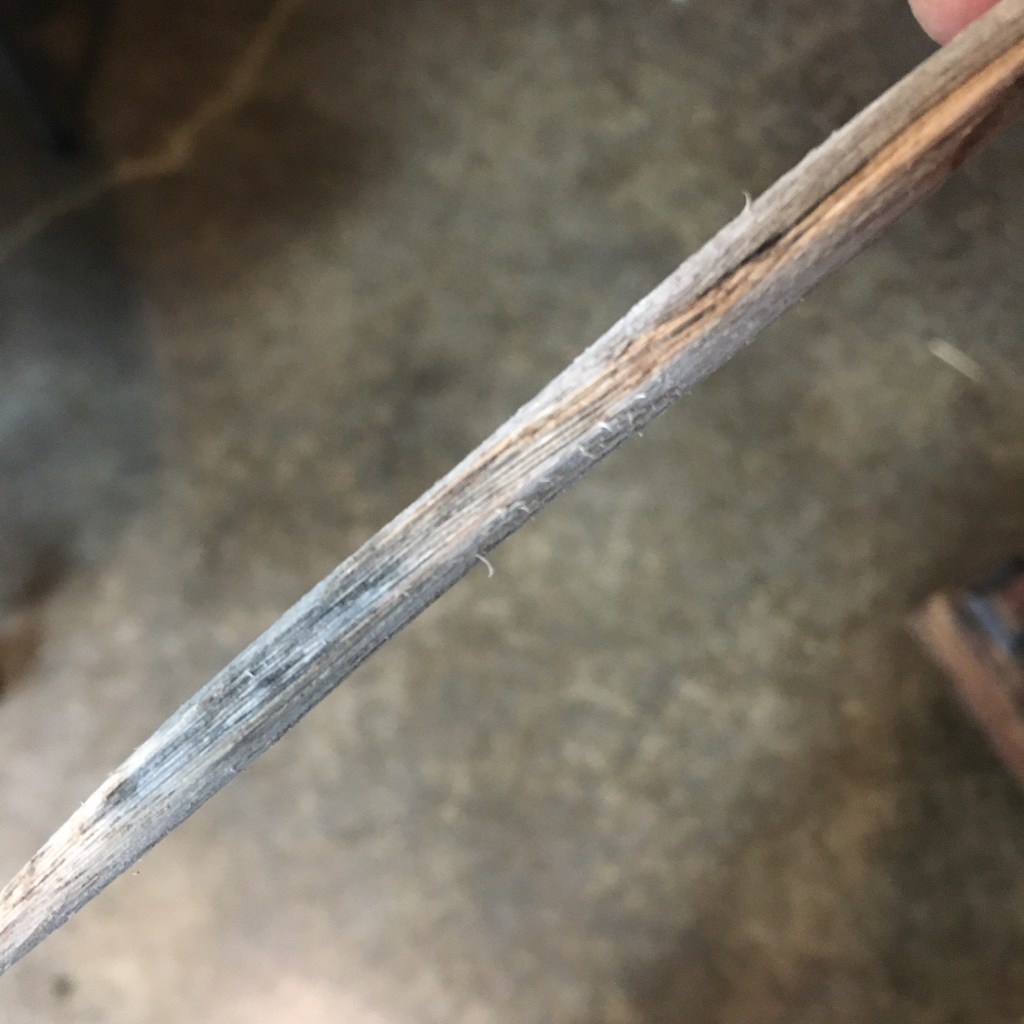
At this point I tested the nal with some scrap yarn and found that it had an unpleasant bump in the middle. I went back with the 120 grit and sanded out the lump, then smoothed it out again. To be sure I had all the wood fibers smooth, I ran the nal under water. This raises the fibers that want to raise, and is an important step in wood finishing, especially for hand tools. If this step is skipped, those fibers still raise, but do so when the sealant is applied. It is much easier to use water first. When the nal dried, I sanded again with 400 grit. It needed it! I repeated the water treatment, then I had a nice smooth nal.
Raised wood fibers after rinsing with water
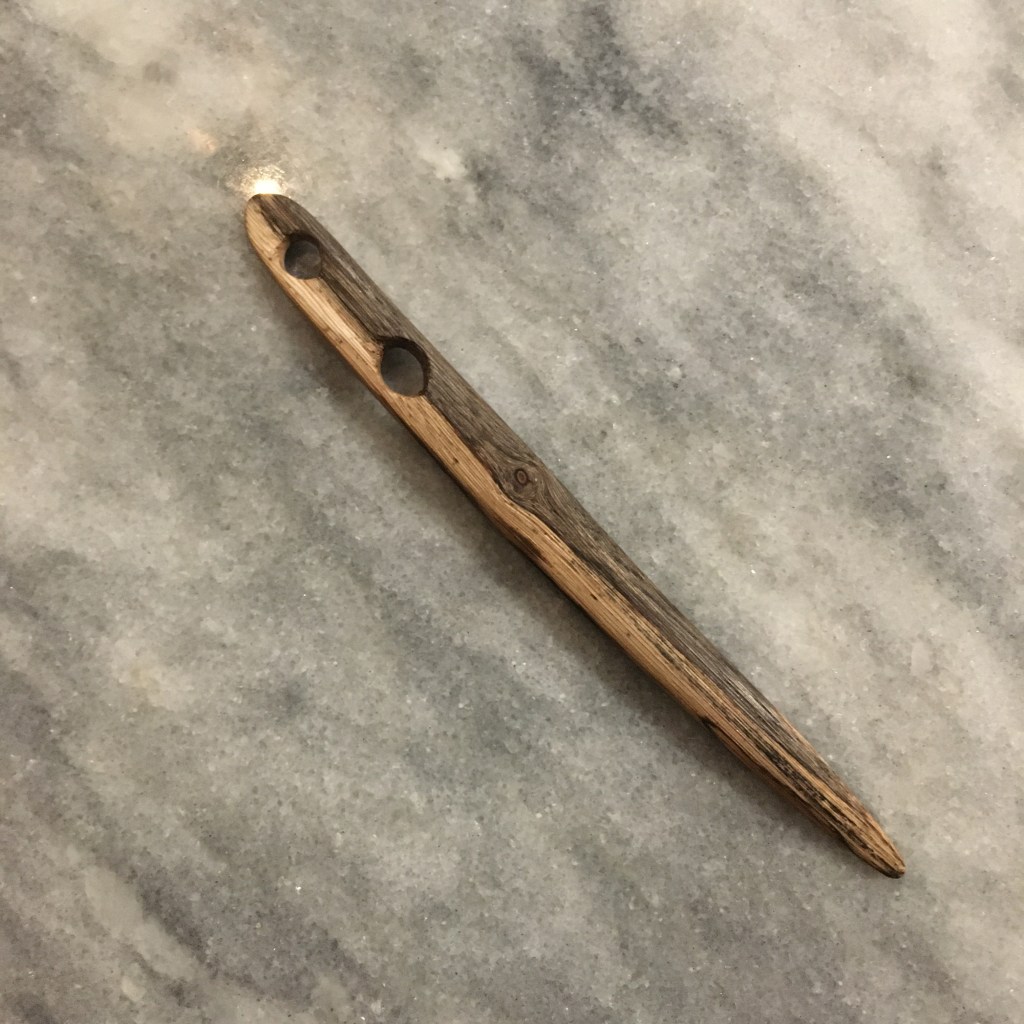
I usually leave my nals uncoated, letting the natural oils of the yarn and my hands condition the wood. Since the grape vine had so much raised fiber after the water treatment, I decided to apply a couple coats of teak oil to seal the nal.
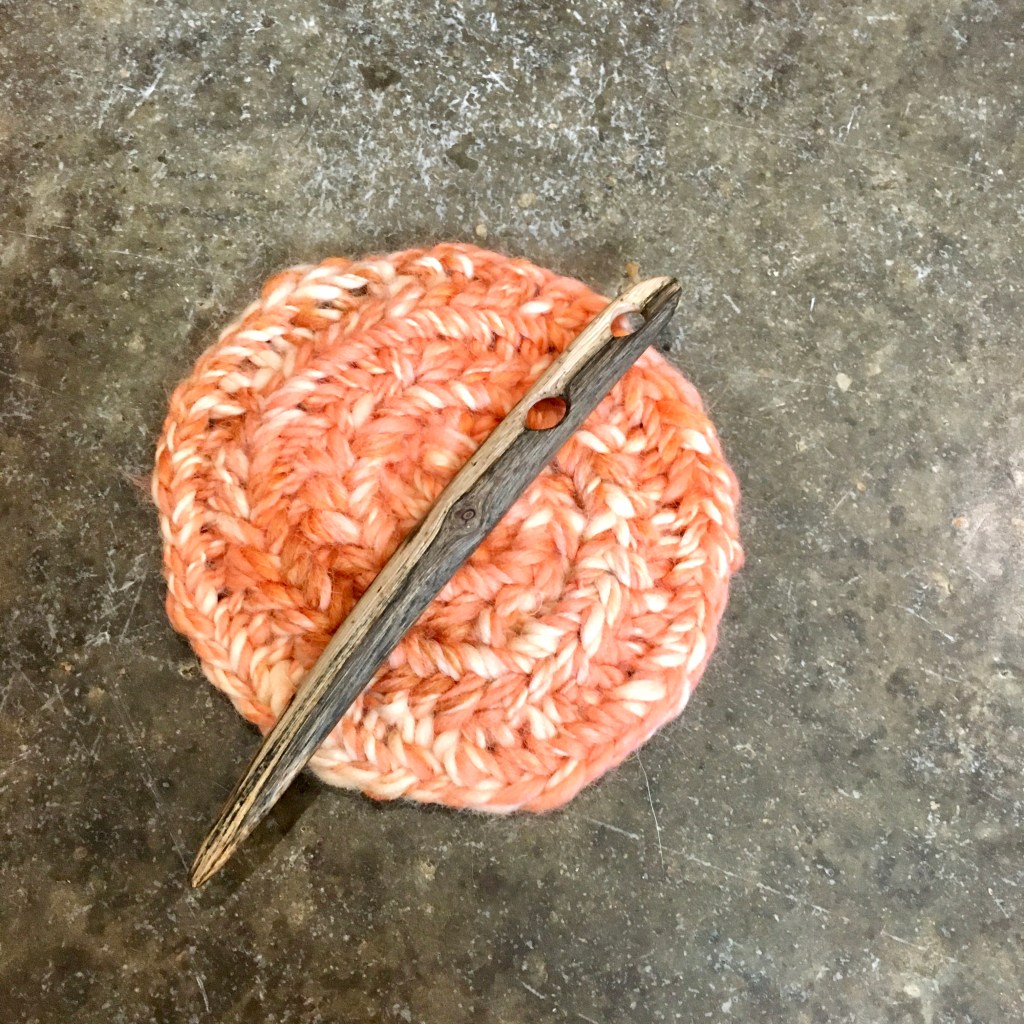
Finished nal
The love the light and dark color of the wood and the slight curve!
Test round with hand spun merino wool and grape vine nal, Mammen stitch
I have found a wonderful book: The Organic Artist: Make Your Own Paint, Paper, Pigments, Prints, and More from Nature by Nick Neddo. This is right up my alley! I haven’t read it all yet, but we had the opportunity to try making our own charcoal for drawing when I needed to make some wood ash for the dust bath for the chickens.
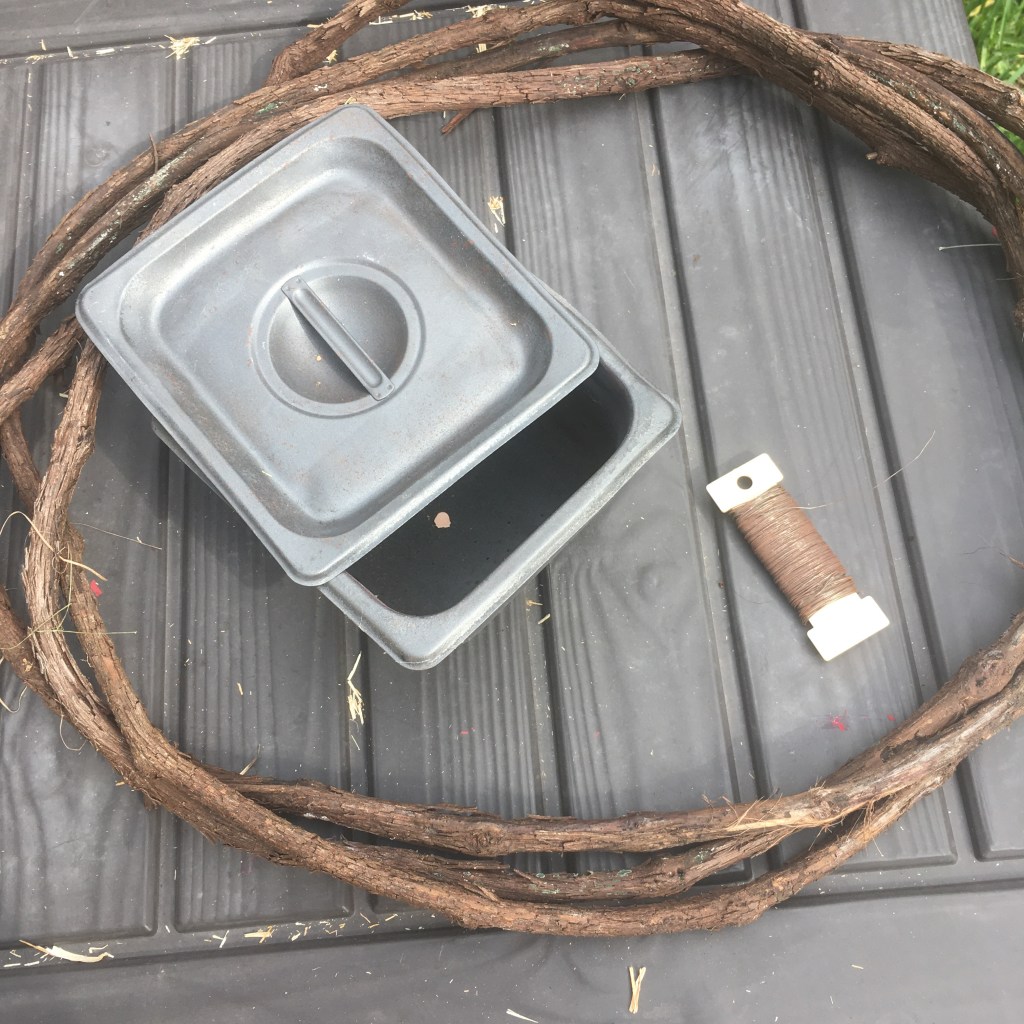
Grapevine, metal container, and steel wire
I had a grape vine wreath that I made over a year ago. It has been aging in the woods for awhile but was readily available for a new purpose. I also had a steel container that I used with my kiln that was a great shape for making charcoal (and it was already seasoned!) My eldest and I used pocket knifes to scrape the bark off sections of grapevine, and then we packed the container with the sticks and closed it securely with twists of wire.
Pocket knife and debarked grape vine
We used the bark shavings as tinder, and built the fire around the steel box. I love it when I can light a fire with one match (it helped that I also used a bacon grease soaked paper towel with the bark shavings). We let the fire burn down, then cool before we checked the box. The charcoal sticks were perfect! Solid black all the way through and a nice texture for drawing.
I just had to try drawing with it, so I did a quick sketch of some grapes on the concrete (Nick Neddo makes drawings of the source of his art materials, so it seemed appropriate).
So I saw something on Pinterest (I think this phrase is to crafters what “Once upon a time” is for fairy tales), and my youngest asked for a bed for her doll house, and have been wanting to try weaving a cot. (Pinterest is both the boon and bane of my existence.)
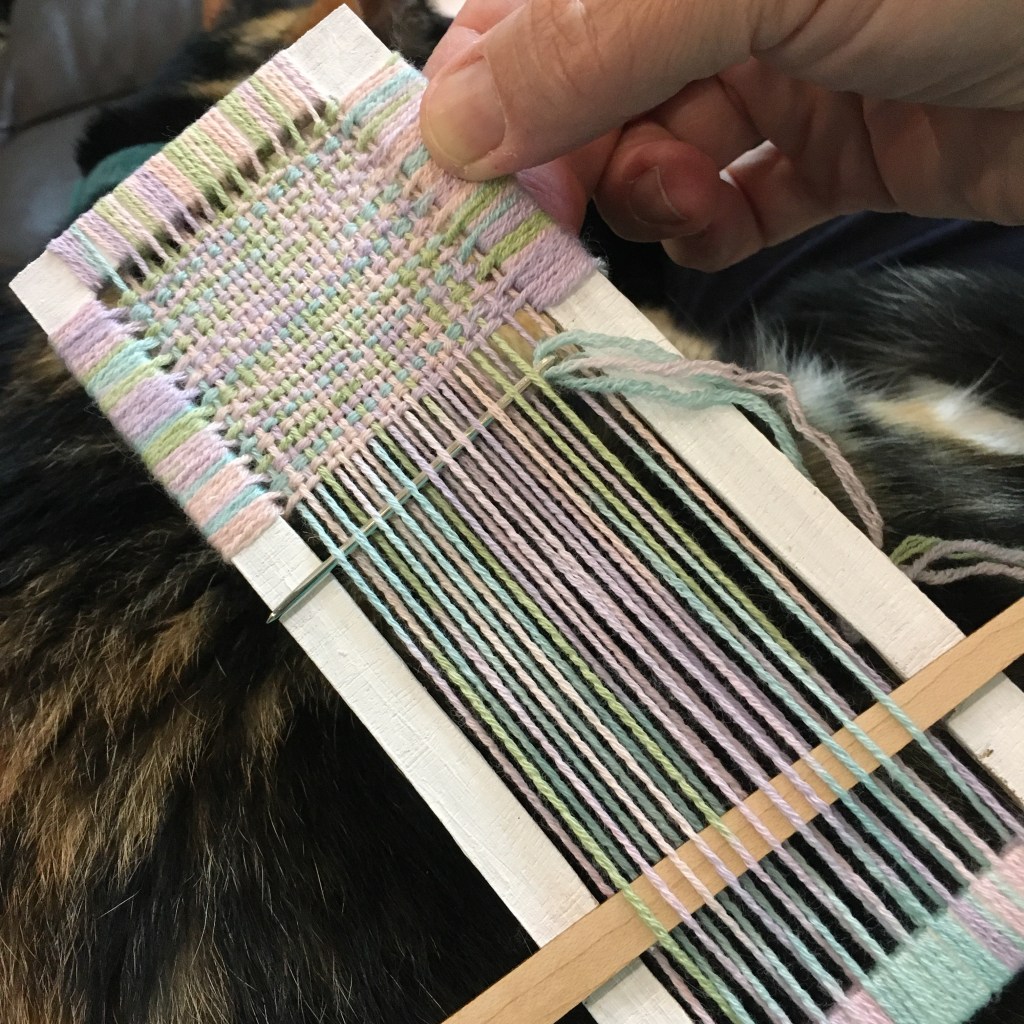
Weaving a doll cot
I had extra wood from the doll house construction, so made a frame. I found some bamboo and cotton fingering weight yarn in my stash and wrapped the warp with two lashes between each warp thread, and repeated for the weft. This was much more straight forward than I feared! The wraps kept the sides straight, and I could easily hide the ends by running them through the wraps on the back side. I used more scrap to make a base for the cot, which I glued on after the weaving was done.
Finished doll cotDoll house with cot
I knit a small blanket for the cot too, out of the same yarn, but my youngest said it was too big and she didn’t want it to match, so now it is a rug. I used scraps to make a kind of table too, but it also is even smaller and more fiddly than making the doll house. No thank you, especially when Melissa and Doug makes such pretty doll furniture.
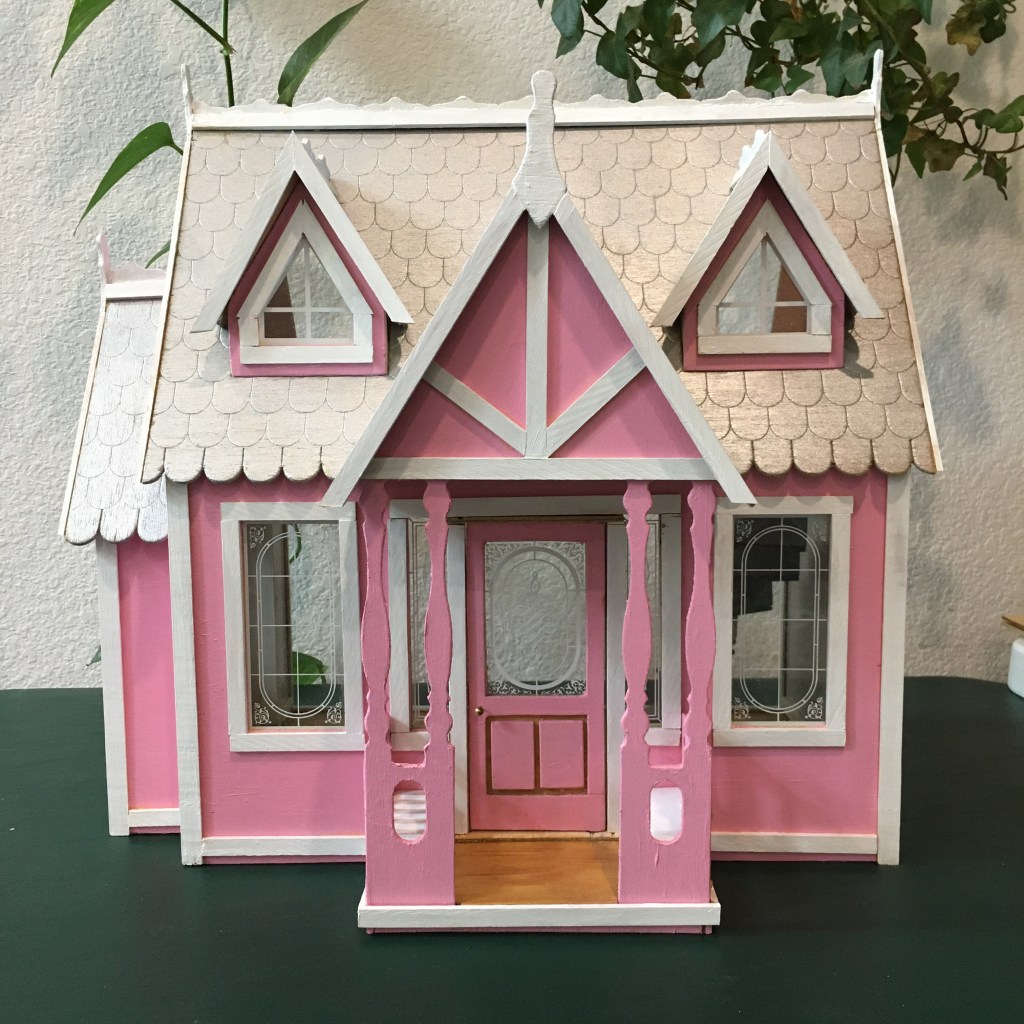
Done! It took me a week gluing and waiting, gluing and waiting, but the doll house is complete and my youngest is happy that she can play in it now without worrying about wet glue or paint.
Dura-craft Ashley doll house frontInside
By the way, artist’s acrylics do a pretty good job as caulk for doll houses, since the consistency is nice and thick. It is very difficult to get a crisp joint on that tiny trim. Touch up paint was definitely my friend.
Most of the house is painted with acrylics. The roof and stairs were spray painted metallic silver. The pink was mixed by hand, and I tried for a lighter shade inside than outside (note, a little red goes a LONG way). The wall paper on the ground floor room was designed in Photoshop, printed on office paper, and decoupaged to the walls. The whole thing looks much better in photographs. I’m not a huge fan of the press board construction. Time will tell for the durability.