Knitted lace scarf

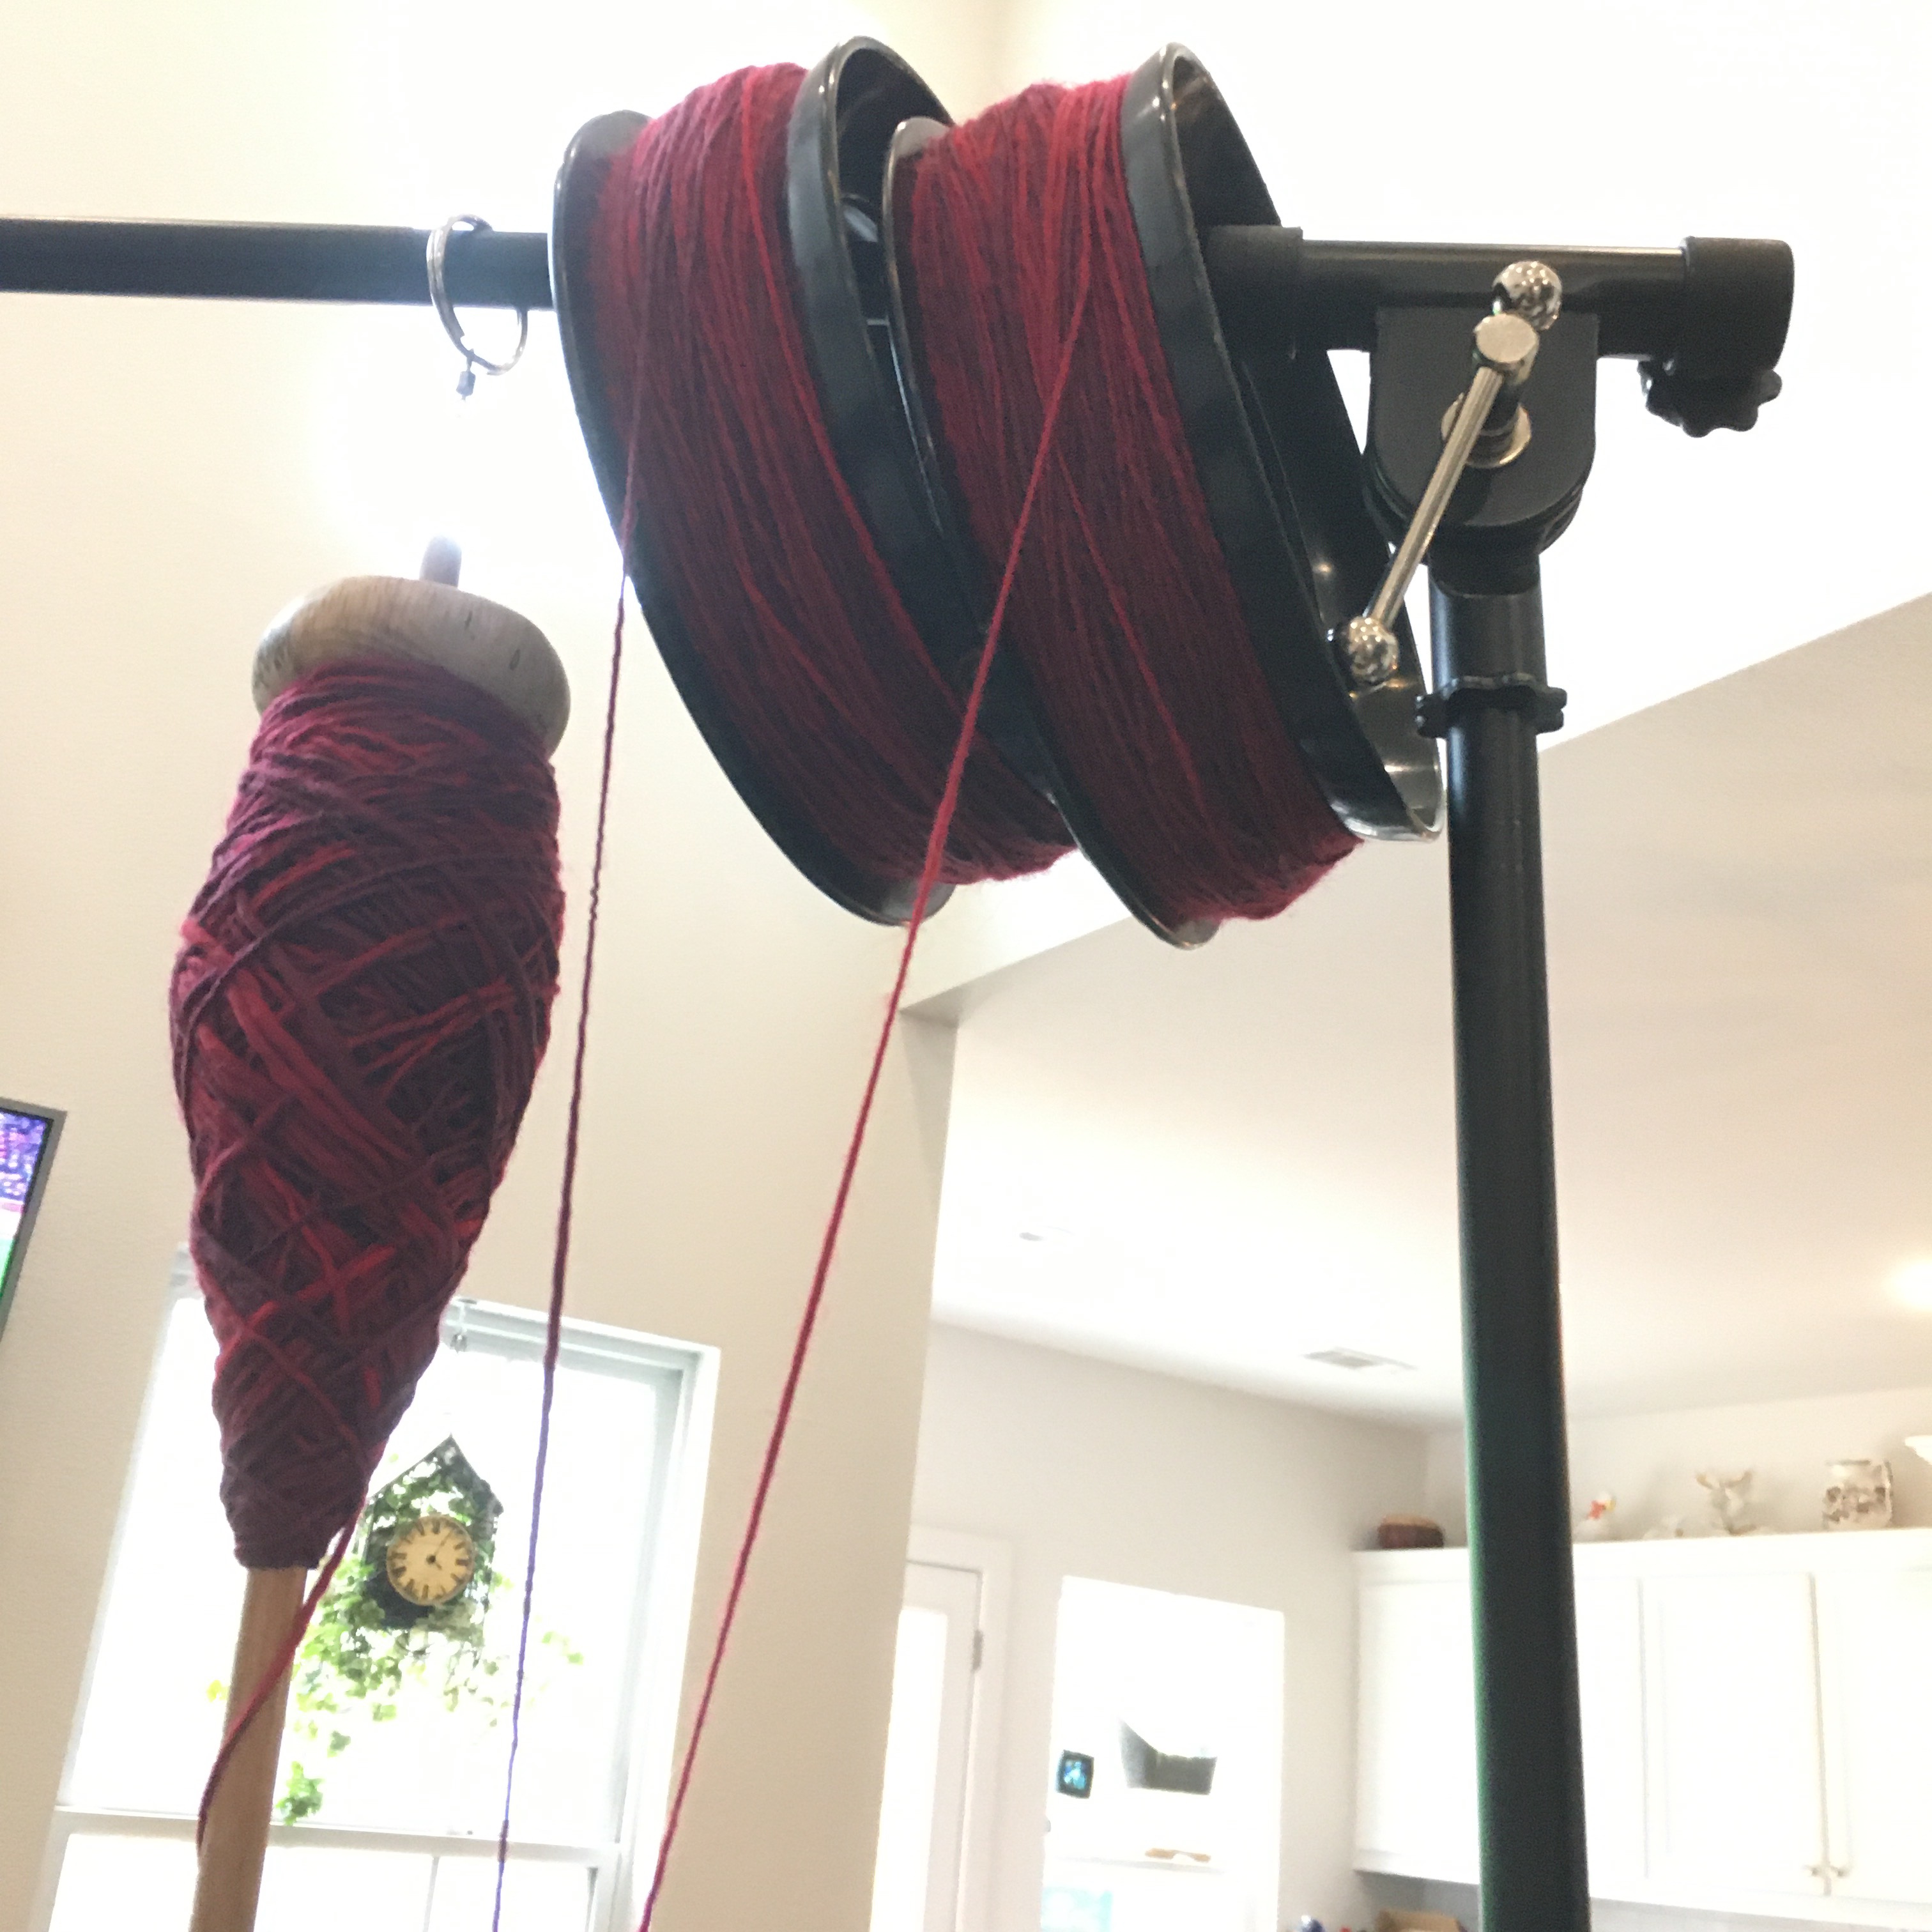
I’m stash busting: going through my yarn stash and using it up (so I can spin more yarn). I had a skein of machine lace in red metallic with a pattern on the label. I thought, hey! this will be a quick project.

Knitting with machine lace

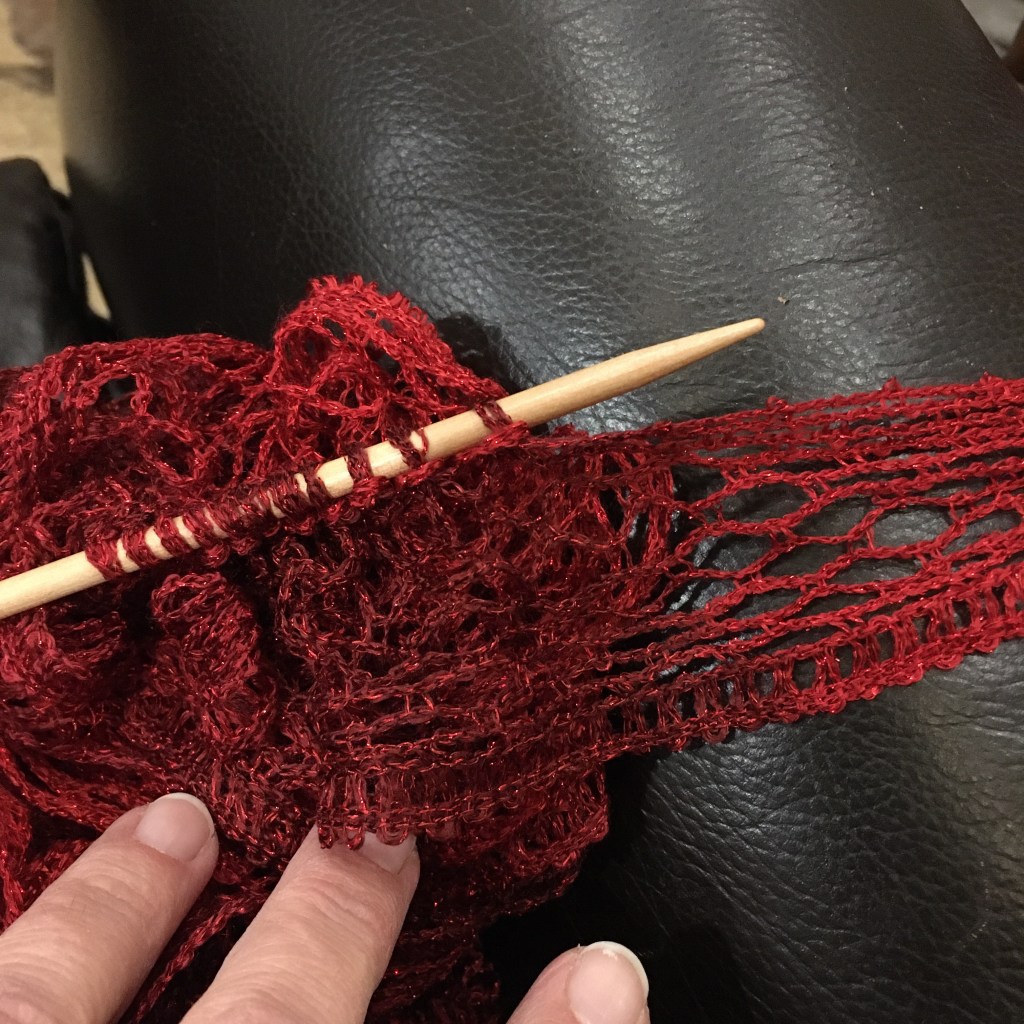
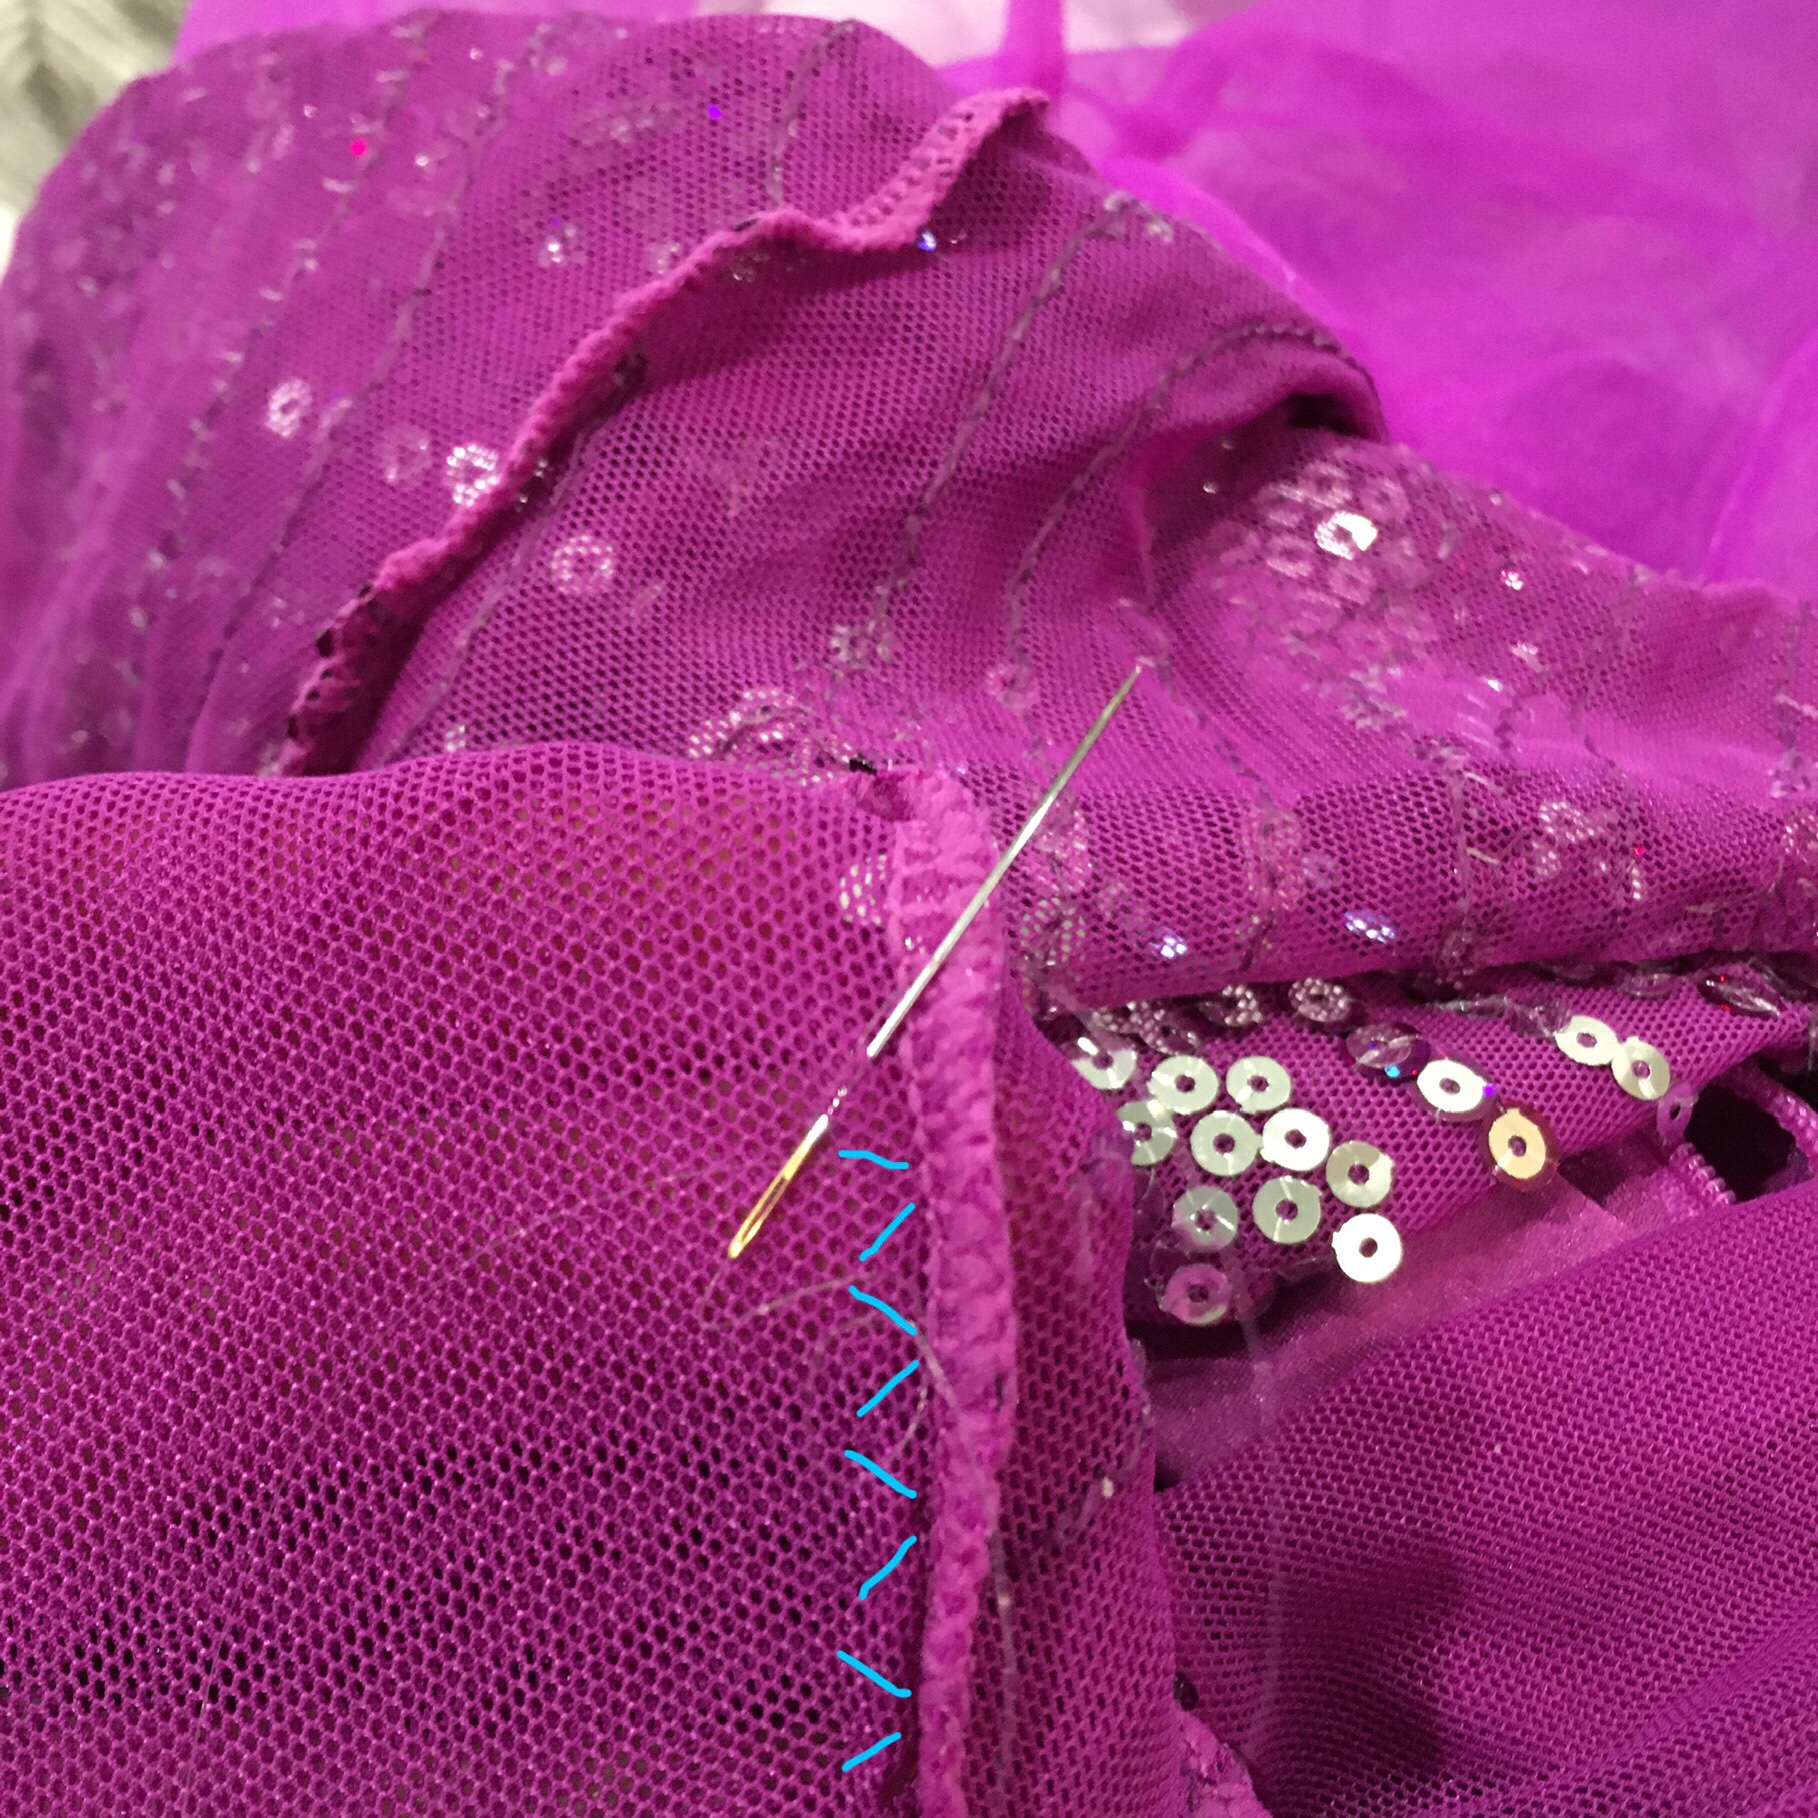
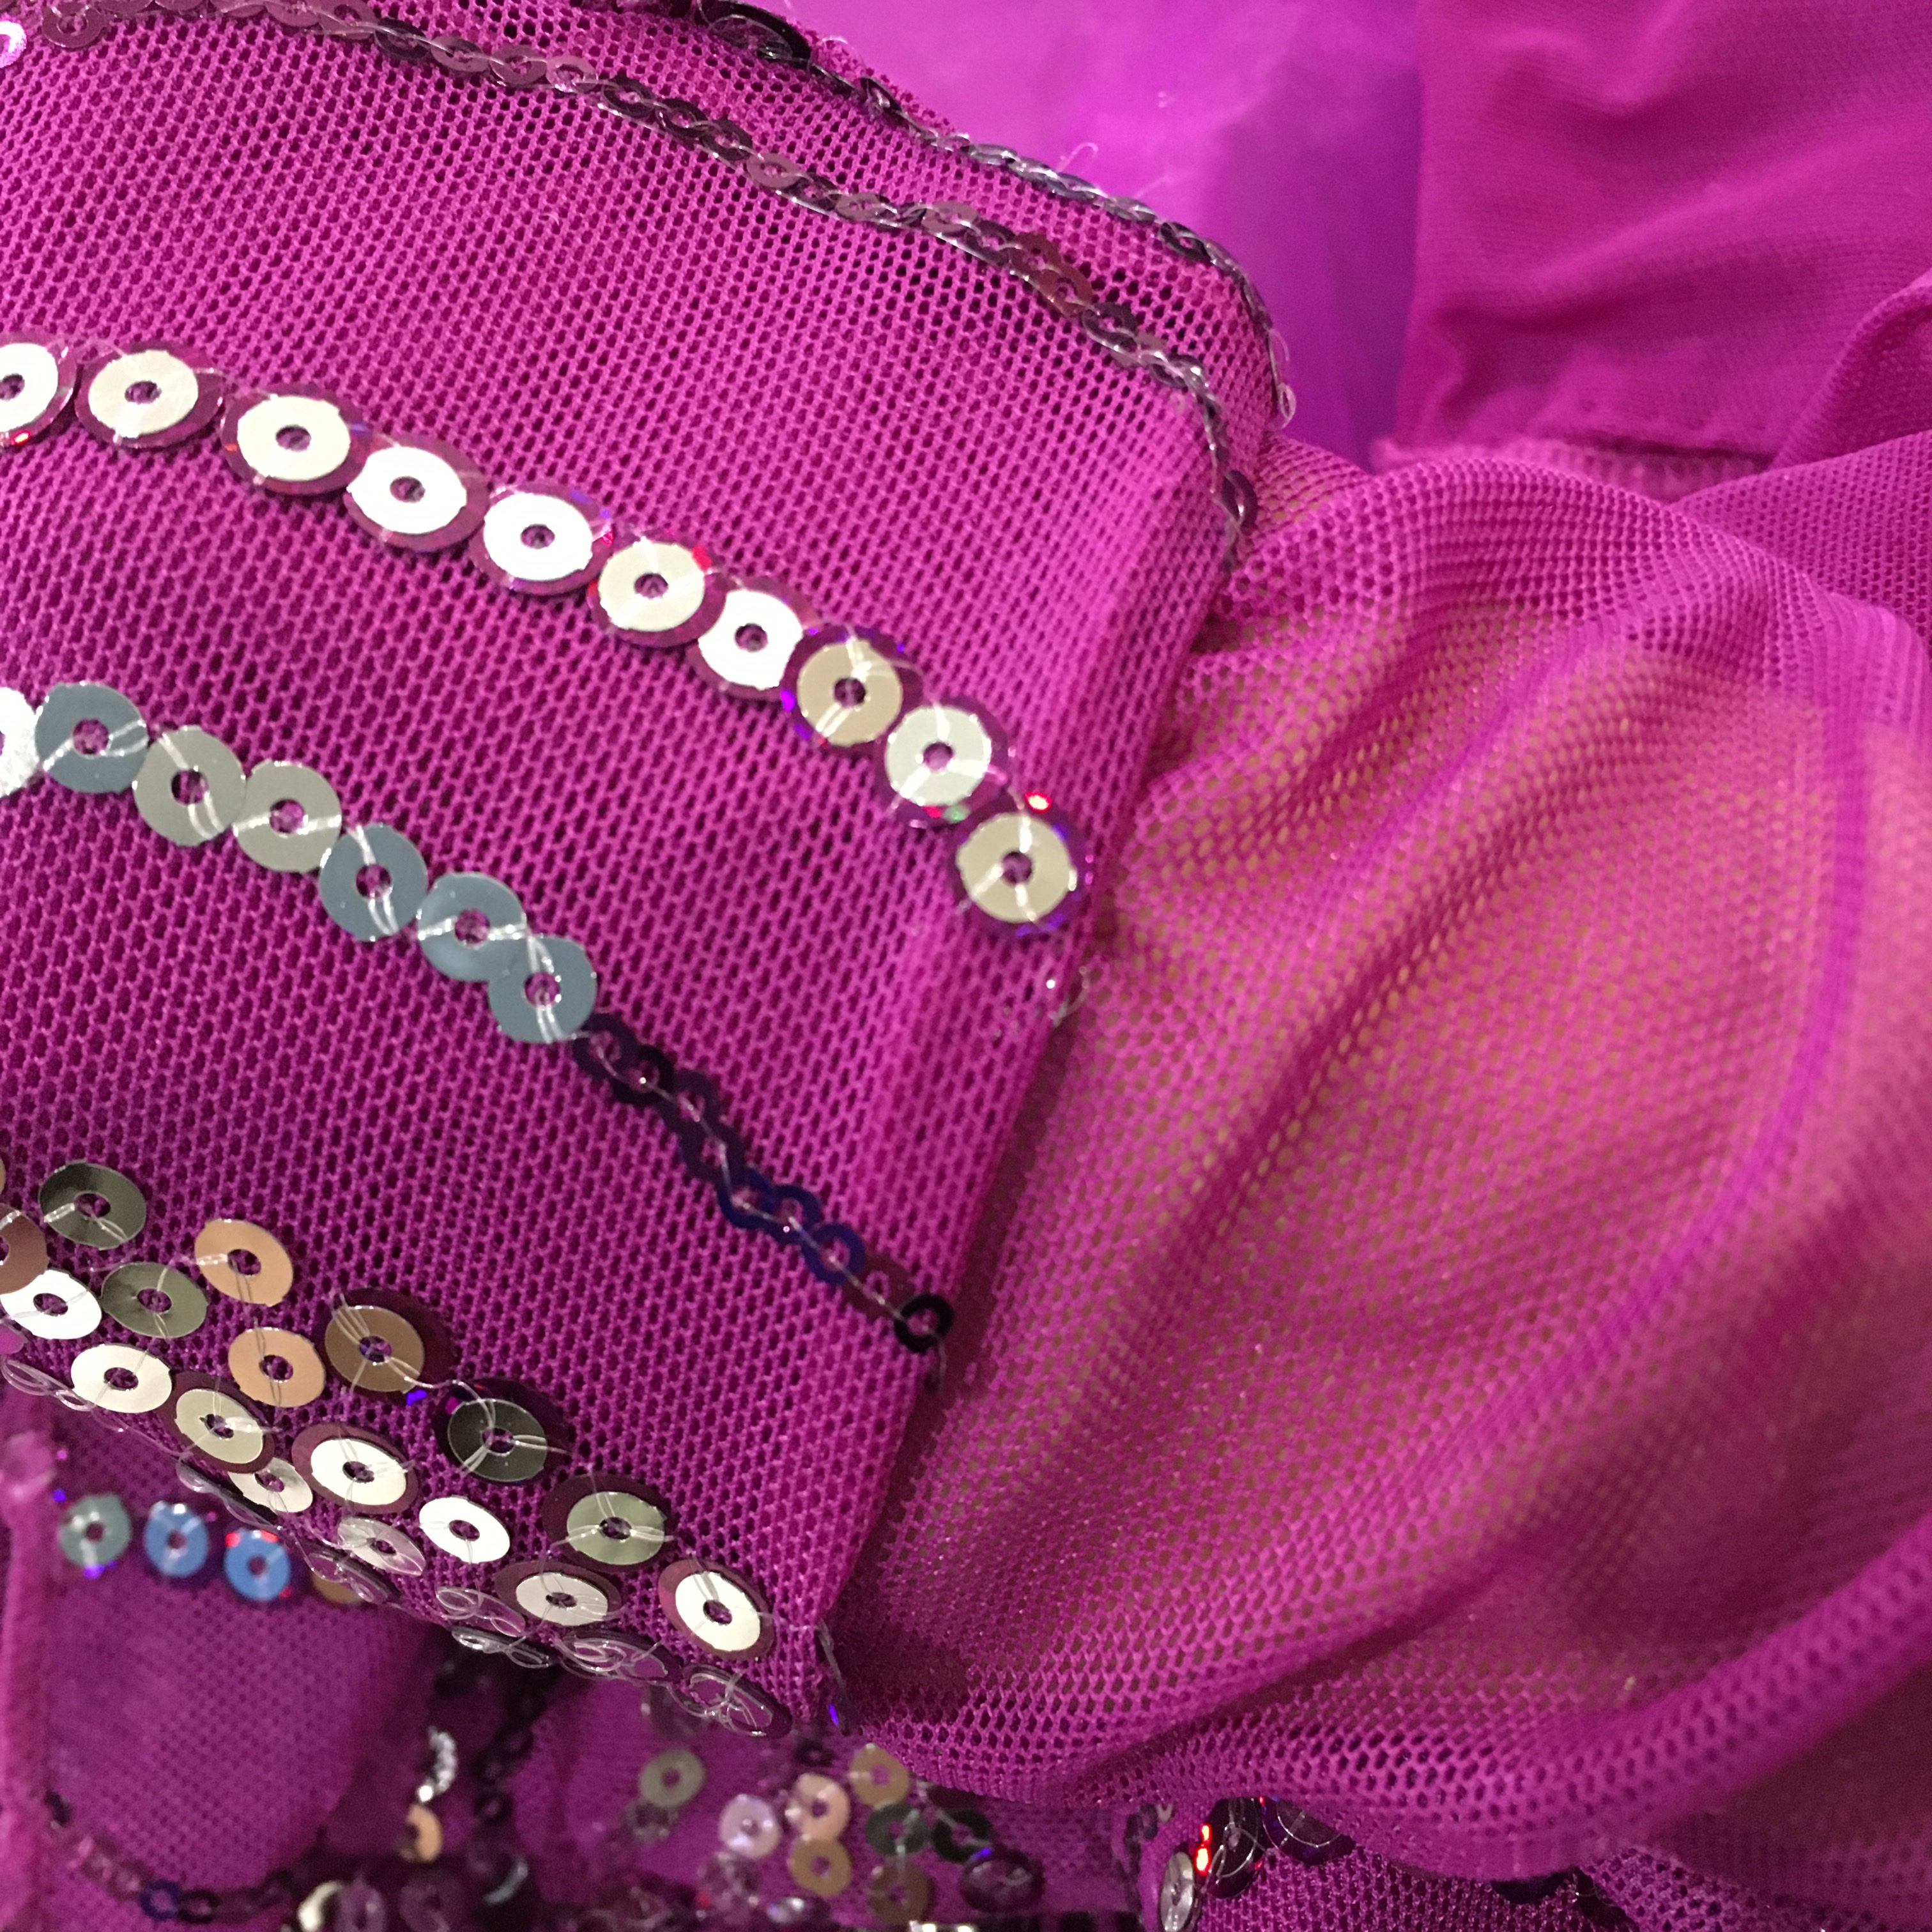
I have crocheted a scarf from machine lace before, and I forgot that I said never again. Which is why the skein was unused in my stash. The idea is that you crochet or knit just the top two strands of lace, and the rest ruffles out. I’m not usually a ruffle person, but it really does make a striking scarf. But oh is that lace fiddly! I decided to pick up 10 stitches and was very careful to pick up the next loop on the lace for each stitch. Wrong. I wasn’t getting any ruffles and it was taking forever. So I took a breath, beat my OCD down with a stick, and stuck my needle in just any ol’ where. (Yes, I exaggerate, I did pick up lace at measured intervals, but because they were not always in the next loop, the ruffle effect happened.) Because I was doing a 10 stitch repeat (and turning the work in the same direction each time), I ended up with a sort of flat spiral. To maximize ruffle, I gave the whole thing a couple of twists and connected the ends to make an infinity scarf. I was much more pleased with the final result than I expected!

Ruffle infinity scarf

Three bags full

Three bags of alpaca fiber

Of alpaca fleece, not black wool. Ha. There is an alpaca farm 20 minutes from here (we visited not long ago). I requested fiber and the owner contacted me and said she had some! So we went over and I selected three colors so I could experiment with color and spinning. So excited!! It is raw blanket (the fiber sheared from the back of the alpaca), and from animals whose fleece has won blue ribbons in competition. Yes, I know their names: Dawnabella, Sugar Plum, and Aimee. Squee. Interesting fact: alpaca fiber is not covered in lanolin, so I will wash it, but I don’t have to scour it like I would for wool or mohair (and worry about temperature getting too low and the lanolin redepositing on the fiber).

I have other projects to finish first, though, before I can play. #Motivation

Egg ornaments

I’ve been holding onto a few of the chicken’s first eggs, not the whole egg, just the blown out shell. Not the very first egg, I didn’t think of blowing out the eggs until the next day. They have been sitting on my counter for a few months and then I thought making ornaments would be a great way to preserve them!

32 gauge wire looped and twisted

I took about 10 inches of 32 gauge wire, looped it, and twisted the ends together to make a straight section longer than my egg.

Wire strung through blown out egg shell

Getting the wire through the tiny hole on the end of the blown out egg was a little tricky, but I got there eventually.

Ribbon threaded through egg with knots to hold it in place

I had some thin ribbon in my stash, so threaded some of that through the wire loop, then used the wire to pull the ribbon through the egg. I used over hand knots to keep the egg from sliding off. I used alcohol based ink (aka Sharpie) to write on the egg, and I coated the egg in matte Modge Podge glue for extra durability, and let it dry.

“Our first egg” ornament next to another pullet egg

I’m not that keen on the Modge Podge coating. It makes it look like a plastic egg, even though it has a matte finish. I’ll have to run some experiments to see what I can do about that.

Egg ornament hanging on the tree

Learning from mistakes

My youngest likes to dance, and we are now in the sparkly costume part of the year gearing up for performance. The group costume this year is awesome: sassy yet covering, stretchy, easy on, one zipper (this is the big one for me, I’ve had to lace corsets on other costumes. No thank you.)

Hemming up sleeves

However, the sleeves are super long on her. I found some invisible thread (clear monofilament designed for sewing) and folded the sleeve inside out, and did a straight stitch around the existing cuff seam. I stretched the stitches out, but not enough. Oops. The stitches lasted through dress rehearsal, then popped. So I had to sew them again.

Zig zag stitch (with thread lines marked in blue)

This time, I used a zig zag stitch. Not with my machine, but by hand. The material is a stretchy net, no way was I going at this with my sewing machine especially with a slippery thread. We might need to let down the sleeves at some point, and I wanted to minimize potential damage both with the stitch going in, and eventually coming out. It took a little longer, I had to do the stitches one at a time, but the result is so much stretchier!

Cuff turned right side out

I also examined all the inside seams for partial sequins, and clipped them out. My daughter was much happier wearing the outfit without the scratchy bits of plastic poking her.

Plying with fishing reels

I loaded two hand fishing reels with spun merino wool, then used the third spindle full to make a three ply yarn. I was hoping that the large spools would keep the single ply from tangling around the stand, but alas, no. Seriously the next time I spin I’m going to fill multiple spindles and ply from the spindles.

Two spools and a spindle getting ready to ply

I was able to ply most of the yarn, but didn’t distribute the fiber exactly evenly between the three strands, so chain plied the leftover bits, which works just fine.

Plied and chain-plied yarn on the spindle and wound with a wool winder

I had enough yarn this time to make two cakes with my wool winder. Yay! Isn’t the color pretty? It is a combination of four shades of red roving.

Yarn wound into cakes