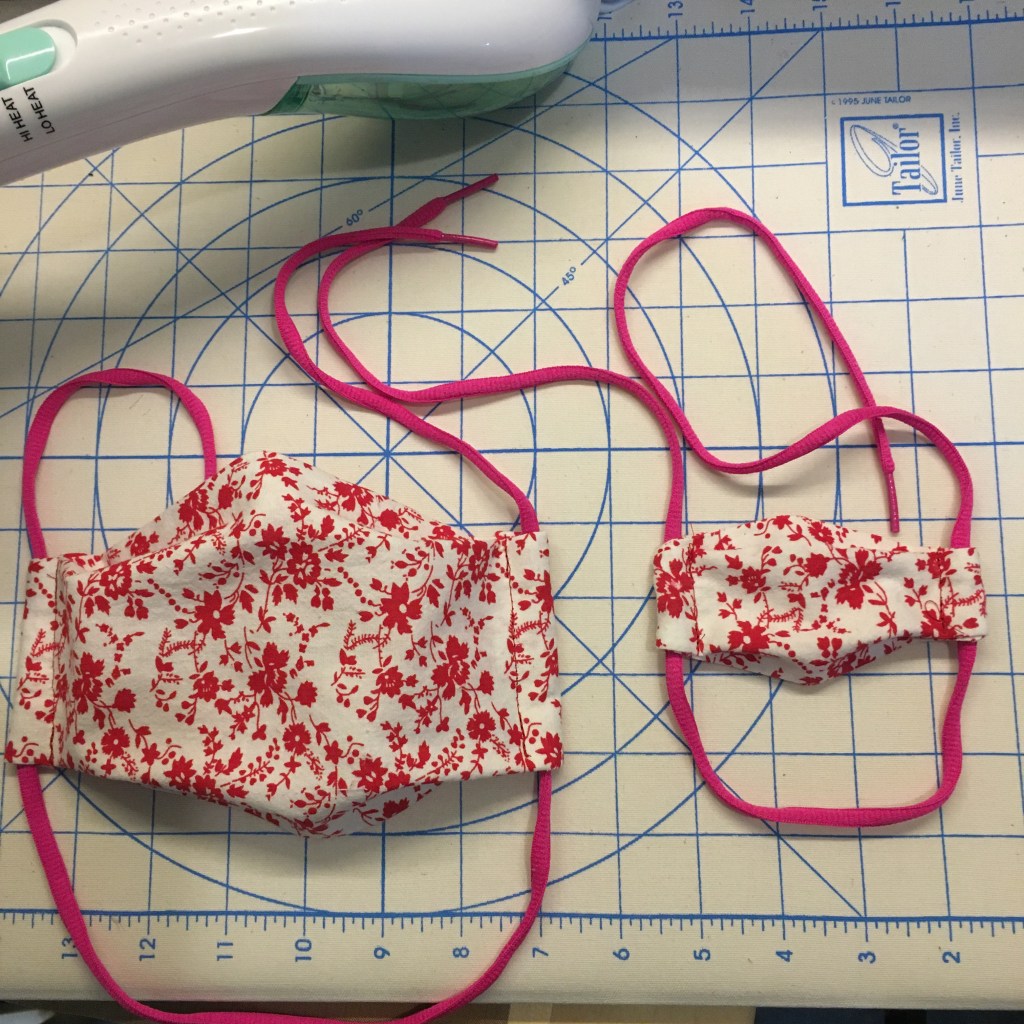
Is the mask on the right a little small? Yes, yes it is. It is for my youngest’s doll. We put the mask on the doll first, then put her mask on. Just in the house, just for a minute, just to start adjusting to the idea. My youngest wears glasses with a strap and has hearing aids, so no “behind the ears” elastic for her; she has enough going on behind there. These are unused shoe laces that I found in my stash (and they’re pink, so perfect). The loop goes behind her neck, then the ties tie behind her head. It works. We all now have cloth masks, and will start wearing them a little at a time to get used to them. Turns out my eldest needs this gradual introduction too. I was not expecting her aversion to mask wearing. So here we go, taking it easy, one baby step at a time.
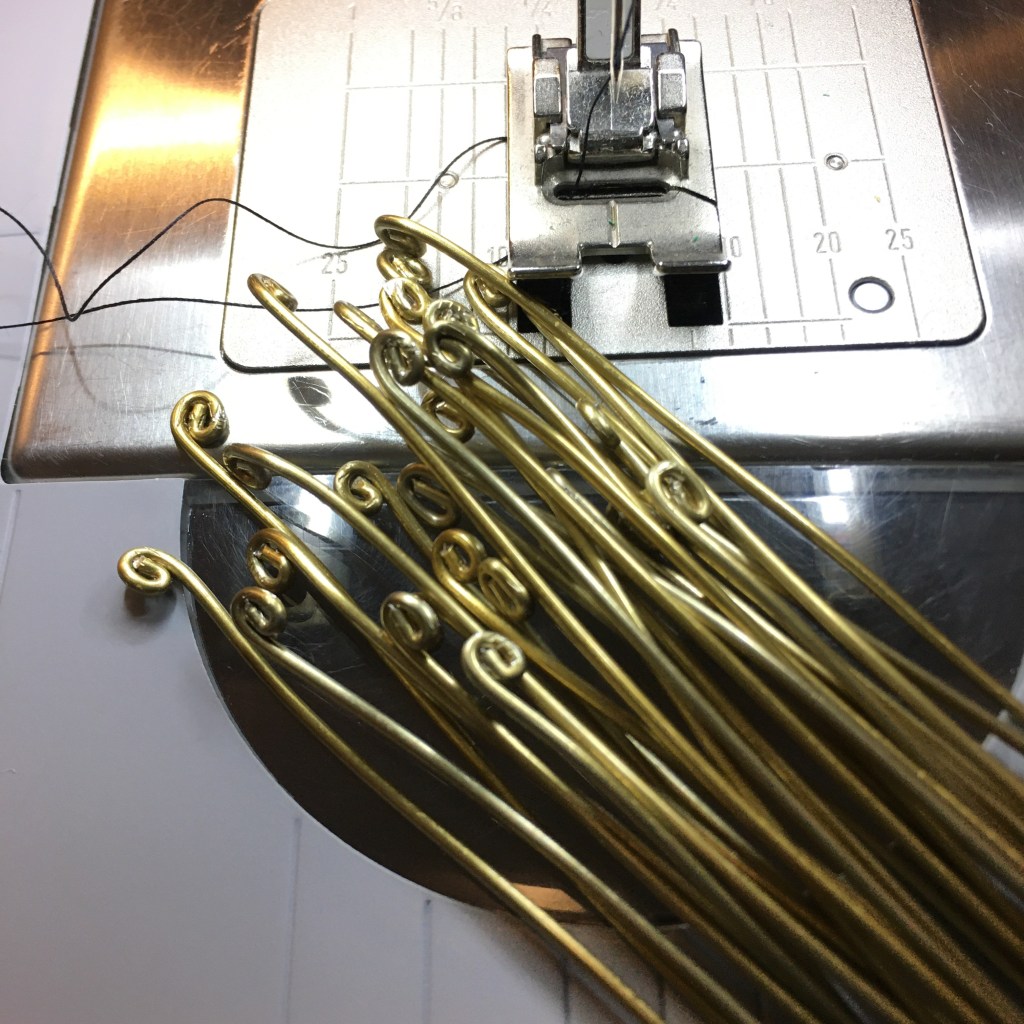
The pattern for the cotton masks I’m making calls for using twist ties. Probably because they are readily available, except in my house. But, as wire is one of my favorite media for crafting, I have a large supply of spooled wire and can “shop” in my craft room. I chose aluminum wire because it is light and bends easily, which makes it easier to conform around the bridge of the nose. I made them about 6”, then curled the ends in twice so it can’t poke through the fabric. The wire pictured above is about 18 gauge (that describes the thickness of the wire), and dead soft (that describes how easily it bends or the “hardness”). I won’t soon run out of wire; I even have a spool of electric fence wire that is aluminum and 17 gauge, and although it is a little harder, may still work. I might have to anneal it though. Hmm.
Making easy semi-elastic ties
Elastic is again running low, even after I cut up all my 1” elastic. For our own masks, I’m making ties from old t-shirts. I cut 2” off of the shirt and pull it to make it curl in on itself. No sew, and more comfy than ribbon. I’ll save the elastic for the donated masks, though, since the hospitals don’t want things made of used (even if clean) clothing!
And yes, the title of this article particularly amuses me. Six months ago it would have had very different connotations and would have fit better in a piercing blog than a craft blog!
Well, I say production time, but it is really an hour or two squeezed into the day when my youngest is occupied with something that doesn’t need close supervision, like before she wakes up! But I have fabric, and now elastic, and am a decent seamstress, so I feel like this is a way to make a contribution.
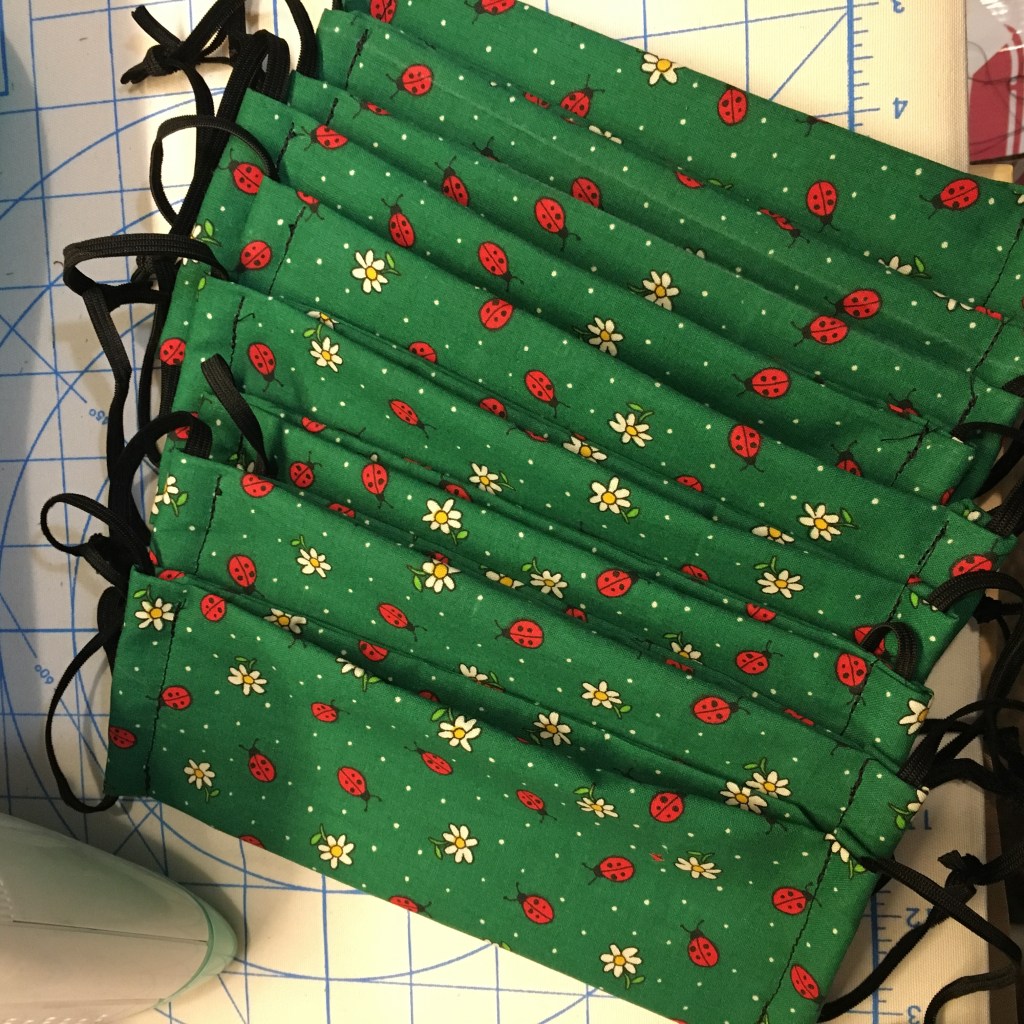
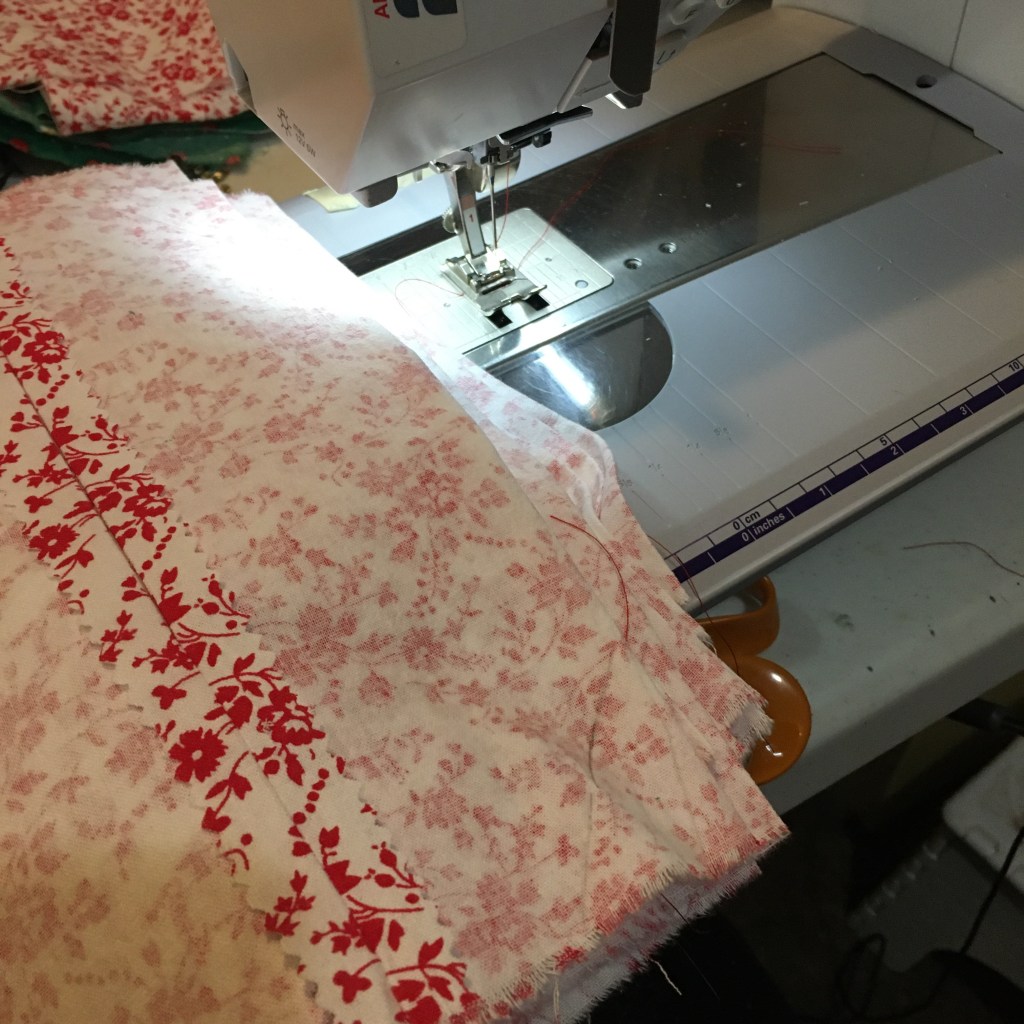
First round of masks to donate
I’ve been doing a kind of assembly line for the masks. I make a stack of rectangles (good quality cotton fabric will rip in straight lines, so I rip rather than use scissors or a wheel cutter), and do one step at a time on the whole stack, rather than finish one and start on another. This reduces my mistakes, because there is less “where am I?”, and I am hoping it speeds production. It is hard in the middle of the process to appreciate the time savings, since after two hours I have a stack of pockets, but it is rewarding at the end when I have a nice stack of masks done at the same time.
Most of batch two (there were 12 total)
I do wash the fabric on hot first, then dry using my dryer’s sanitize setting. I also use my steamer to press the fabric twice during assembly. At the end, I put the masks in a plastic bag so the cat doesn’t sleep on them.
Next set in process
I handed off the first batch to my neighbor who works for our local children’s hospital!
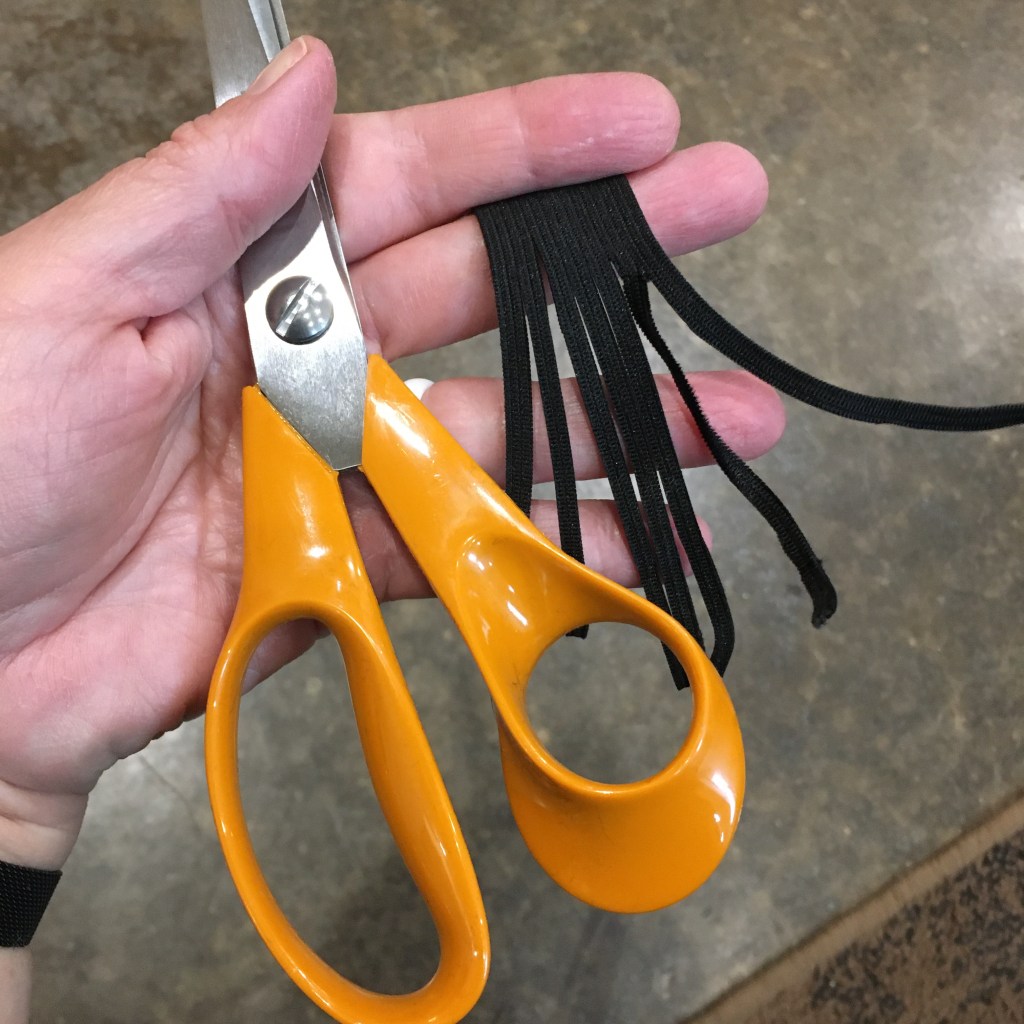
Elastic for masks is hard to come by. I’d like to use up my cotton fabric stash making masks for our local children’s hospital, but I have no 1/8” elastic. None. Nada. But I do have 1” elastic, and JoAnn’s fabric website has a useful video on how to cut wider elastic into smaller strips. So I tried it. THEY DON’T UNRAVEL. What?!? How? Well, the how will have to wait until later, I have elastic straps to make. I do seal the short ends of the elastic by melting with a flame (just a little, just to melt the fibers, not to burn). Then I use sharp scissors to cut down the channel between the elastic ridges. I do not need to seal the long edges of the elastic. As long as I cut in the valleys and don’t accidentally cut across a ridge, the new smaller strip does not unravel. I pulled on it, hard, ran it back and forth between my fingers, and all the fibers stayed in place. Wow. Neat. Ok. Onto production!
Here we go, supporting the home front by producing cloth masks at home. There are SO MANY patterns and advice and tips. I admit, I had some craft paralysis. That is where there are too many options and too many choices and it is all too much, so you just… don’t.
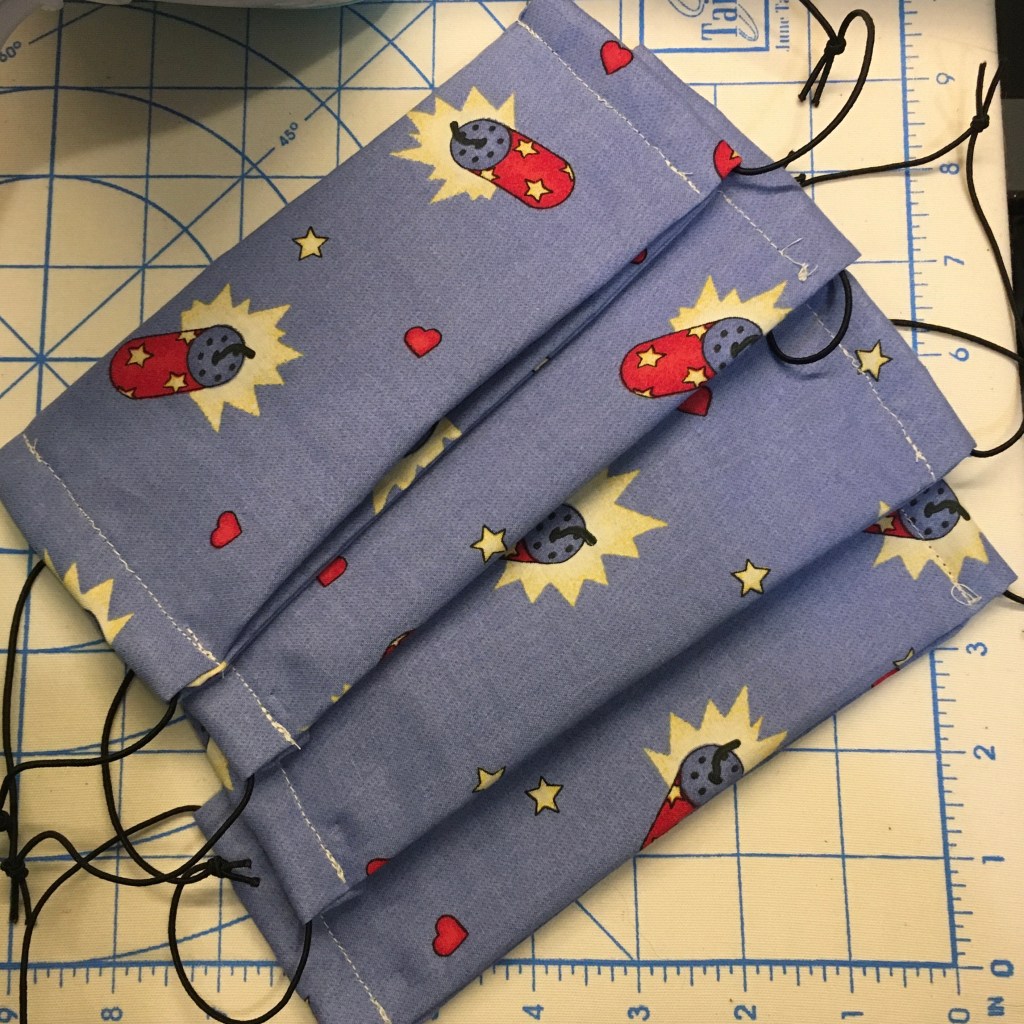
But I will eventually need to go to the grocery store, so I used the first pattern I printed (probably about two weeks ago, yeah). Then a day or so later I tried one of the accordion type masks. I think the pocket for a filter is important, and wire for the nose (because honestly my glasses fog up without it), so I incorporated those. I tried knit material straps and bias tape straps, and wasn’t impressed with either, but the knit were more comfortable (for a given level of comfort).
Making masks, first two
Then our local children’s hospital came to my rescue and published the pattern that they are asking people to make and donate. It has a filter pocket, nose wire, and a strap pocket so the elastic can be changed out. The construction is smart: easy to sew once you get the hang of it, and the masks lay nice and flat for storage, but form to the face when worn.
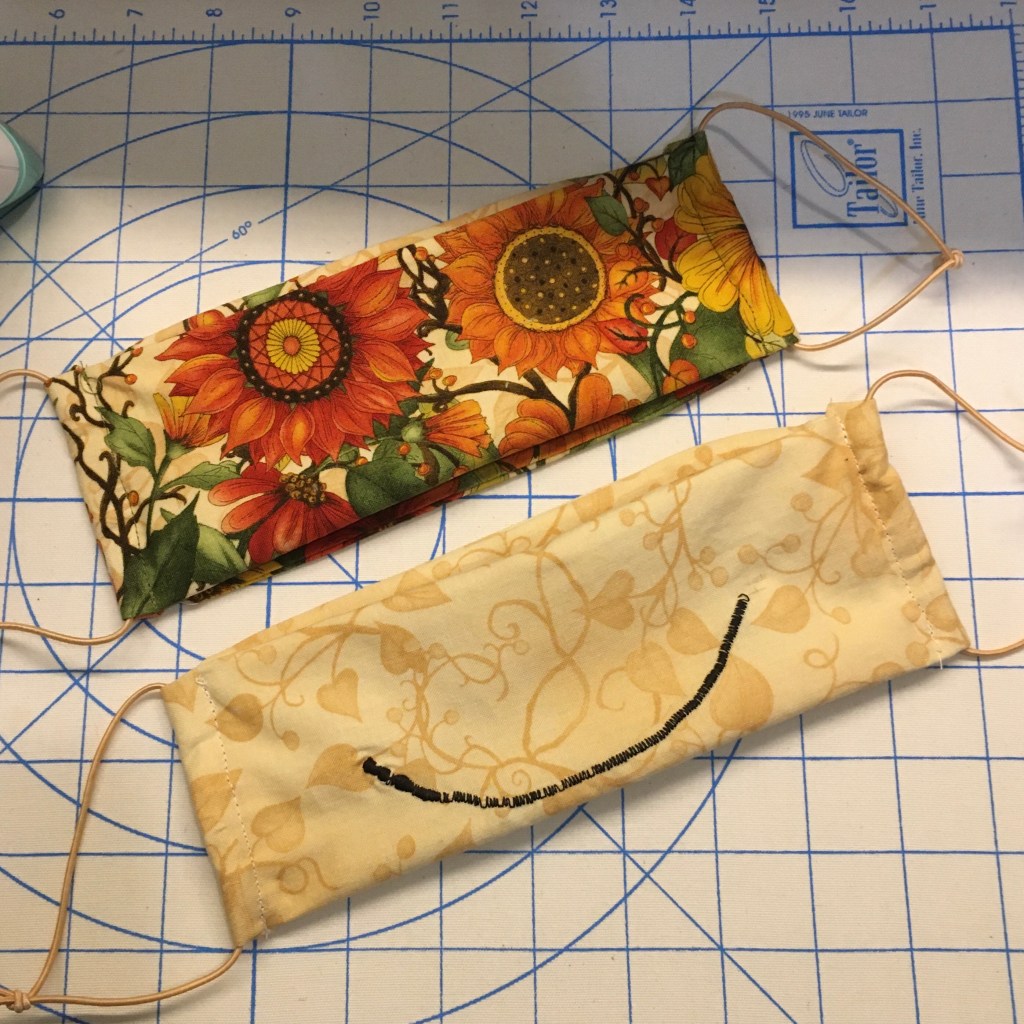
Trial runs of a hospital approved pattern
I made one with a smile, because the biggest problem I have with the masks is that you can’t see people’s facial expressions. It seems like everyone is mad all the time. My youngest likes the smile, my oldest thinks that it is creepy. Hmm, I tend to agree with my eldest.
I used some unused ballet shoe elastic I found in my stash for these tests, and the ear loops were more comfortable than I anticipated. I did try to make a button ear saver (a strip of fabric with buttons on each side), but it was more uncomfortable for me. By the way, HUGE shout out to all the people with 3D printers that are making the plastic ear savers and donating them. That is awesome. Love it! I love the creativity in all the different designs as well.
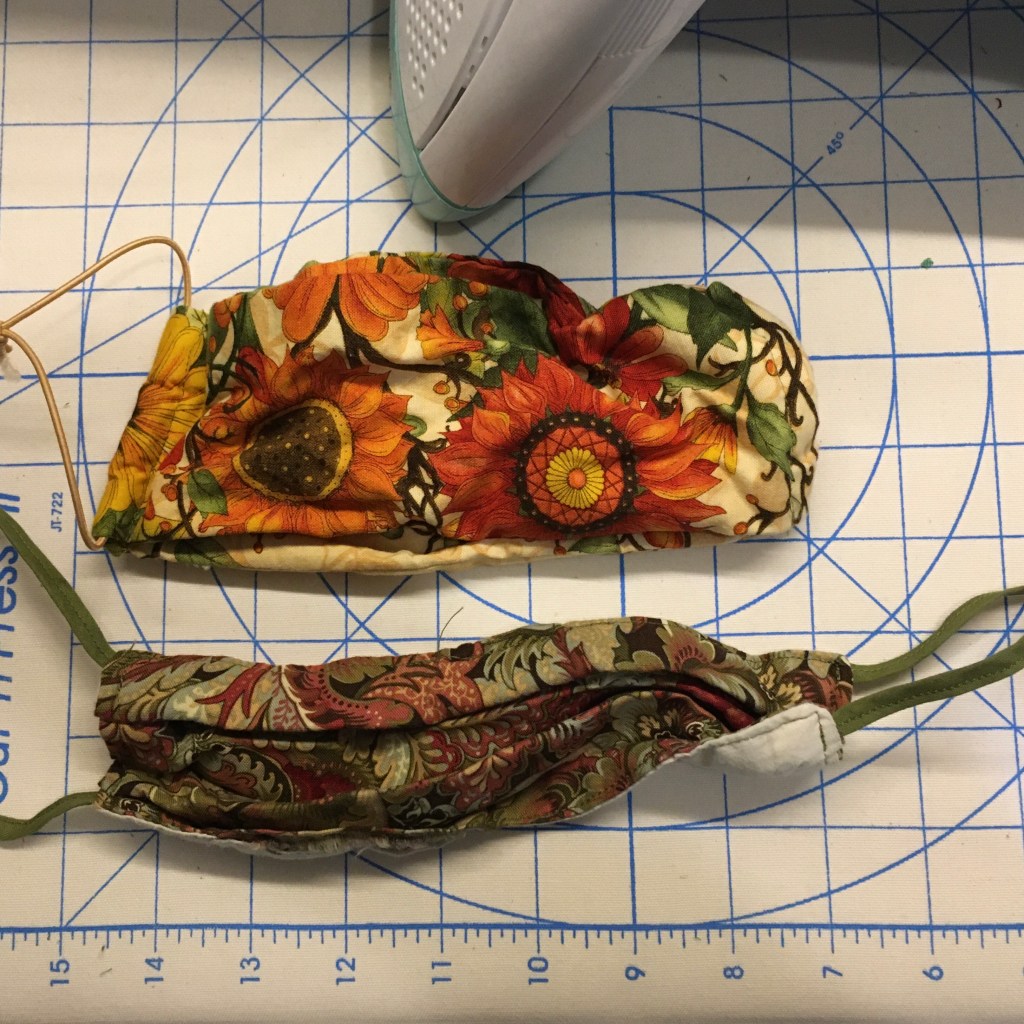
Masks after a wash before steaming
The hospital provided pattern also survives the wash better and is easier to steam flat than the accordion style. My family bought me the small ironing board and steamer a year ago, and it is very useful for these masks.