Shapes

This weaving had a two fold inspiration. My sister loves bees, and my daughter recently has been drawing the cutest simple bees. I did ask my eldest if it was OK that I borrow her bee style!

Bee and hexagon weaving, steamed flat
Back of weaving, before steaming

Things I like: My eldest suggested the bee abdomen have thicker stripes, which really turned out well with the thinner hatching stripes on the wings. Steaming also helped smooth things out.

Things I learned: I need to work on consistent angles. I used a cartoon (pattern), but decided to do the angle mathematically, up two over one, rather than follow the line. Or maybe I need to adjust my math.

Details: approximately 8”x8”, 100% cotton weft, warp suspected cotton (from stash), woven on an 8 sett frame loom. First and last pass twined. Warp drawn through piece to finish.

Curves

My next finished experimental weaving where I tried curves and hatching.

Front of cotton weaving
Back of cotton weaving

Things I like: Still like hatching. The curves are fun! I split the ends to be woven in, which made a huge difference on the neatness of the back.

Things I learned: Taking the time to do a continuous string heddle saves time and frustration especially when unweaving. Using a line drawing taped behind the loom as a guide is very helpful as well, however, I need to make sure I use the same viewing angle each time I reference the cartoon.

Details: approximately 8”x8”, 100% cotton weft, warp suspected cotton (from stash), woven on an 8 sett frame loom. First and last pass twined. Warp drawn through piece to finish.

Happy New Year! May this year be better than last (asking little). I have a few more wrap up items for posts from the holidays, then exciting new things for the new year!

Wooden ergonomic crochet hook

Well this was fun! I made a crochet hook out of a chunk of mesquite. Rather than a straight dowel (which are harder to hold and manipulate), I made a handle shaped to my hand, then chiseled out an indentation for my thumb. Then I shaped the actual shaft and hook. It took me a couple tries to get the length right (I used some scrap cotton to test), but found a good length and refined the head. I sanded down to 400 grit and sealed with tung oil. The shaft is a size K hook. I could probably have gone smaller, but we’ll see how this one performs. I sent it off to my Mom for the holidays!

Finished mesquite crochet hook
Back of crochet hook with wood burned lettering
Side of crochet hook

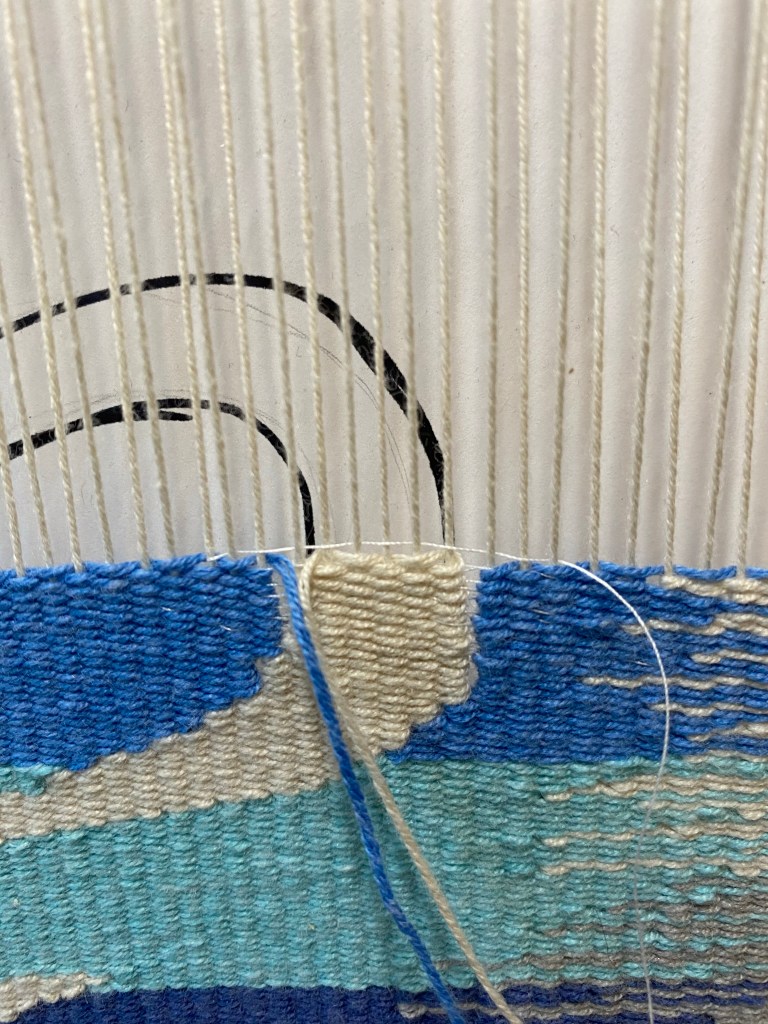
Hatching

I finished the first experiment with weaving with hatching.

Front of cotton woven cloth
Back of cotton woven cloth

Things I like: Hatching! Neat, neat technique with so many possibilities, and solid joins between colors.

Things I learned: Pay careful attention to each pass. Finding a missed warp thread four passes later is frustrating. No, I didn’t unweave, this is a learning piece. Also, weaving in the ends makes lumps on the back. Also, marking the warp threads with washable ink means you have to give the item a proper wash, not just a blocking. Even that doesn’t guarantee the ink will wash out of the white areas.

Details: approximately 8”x8”, 100% cotton weft, warp suspected cotton (from stash), woven on an 8 sett frame loom. First row twined to space warp threads. Warp drawn through piece to finish.

Wooden tongs

And the reveal… wooden tongs! I made wooden tongs as gifts this year. I used mesquite wood for the blades and wedge, but wasn’t confident with glue joints so learned to set brass pins. I posted on that previously, but didn’t show what I was actually making (spoilers).

Mesquite wood tongs shaped and sanded to 400 grit

After shaping and sanding, I did my usual water rinse to raise the grain, and was quite surprised that the mesquite was still quite smooth. I ran over everything with 400 grit again, just to be thorough. I added some embellishments with wood burning, then sealed with butcher block conditioner (which is a food safe mix of oils and wax).

Finished pair of tongs