Mail pick up (free printable)

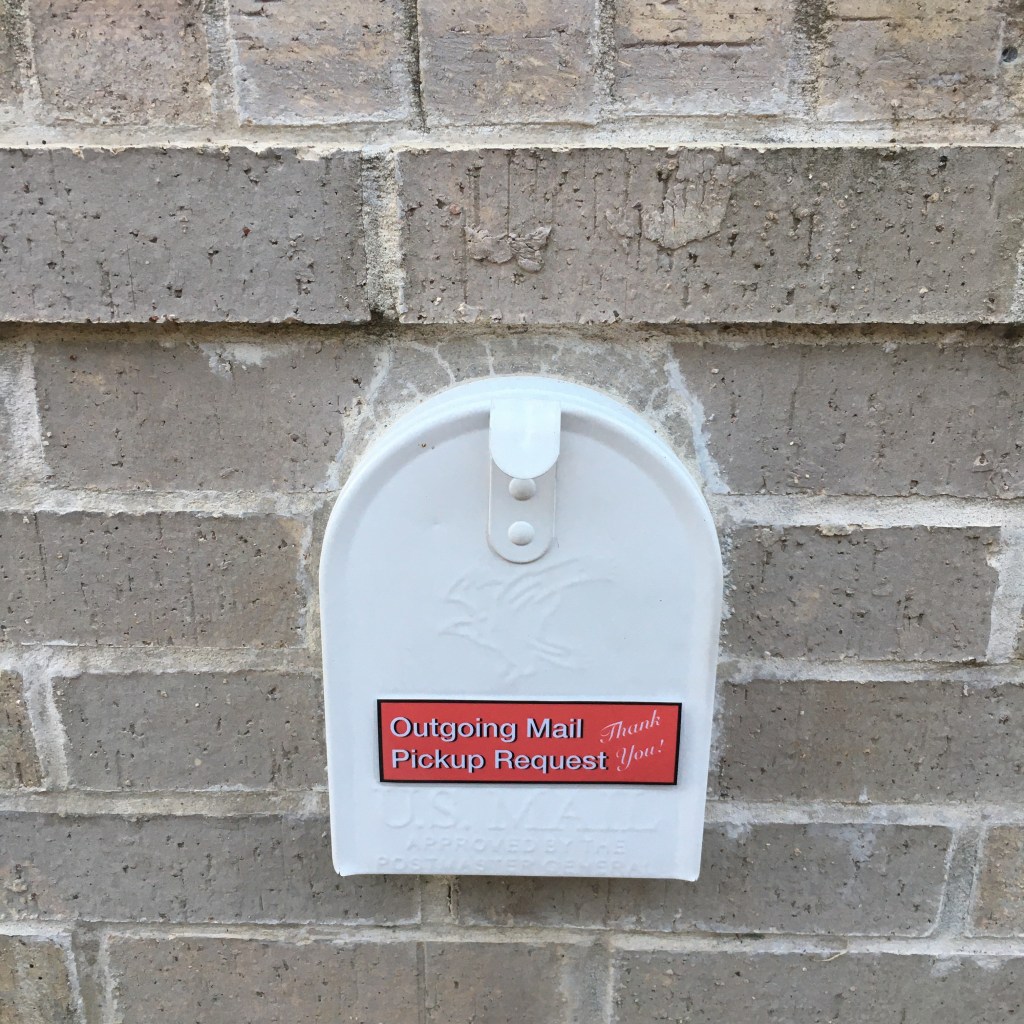
We have a nice brick mail box, with no mail pick up flag. I tried attaching one of those plastic retrofit flags, but refused to fix it again the second time it broke. While looking for possibilities, I saw a magnet that attaches to the front of the box. I can make that. I whipped up a simple graphic, laminated it, and used a section of self adhesive magnet tape on the back.

Mail flag magnet
Magnet stuck on back

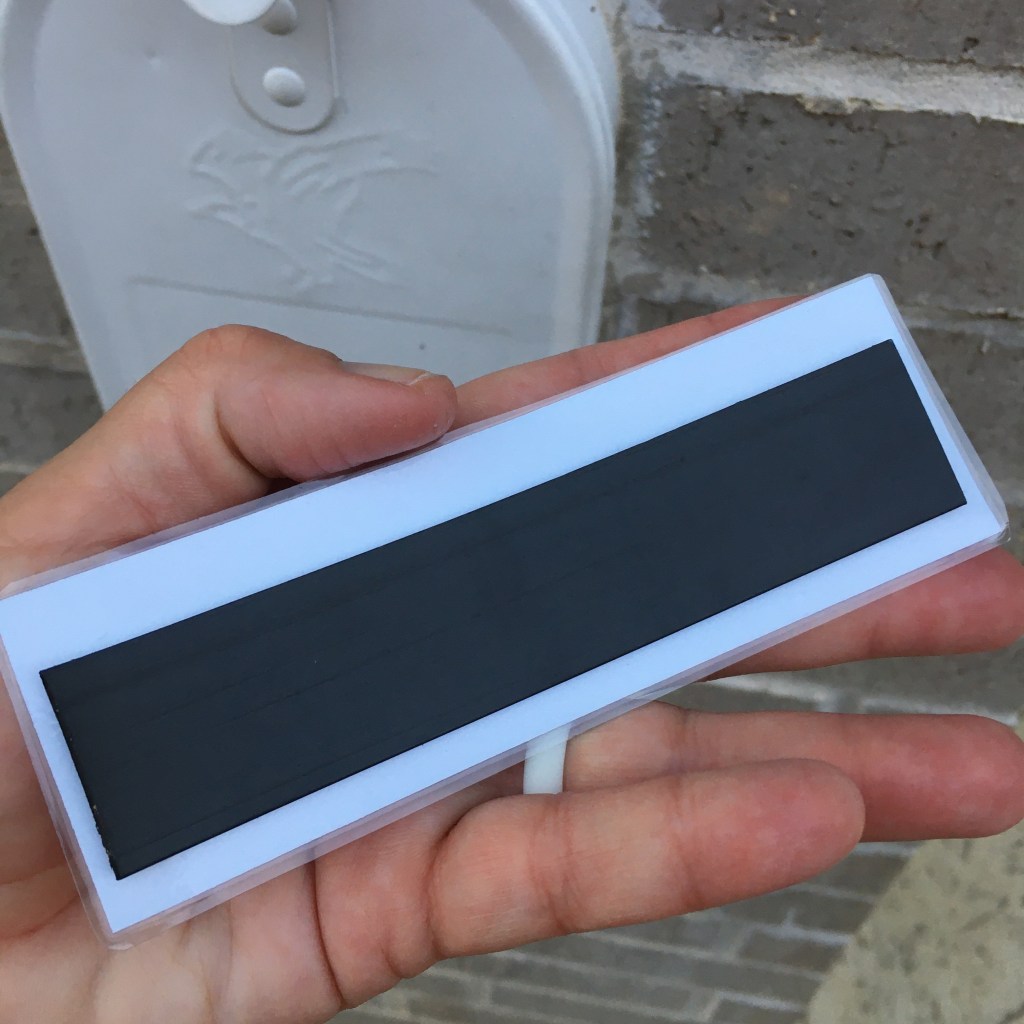
I was a little apprehensive to see how the mail person reacted, but when I went to check, there was the magnet, set neatly with my incoming mail, and the letter to go out was gone. Phew! And if it ever does go missing, it is easy and cheap to remake. If you want to make your own, print the graphic below on card stock (I printed mine 5” wide), laminate it (I used a heat laminator, but two pieces of clear shipping tape would work), and attach a self adhesive magnet to the back (available at craft or hobby stores).

Feel free to download and print your own!

Oh, that’s what it’s for

In searching for materials to make tassels the other day, I found an old ball of thin cotton yarn that I either inherited or picked up in a grab bag at a garage sale. It worked very nicely for the tassels I wanted. Then I noticed that it looked very much like the thread used in the weaving pictures, so of course I had to use it to warp my little loom and try weaving on it!

Purl & Loop weaving loom with found cotton warp threads

I used each peg on the loom with the found yarn. I couldn’t pack the yarn tight enough on a plain weave to cover the threads, but I figured out the Linen weave, and it covered the warp threads well. I also discovered that I can’t do the Linen weave during cocktail hour. Oops. At least it is a washcloth and still useful even if it is wonky.

Pulling the warp threads through the weaving

Pulling the warp threads through the work for the fringeless finishing method was easier too, but I don’t care for the look of the warp threads on the edge. I also tried weaving in the ends all along the selvage to strengthen it, but that needs either a rethink, or more practice.

Finished washcloth, still wonky, but practice is helping.

Tassels, two ways

One of our favorite teacher gifts to make is bookmarks, and special book marks need tassels. I don’t know why, but they do. (Even though the cat usually finds the tassels and pulls out the bookmark!) I have to look up how to make tassels every time, and every time I don’t like the tutorials I find. So here is the process I used this year, so I can find it next year, and maybe the information will benefit someone else as well.

40 wraps of thin cotton on a 3” rectangle of cardboard
Cut bottom loops only
Use another strand of string to tie the middle (if not using a bead, tie a loop)
Fold a string in half, thread through bead, tie the bead about 3” from the loop
Poke needle through the center of the bundle of string
Arrange string evenly around bead
Wrap tie from the bead toward the tassel, put the end through the loop, pull ends under wraps
A comb works well to straighten out the tassel strands
Trim tassel. Tassel on left has no bead, tassel on right has a bead

Well that went better

In reading more about weaving, and actually watching some videos (not in their entirety of course, I don’t have that kind of attention span), I noticed the warp yarns were further apart than my warp yarns. I grabbed a bag of variegated cotton bits and this time I tried skipping a peg between warp threads. I also used some tissue in the first two rows as spacers, and found a method for getting the sides more even by pulling the end warp thread away against the weft of each pass. I still have a little hour glass shape, but the tension across the whole piece is much, much better.

4 epi rather than 8 epi warp

With the wider warp, which I think would be 4 ends per inch (epi), I was able to pack down the weft (back and forth passes of yarn) to cover the warp (up and down) yarn. I get stripes instead of the interesting color play, but the finished fabric is so much softer and thicker. It was easy to pull the warp threads through the piece for the fringeless method of finishing, and easy to weave in the ends. (I actually enjoy weaving in the ends, but it is basically sewing, and I like needle work.) The colors are interesting; it is obvious that I’m working from leftover bits of yarn, but my youngest thinks the pink and rainbow is awesome. So there we go.

Finished worsted weight cotton washcloth 4 epi

Another go

I had some more of the variegated cotton yarn, so I attempted another weaving with my mini loom. I am not particularly fond of variegated yarn for crochet or knitting (I’ve had this cone of cotton for probably over 10 years), but I quite like the effect using it for the warp and weft of weaving.

Trying a smaller weaving project

I gave myself more room on the loom this time, going for a smaller washcloth. I’m still having trouble with tension, but it is getting better. I tried some areas of linen weave, but I don’t quite have my head wrapped around the technique yet. More practice is required. It was easier to pull the weft through the work for the fringeless method to finish off the washcloth, so working smaller was a good choice.

Finished cotton wash cloth

I still have the loose edges issue, but it is better. I think I have some more variegated yarn around here somewhere…