Starting small

I was curious about how a top down cardigan might be constructed. I purchased a knitting pattern, but was quickly overwhelmed reading through. I decided I needed to start small, with scrap yarn, so found free instructions on how to knit a cardigan for a doll. I don’t need as much yarn or time for doll clothes as I would for human-sized apparel, it gives me a good idea on how construction proceeds, and it makes my youngest happy.

Starting a doll cardigan, top down

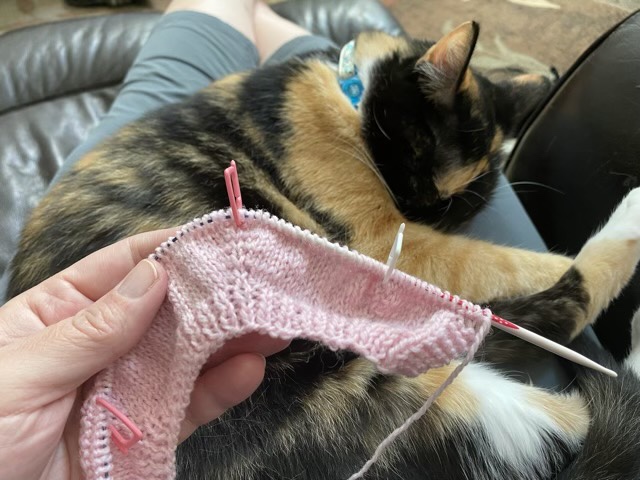
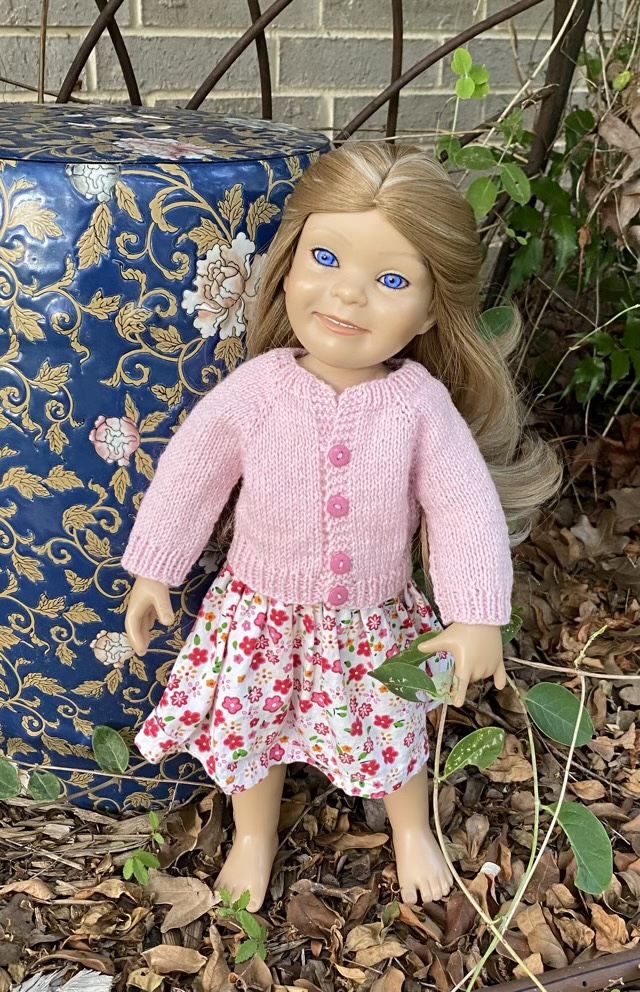
So a raglan sleeved cardigan knitted top down is a brilliant thing. There are less seams to match, and it is easier to do custom sleeve and body lengths (which my entire family needs). My doll sweater has some mistakes, but the purpose was to understand, not be perfect. I’m quite pleased with the knowledge gained.

Finished raglan cardigan with pink buttons on a 16” doll

I have made human sized garments, but they have been mostly ill fitting. But I feel my knitting skills are improving, and I am ready to move on from hats and scarves. I do have two in-process projects to wrap up before rushing onward, perhaps this idea will provide motivation.

Tassels

The time has come for the annual production of bookmarks. Each year I make book marks for my youngest’s teachers with her picture and an inspirational saying. I also make book mark tassels to coordinate with the picture. This year I’m using thin yarn from my stash, and upping the bling factor by using crimp beads to round off the heads.

I’m using a 6”x2” piece of plastic as a guide. I cut a 6” length of both yarns, then do 20 wraps of yarn around the guide.
I tie an overhand knot at the ends of the 6” pieces of yarn.
I hide the knot in the yarn loops.
Then cut the bottom of all the loops.
Using common whipping, I secure the cut bits of yarn.
Then trim the bottom of the tassel straight.
Finally, I use a short piece of wire to thread the top loop through the crimp bead and lock it down with crimp bead pliers to round the tassel head.

Finishing

I have a new rolling pin! After several coats of tung oil, my rolling pin is done. I will probably wait about a week to use it to make sure the tung oil is solid, but I’m very excited to get back to making sourdough discard crackers, and maybe some pie crusts.

Finished repaired rolling pin

I hope you enjoyed this series. I did draw it out quite a bit, but decided to run it sequentially, which I don’t normally do, so the thread is easier to follow for those that stumble across it later.

(Part 8 of 8 in this blog series)

Adding color

I love, love my wood burned Celtic knot morning glories on my rolling pin, but I feel it could use some color. With the lines solidly established, I felt confident adding some diluted acrylic paint to make the design pop.

Adding acrylic paint to the wood burned design

I know from experience that acrylic paint does well under coats of tung oil, so I am not in fear of losing this design to mineral spirits. But I have a new problem. The old rolling pin handles are a different wood and thus a different shade than the new rolling pin center. Not pleasingly, either. Paint to the rescue. I sanded down the old finish on the handles to prep for paint.

One handle in the original color, one sanded down before painting.

I used the darkest blue acrylic paint that I used in the design to paint the handles. Next step, finishing!

(Part 7 of 8 in this blog series)

Wood burning

I was gifted a professional wood burner setup last December, and it has been waiting for me to clean up my craft space and find a project to burn. The wait has ended. I liked the pencil drawing on my wooden rolling pin so much I thought wood burning would be the best next step. I read through my instructions and flipped through a detailed book, then practiced on one of the rolling pin’s cut off ends.

Practicing with my new wood burner

I am in love. The wire writing tip for the wood burner is absolutely fantastic. There is a bit of learning curve with temperature settings and speed of burn, but I am loving the results.

Partially wood burned rolling pin

The writing tip burns the line I want without making deep marks that would transfer to dough. The burn is deep enough, though, to hold up to light sanding to remove stray pencil marks. But not so deep that I can’t use a blade to lightly scrape away mistakes.

Wood burn complete

So exciting! This opens up a whole new world for my wood work.

(Part 6 of 8 in this blog series)