Years ago I crocheted the mermaid tail blankets that were all the rage for my girls. The idea was cool, but they never used them. Getting in and out of a leg hugging device is a pain.
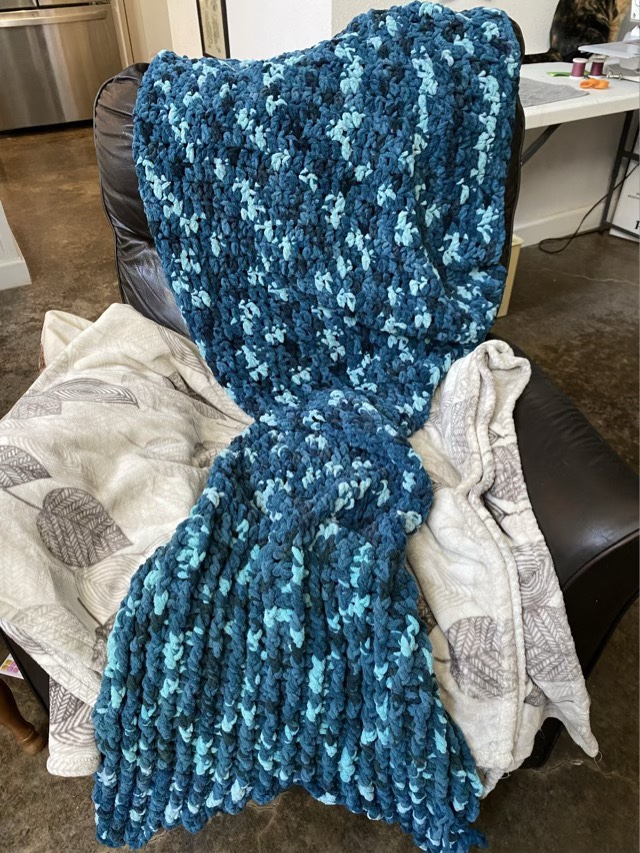
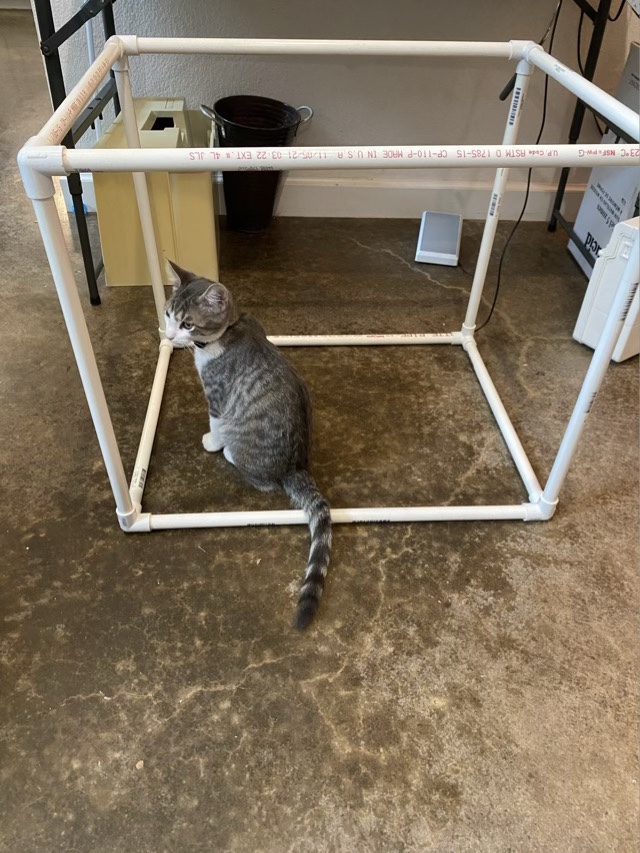
With my girl’s great room switch this summer, I found the blankets tucked in the back of their closets. One got sent to recycling, but Izzy the cat gave me an idea for the second.
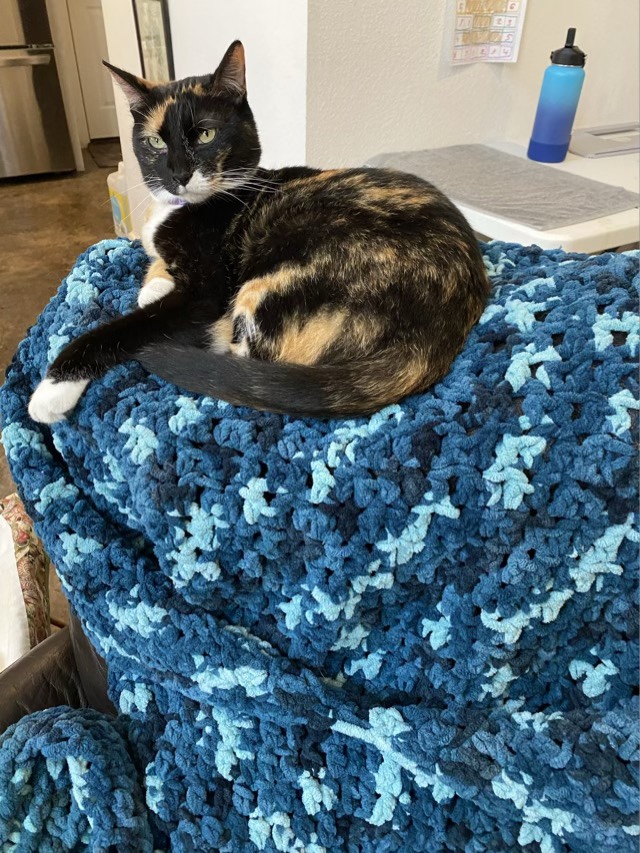
Rather than sending the blanket for someone else to recycle, I could frog it (rip it, rip it out) and reuse the yarn. Bernat makes a wonderful blanket yarn that doesn’t shed and holds up well after years. So I found the end (by the way, weaving in the ends really does secure them well, it took forever to free the yarn!), and rather than undo all the stitches and wind a ball, I’m crocheting from one project to another. I frog a bit, crochet a bit, repeat. It skips the ball winding part and deprives the kitten of an opportunity to unwind the ball of yarn. What am I making? Cat mats. I use a smaller hook, and a single crochet stitch and make a rectangular mat. The blanket yarn and stitch make it thick and sturdy, and Izzy completely approves of the finished project.

In the background of the picture is an amigurumi bunny, also made of blanket yarn. I’m developing a mix and match pattern and will be teaching an upcoming class. The yarn from the blanket it too dark for critters, but I can take the mats to our local no-kill shelter.