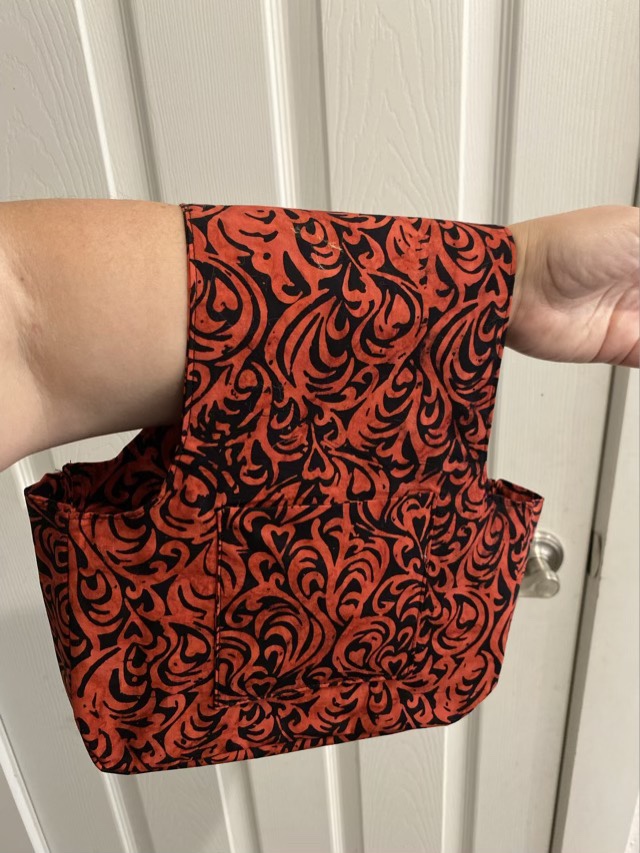
I made up a few arm bags to sell at our local craft store. I love these bags. I love having my yarn up close, and not having to draw it from a container on a table or the floor. They make it possible to stand or walk and craft as well. The wide handle lays comfortably on my forearm, there is enough room to reach into the bag while it is on my arm, and there are two pockets! Pockets are important. I make them with 100% cotton quilting quality fabric.
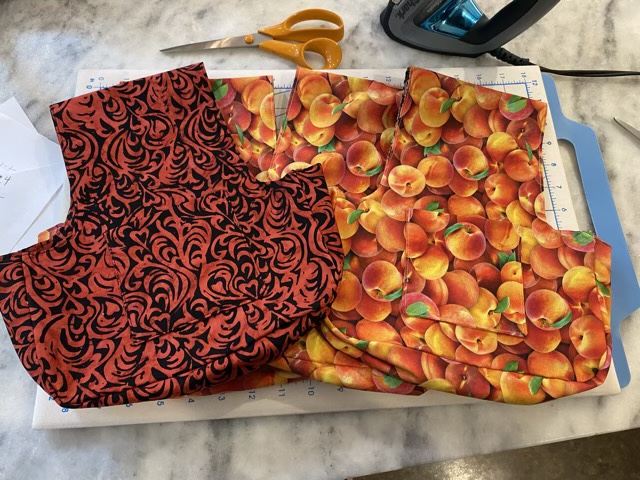
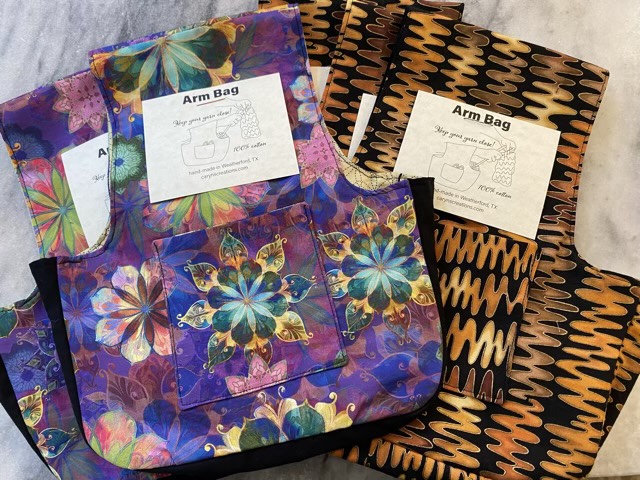
Arm bag on my armSome more fabric patternsA few more fabric colors
I commissioned my eldest for the drawing on the tags, as I was busy sewing. I think it came out well. These are currently sold exclusively at NerdCraft in Weatherford, TX.
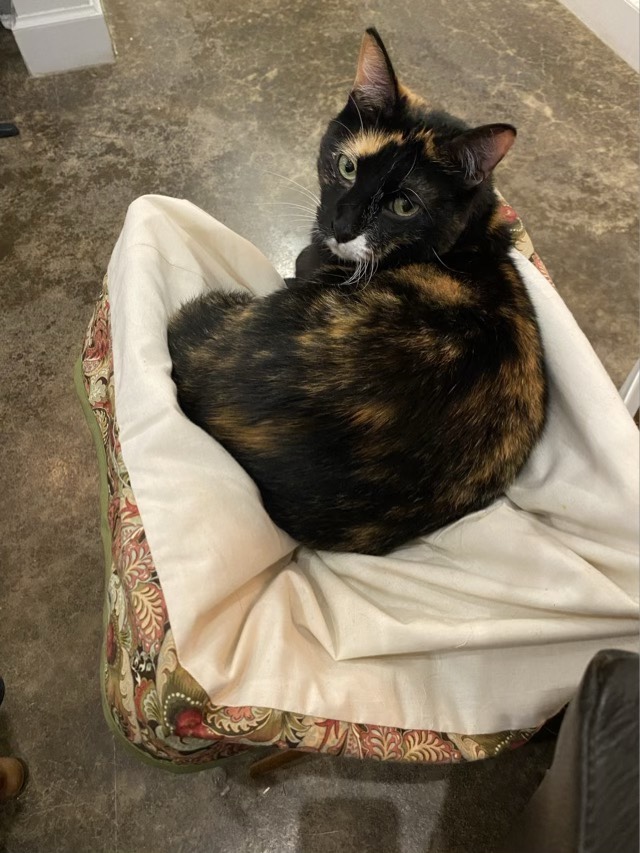
My knitting bag next to my chair was my grandmother’s. It has a fold out wooden frame and inside pockets (pockets are important). With a kitten in the house, I need to keep it covered and keep him out of my yarn. I’ve tried several things, then rediscovered a basket lining I made years ago. Inside out, it makes a great cover. I would like to put some elastic in, to give it a snug fit, but even without it does the job of protecting my yarn. The kitten likes it, so my older cat, Izzy, thought she would give it a go.
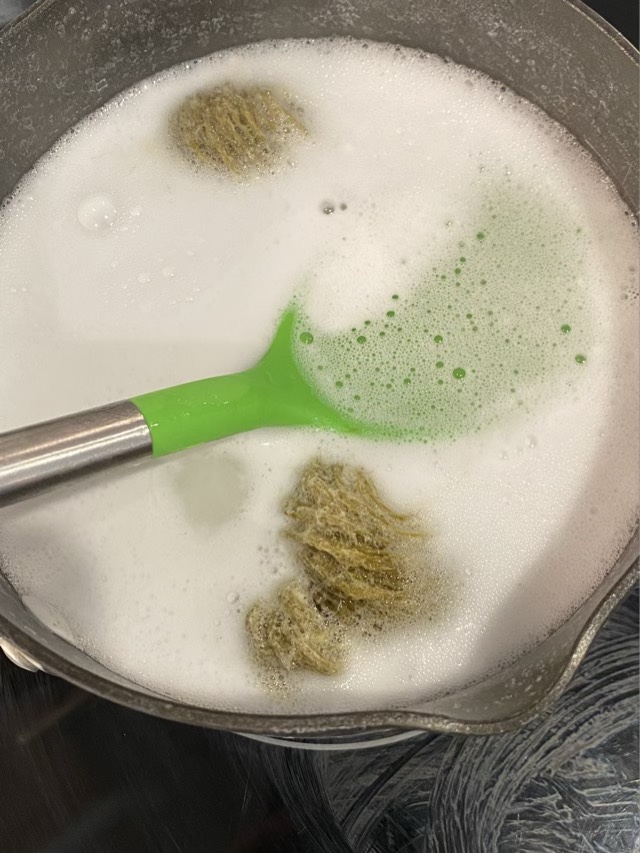
To finish spun flax yarn, also known as linen yarn, author Stephanie Gaustad recommends simmering it for 30-45 minutes in a solution of soap and washing soda. I admit I have been avoiding this step for awhile. The treatment of plant fibers is very different than the handling of animal fibers, particularly those that felt easily. I admit apprehension. I finally did take the time to do the finishing step, and my yarn changed color. What?
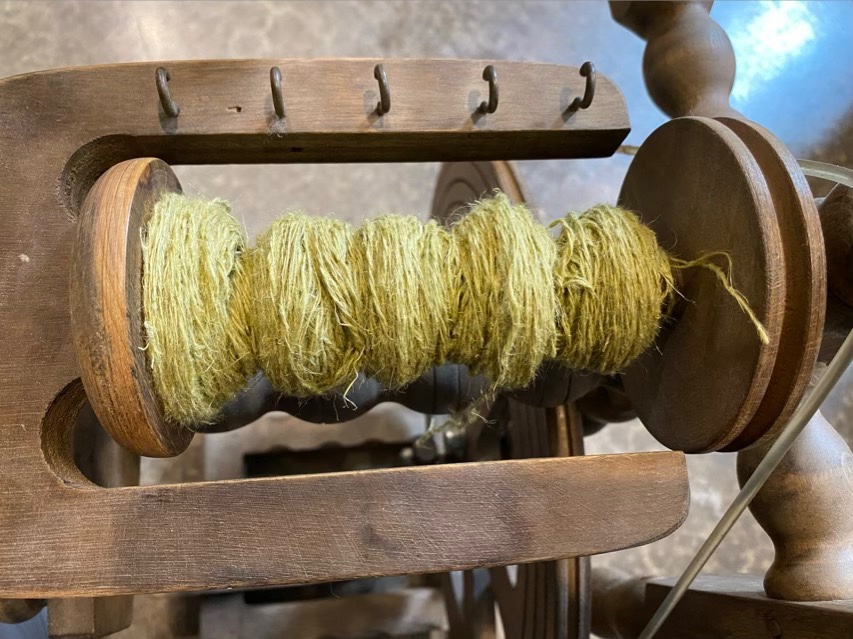
Plied linen yarn (from flax roving)
My flax roving was from a questionable online purchase. Very little information was supplied, when I received it, it was confusingly labeled both “flax” and “nettle”, and I learned later that roving is an unusual preparation for flax, usually made of the combed discards from making the long staple length flax preparation (called a strick). Definitely a flax rookie purchase. Still, I was able to spin it after much trial and error, and ply it using my spinning wheel.
First minute of simmering
I started the finishing process and as it progressed the greenish yellow color of the yarn turned dark.
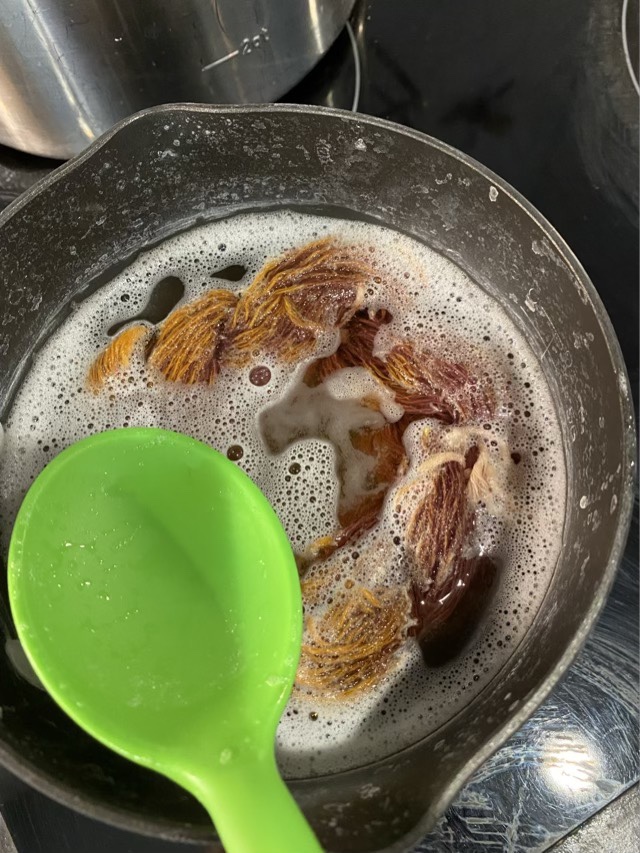
Yarn color darkening Out of the boil and rinsed in cool water, it is purple
After the full boil, my yarn was purple. What? Another rookie learning opportunity. Nettle can be used as a dye, and iron is used by dyers to modify dye colors. I used water from the tap to do my boil, which comes from our well, which definitely contains iron. Hm. I had yet another surprise coming, though.
The dried yarn is orange
After I rinsed and squeezed out the excess water, I hung the yarn up to dry. It turned orange. Really? Really.
There are many lessons learned here. Flax roving is a difficult thing to spin, but possible. Nettle can be used as a dye as well as a fiber source, and natural dyes are sensitive to mineral content in water. I can tell you that I won’t be spinning flax roving again, although I do want to try a traditional preparation. I have never been a fan of dye, and would rather work with natural colors. I like color, but I don’t like color change and color bleed. Dying is a fiddly chemical process.
The next step for this yarn is making sample swatches for my spinning book. All this lovely gained knowledge carefully documented and preserved so I don’t make the same choices again.
I took a needle felting class! So cool, and much easier than I imagined. The instructor, Joyce Hazlerig, is phenomenal, and I came away with pockets overflowing with tips and tricks. In class we made cute little bearded gnomes.
My felted gnome from class
The neatest thing about needle felting is that it combines with all my other fiber crafts. I can add needle felted embellishments to anything felt-able. (Insert maniacal mad inventor laugh here. Do picture both hands raised in triumph as well.)
I recently created a PDF pattern for a local yarn shop. It is the owner’s pattern, but they needed it taken from written shorthand to a sharable PDF. It is a cute little peachy amigurumi, and in testing the pattern, I made up 6 little peaches.
Peach amigurumi
The pattern is by Anniewhere at NerdCraft. I’m very excited about the wool yarn I used for the body of the peach, because it was locally spun and dyed by Texas Prairie Fiber Co. I love using locally produced supplies! The leaves I made from my own handspun yarn, that I spun from Blue Faced Leicester and silk blended roving dyed by Frabjous Fibers. This turned out to be quite the collaborative project.
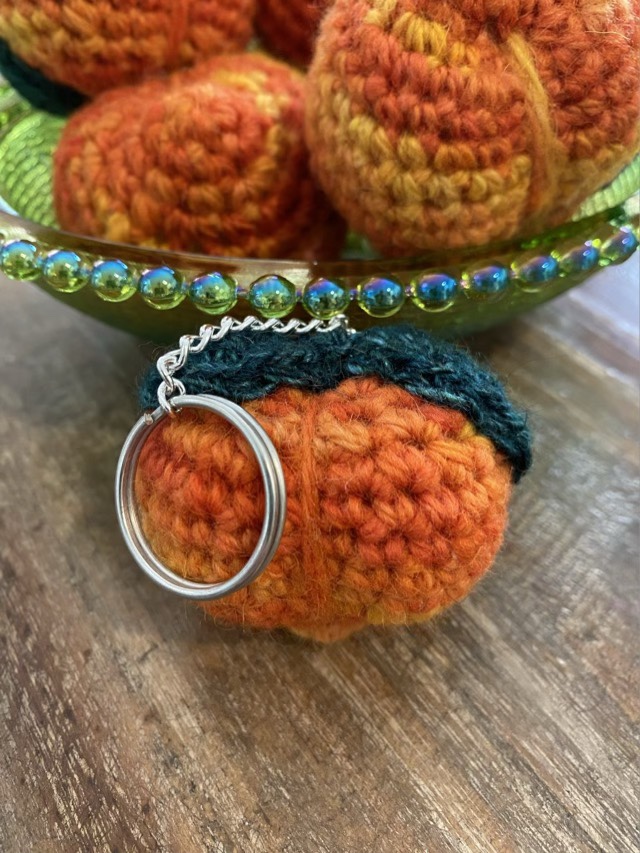
Keychain peach amigurumi
I did make each one into a keychain by sewing on some chain and attaching a split ring. I used hand-spun alpaca scraps from a naturally brown alpaca (Aimee) to sew on the chain. So each peach has a little brown stem.