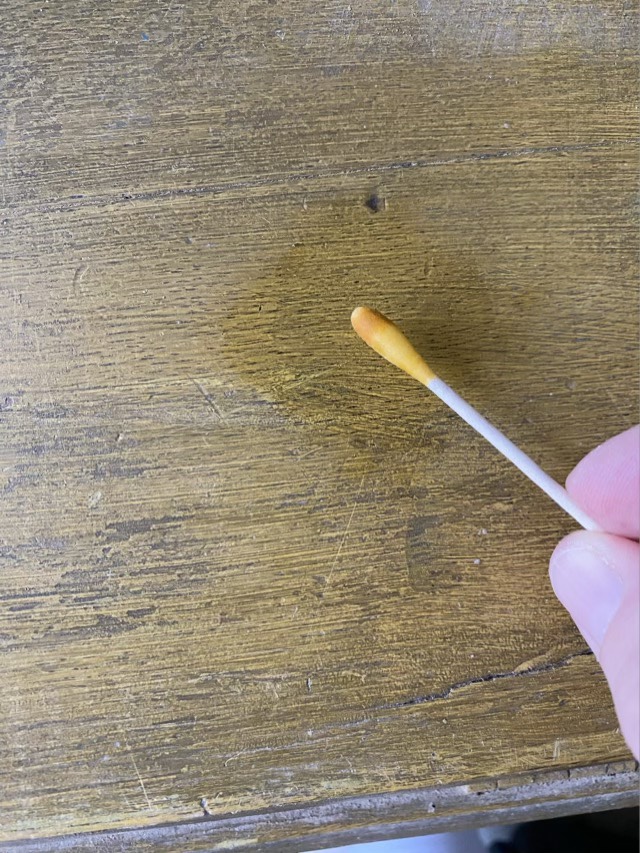
The cabinet of my 1907 model 27 Singer Sewing Machine is yellow. Hm. Pinging online groups, there is a general consensus that they didn’t come in yellow. Prompted, I looked at the hinges, and yes, the hinges and screws also had yellow paint, so someone, during the life of the machine, had thinly painted it yellow. Sigh. The next question, how long ago? Was there lead in the paint? I purchased a lead test kit, followed the directions, and happily, no pink. If the swab or surface turns pink or magenta, it indicates the presence of lead. Since it isn’t lead paint, and it is not original, when the weather cools off here I’ll strip the paint and refinish.
Photo description: Antiqued yellow wood surface showing a wet round area and a yellow swab.
My husband and I removed the sewing machine head from the base (there were two small set screws that were not seized) of my Singer model 27-3 sewing machine so I could start the cleaning process.
Photo Description: Antique, worn, and dirty sewing machine head on cardboard on a work table.
I’m following the advice in the book “Treadle Sewing Machines: Clean and Use an Iron Lady” by Donna Kohler. I have also found digital scans of the owners manual and an adjusters manual for a 127-128, which I’m told by YouTube is close enough to my 27. I’m photo documenting as much as I can along the way. I’m also not in a rush, this is going to take some time, so the machine has a dedicated table in the craft room and I’ll post about interesting observations along the way.
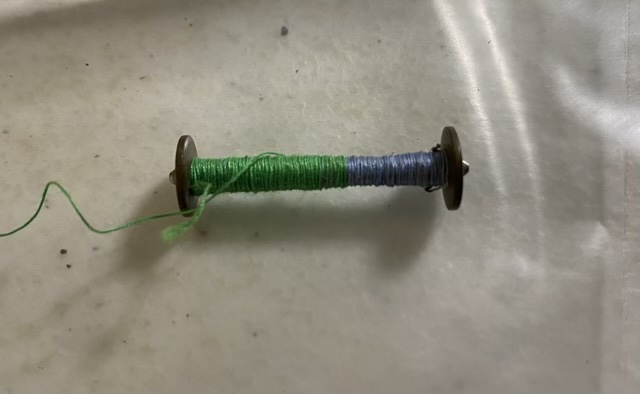
My first discovery was that the previous user of the machine didn’t remove old thread on the bobbins before winding on new thread, which blows my mind. I see how it would save time in the short term, not unwinding, but it reduces the amount of space for new thread, so the bobbin has to be wound more often. An interesting choice for certain. Some of the bobbins had four different colors of thread.
Photo description: Long bobbin wrapped with green thread over blue thread.
To give you an idea of the level of grime I’m dealing with, past the spider webs and mud-dauber nests, below is a photo of the underside of the needle plate. To remove the needle plate I needed to add PB Blaster and let it sit for about five minutes, then the screw backed out smoothly. Underneath was a build up of lint, oil, and dirt.
Photo description: Round area around the feed dogs where the needle plate was removed, with brown dried oil stains and a thick build up of lint.
There are YouTube videos of machines in worse states. I know this one was well used, and I want to keep as much of the patina as I can. The black finish flakes off when it is touched, so I need to be very careful not to remove what decoration is left. This will definitely be an ongoing project, and I’ll post about interesting things as I find them.
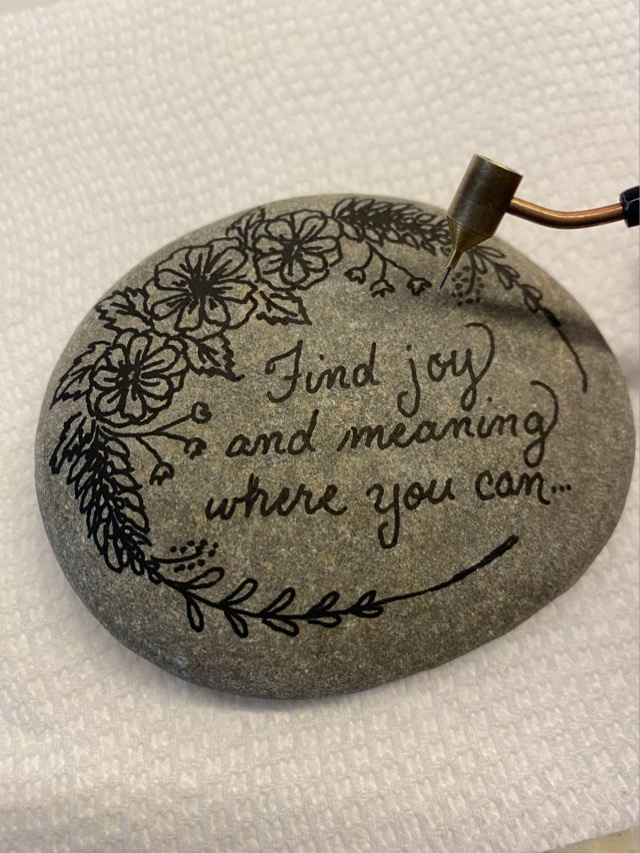
One of my favorite things to do with the Adobe Fresco app is try out an art project before attempting it with traditional art media. This method worked particularly well on a recent painted rock commissioned project. I took a picture of my rock, and was able to practice different techniques in the digital cloud before committing them to the real.
Photo description: Round river rock picture with digitally created “Find joy and meaning where you can” surrounded by line art flowers. Created in Adobe Fresco with an Apple Pencil using an oil brush.Picture description: same river rock with black ink in a similar pattern, created with a “gold pen”.
The gold pen, which has a tiny metal tube attached to small ink well, is my new favorite tool. It allows me to make fine even lines, even on rock (but it has to be a smooth rock).
Photo description: Partially repaired ripped inside pocket of worn Levi’s jeans with white thread woven through the fabric to secure on left side, and the needle inserted halfway.
My husband’s Levi’s jeans had a front pocket failure: the inside pocket fabric ripped where it was worn from use. The jeans themselves are still in good condition, so to mend the pocket I wove thread across the rip to strengthen the weak fabric as well as to close the hole. Using a whip stitch wouldn’t last long because the edges of the fabric are worn and are more likely to rip again. By weaving across the opening, the new thread extends into sound fabric, and it should hold longer.
I noticed that my eldest’s Prisma colored pencil case was full of pencil tips. My hypothesis is that the pencils got sharpened, then the tips break in transit. To try to prevent future breakage, I grabbed a strip of foam sheet and used double stick tape to hold it in the end of the box.
Photo description: Shallow metal box with six sharpened colored pencils, and a white strip of foam at the end next to the pencil tips. Off the sides of the box are a pair of scissors, more foam sheet, double stick tape, and unsharpened pencils.