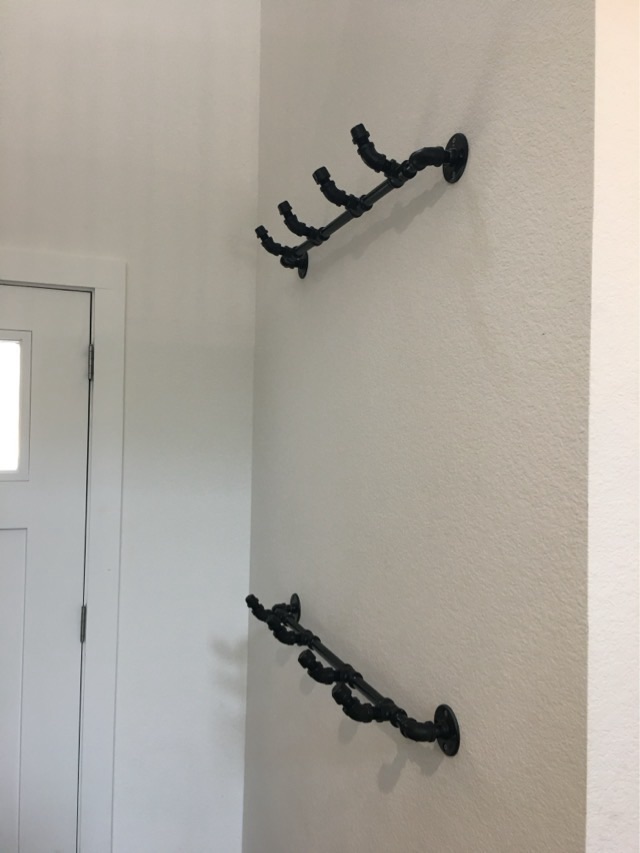
In August 2018 I made two coat racks from black iron pipe for my “modern farmhouse” style home.
Photo description: two wall mounted coat racks made from black iron pipe pieces
Each coat rack uses: two base plates, two 90 degree angles, 2 one-inch threaded pipes, 3 four-and-a-half inch threaded pipes, 4 T joints, 4 forty-five degree elbows, and 4 caps.
In “belt and suspenders” style, I superglued the screw joins to keep the angles, then filled the pipes with two-part epoxy. Once the epoxy cured I screwed them to the wall on the studs.
Photo description: backpacks hanging on the iron pipe racks
I can report that 8 years later these racks are just as sturdy as the day I installed them. With the epoxy inside there is no taking them apart!
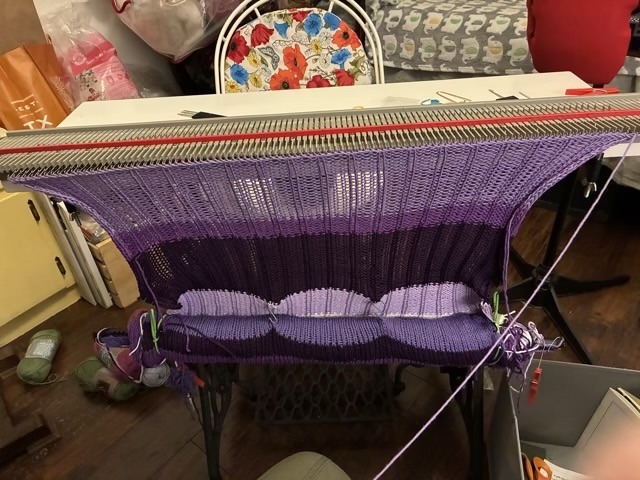
I did another full width (100 stitches) knitting project on my “incredible sweater machine”. I wanted to make a shawl with random purple stripes, and originally intended it to be 65” long and calculated it needed 350 rows of knitting.
Photo description: The incredible knitting machine set up on a narrow table with purple cotton yarn in four shades plus white, last row is finished and backstitched
I tracked the hours I spent at the knitting machine using a row counter app (Knitting Chart), and when I bound off I had put in 8 hours to make 350 rows, which is much faster than I hand knit. I also had better focus, this project on regular needles would have sat for long periods of time. I did put in a rib every four stitches, and hooking up the perl ladders did slow down the process, but it was worth the time to have the shawl lay flatter and add interest to both sides.
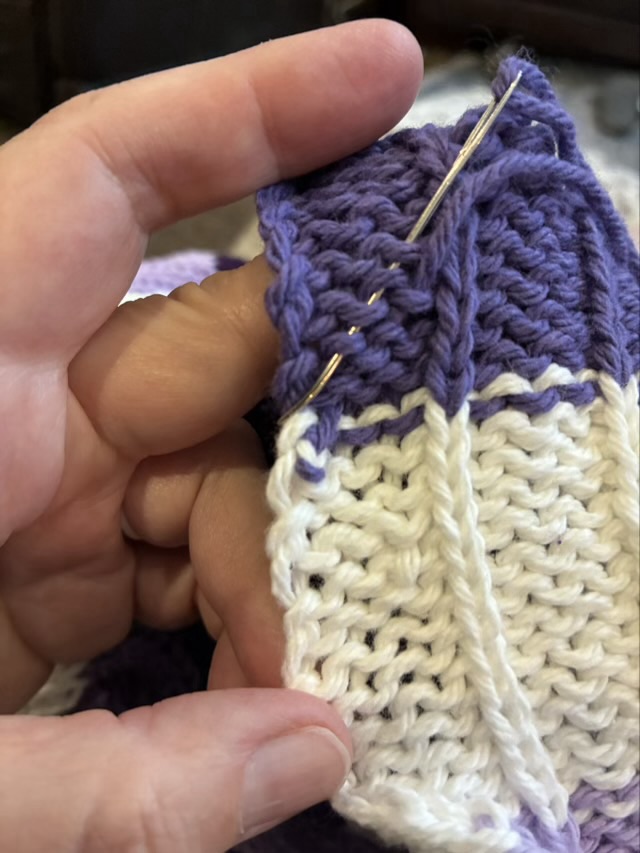
I wove in the ends my favorite way with knit: at an angle on the perl side.
Photo description: weaving in ends with a large eye needle on the perl side, going under the perl bumps at an angle
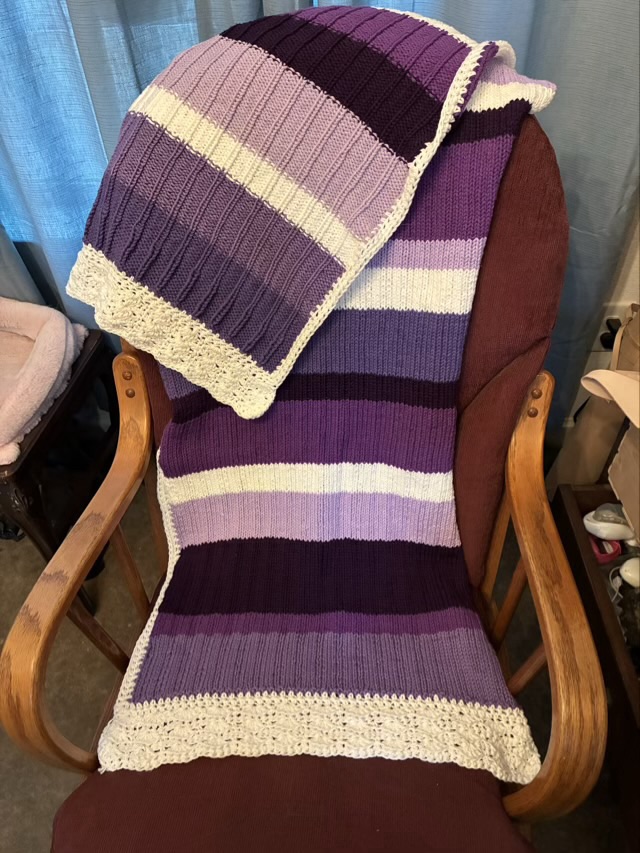
The cotton yarn knit tighter than my acrylic gauge swatch, so I didn’t make it to my desired length. I decided to crochet along the edges, a half double crochet stitch every other knit stitch, then added shell lace to the ends.
Photo description: glider chair with machine knit shawl in purples and white stripes with crocheted lace edges, showing both sides of the knit and crochet, pre-blocking
I steam blocked the shawl using a steamer and ironing board, which really helped even out the stitches and relax the curl.
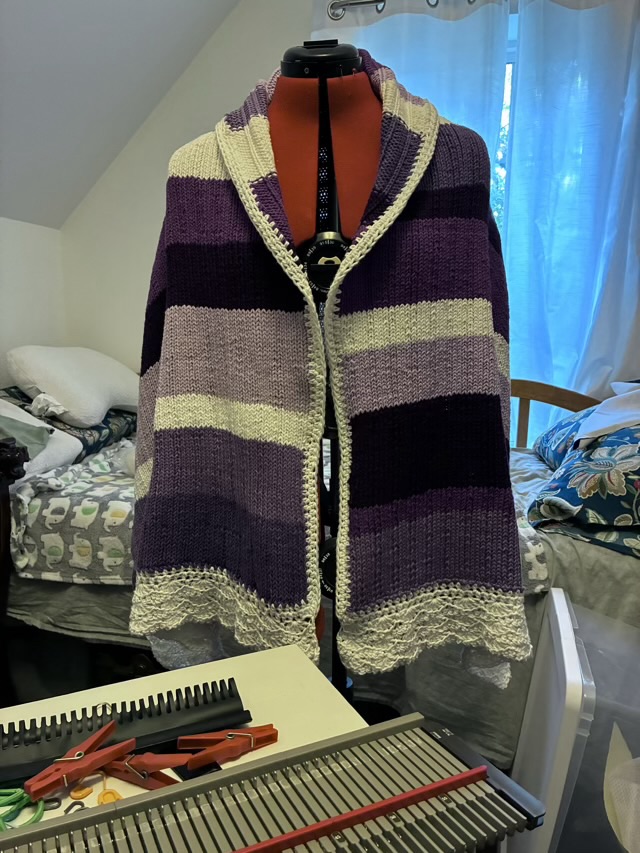
Photo description: striped shawl on an ironing board, steamed areas on the counterPhoto description: finished shawl on a dress mannequin with the sweater machine in the foreground
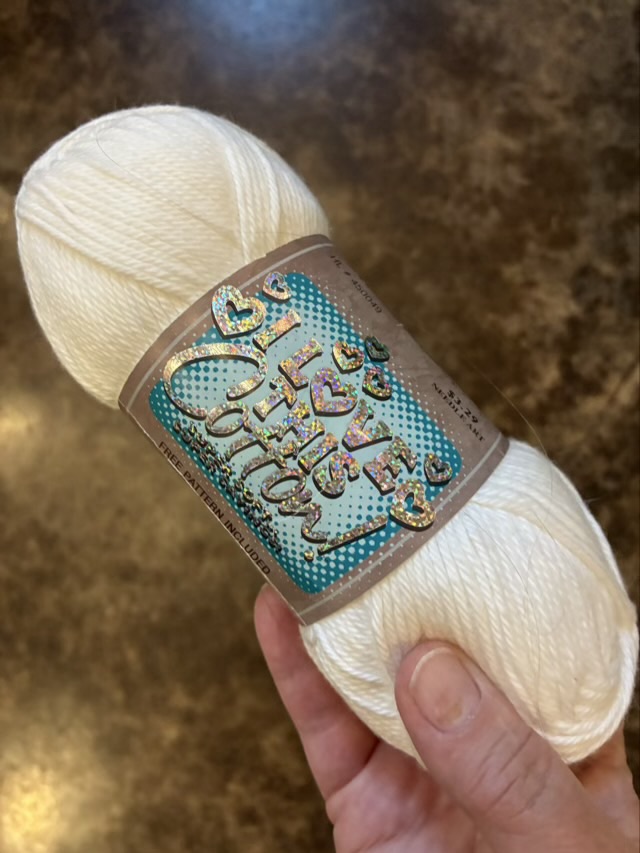
I have found an exception to my rule of always taking yarn from the center of the commercial skein. The “I love this yarn” in cotton produces repeated yarn barf if drawn out from the center: clumps of tangled yarn that pop out of the skein like an angry Obscurus.
Photo description: white cotton yarn skein from the brand “I love this yarn”
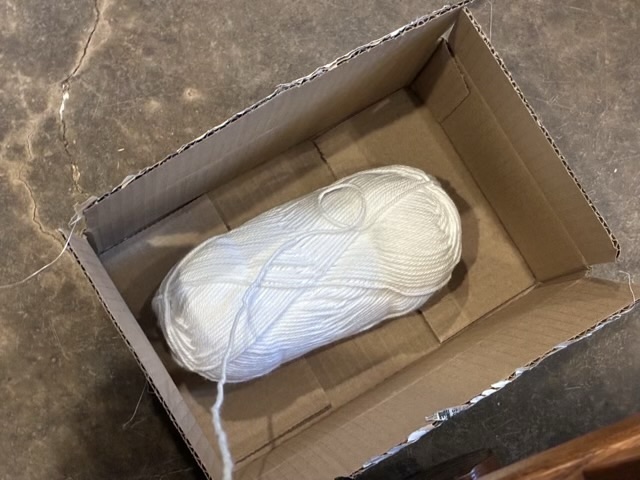
For these skeins, I pull yarn from the outside. To keep the yarn from getting away as it flips around, I put it in a box.
Photo description: white skein of cotton yarn in a small cardboard box with the yarn coming off the outside of the skein.
I see why the free hanging yarn holders are popular, they are for the “take the yarn from the outside” crafters, which is a fine method for cotton yarn. There are many ways to do things, it is good to experiment to find what works for you or the particular material you are working with.
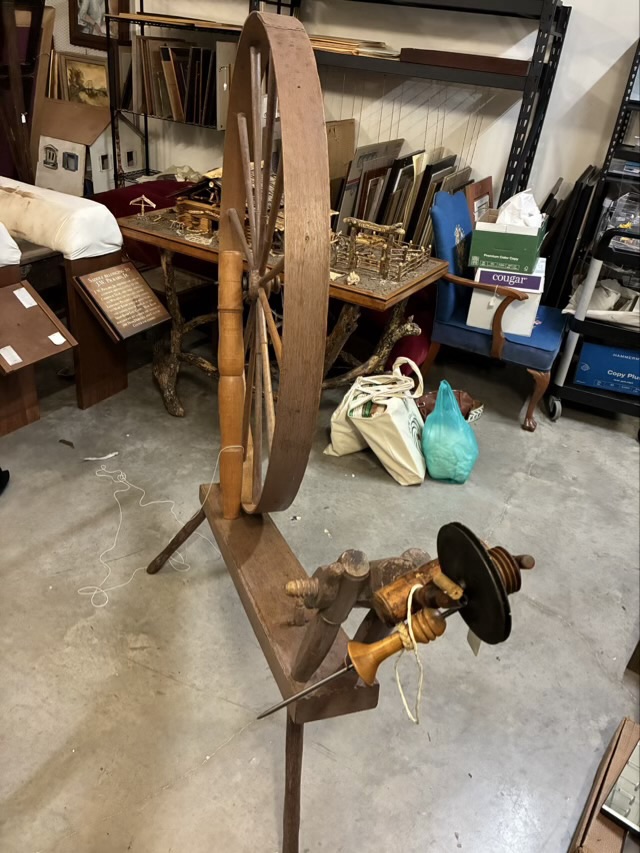
I had the opportunity to make friends with another walking wheel! I went to the Doss Heritage and Culture Center in Weatherford, Texas and met with the lovely people working there with the collections and events. They let me go down to the basement where there were two antique walking wheels, one with all the parts, albeit with some field-expedient repairs, and another missing the spindle and accelerator wheel.
Photo description: great wheel before I startedPhoto description: mother-of-all with spindle and accelerator head
I took off the mother-of-all, which holds the maidens, accelerator head, and spindle, to get a good look at the condition. I’m fairly certain that this mother-of-all is not the original one that went with the wheel, or the wheel was painted at some point, but the colors don’t match. The top of one of the maidens has also been lost to time, replaced with a dowel and metal spike, which certainly does the job.
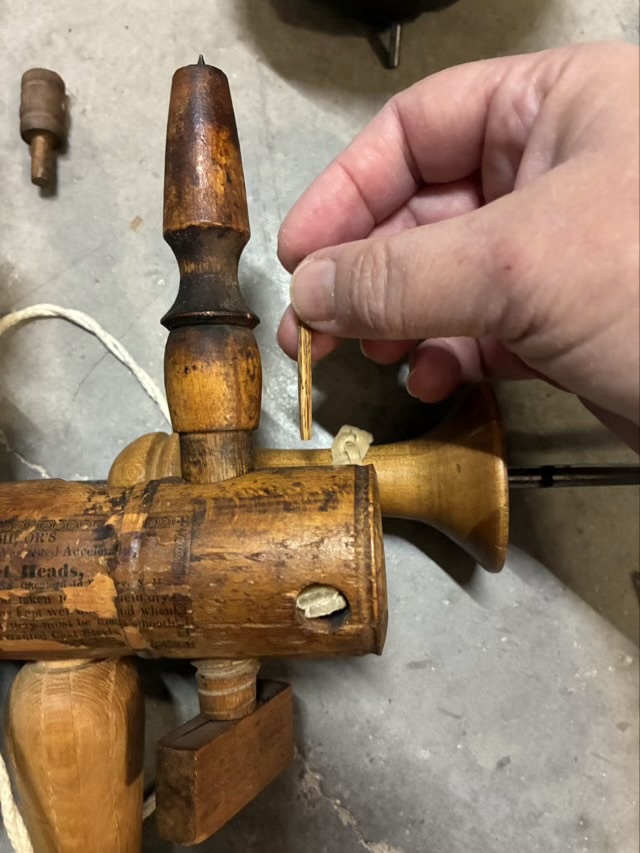
Photo description: small wood stake that goes into the mother-of-all to hold the braided rawhide straps in place
Where the last great wheel I worked with had waxed linen that held the spindle, this wheel had rawhide magic braids that were nearly as hard as the surrounding wood. I was surprised that the pegs holding the rawhide in place could still be pulled out.
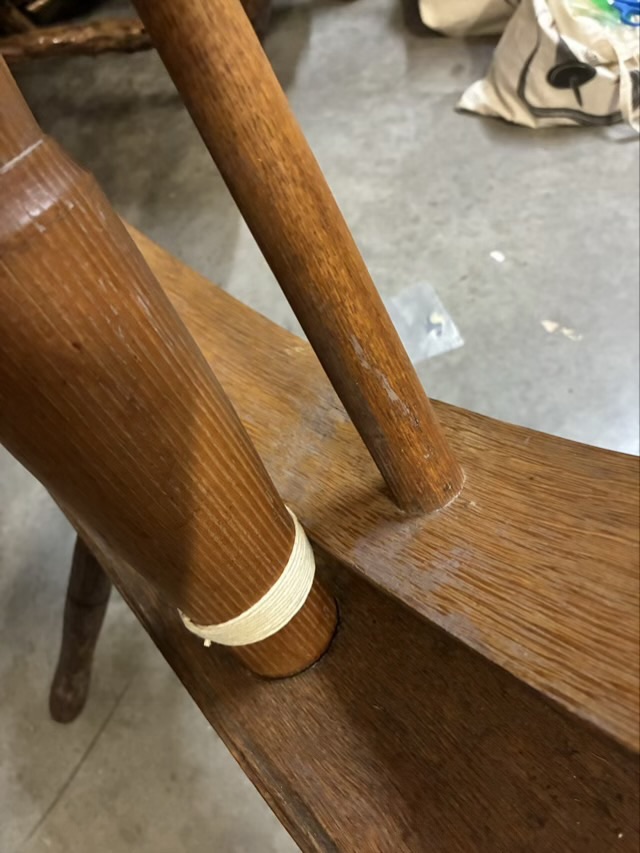
After looking over the mother-of-all, I put it back on the wheel, upside down. Oops. It took me about an hour of tinkering and fussing before I figured it out. In that time, though, I gave her a new cotton drive band waxed with beeswax, waxed the accelerator band, aligned the wheel with the base, and adjusted the wheel spacing against the post. The wheel rubs against the post, so I wrapped the post with waxed cotton cord to protect it from abrasion.
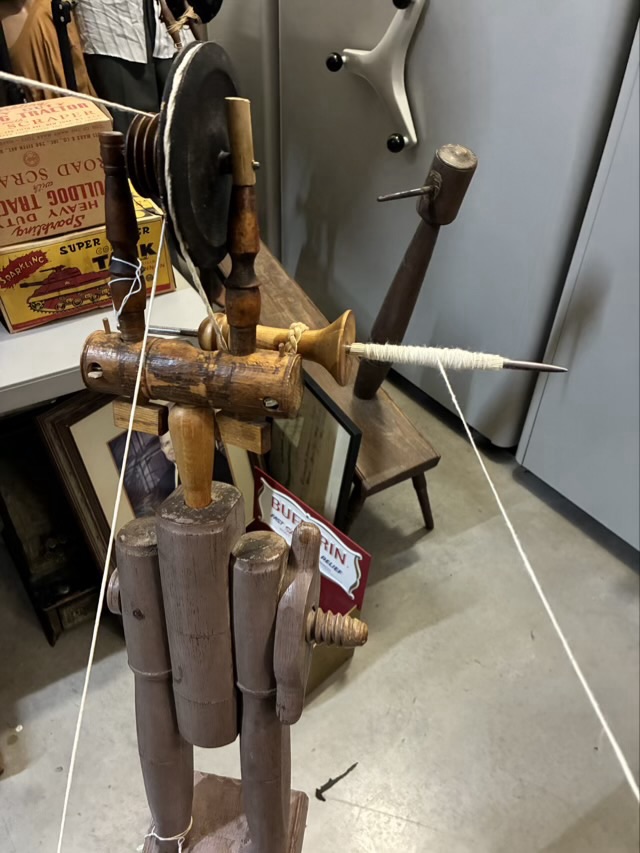
Photo description: waxed cotton cord lashed around the base of the post where the wheel rubs against itPhoto description: great wheel mother-of-all and tension system set up and spinning, there is another great wheel base in the background, which has a wheel, but the hub hole has worn away and it needs refitting
I love the tensioning system on this wheel. The wood nut on the right in the picture loosens to allow the center post to rotate forward and backward, decreasing or increasing tension. I think I actually like this set up better than the double nut Great Wheel, although both are more reliable over time than a greenwood tension system that relies on the bend-ability of fresh wood.
I did put a corn husk quill over the spindle to make it easier to remove the cop of yarn. For a leader I pulled three strands from my cotton twine, and did a larks-head knot over the corn husk quill. I spun Texas grown cotton sliver for a while before time called me away.
I decided to see what would happen if I knit the full length of my “Incredible Sweater Machine”, and since I can’t seem to only change one thing, would it be lace-like if I left every third stitch unhooked?
Photo description: The incredible sweater machine clamped to a narrow table with a full width swatch of fabric knitted with every third stitch skipped
I was thinking that there were needles missing on my machine because there are blank slots at each end, but the blank places are parking for the knitting cartridge. The cartridge needs to be completely clear of the needles in order to be ready to knit the next row. The loops on the very end are a little squirrely as the fabric lengthens because they angle inward and it takes extra attention to make sure they don’t pop off. Other than that, knitting the full row of needles isn’t much different than making a smaller panel.
Skipping stitches is just a matter of placing a needle in a non-working position. The shuttle puts yarn over the area, but doesn’t pull it in and make a loop. However, when I removed the fabric from the machine, the knit stitches happily expanded into the space and just became loose, not lace-like at all.
Photo description: panel of knit fabric with skipped stitches, on the left the stitches have eased back together and the stripe dissapeared
I decided to put a rib in where I left a blank, which is what is recommended for making a rib stitch on the machine. It was definitely awkward using a crochet hook and linking the loops after the fabric was off the machine, but I can firmly say that I am no longer apprehensive about runs in my knitting!
Photo description: same fabric panel but with the spaces turned into perl stitches, the top and bottom edge now lay flat
The yarn I used was from the scrap bin and turned out to be self striping, which was a surprise as I knit. I rather like the bold horizontal rows of color with the vertical texture stripes of the rib, and there is the bonus that at least the top and bottom of the fabric doesn’t curl. It turns out the ribbing at the bottom of a sweater isn’t to give it an elastic band, but to keep the bottom from curling up. Hm.