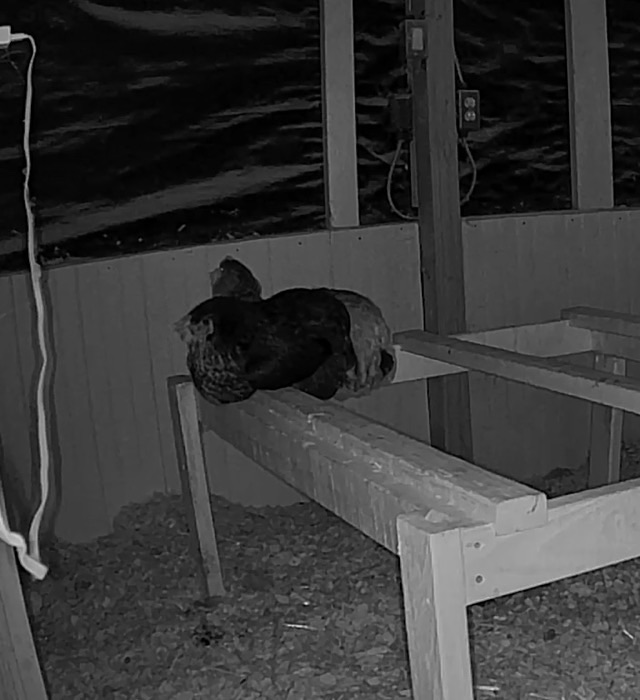
The back corner of the roost in the coop is the prime sleeping position for the chickens. Since Wing Ding the Black Star hen has taken to the roost, it has been her domain and the Faverolles have given her space. I caught them on camera recently snuggling up, though. I’m not sure if Wing Ding let them, or she was asleep when they shuffled over. Positive outcome either way.
Photo description: three hens in a tight group on the corner of a roost made with dimensional lumber, pine flakes on the floor and wainscoting on the wall
I checked my cameras in the chicken coop and was shocked to see all five hens in the coop! The new Black Star chickens have both finally accepted the roost. They took the prime corner spot, which sent Seashell off to the nest box, but she isn’t broody, so I’m not concerned.
Photo description: inside of my coop at night, two Black Star hens on the roost at the left, two Faverolle hens on the roost at the right, and the tail feathers of the third Faverolle hen in the top right of the nest boxes at the far right, mouths open because the high was over 100 degrees Fahrenheit that day
Molting has begun, and egg laying has stopped. They are all older hens as well, so we may have seen the last of the eggs until Spring (maybe).
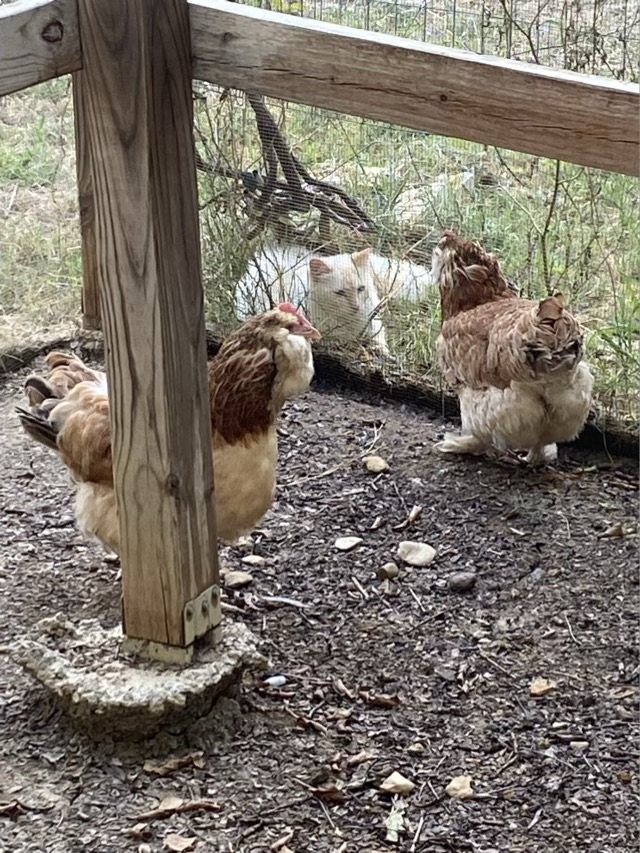
Photo description: Mr Tom the cat laying on the outside of the chicken runs, and two Faverolle hens investigating
When it is hot, Mr Tom, my neighbor’s cat, likes to lay in wet patches of grass. I had just watered the crossvine outside the corner of the coop, and he took it as an invitation. Two hens went over to say hi and remind him to watch his manners. He was unconcerned.
Taco the hen, who usually escapes notice on the blog because she is independent and aloof, passed away. A couple days before I noticed that her crop was hanging low and full, a sign of a good meal, or of sour crop. I was trying to keep an eye on it, and in hindsight I should have started a copper sulfate treatment. We had a previous hen live for almost a year with the condition, and I was honestly hoping it wasn’t sour crop. I found her surrounded by her sisters in the morning in the coop. I was up and in the coop early because we were preparing for the arrival of the two new hens, Wingding and Magnet, a pair of Black Star chickens coming in from family. Taco was given an air burial in the woods, and within a few hours we were welcoming the new hens to their new home.
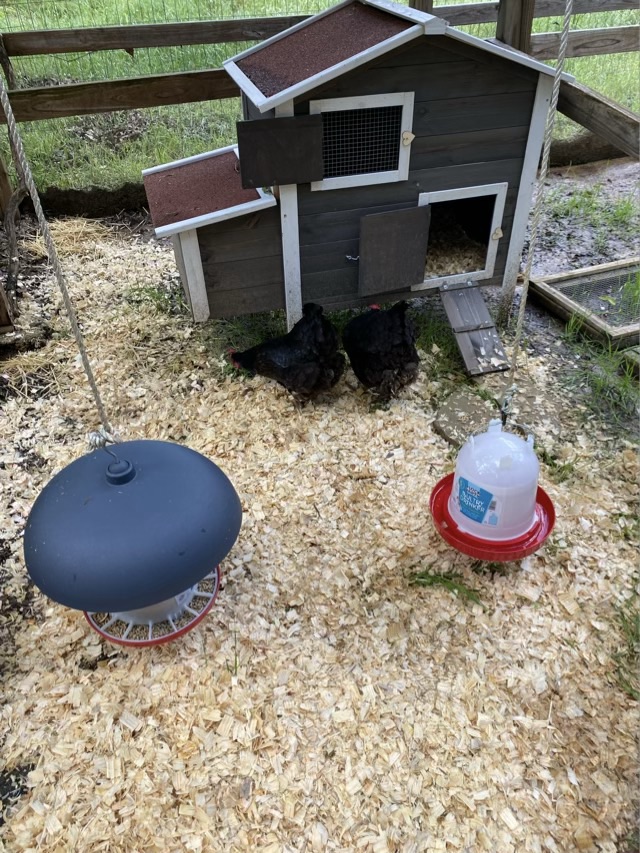
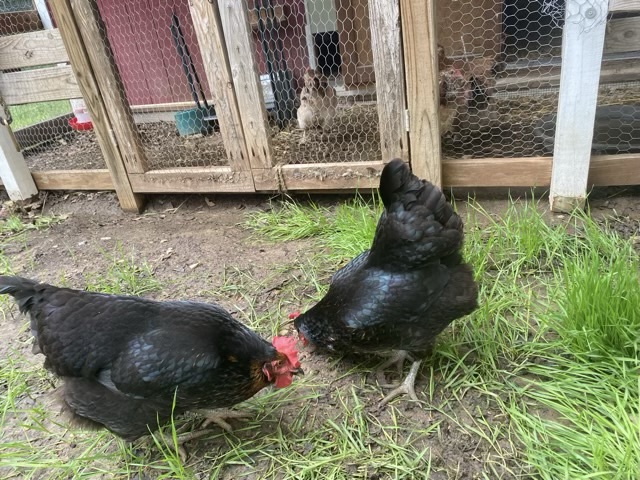
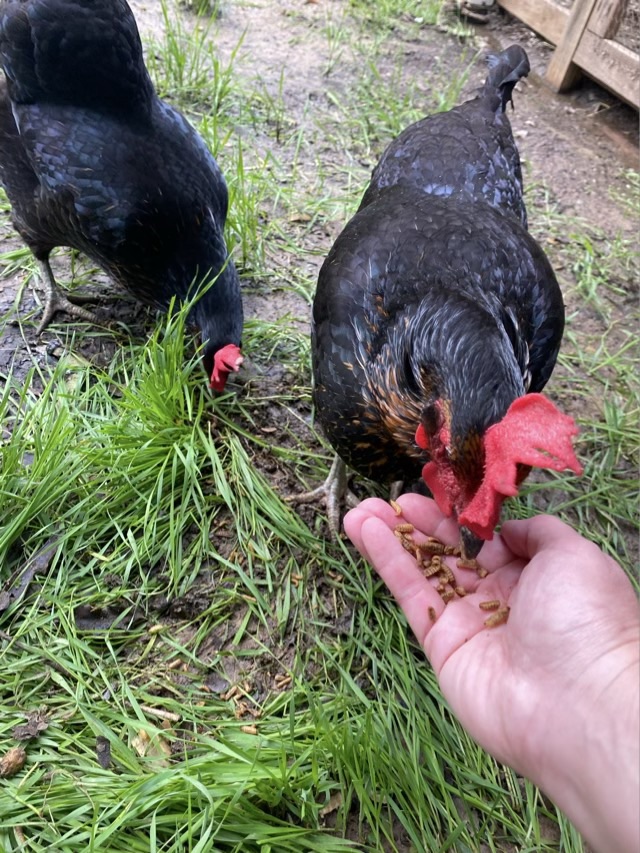
Photo description: two black hens investigating the pine flake spread on the ground to combat the mud from the previous day’s heavy rain, the new small coop behind them, hanging water and hanging feed in the foreground. The squirrel baffle over the feed is more to keep out the rain than squirrels.Photo description: two Black Star hens in the foreground, and at least three of four Faverolle hens in the background behind a poultry wire divider.Photo description: Magnet and Wingding accepting an offering of dried grubs.
So our current chicken count is at six. Two Black Star, and four Faverolle. We’ll keep them separated for a while where they can see each other, and later see what happens when they can mingle. Ideally they will share all the space, after they establish pecking order.
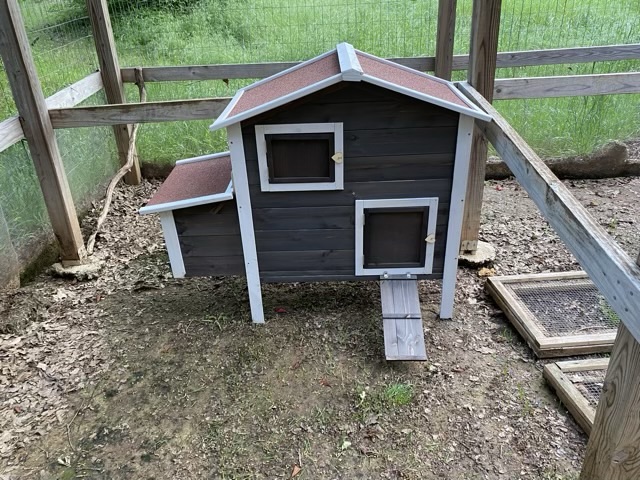
We will be taking in two additional family chickens since work is taking their current family out of state. I hope the new hens, who are about the same age as our hens, but a different breed, will be able to join the flock with few ruffled feathers, but to start, we will keep them in a separate area. The easiest way to accomplish this was to get or build a smaller coop in the current run. I have doors lined with chicken wire to separate the areas, and both flocks have plenty of outside space. I did not have time to build a small hutch from scratch, so I ordered one on Amazon for about $150.
Photo description: small hen hutch with nesting box attachment, vented roof, ventilation window, and coop door with ramp sitting on newly seeded dirt in the chicken run.
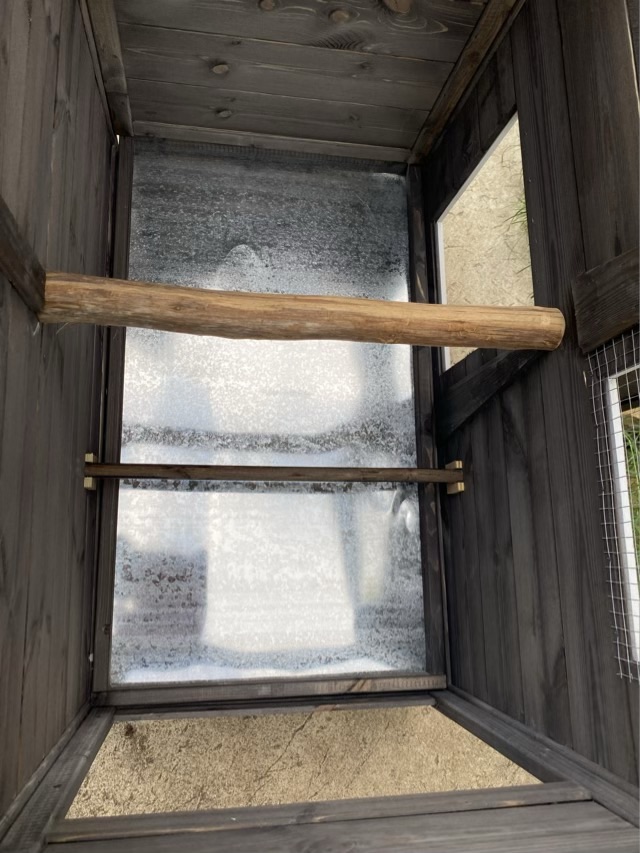
It was not a beginner build project, but I’m not a beginner, so it worked out. The wood is thin, but solid, not particle board. The directions were sparse, but my eldest and I were able to get through it. We built it on the back porch where we had a stable flat surface, then carried it to the run. The roost bar was a joke; a 3/4 inch dowel two inches from the bottom of the hutch. I found a 2 inch cedar branch and cut it to length and secured it with screws higher in the hutch.
Photo description: original roost bar near the removable metal floor, and the new cedar roost installed higher in the structure
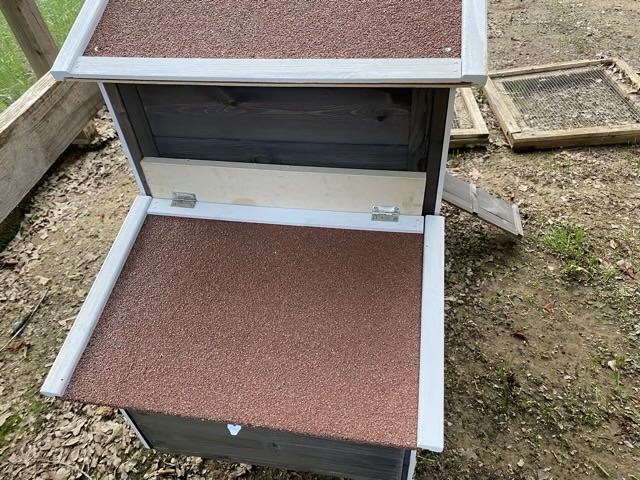
When we went to install the hinged roof of the nest boxes, there was a significant gap that made attaching difficult, so we cut a section of scrap trim (from the garage) to fit before attaching the hinges.
Photo description: extra trim installed to provide a sturdy surface for the hinged roof
We placed the hutch in the most shaded part of the runs. The run itself is entirely encased in hardware cloth and I have not had significant animal incursion in the five years it has been standing. We did make sure it was out of reach of questing raccoon hands. We’ll have a chance to see how it weathers storms this week.