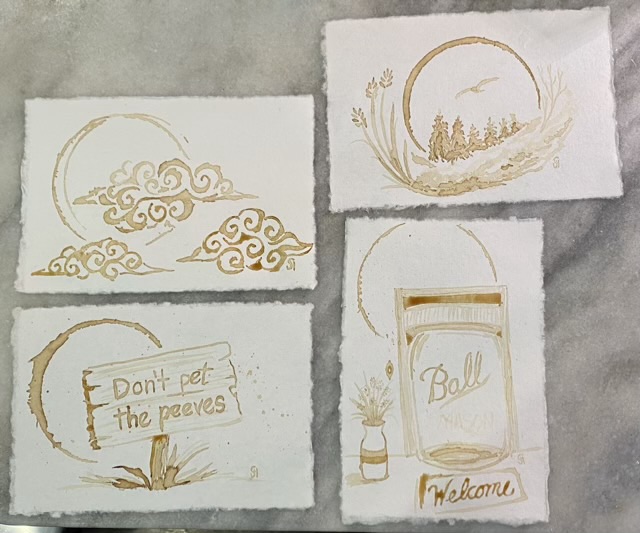
I bought expresso from The Full Cup coffee and book store back in August with the intension to paint more coffee art. Life happened, and the expresso stayed in a bottle in my fridge for nine months. I finally pulled it out and did some paintings on cotton fiber paper.
Photo description: four expresso paintings, all including a coffee ring made from a coffee cup
I digitized the paintings and made greeting cards that I took back to The Full Cup to sell.
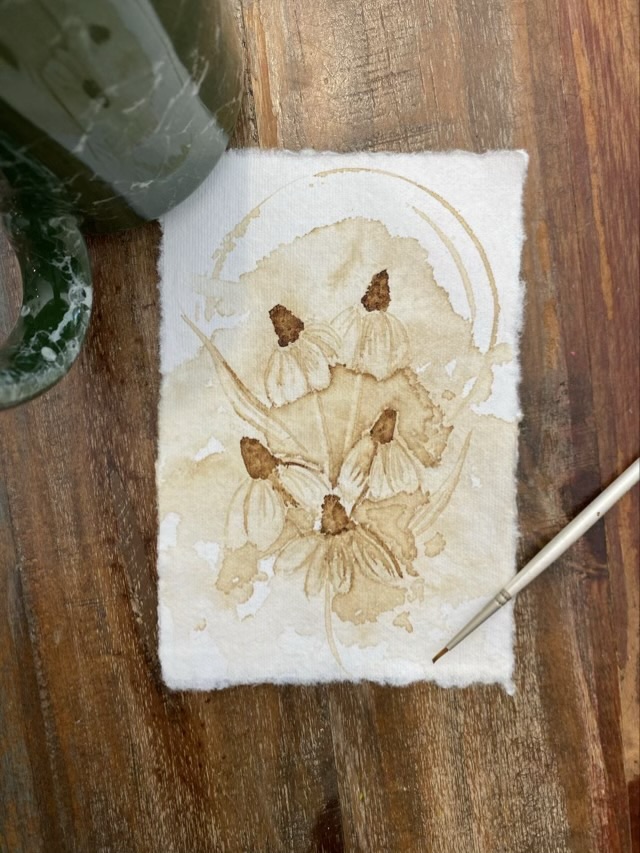
Expresso has a more intense color than American drip, and works similar to water colors. I can “erase” by adding more water, and everything looks different when it dries. The image below took many cycles of painting and drying over several days.
Photo description: Brown-eyed Susan flowers painted with expresso
My plan is to have a whole series of these small paintings, which will be digitized for greeting cards.
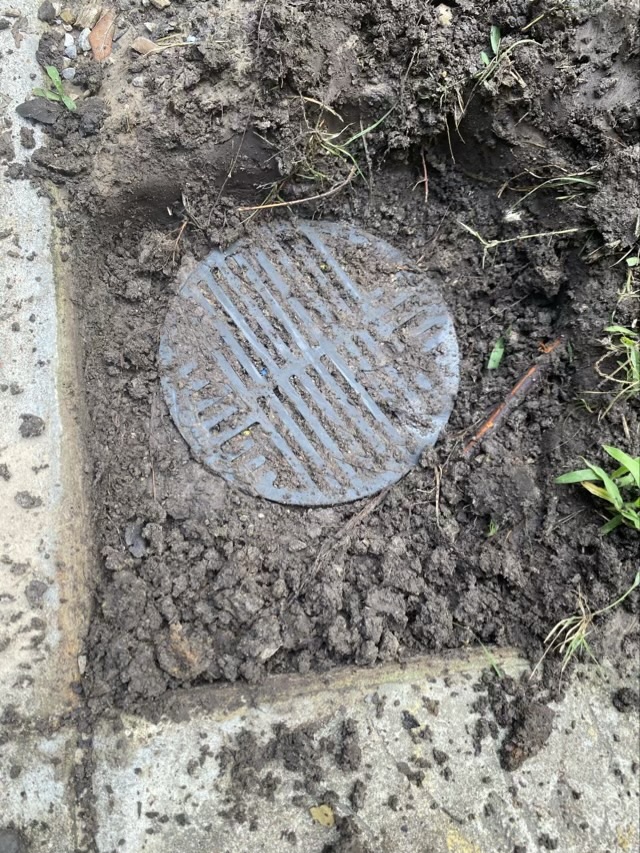
Our driveway regularly floods when it rains, and takes awhile to dry out because of the angles and build up of silt and leaves. The silt gets slippery and we are having an unusually wet summer, so it makes the surface treacherous. I thought if I dig out the corner and place a flag stone, I might reduce the erosion. I stated digging and was quite surprised to find a drain buried under a couple inches of dirt.
Photo description: drain unearthed in the corner where the sidewalk meets the driveway
The drain connects to a similar drain on the opposite side of the driveway that I unearthed a few years ago. One mystery solved. Surprisingly, the pipe that connects the two drains is not plugged with dirt and water sprayed into the newly excavated drain goes out, under the driveway, to the other side. Now to figure out a way to keep dirt from building up and blocking it again. Hm.
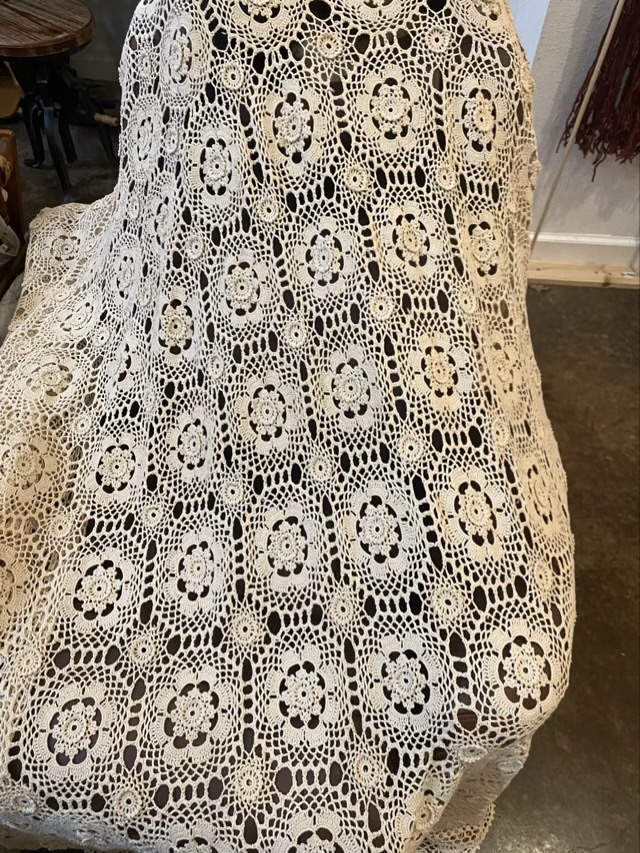
I have a side hobby of spotting fake crafts. Either AI generated photos or machine made items pretending to be hand crocheted. Hand knit is harder to tell apart from machine made, since knitted fabric can be produced rapidly by a series of hooks and knitting machines have been around for a long time. I have heard of crochet machines that do make single loops with a single thread, but they are used to edge blankets and not make intricate lace. I was surprised then, when I was crawling a garage sale, to find a large crocheted throw.
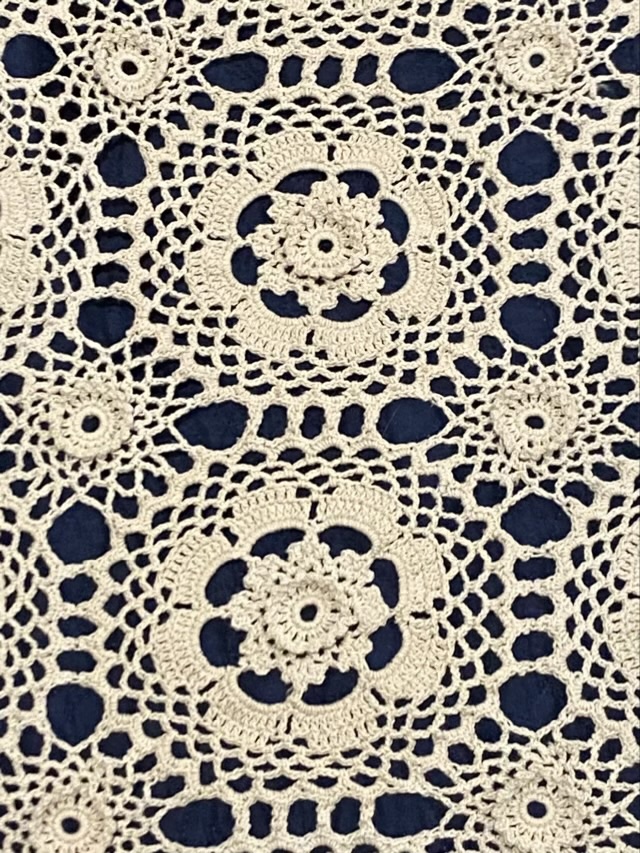
Photo description: king-sized cotton crocheted lace coverletPhoto description; closeup of two motifs of the cotton coverlet, showing the stitches, all of which I can identify and recreate.
I asked the sellers for historical detail, but it was a multi-person sale and the person who owned it wasn’t there. I bought it for $8. It smelled like moth balls and time in a closet.
When I got it home, I found a tag: made in China. Oh. So this was not an heirloom blanket sold at a garage sale. This was an item bought commercially and not used. I suspect the “flat dry” was the problem. Not many people have room to flat dry a king-sized blanket.
Photo description: tag found on the blanket that reads: 100% cotton, machine wash, cold water, gentle cycle, no bleach, flat dry, made in China RN 59757
The only way to produce this large and intricate work cheaply is by using many poorly paid people. I know the original owner didn’t pay $8, but to sell it for that tells me that they didn’t pay much.
That it is in pristine condition tells me that it was barely used, if used at all. There are no stains and no tears. But it is definitely hand crocheted. I can identify each stitch and see the progression of the work. Each motif was worked with a crochet hook then connected and I can see the connection stitches. I can tell how the border was worked and what stitches were used. I washed it and dried it both by machine on the delicate and gentle cycles, and it came out fine.
That the skill to make the coverlet is so casually discarded and undervalued is a sad state.