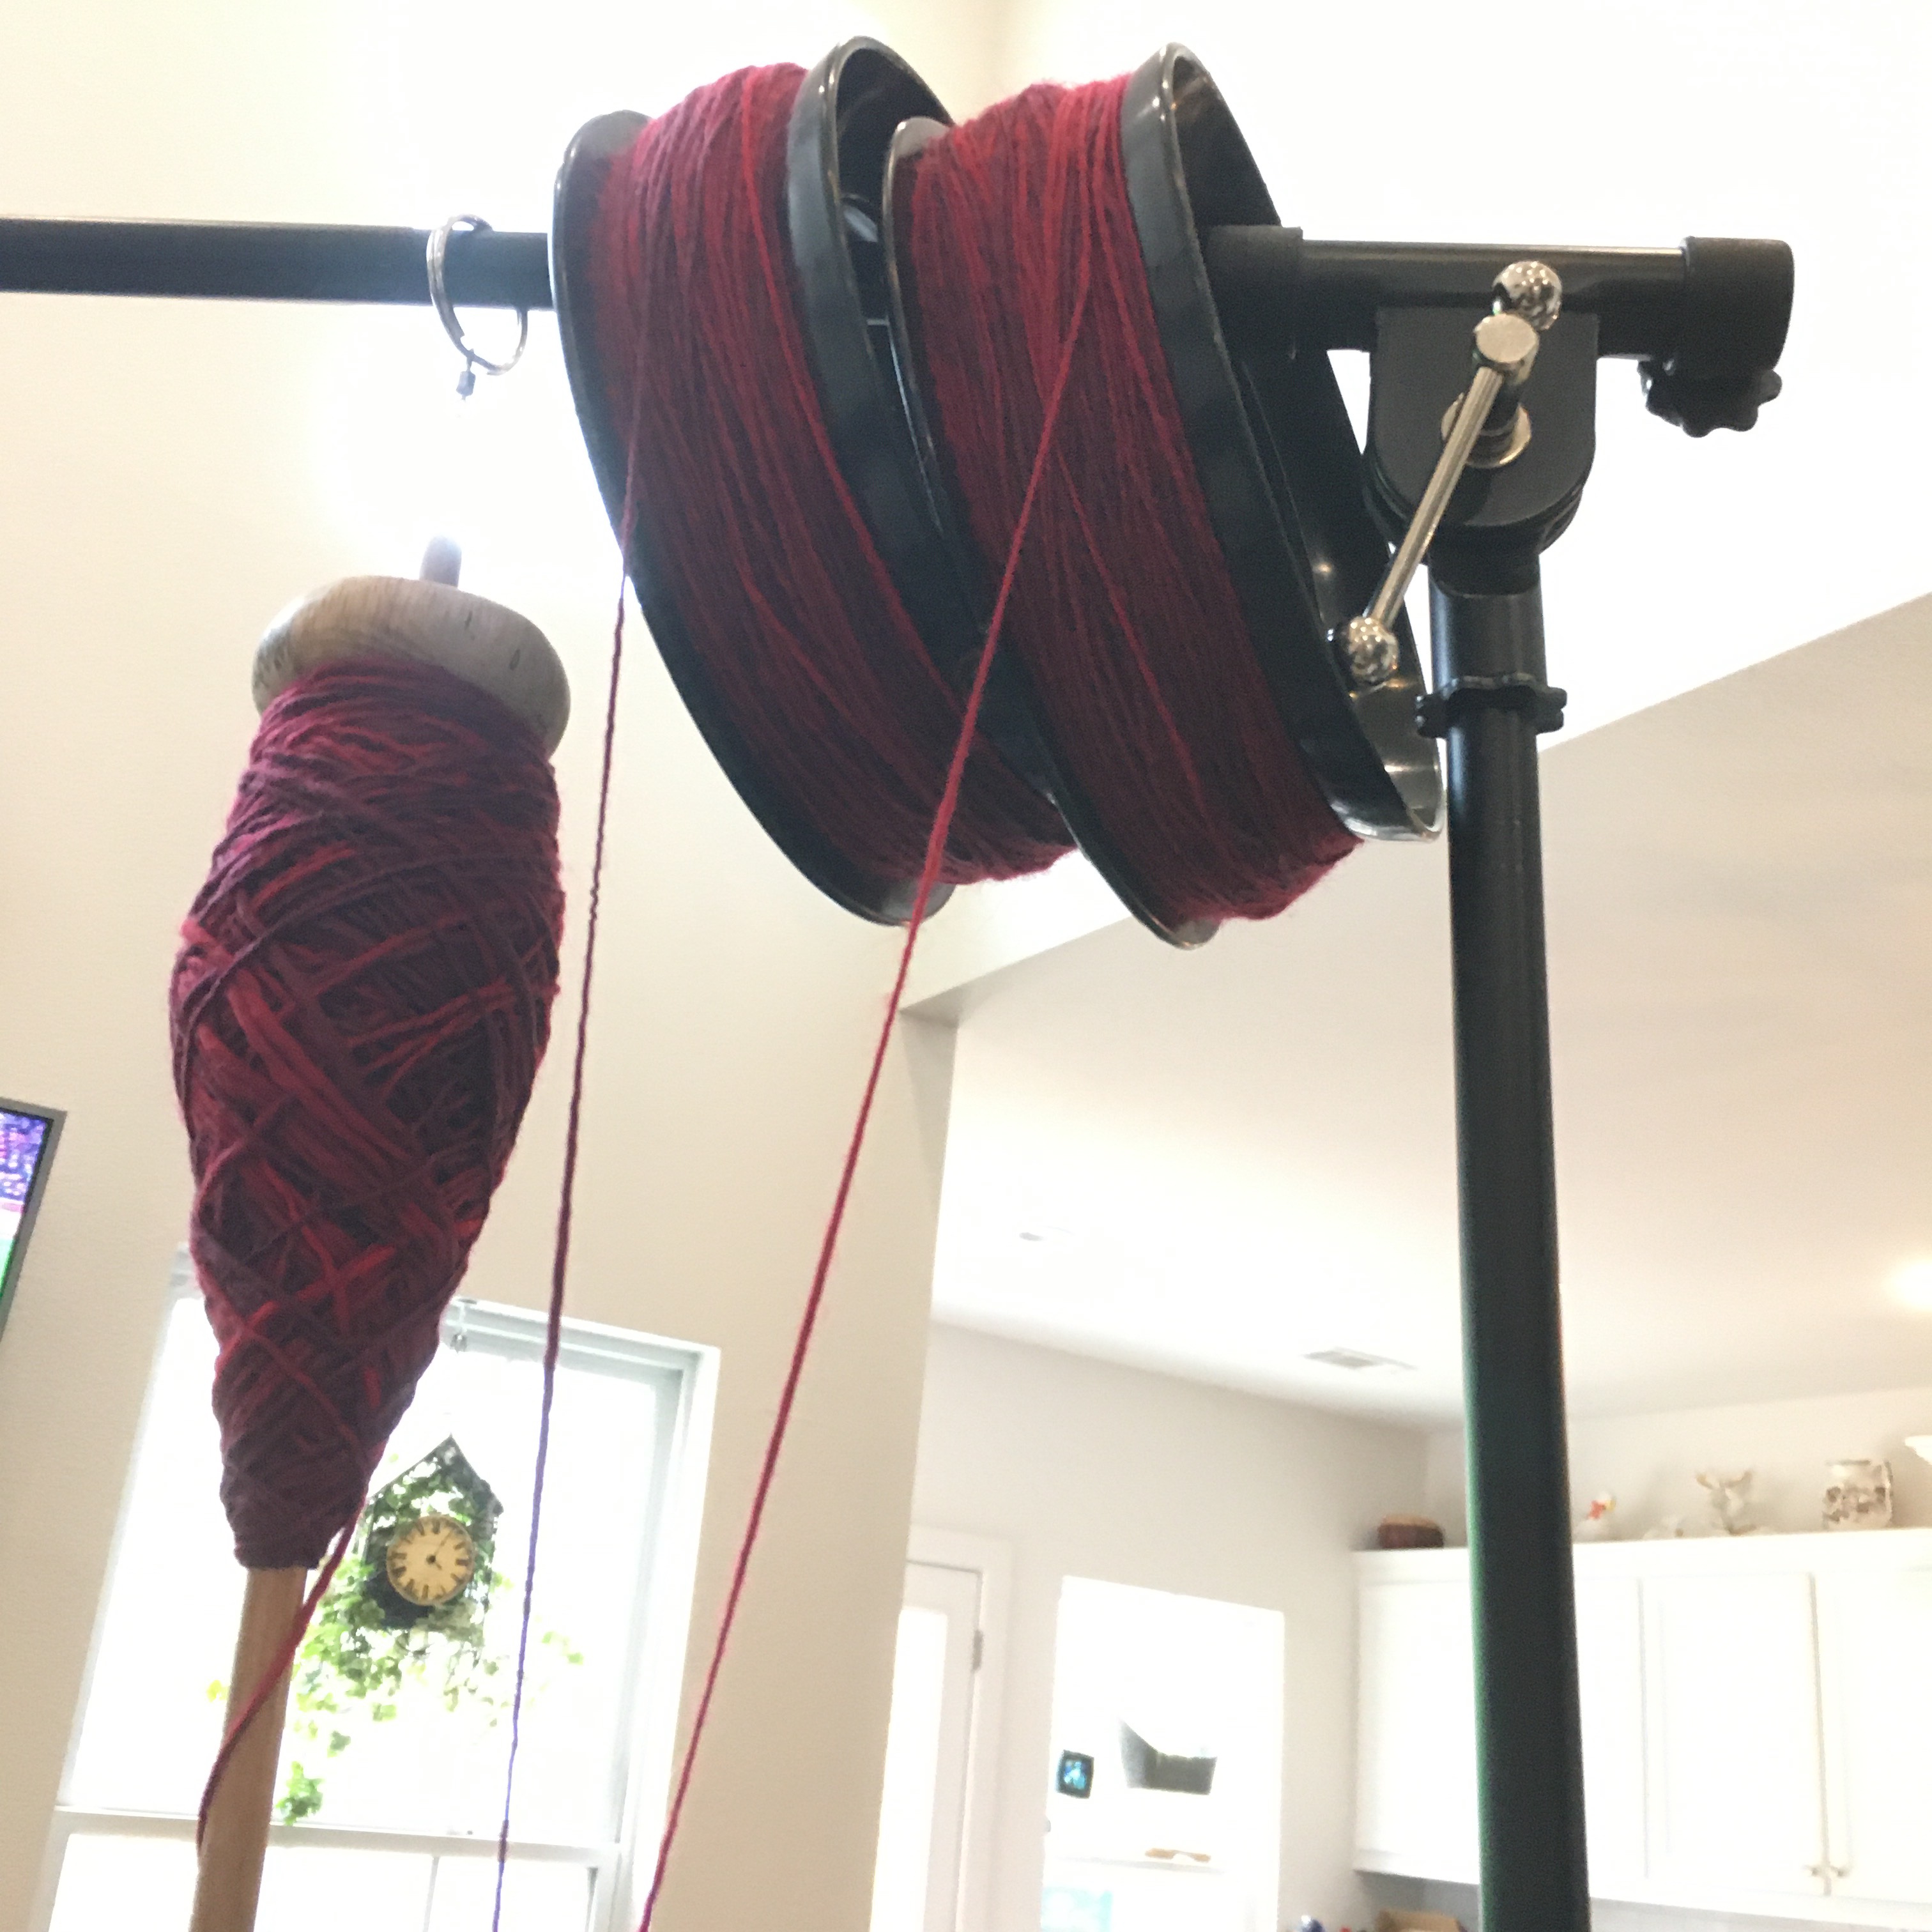
I loaded two hand fishing reels with spun merino wool, then used the third spindle full to make a three ply yarn. I was hoping that the large spools would keep the single ply from tangling around the stand, but alas, no. Seriously the next time I spin I’m going to fill multiple spindles and ply from the spindles.
Two spools and a spindle getting ready to ply
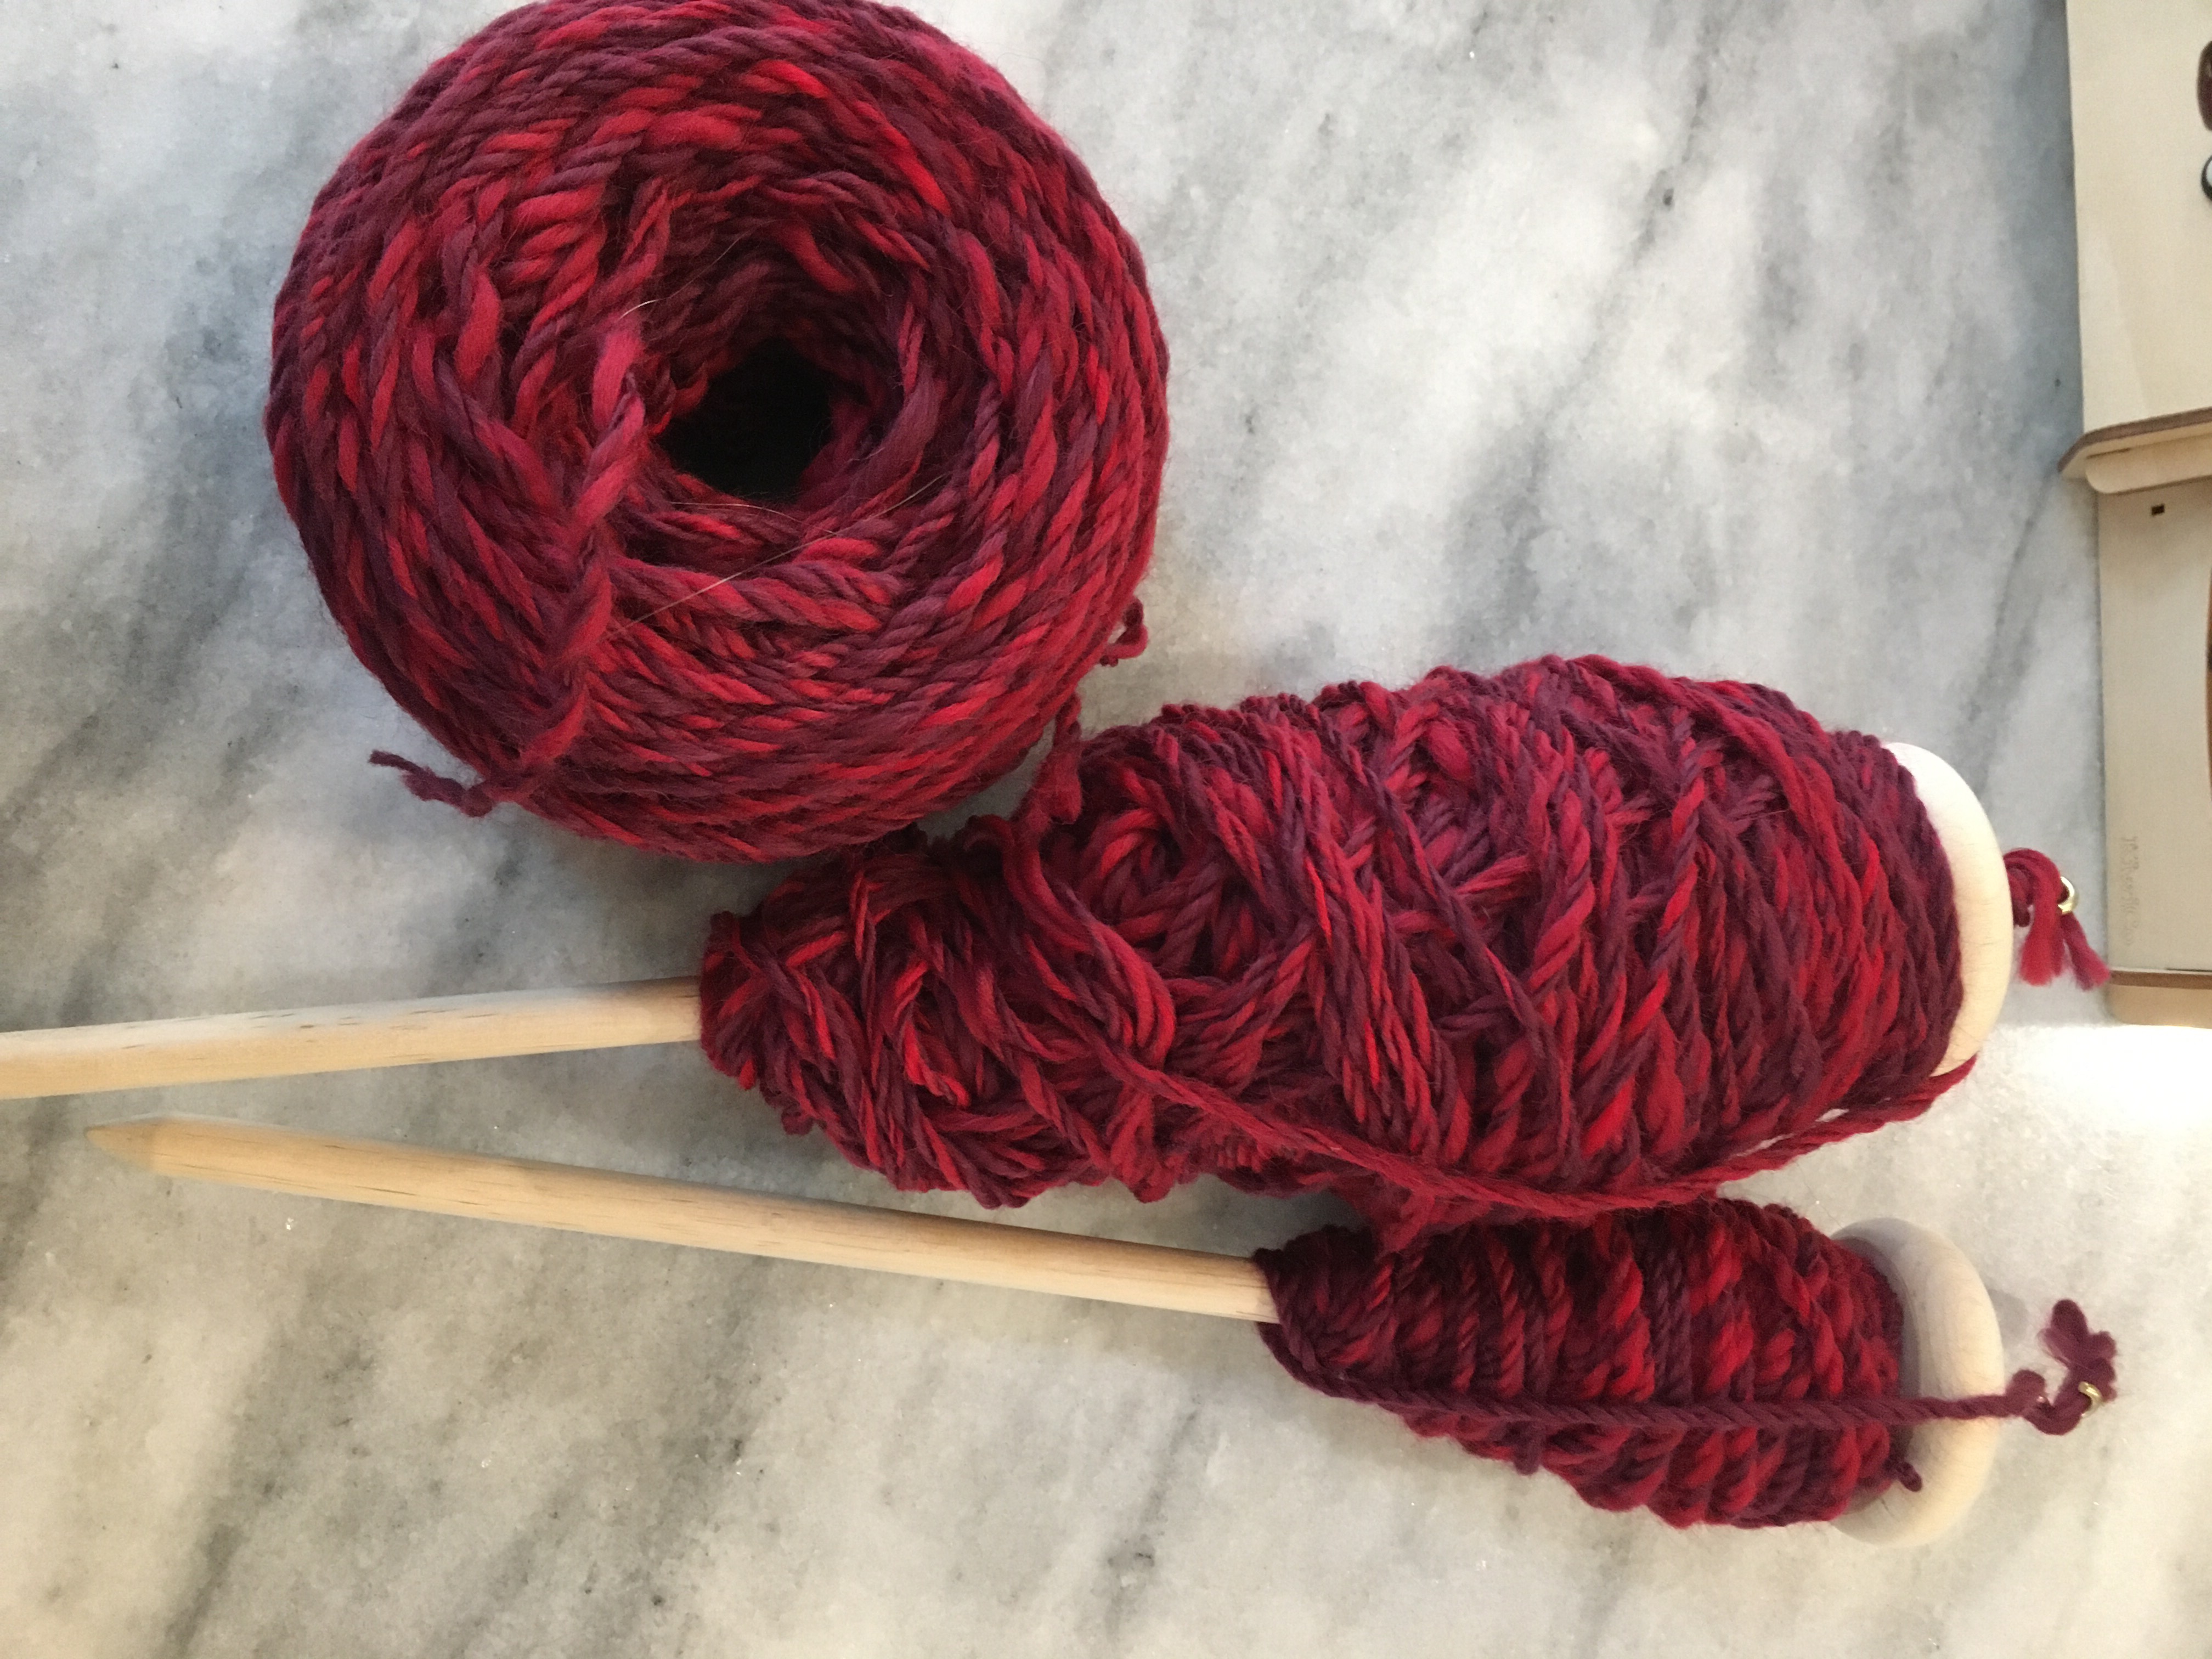
I was able to ply most of the yarn, but didn’t distribute the fiber exactly evenly between the three strands, so chain plied the leftover bits, which works just fine.
Plied and chain-plied yarn on the spindle and wound with a wool winder
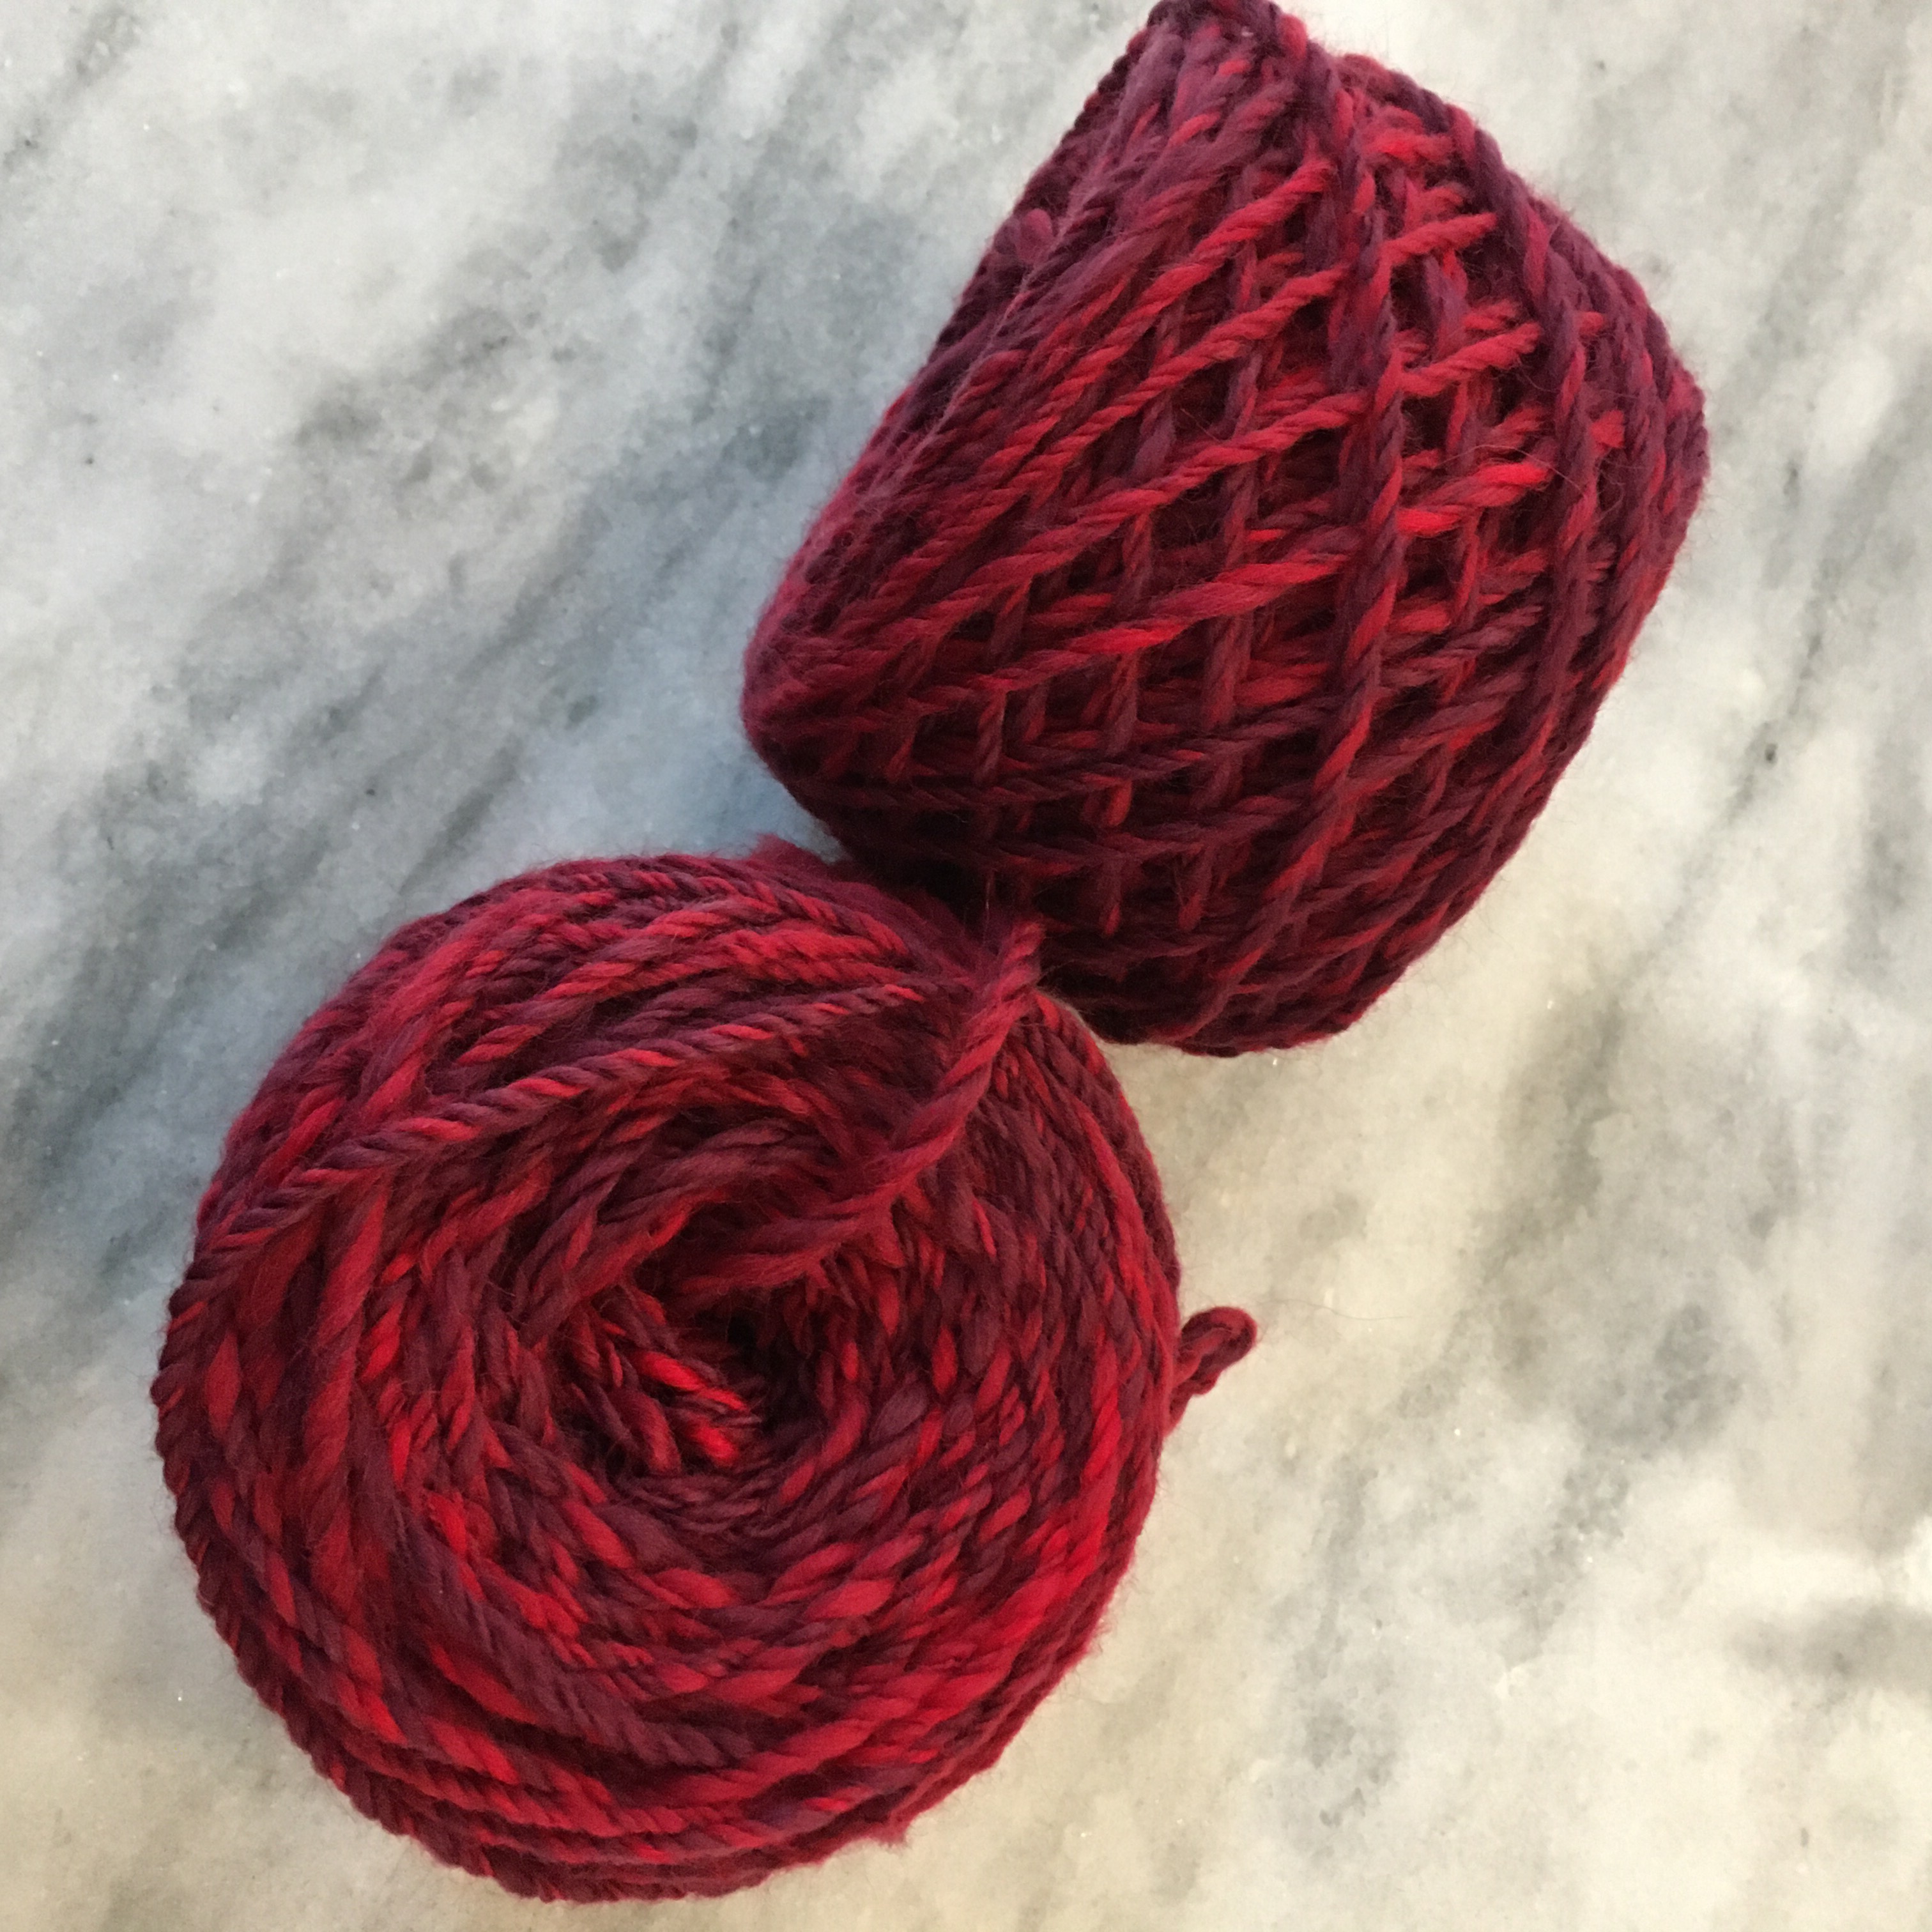
I had enough yarn this time to make two cakes with my wool winder. Yay! Isn’t the color pretty? It is a combination of four shades of red roving.
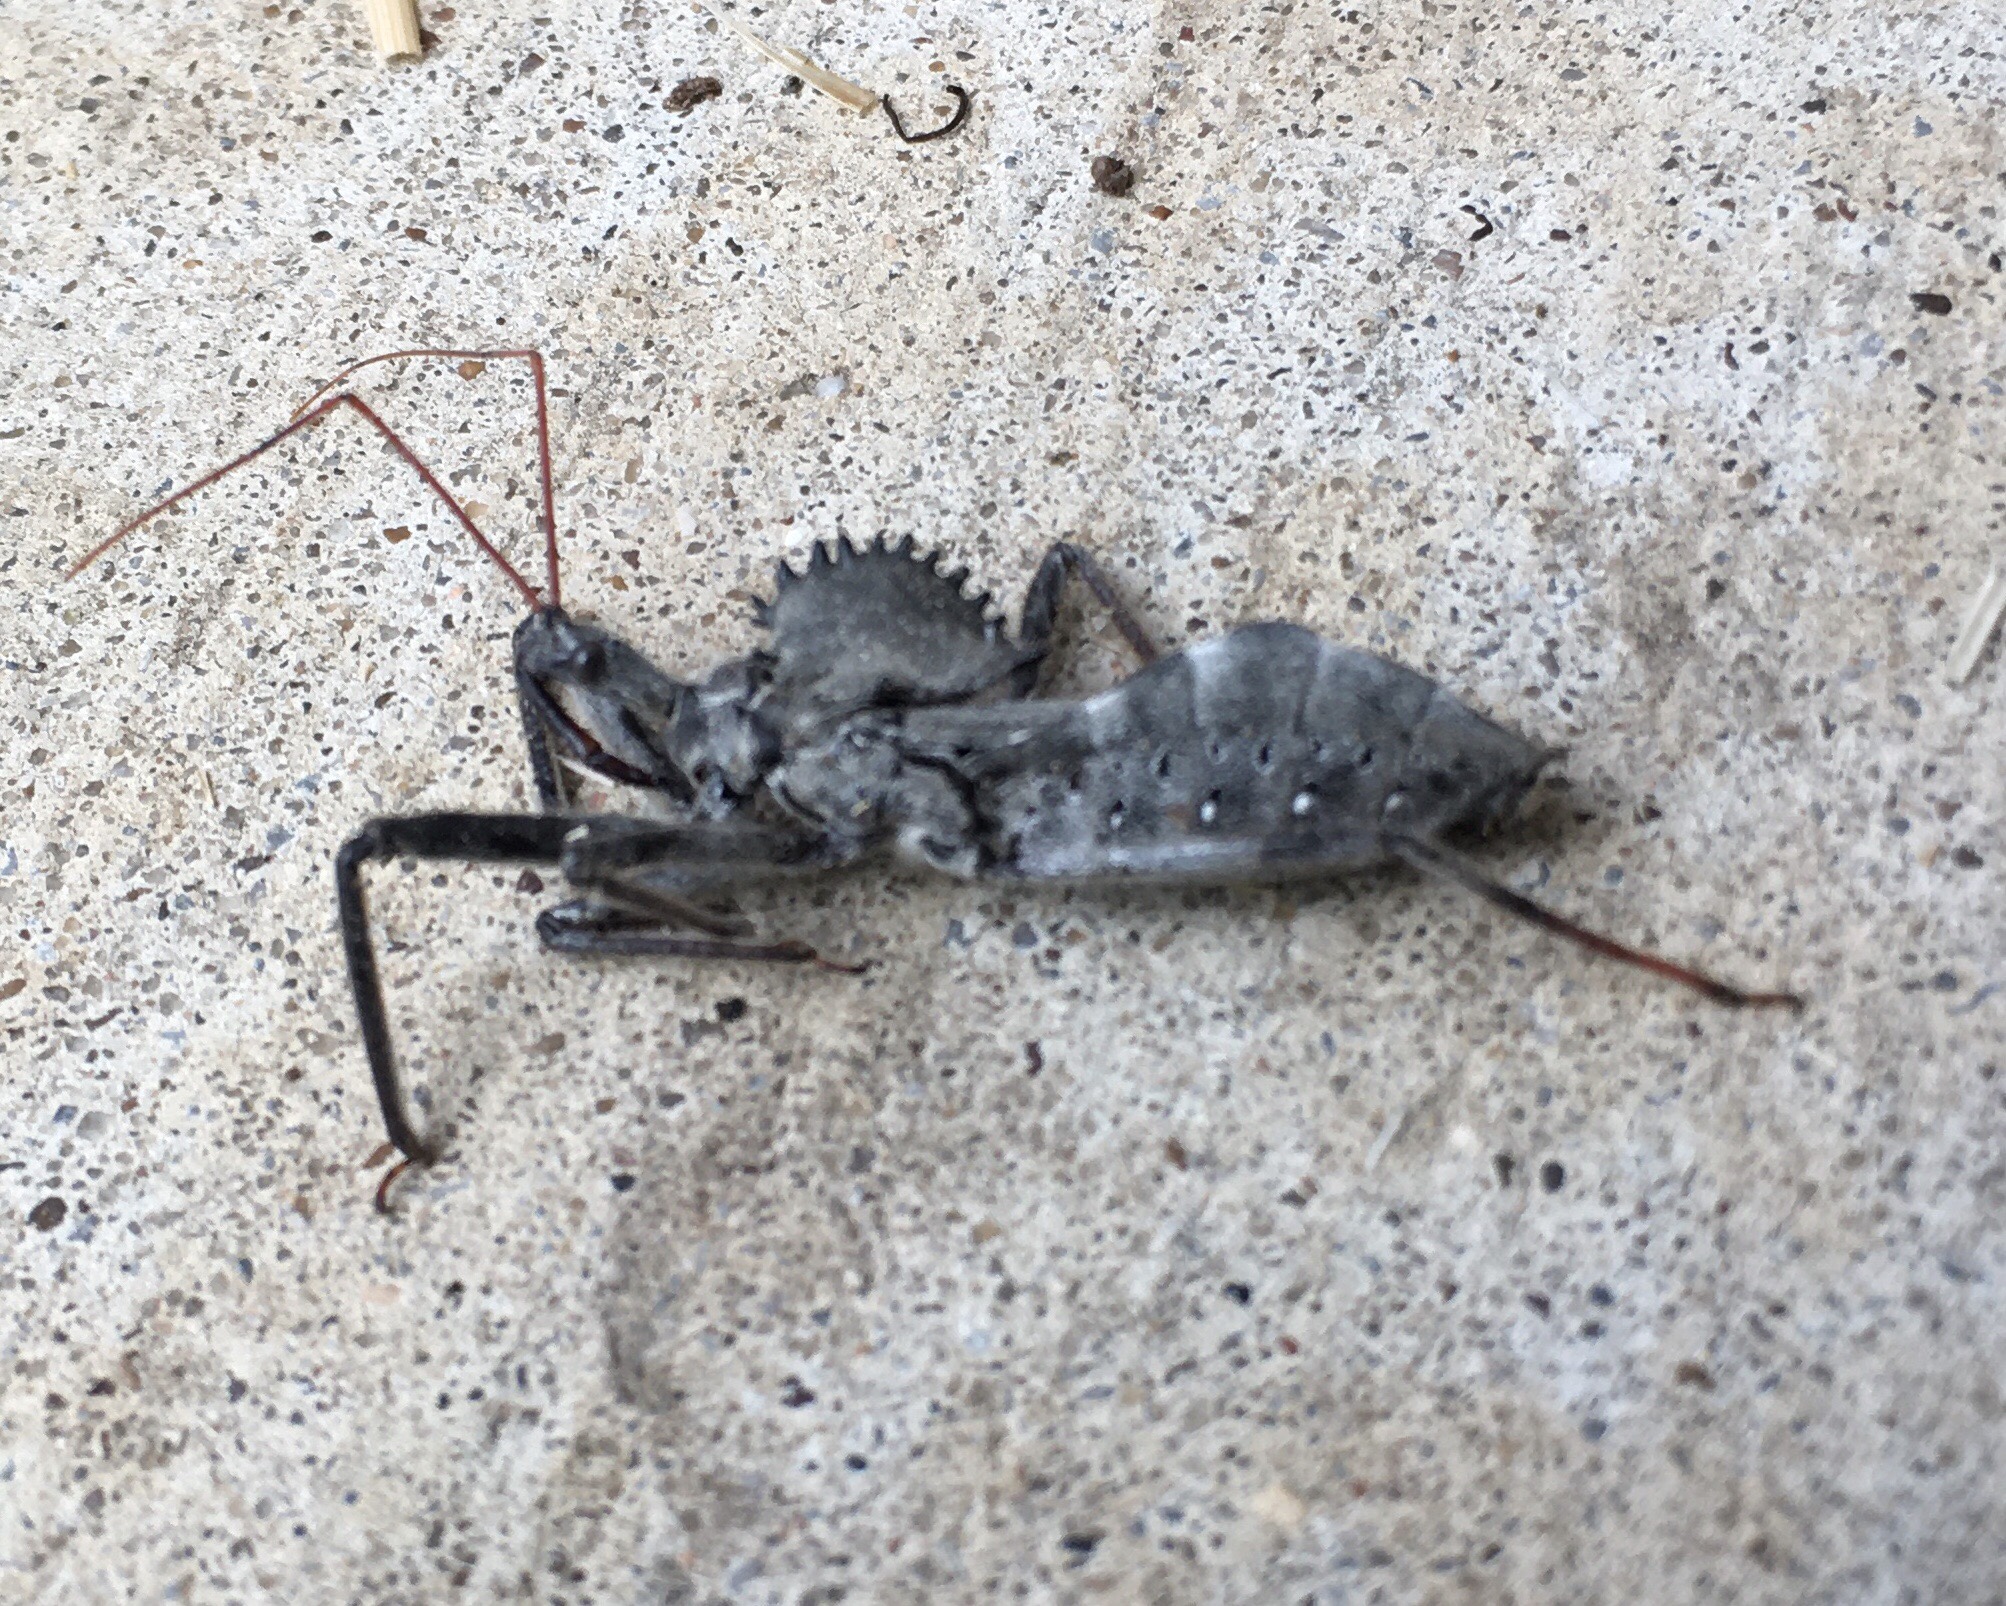
Found this guy on the front porch. iNaturalist IDs it as a Wheel Bug Arilus cristatus. I can see why it has that name. Very steampunk. Predates steampunk, though, so is steampunk very wheel bug?
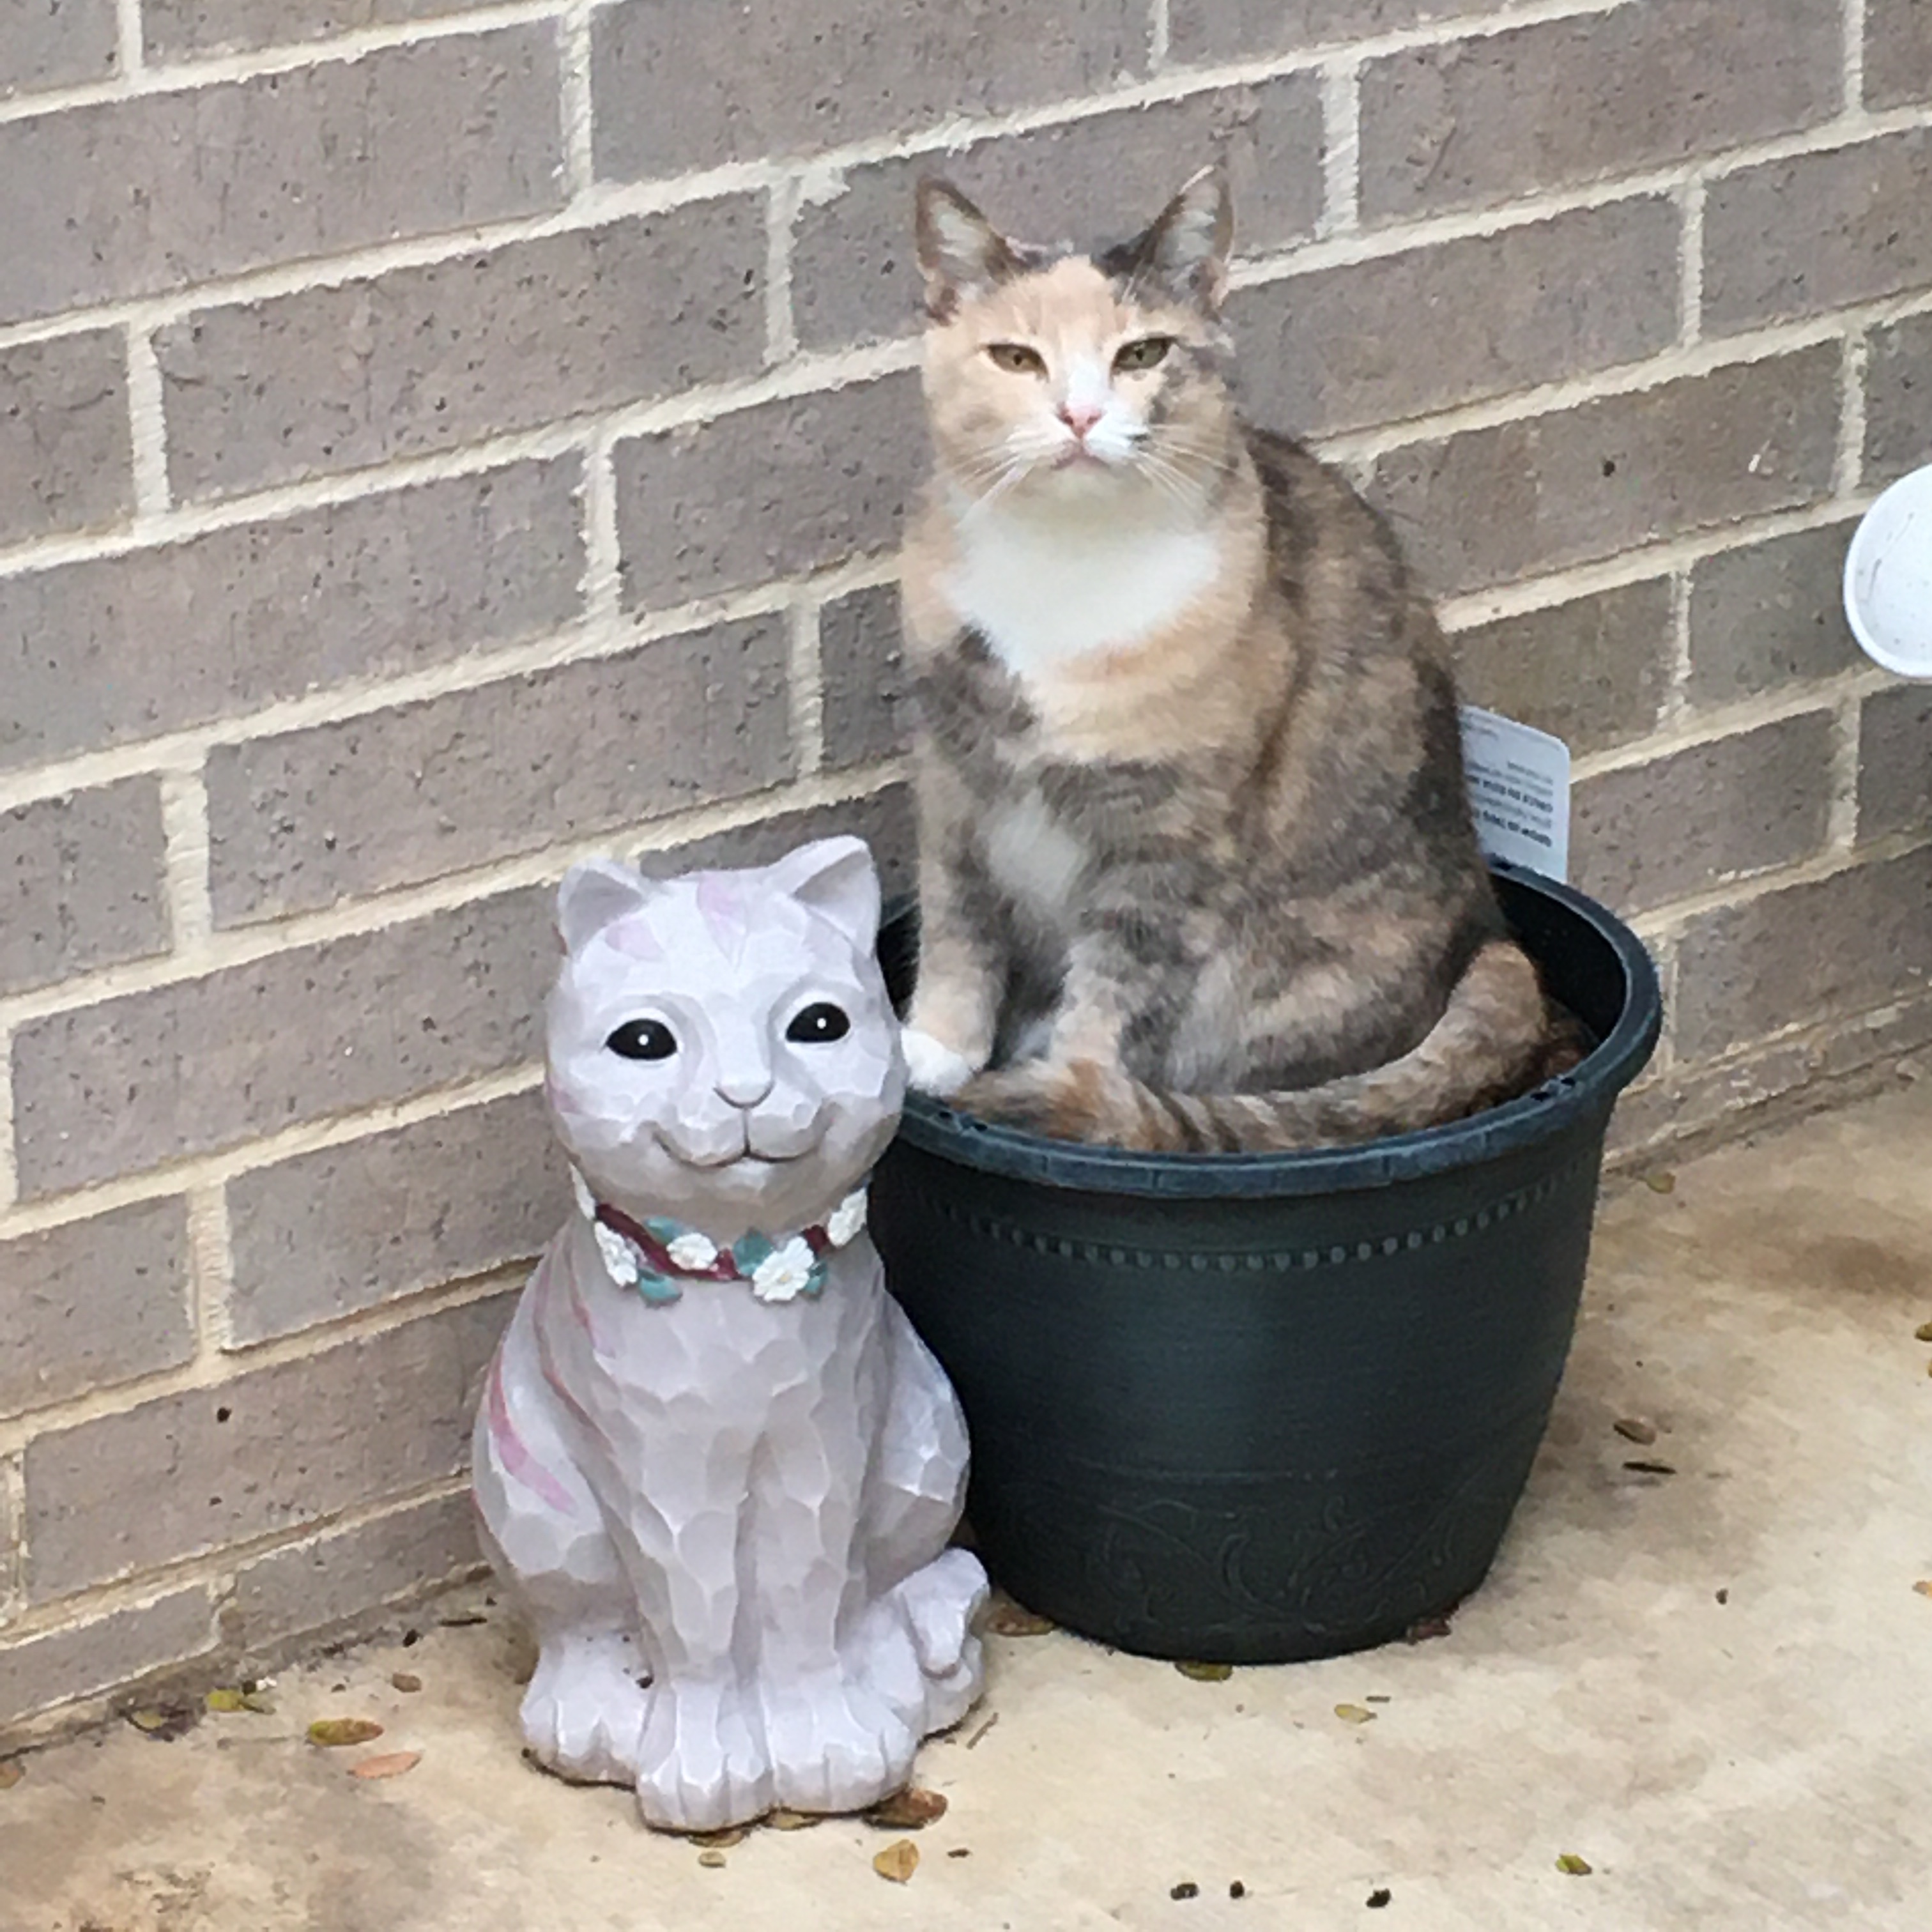
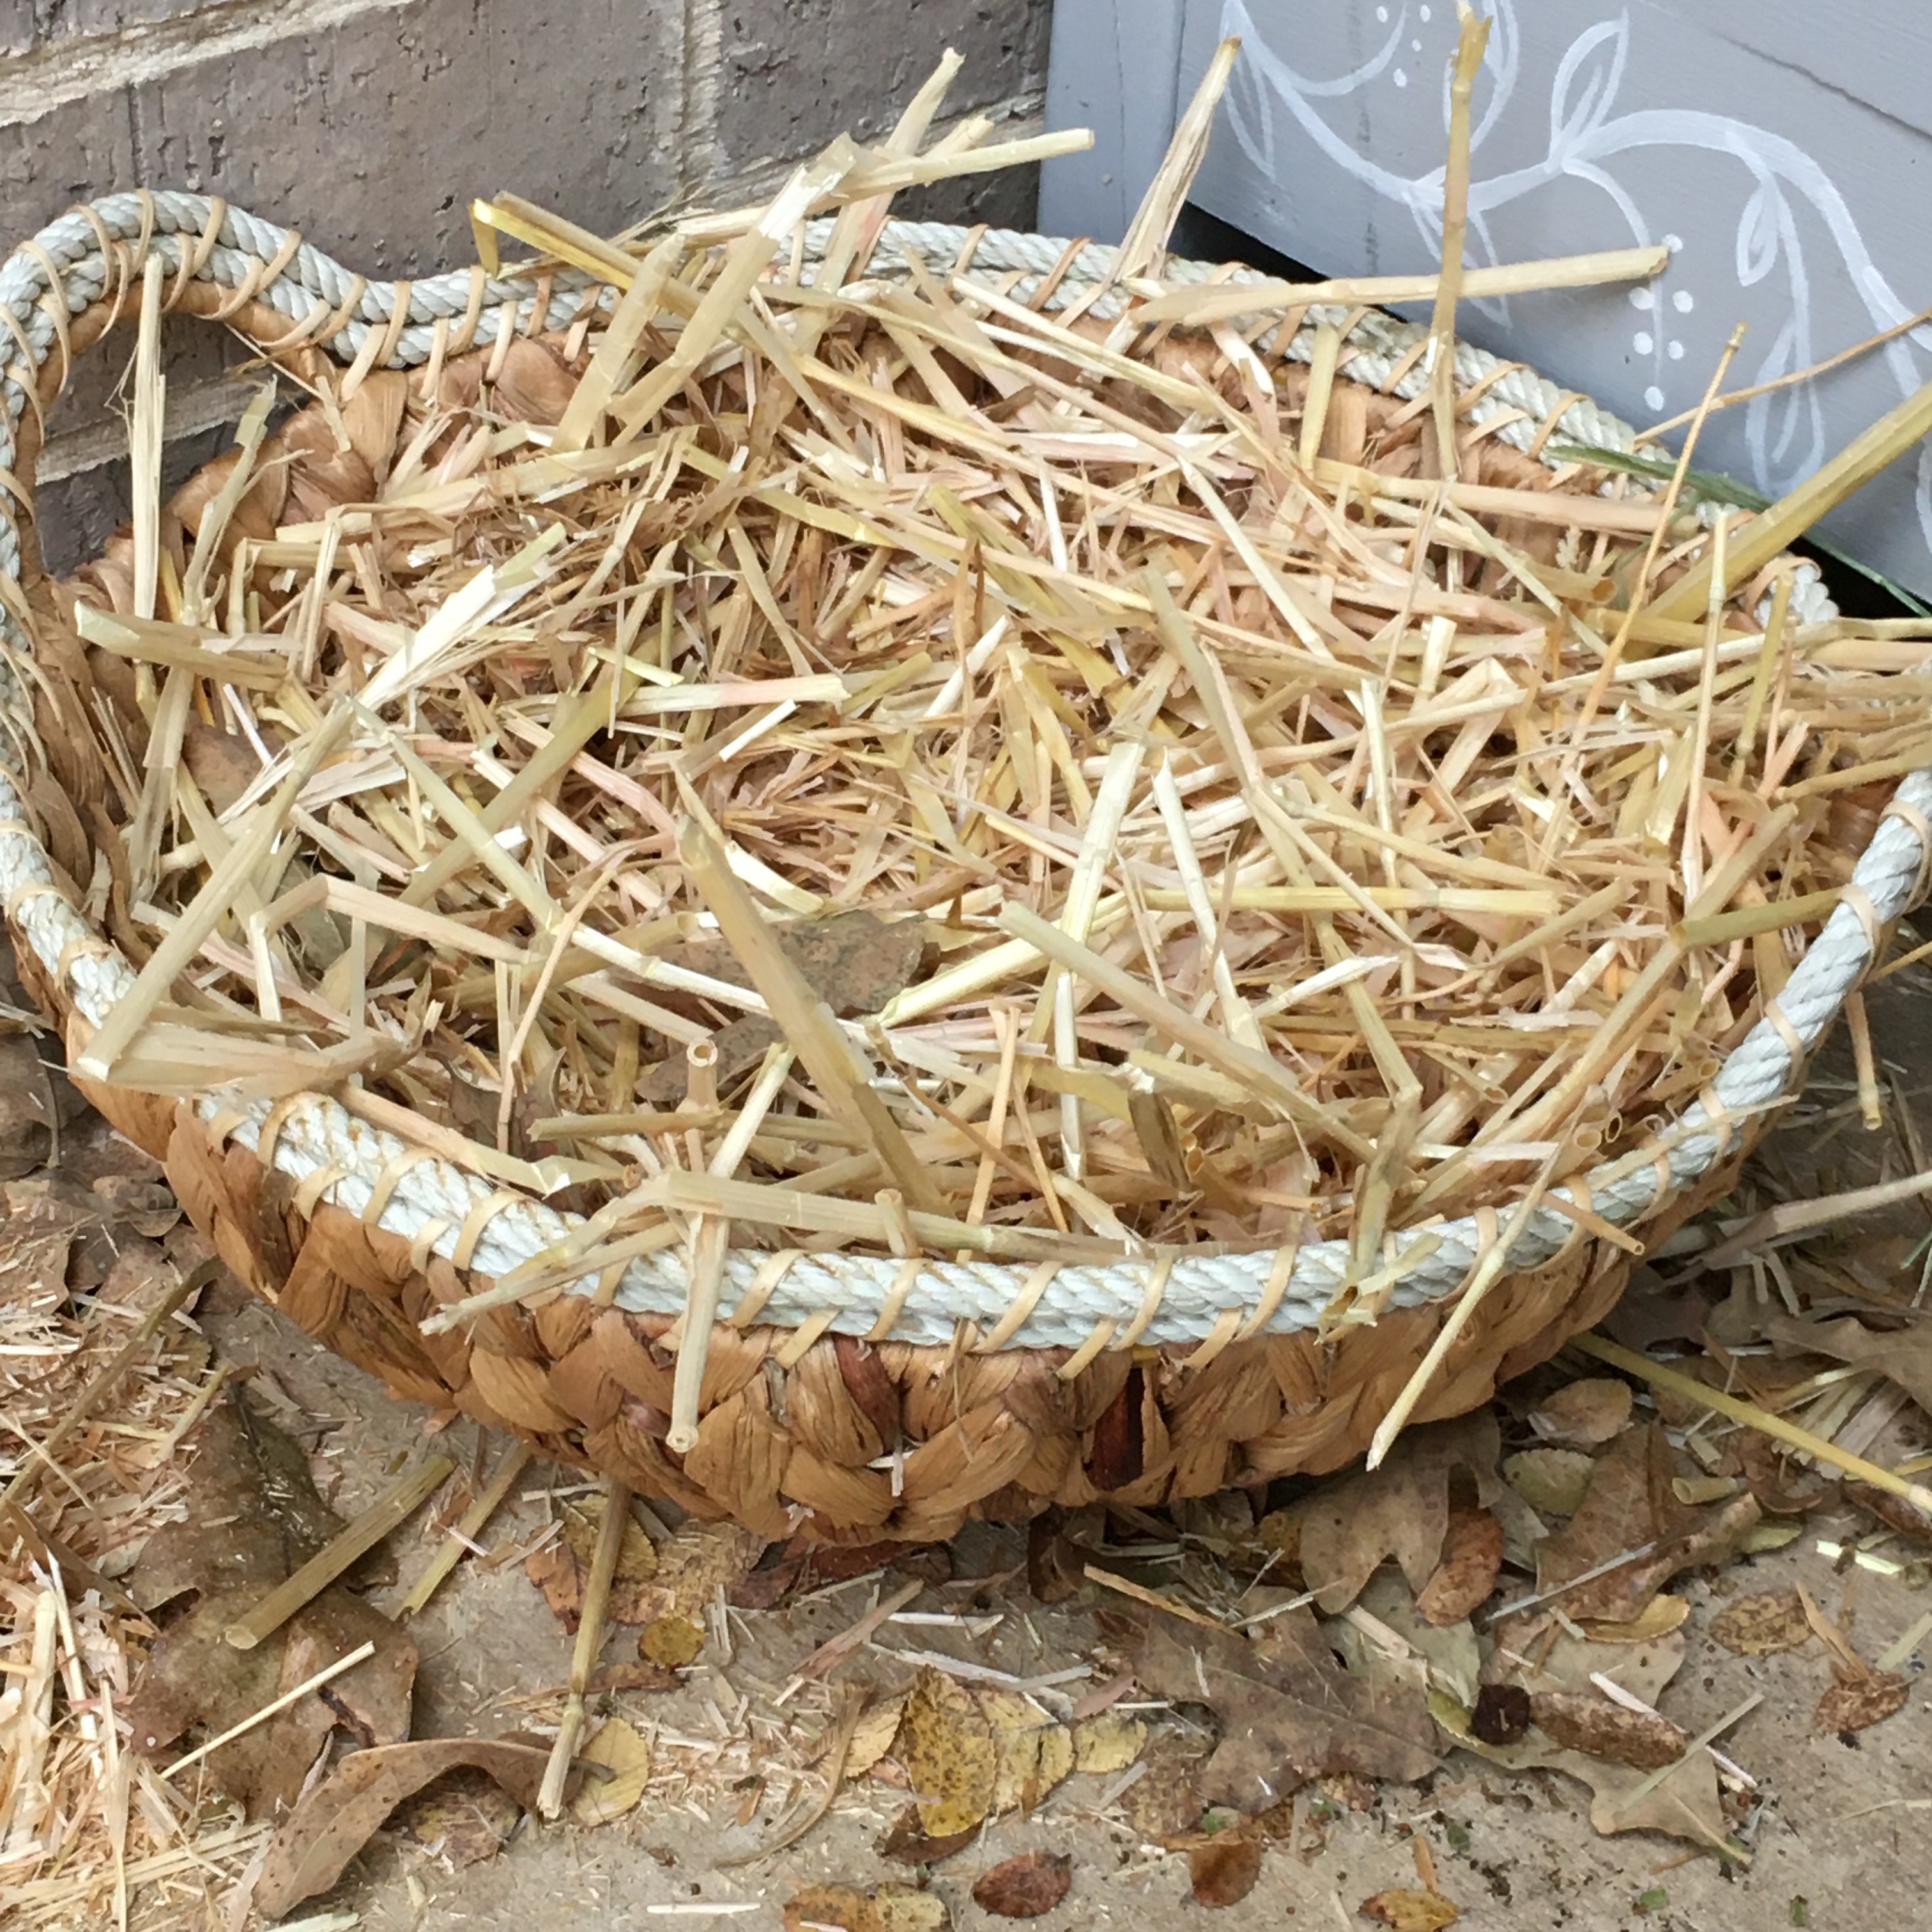
Although she is cute pretending to be a plant, I don’t want to encourage the behavior so eventually I can actually have green plants in there. I bought a cute woven hyacinth basket and filled it with straw, but she was unimpressed.
Straw filled round basket
I have a large amount of “big yarn” which is really just roving.
“Big yarn”
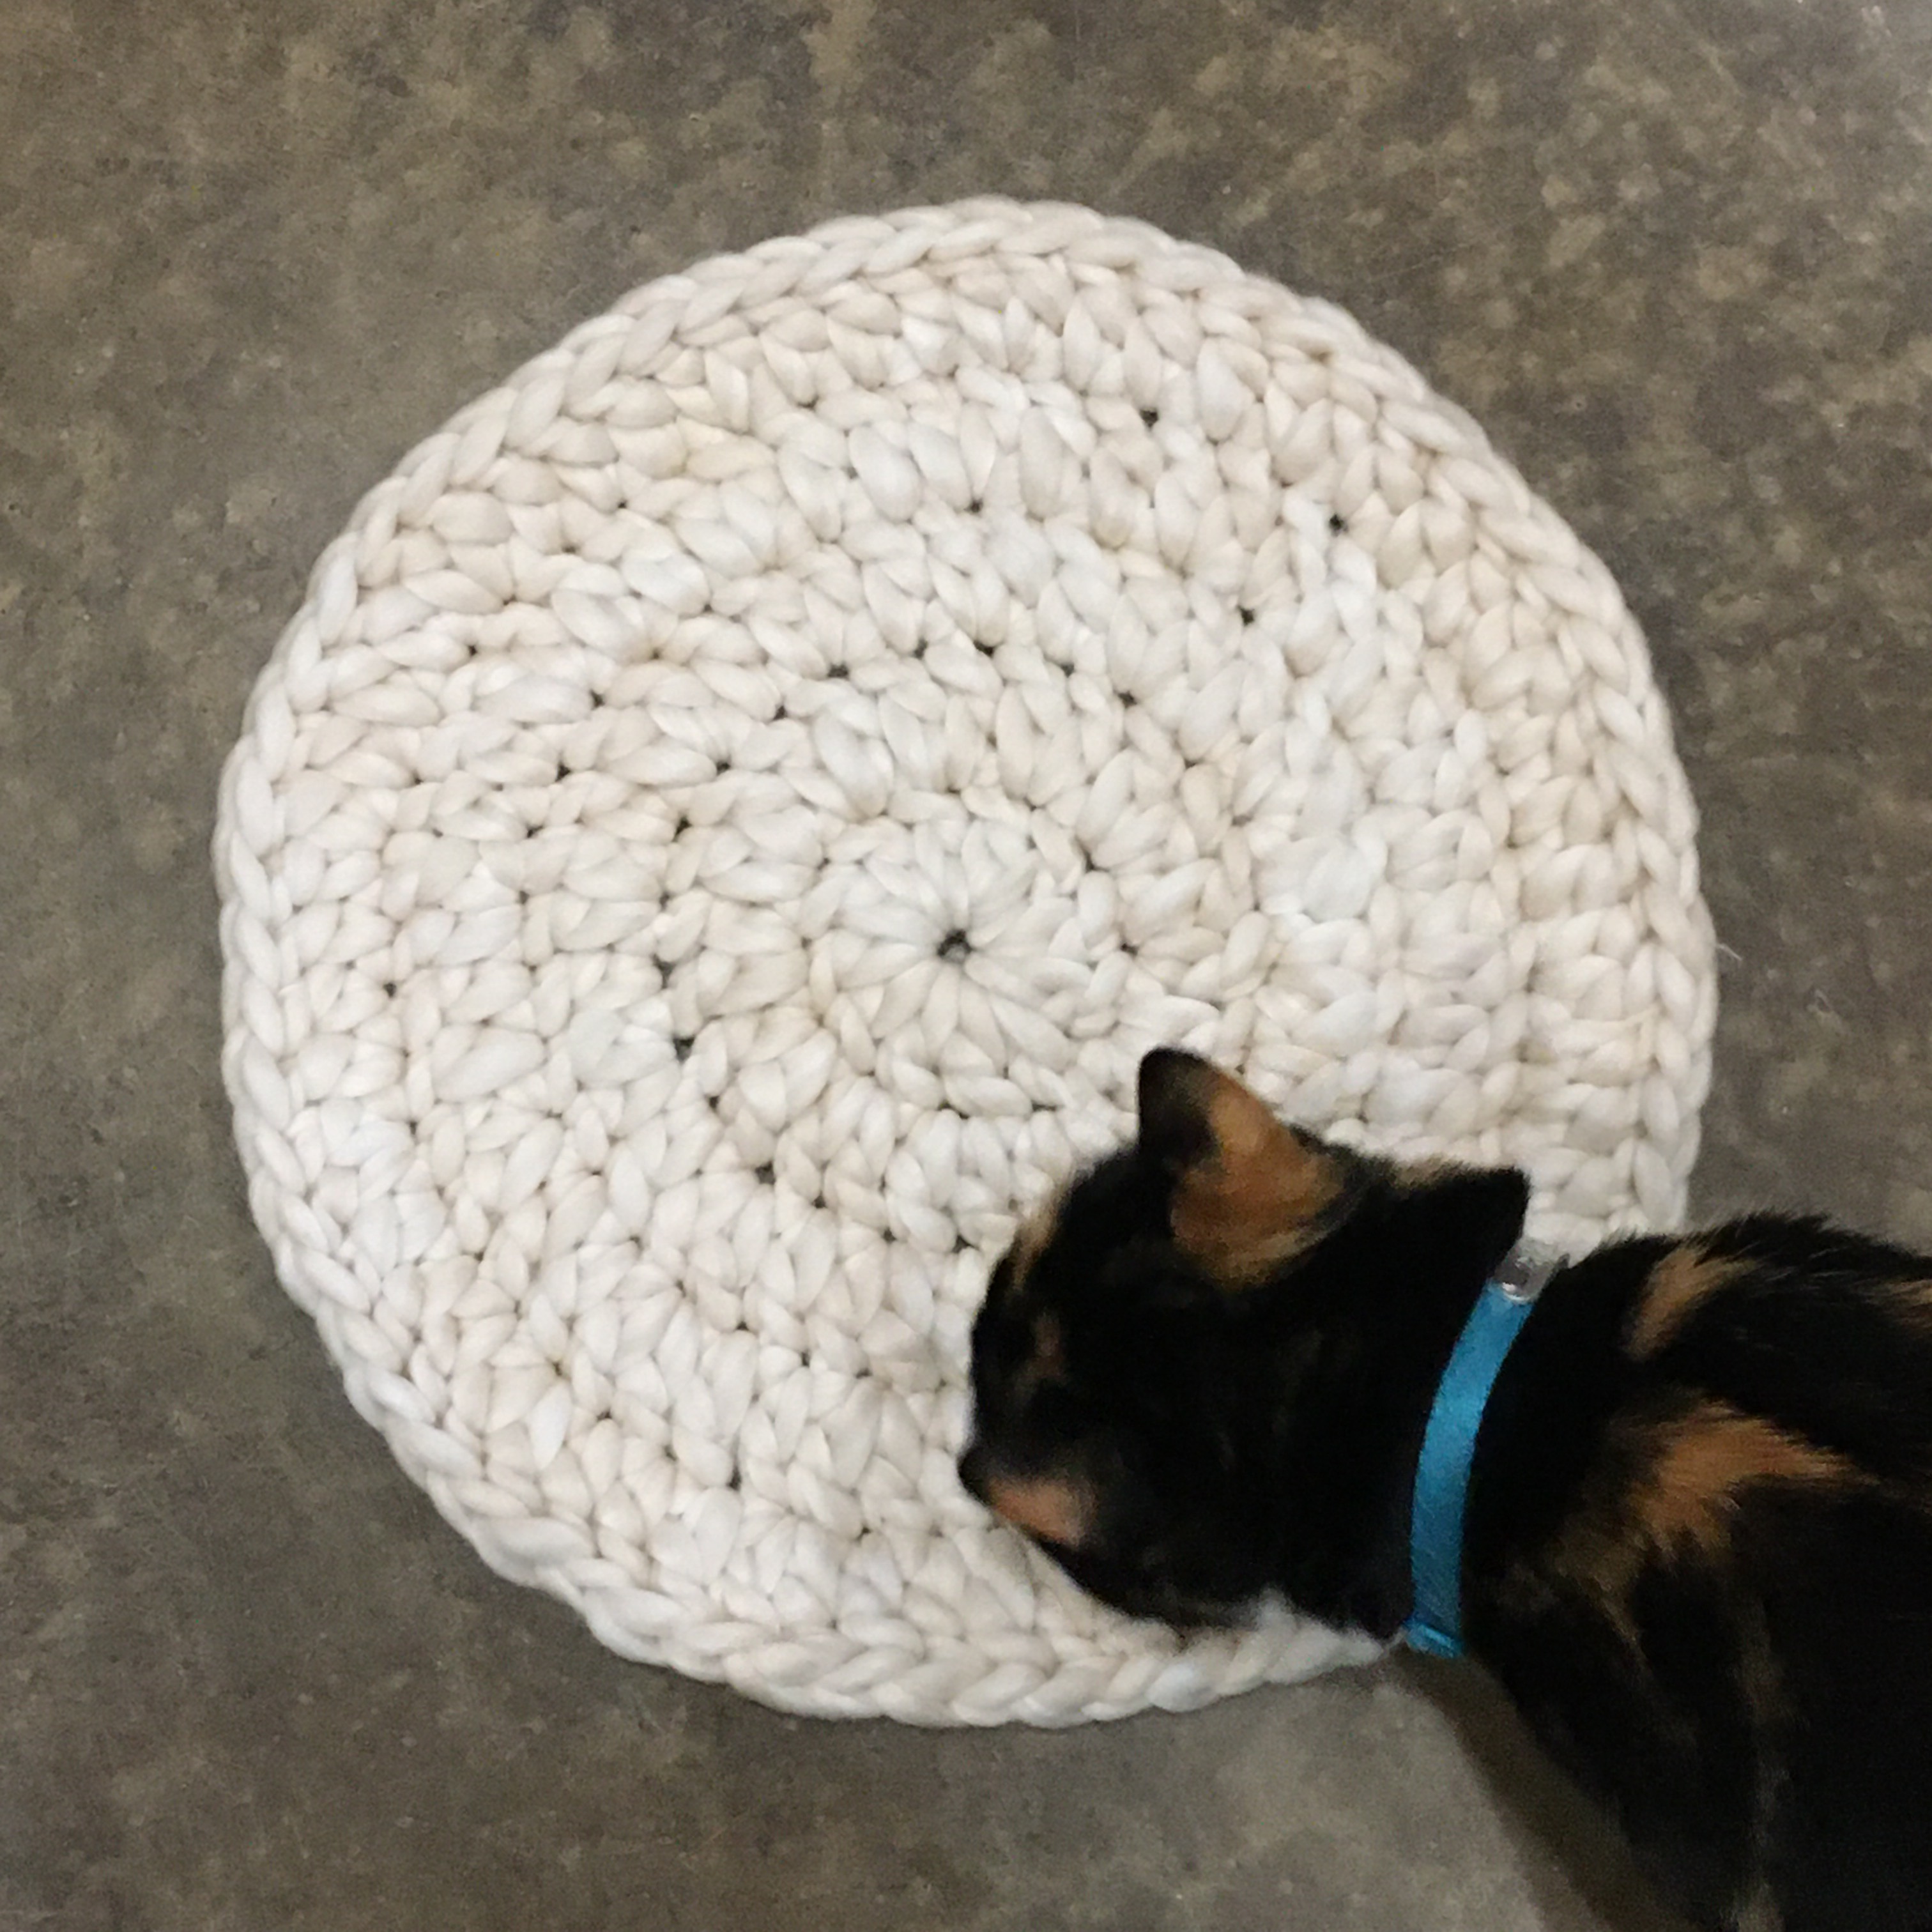
There are many posts and videos about arm knitting using this kind of fiber, the problem is, we spin fiber to make it more resilient and give it strength. Fiber that is only combed has neither quality. So to do a first-hand test, I crocheted up a round mat of the fiber using a P crochet hook.
Crocheted round with “big yarn”, wrong cat interested
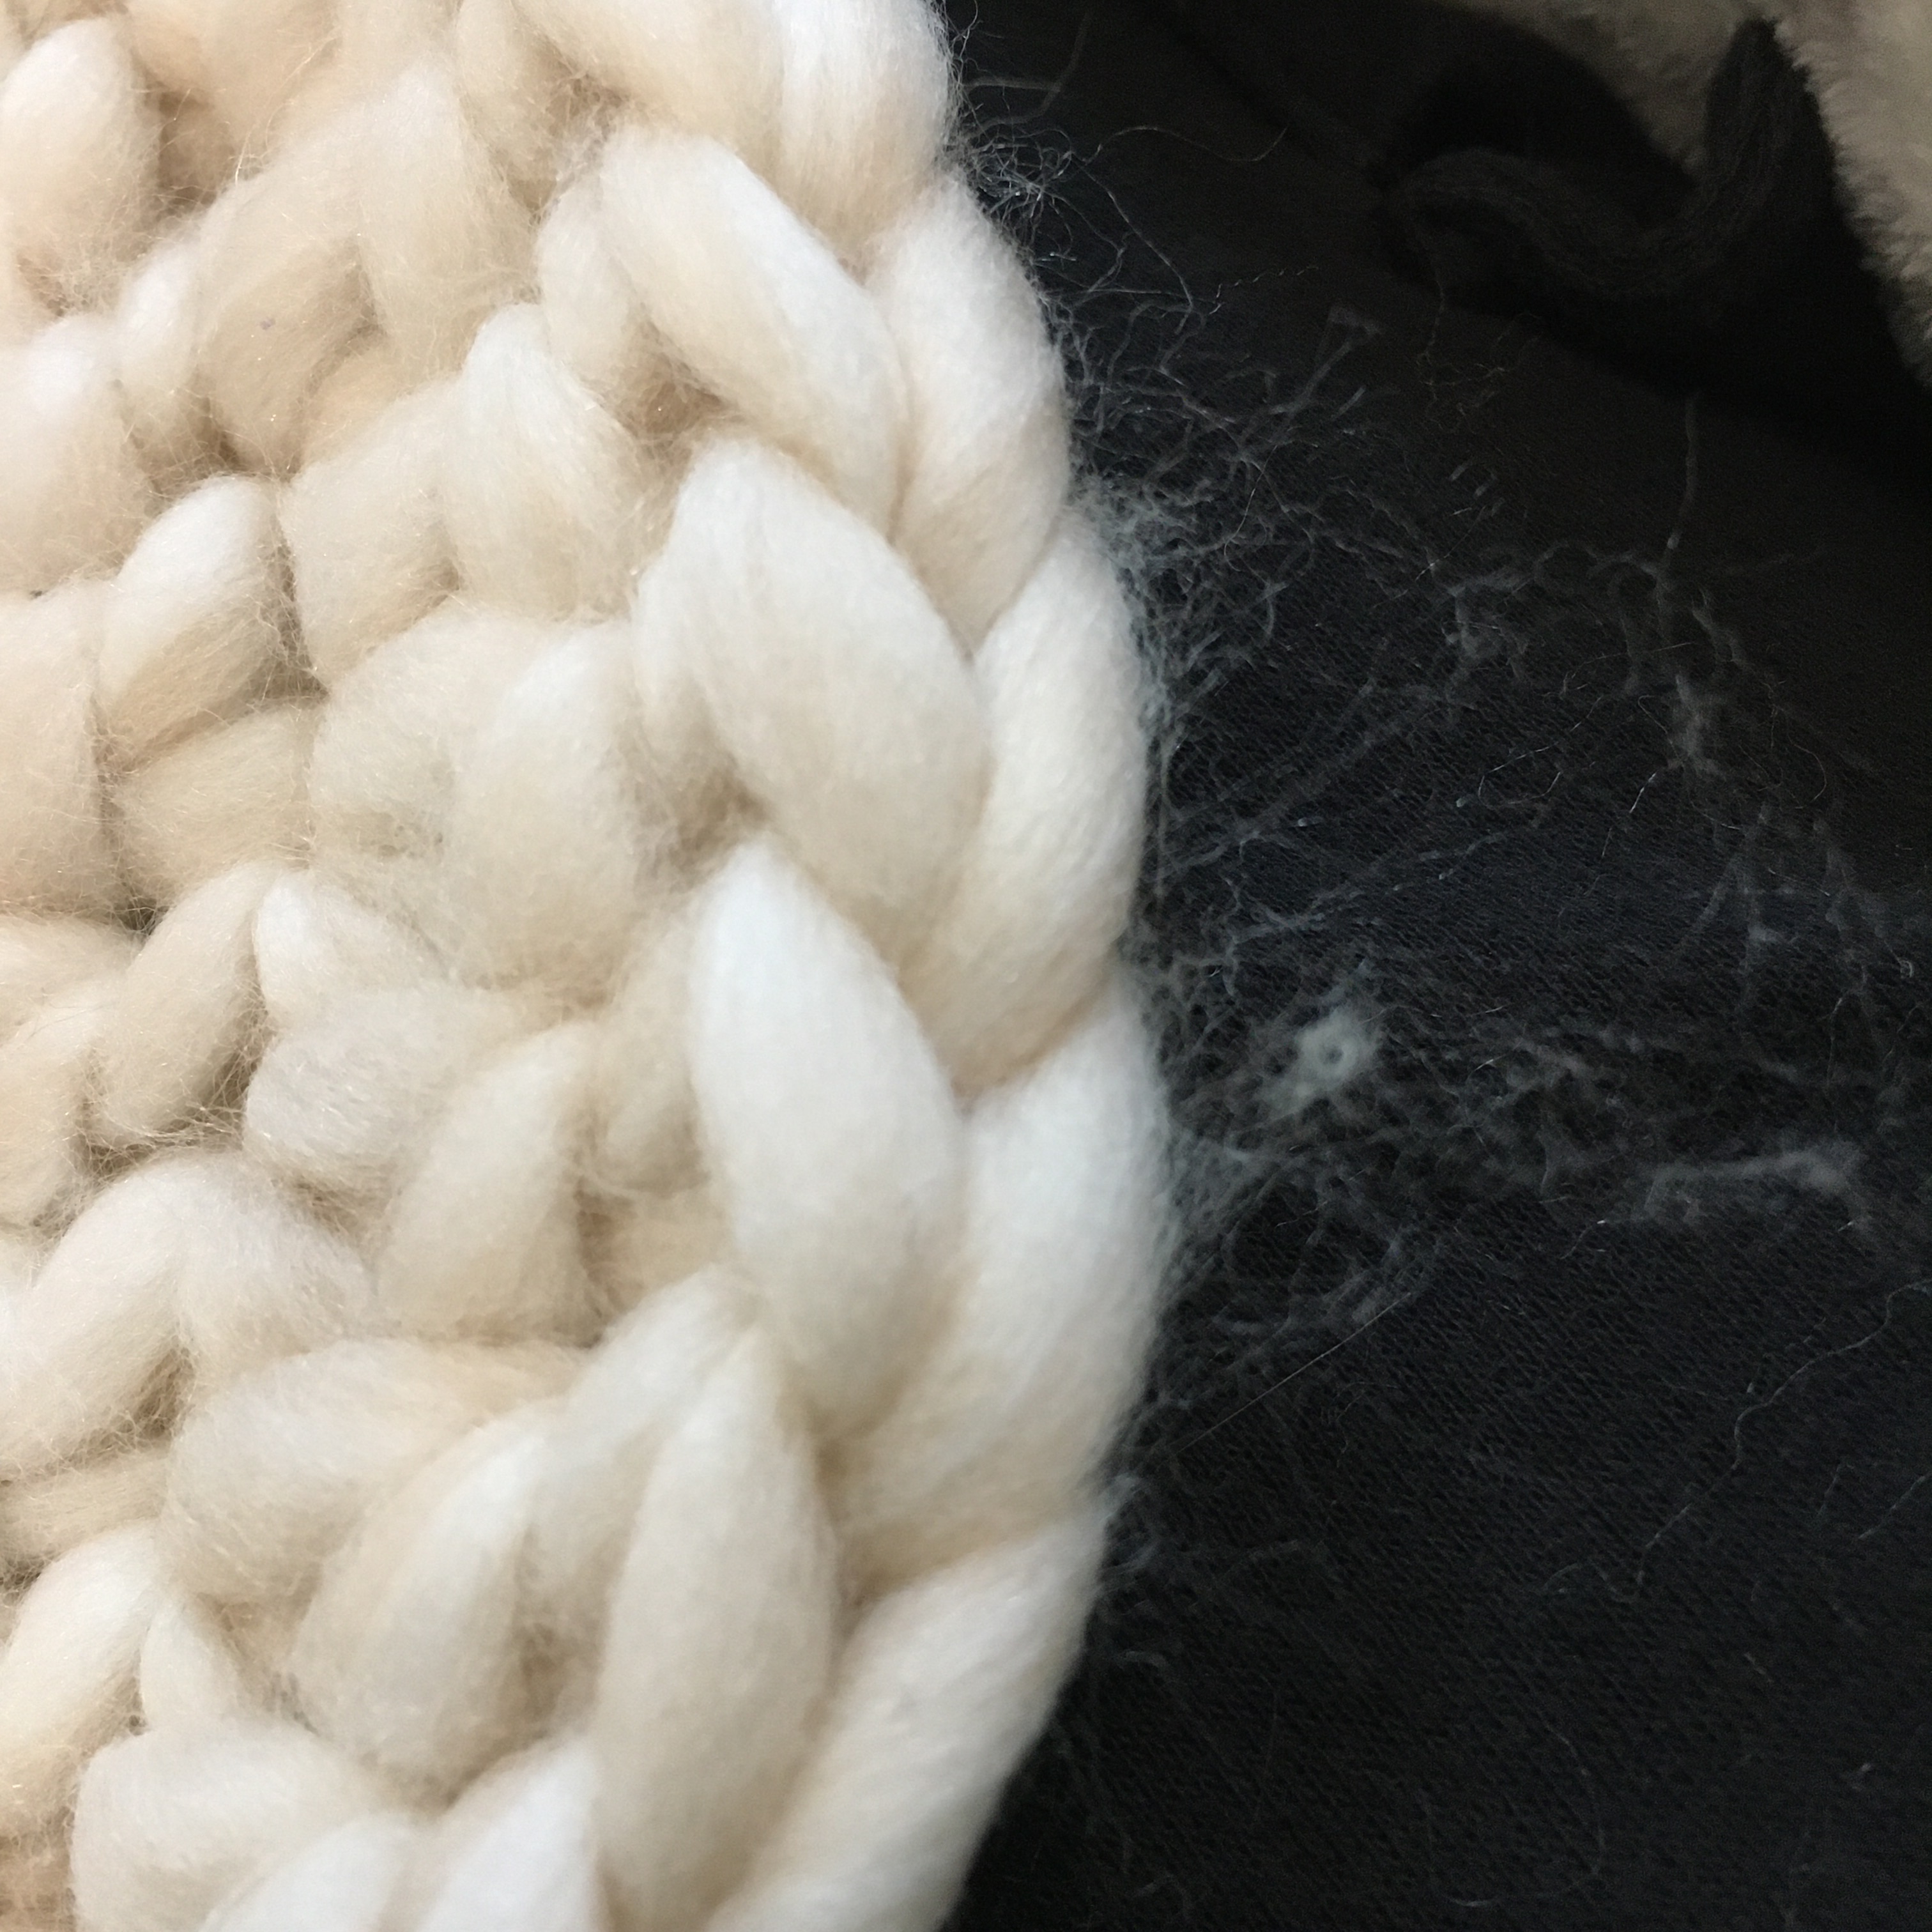
Although I was able to crochet it (the P hook was on the small size for comfortably crocheting), it was already shedding fiber before I even finished.
Fiber separating from the body of the work
My hypothesis is that, although the stitching looks beautiful now, and it went together quickly, it won’t take much for it to look like a matted mess.
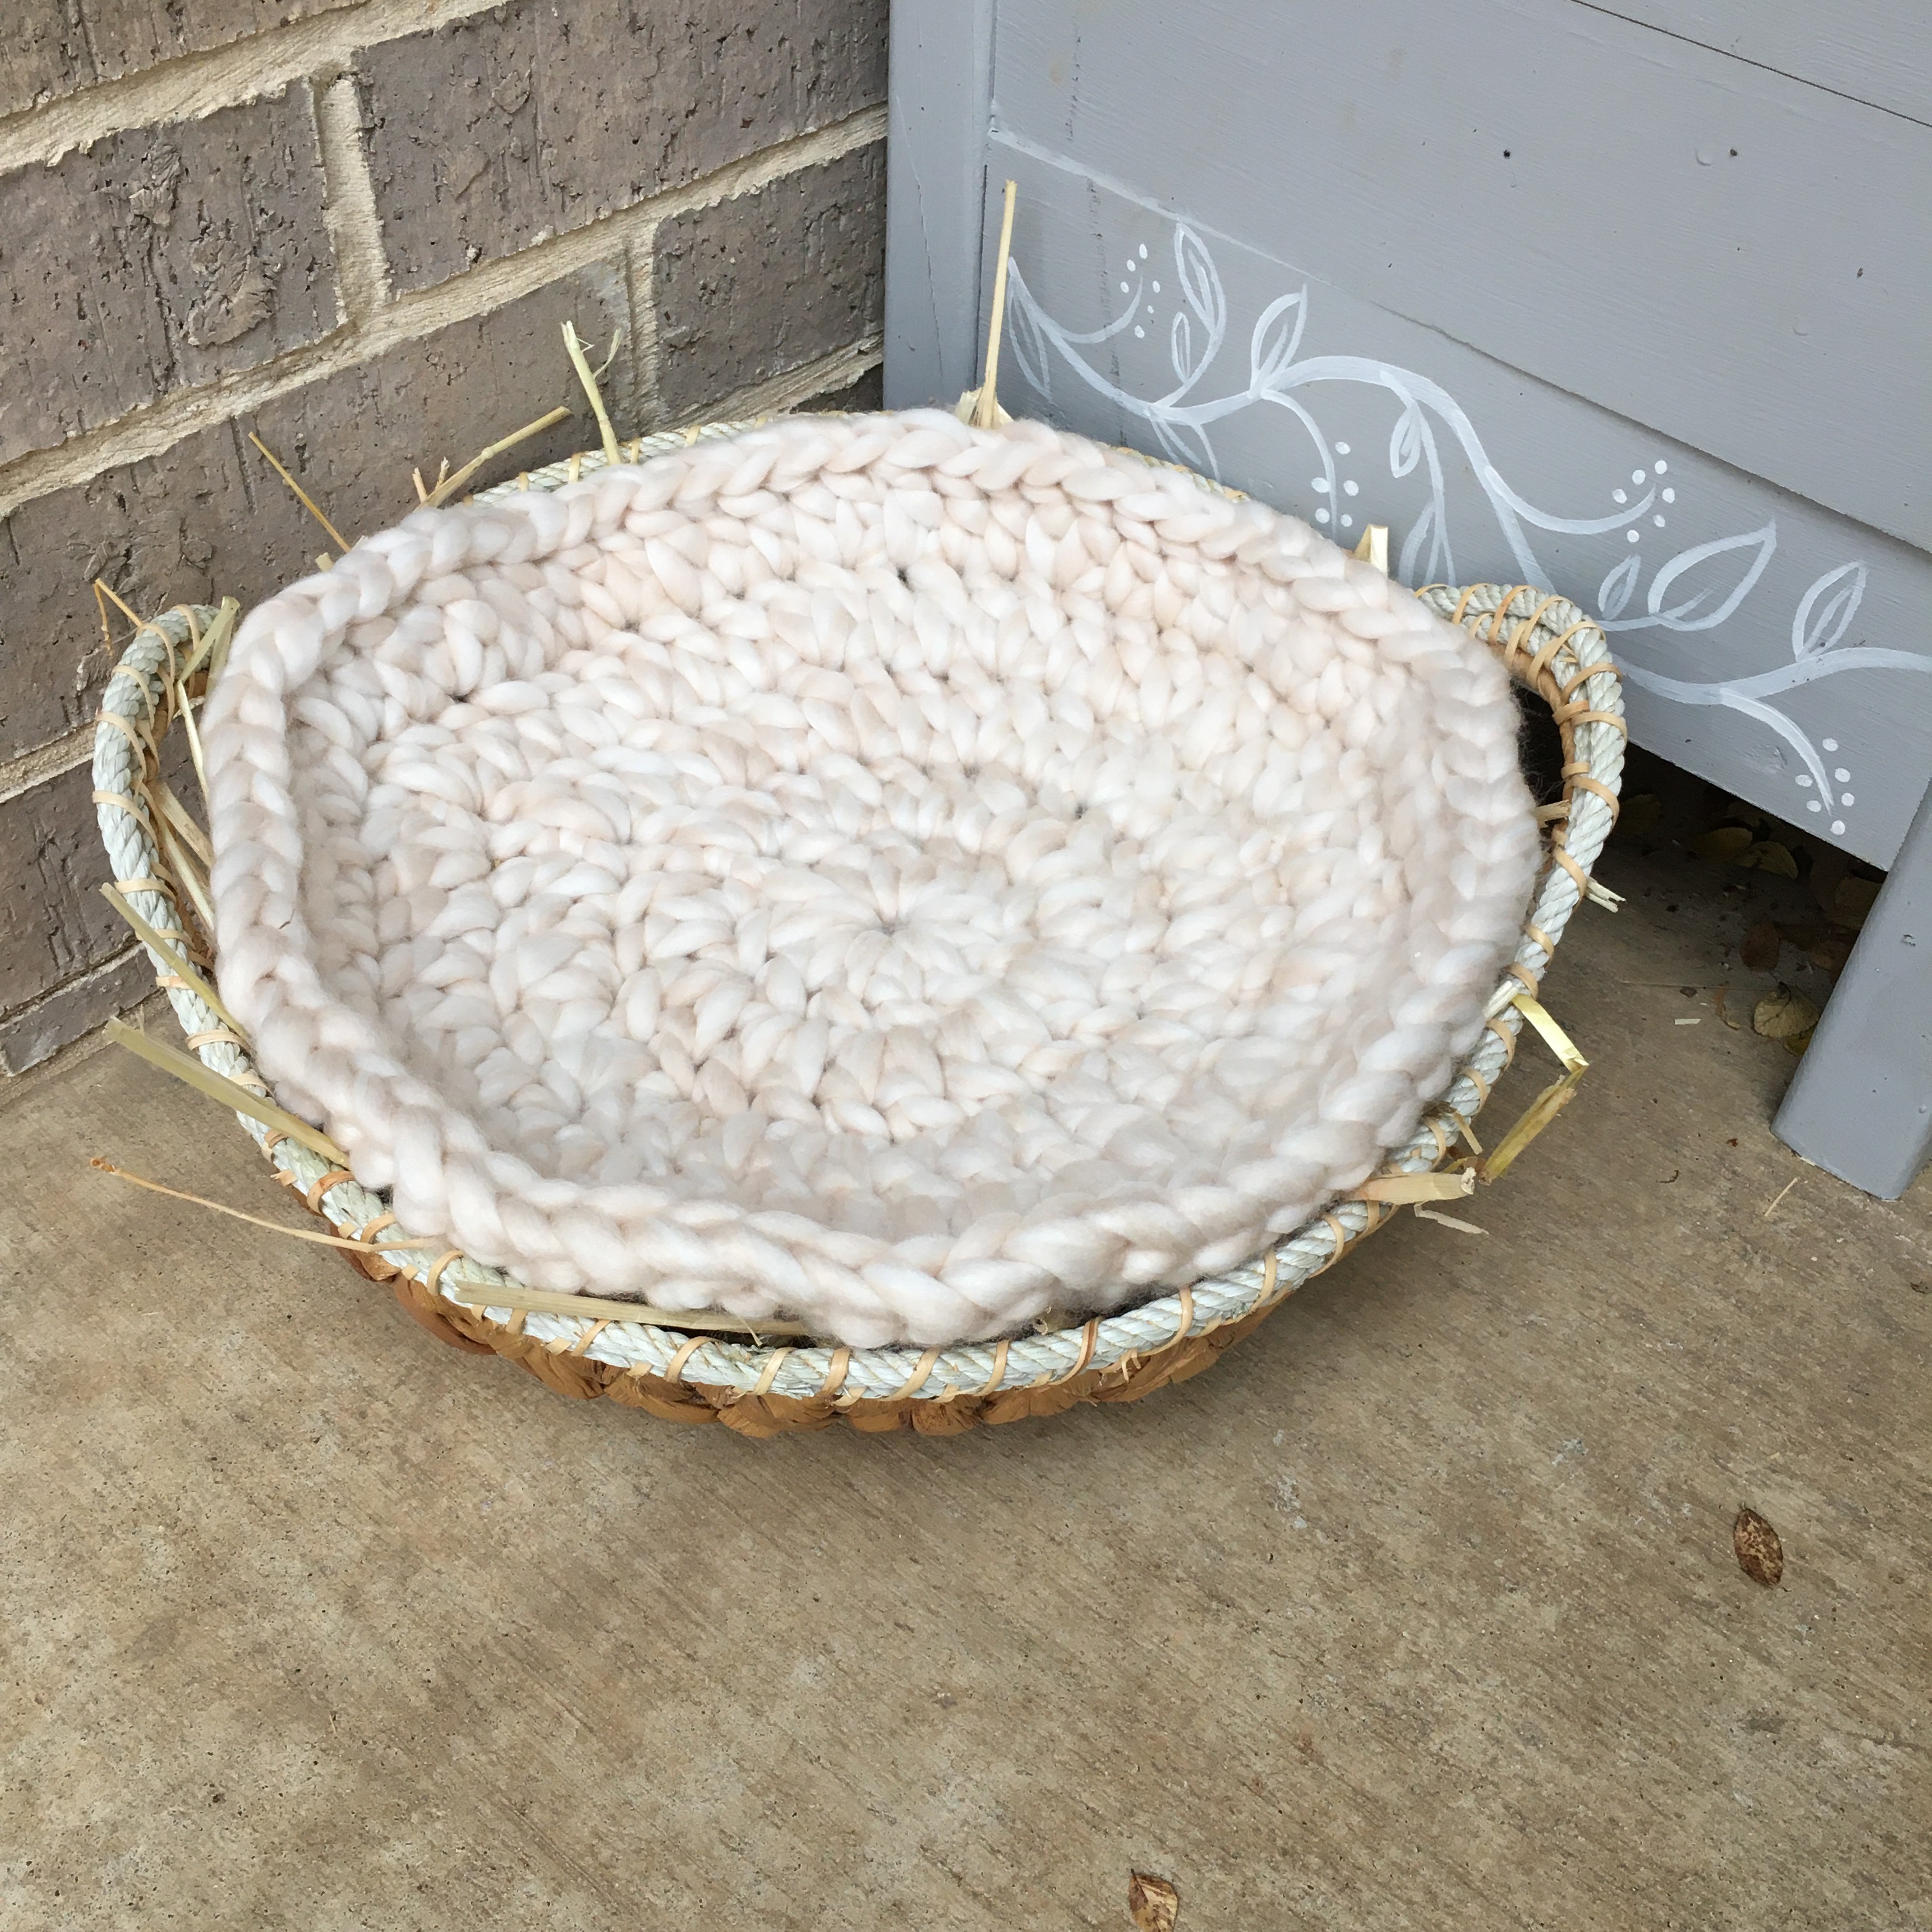
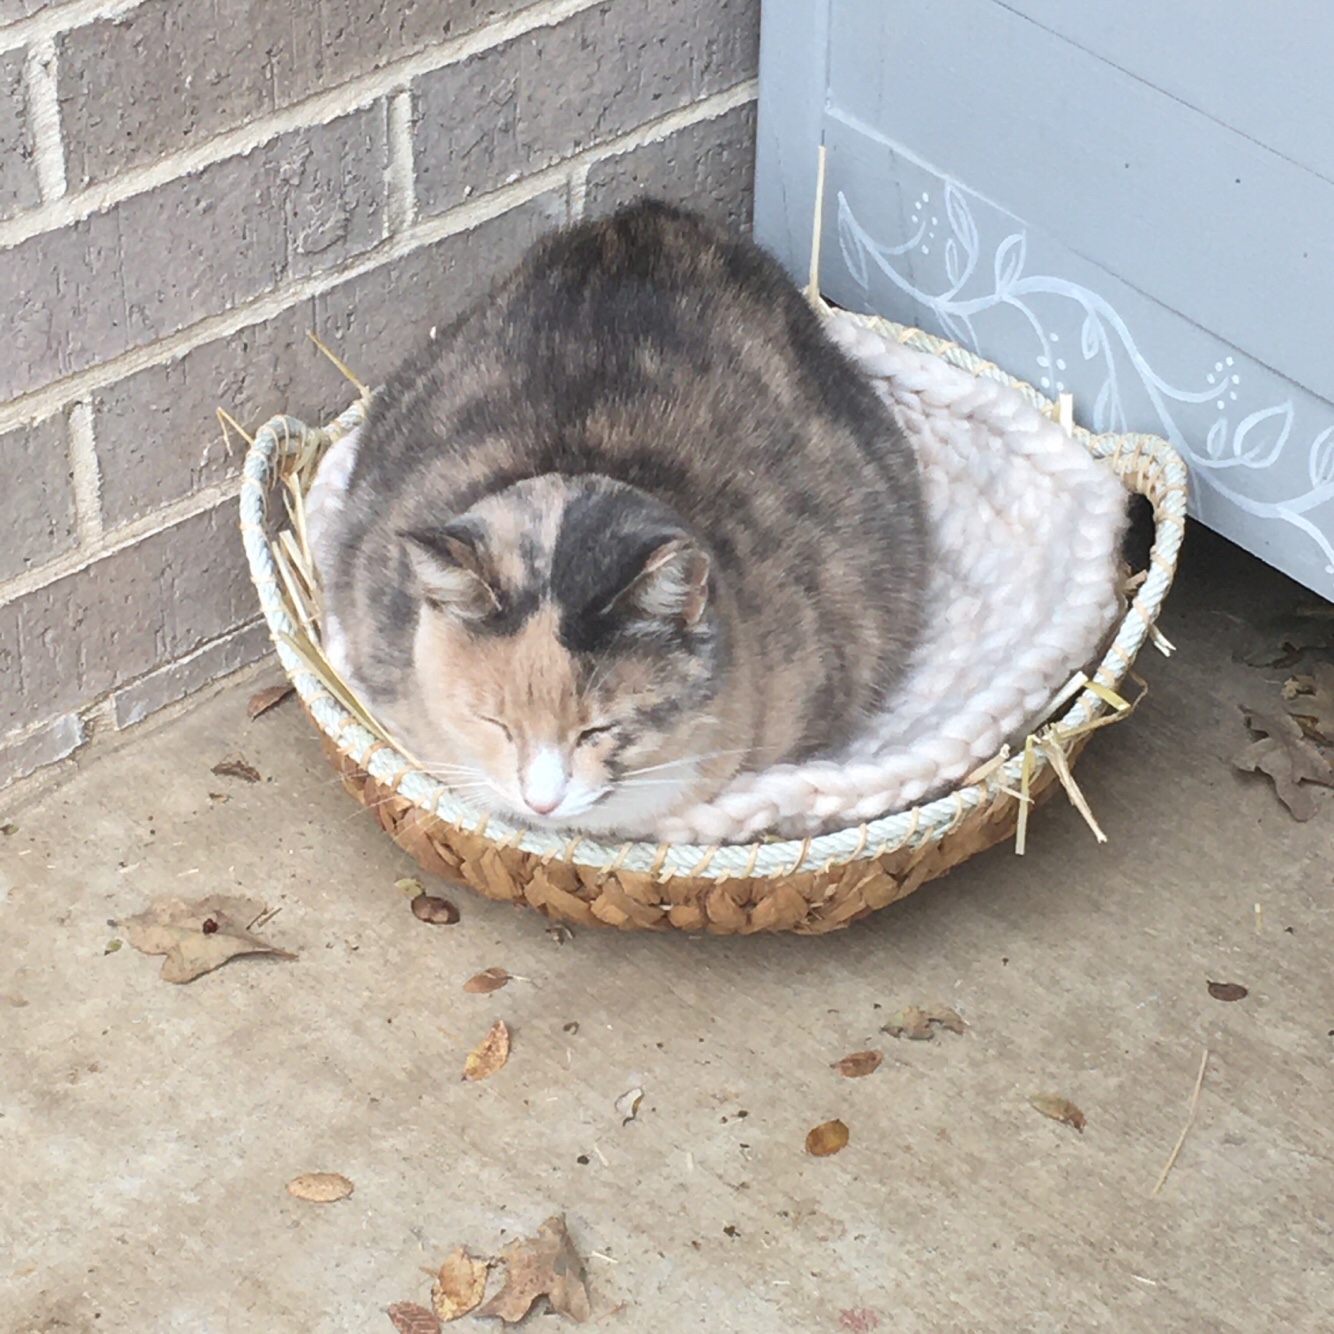
Crocheted round set on a layer of straw in the hyacinth basket
However, Sophie thoroughly approves. So she will be my tester and we’ll see what condition the matt is in a few months.
When cleaning my craft room, I found some wooden acorns. In keeping with the use it or lose it mentality I am approaching with my crafts, I decided to use these on the wreath.
Wooden acorns painted gold with spray paint, with Sharpie, and plain
I wanted some bling, so I tried to color the acorns gold with a Sharpie. This is doable, but takes awhile. So I found a partial can of gold spray paint and sprayed the other acorns using a cardboard box for a spray guard. I used up the paint too! One less thing in storage, yay!
Drilling a hole with a gimlet
I used a small gimlet to drill holes across the tops of the acorns, then used gold colored aluminium wire (because it is light and very malleable) to make picks. I have more precise control of the gimlet. A drill press or hand drill goes faster but I usually slip at least once. For just 7 holes, the gimlet was perfect.
Wire threaded through the hole at the top of the acorn
To complete the picks, I twisted the wire. Here is a demo.
Completed acorn picks
With the picks complete, I tucked them asymmetrically into my wreath. It does add a little shine.