I have two knitting works in progress. One needs a section ripped out, so is resting until I have the courage to tackle it, and the other I cast on several months ago, and am now circling back around to work on it. This is a fingering weight sweater (right? Crazy.) that I bought the yarn to support a cause, and determined I wanted to make my youngest an actual garment. The knitting isn’t hard, but it does take a long time. Izzy the cat appreciates it when I knit; I provide a long-term nap space.
Photo description: Yellow and Blue fingering weight yarn on Prym circular needles in the foreground; in the background a sleeping calico cat laying on my lap.
I am acknowledging that this will be an on-again off-again project as other shiny things distract me.
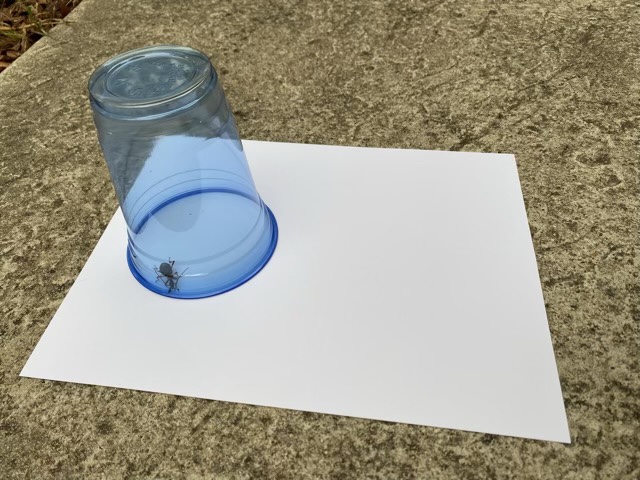
I’ve been seeing some strange bug catching methods on my feeds, so I thought I would share my preferred method for catching and removing critters from the house: a cup and card stock. Put the cup over the insect, slide the card stock under, tada, instant cage. Thin paper can work, but isn’t as secure. Clear plastic cups are awesome, but a glass works too.
Photo description: Blue transparent plastic cup upside down on a white sheet of card stock on a concrete porch. Large black beetle visible inside the cup.
This works great for creatures on flat surfaces, and the materials are cheap and readily available.
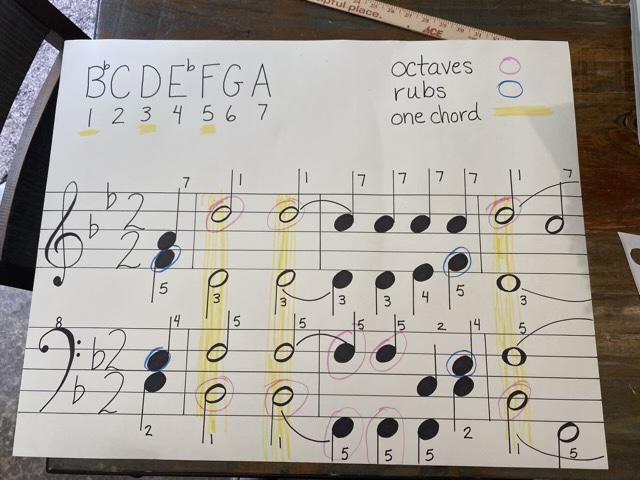
I geeked out at my chorus this week. We talked briefly about marking our music and some important things to notice when singing 4-part barbershop, and their homework was to go home and delve into their own sheet music (I did give them a cheat sheet). I made a poster. This was an old school poster layout, with a yard stick and rulers, done in pencil, then in ink. It gives examples of the tonic chord (or one (I) chord), rubs (notes next to each other), and octaves. My youngest wanted to help, so she marked the colored sections (bonus, she starts seeing the relationships too). Learning to recognize and hear these aspects helps us along toward making better music.
Photo description: hand drawn barbershop music score, first four measures of “How We Sang Today” with numbered scale, legend, and marked and labeled notes.
I admit I don’t use the colors, but I do use the numbers, and I’ve been naming as many chords as I can, not just the tonic. It is good practice.
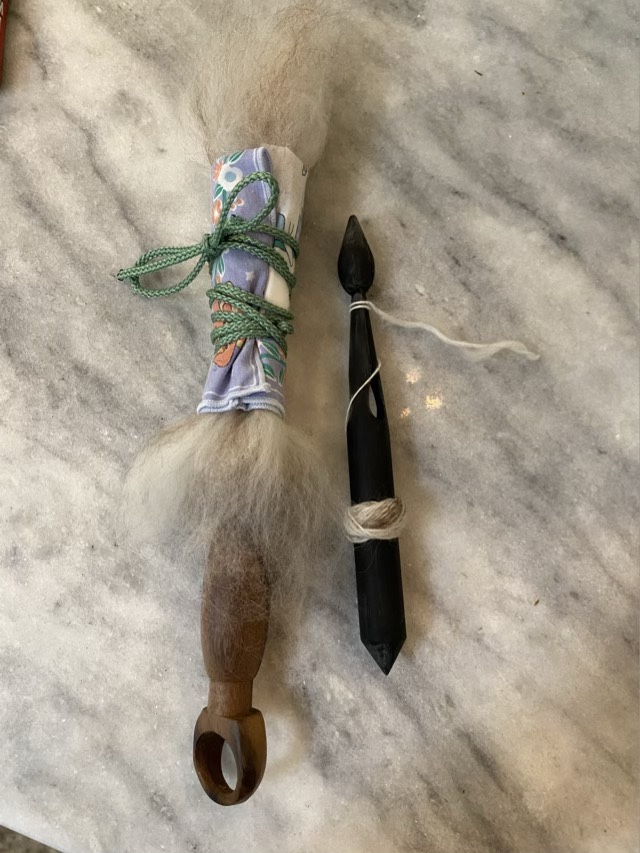
Photo description: One the left a rosewood ring distaff dressed with blended wool and a handkerchief, on the right a custom 3D printed drop spindle with a small amount of spun yarn.
The test of the new 3D printed spindle went well. I dressed my distaff with a locally obtained wool blend and took my new spindle for a walk. I dropped it twice on the asphalt to no ill effect. Hurray! This is the first time I’ve used this distaff for wool; I figured out how to use it when I needed to control flax roving, and it works just as well for wool. I’ve seen others wrap their wool roving around the distaff, which for me is maddening. As I draft, the fibers pull tight and lock in a spiral. By laying the wool out parallel to the distaff in small sections, and securing it with a handkerchief and cord, the fibers drafted easily off the bottom of the bundle. Nice.
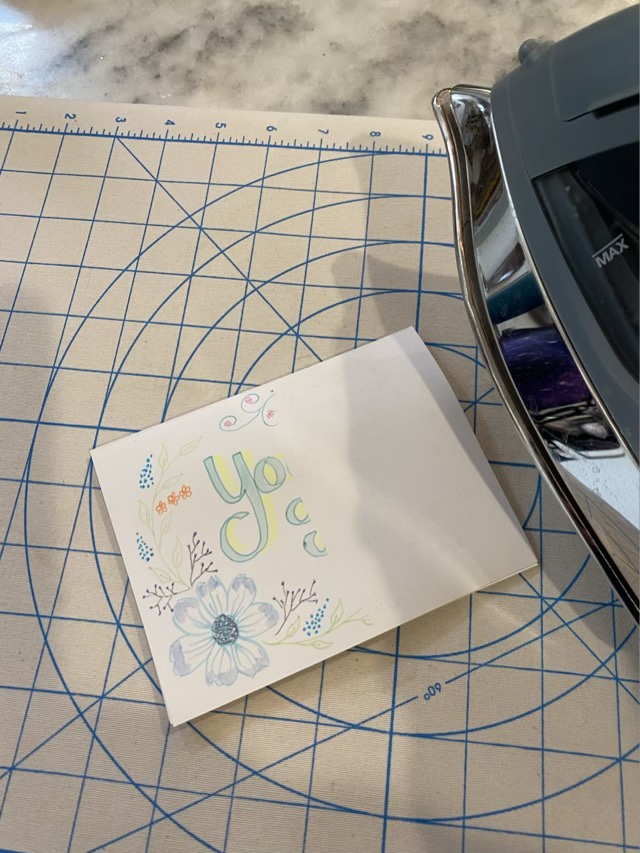
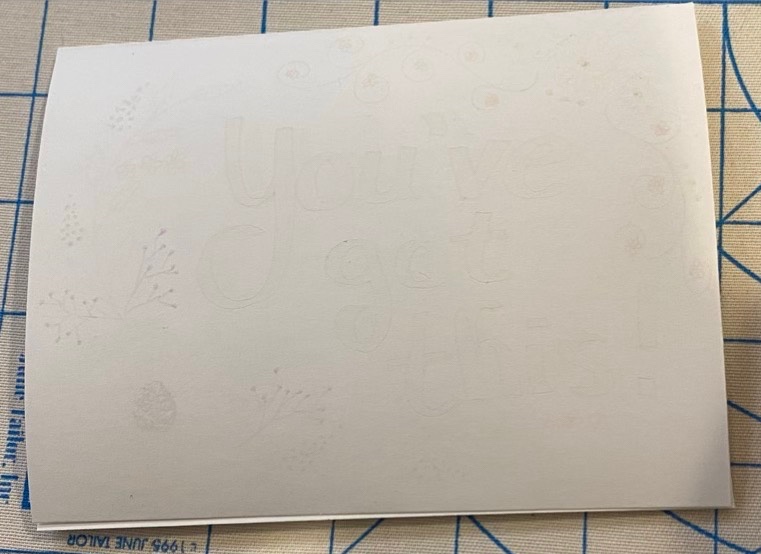
I ran an experiment with my sister. I decorated a card with Frixion pens, markers, and highlighters, then “erased” it by ironing. The way Frixion ink erases is by heat; when you use the little eraser it creates friction with the paper and generates enough heat to deactivate the ink color. Neat. The super cool science geeky part is that if you freeze the paper, the ink reactivates. I tested the card in my own freezer, then heated it again. I’m not sure how many times the ink can be cycled, but I know it is over four (that is how many times I’ve tested it previously before getting distracted). The colors fade slightly in the first cycle, but not much in subsequent activations.
Photo description: white card with floral designs, half erased, on an ironing board with the edge of the iron in view.Photo description: Blank white card, with the erased design barely visible.Photo description: Back of card, with “Put in freezer” written in regular ink.
Since the markings don’t erase completely (there are shadows and indents), I did a little misdirection and wrote the instructions on the back of the card. I put it in an envelope and mailed it to my sister. She reported back that it worked! I will have to wait until next summer to send another one; having the card sit in a freezing cold mail box would defeat the trick.
I probably get a bigger kick out of this than is normal for an adult.