I made a new digital card design for our holiday cards. I started in Adobe Fresco on an iPad with an Apple Pencil, moved to the computer and used Adobe Illustrator, then to print, used Adobe inDesign to do the layout. I like black and gray word art, but to give it a little pop I printed on pearlescent paper.
Photo description: “Dashing through the Snow” in different fonts, with pine needle bunches, holly sprigs, two swooshes, and assorted gray snowflake designs. The shimmer of the pearlescent paper is evident in the upper left corner.
My plan is to put the design in Redbubble and cross post to my CarynsCreations.com site after the design is available.
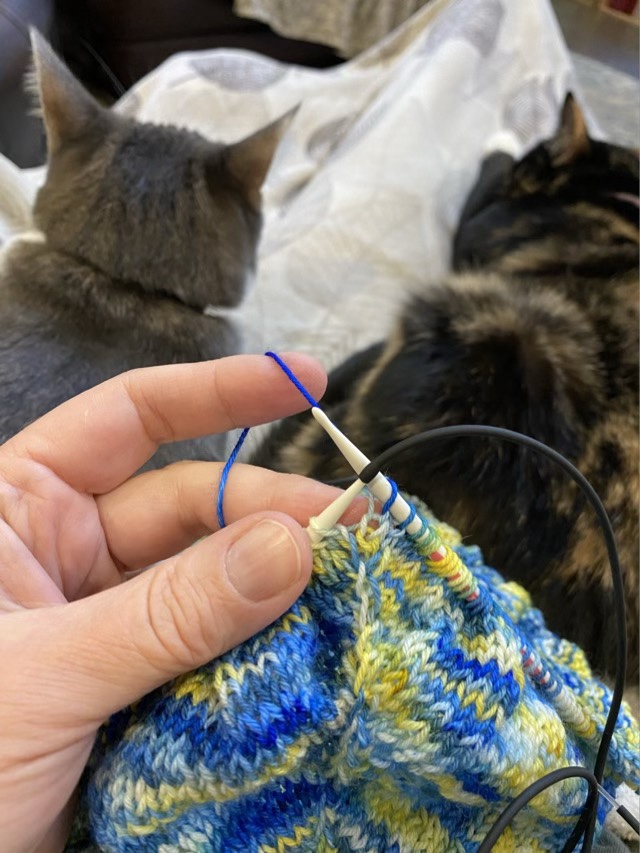
I’ve made it to the split of the arms and body on the cardigan I’m knitting! This is momentous because after I separate the stitches for the sleeves each body row will have less stitches, which will make progress seem faster. There are a couple ways to hold the stitches for the arms, waste yarn, or a stitch holder. I found some pony bead elastic in my stash, which is a thick, but hollow, rubberized cord marketed for stringing beads. The end of this cord fits over the tip of my needle, making it much less scary to slide the stitches off the needle and onto the cord.
Photo description: Black flexible cord slid over the tip of a Prym circular knitting needle, in preparation for sliding stitches. Two cats in the background in close proximity.
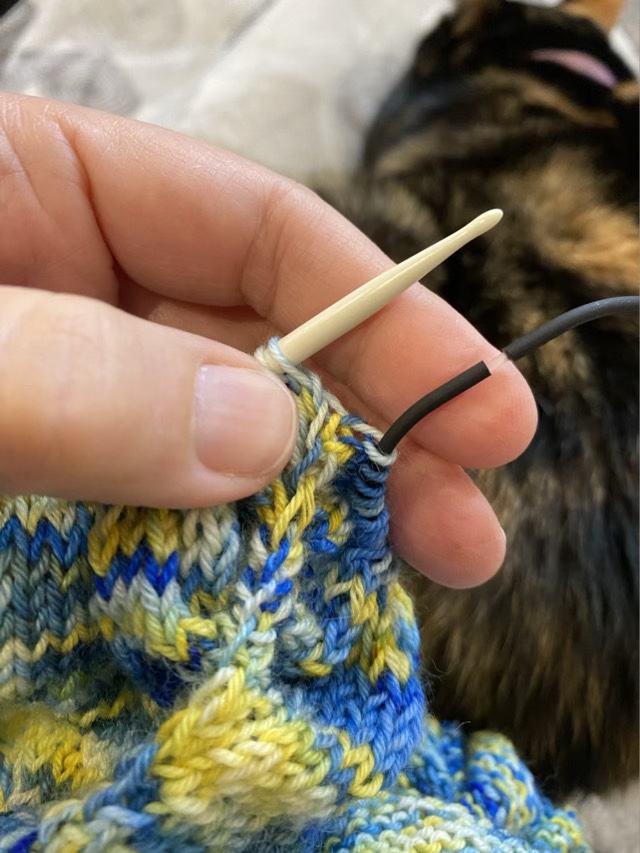
The cord comes in long lengths, making it possible to cut it as long as I want it, which in this case is large enough so the garment can be tried on during construction. In the package there are also small connectors that slide into the ends of the cord, closing the loop.
Photo description: Knit stitches slid onto the cord and the cord closed with a clear solid connector. One cat in the background. Thor pushed his luck, Izzy noticed and told him off.
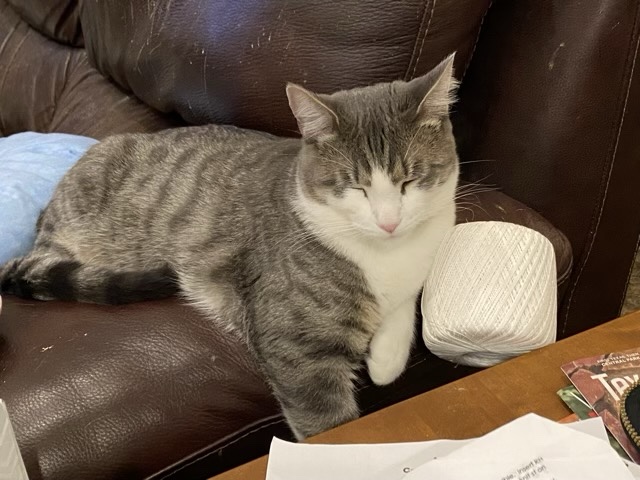
I don’t know if I’ve mentioned this, but Thor the Gray tabby is an awkward sleeper. He hasn’t quite figured out laps, and lays half on, half off. I often find him sleeping not quite within the confines of a space. The picture below is typical, draped over the arm of the couch and his leg doing weird things. The yarn snuggling is quite suspicious. How did it get there?
Photo description: Gray tabby on the arm of a leather couch, one leg down between the couch and side table, with crochet cotton near his shoulder, also perched between couch and table. The cat’s eyes are closed.
I’m still working through the bag of acrylic yarn odds and ends gifted to me by another avid crocheter. I made a couple cat beds, and now I have defaulted to my standard double crochet hats. These work up fast, can have many color changes, and are great to donate to either a cancer center or local charity.
Photo description: Teal, white, and pink crocheted hat with scalloped rim, sitting on my knee in the car.
These start with a magic circle and 10 double crochets. Each row has ten increases until the hat size is reached; hat sizes are typically the diameter, so a 7.5 hat has a 7 1/2” diameter circle. These hats are stretchy and form fitting, so they fit a range of heads, but I still like to make different sizes. Once the initial circle is the right size, the sides are double crocheted around with no increases. I like to use a slip stitch join when I’m not changing color, and an invisible join when I am changing color.
I added a scalloped edge, which on this hat is a double crochet five times separated by a single crochet, all in the same stitch. Skip one loop, slip stitch, skip another loop and go again.
I’ve been working on these while waiting for school pick up.
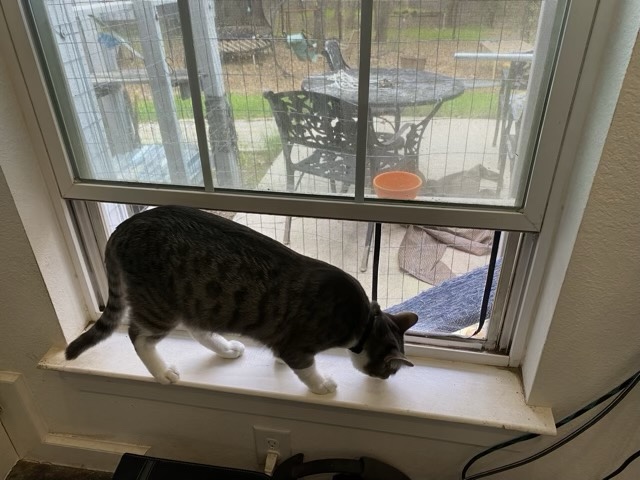
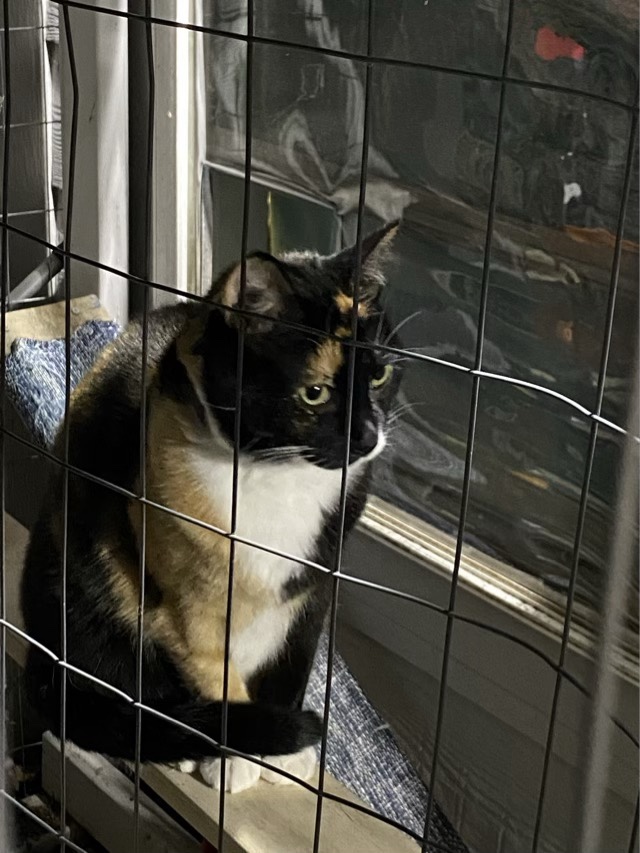
When we built the catio almost six years ago, we set up a window as the access point. To keep the flies out I cut a cat flap in the screen (because window screens are relatively easy to fix). Well, this is fantastic in the summer, but in the winter it gets a bit chilly in the living room. I had been using a scrap piece of clear plastic to block some of the incoming draft, but it was getting old and brittle so I ordered a larger piece. With a larger piece I was able to cover the whole screen and cut a new cat flap.
Photo description: Window screen on the floor covered in clear plastic.
I cut the plastic to size and adhered it to the screen frame with glue dots. I then put it back into the window. It took the cats a couple days to really get used to it, but it makes a huge difference reducing the winter breeze through the room.
Photo description: View from inside the newly lined window screen with Thor the gray tabby on the windowsill investigating the new smells.Photo description: View from outside the window, actually showing the reflection on the window plastic and Izzy the calico cat being cold and refusing to use the weird flap. I had to carry her inside for a couple of days until she figured it out.