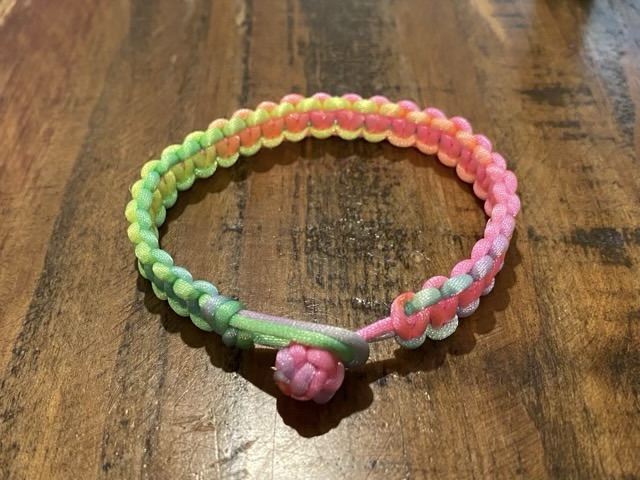
I enjoy the way the variegated color satin cord interacts with knotting, so I am continuing my bracelet series with an experiment with macrame. This is a four strand bracelet with the outer two strands tied with macrame square knots around the inner two.
Photo description: macrame bracelet with a double loop and Celtic button knot closure made from neon rainbow satin cordPhoto description: same bracelet shown in a closed loop
The color play in this piece also pleases me. The way the color shifts in each strand and how it transitions in relationship to the other strands is attractive.
I realized today that I am a curator of rabbit holes. My posts are the tiny plaques in a museum of potential deep dives. I am OK with this.
After making one bracelet with the neon rainbow hued satin cord, I decided to give another a try. The inspiration for this one was a knot I found on the internet (which happens to me often, I liked one rope tying group, now my feed is filled with knottiness and ships).
Photo description: satin neon rainbow cord with a loop at one end, and two strand knots with the last knot shown loose to see the construction
I’m not terribly happy with this knot. It is fiddly getting the new knot tightened against the old knot. The finished cord tends to skew slightly and is also slightly springy (which was at least tactility interesting). I do like the way the two colors from the two strands interact.
Photo description: knotted bracelet with loop and button knot
I finished the bracelet with a Celtic button knot, which is one of my favorite knots.
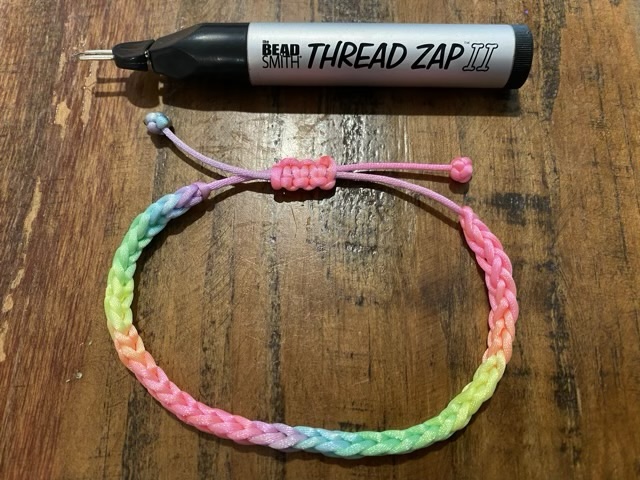
I have a new favorite tool! I have been sealing the ends and of my cords (that are not natural fiber) with the flame of a candle, which is not very precise. So I went looking for something heated and controlled, like my pyrography pen, but without getting goo on my wood burning tools. I found a thread zapper.
Photo description: Bead Smith Thread Zap II device with a neon rainbow hued lucet cord bracelet
This AA battery powered, hand held device has a thin wire loop, and when you press the button, the loop glows red hot. I can apply that heat to the end to the cut end of a cord and melt the fibers together. I can even melt the end a little to the side of an adjacent cord to lock the knot in place.
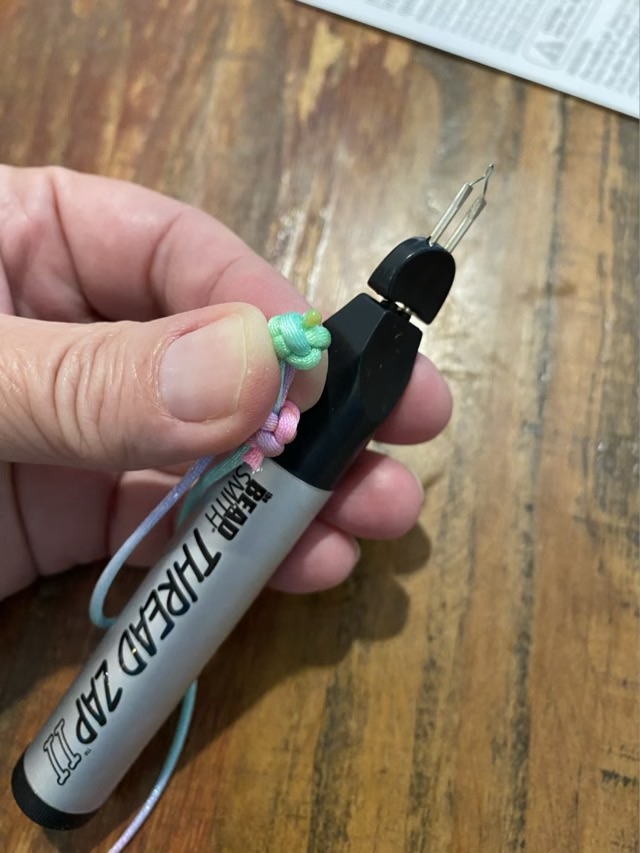
Photo description: Button knot with the cut end melted and tacked with a thread zapper
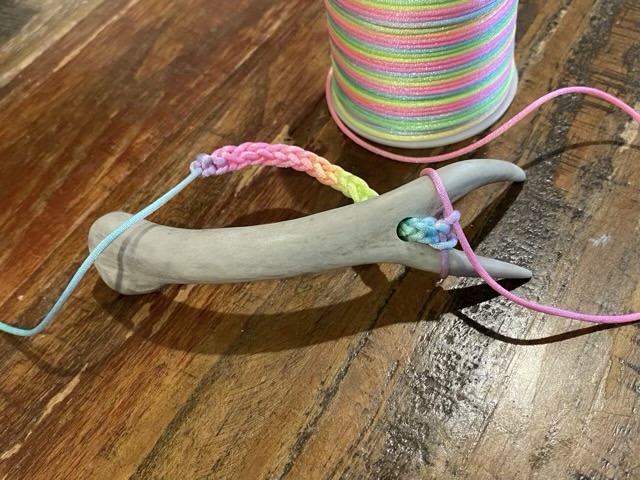
To make the bracelet I first made a Lucet cord from neon rainbow satin cord.
Photo description: Antler Lucet Fork with an in-process cord
To finish the bracelet I took a separate piece of rainbow cord and made macrame square knots over the doubled ends of the Lucet cord. I then made celtic button knots at each end to keep them from sliding all the way out of the knot.
Photo description: Zoom in on the bracelet closure with square knot macrame slide
Without the thread zapper, securing all the ends of the bracelet with a candle flame was an exercise in frustration. With the tool, the ends came out neat and secure. I really like the ability to have a little sculpting power over the melting as well.
This is not a paid advertisement, by the way. I just really like the tool.
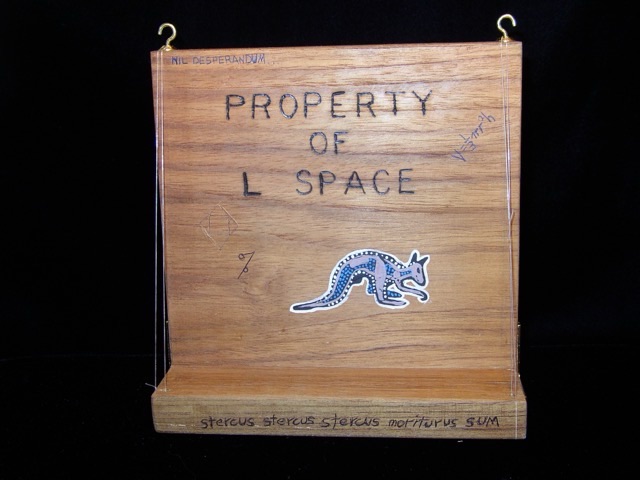
I made this book stand in December of 2004 and graffitied it with pen, paint, and pyrography as an homage to Terry Prachett’s Disc World book series, specifically the wizard’s university library.
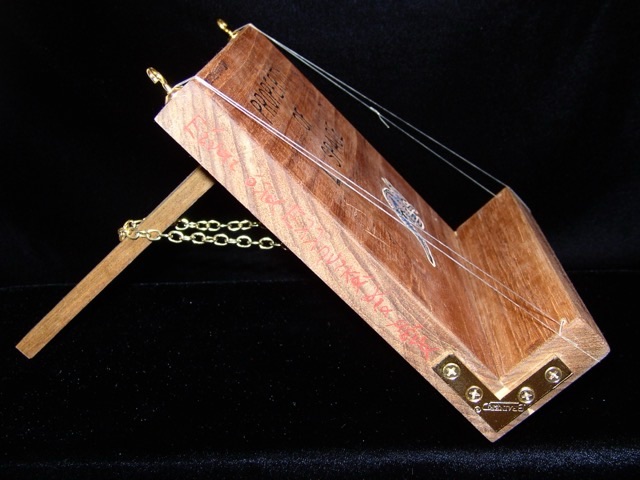
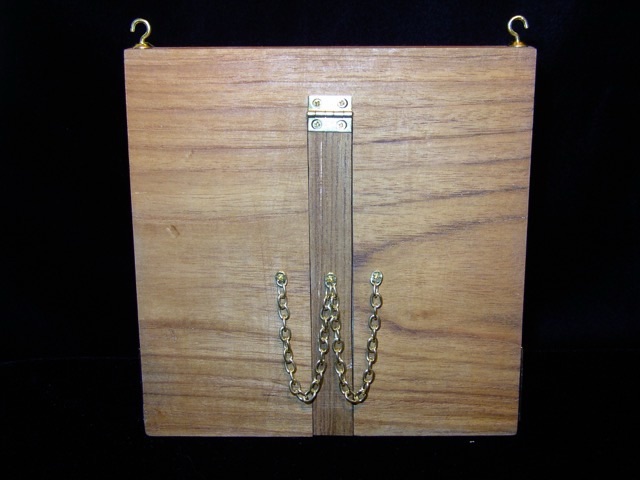
Photo description: Oak book stand with “Property of L Space”, math equations, an aboriginal style kangaroo, and Latin words. Two hooks at the top hold clear elastic filament which helps hold books open.Photo description: side of the stand with angle bracket reinforcement and Greek words in red penPhoto description: back of the book stand showing the prop with hinge and restraining chains
I finished the wood with a clear coat of urethane.
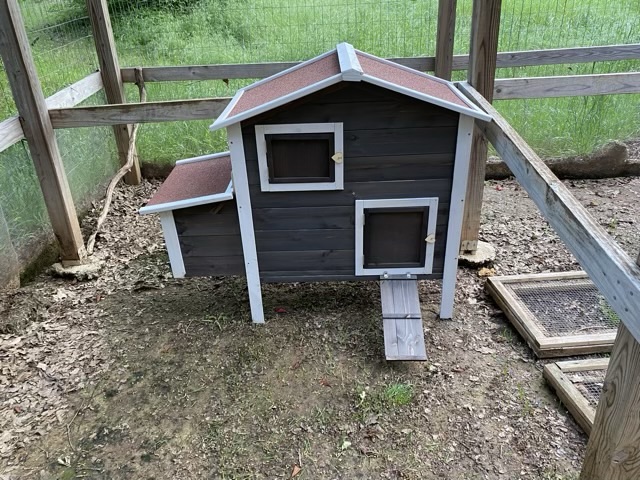
We will be taking in two additional family chickens since work is taking their current family out of state. I hope the new hens, who are about the same age as our hens, but a different breed, will be able to join the flock with few ruffled feathers, but to start, we will keep them in a separate area. The easiest way to accomplish this was to get or build a smaller coop in the current run. I have doors lined with chicken wire to separate the areas, and both flocks have plenty of outside space. I did not have time to build a small hutch from scratch, so I ordered one on Amazon for about $150.
Photo description: small hen hutch with nesting box attachment, vented roof, ventilation window, and coop door with ramp sitting on newly seeded dirt in the chicken run.
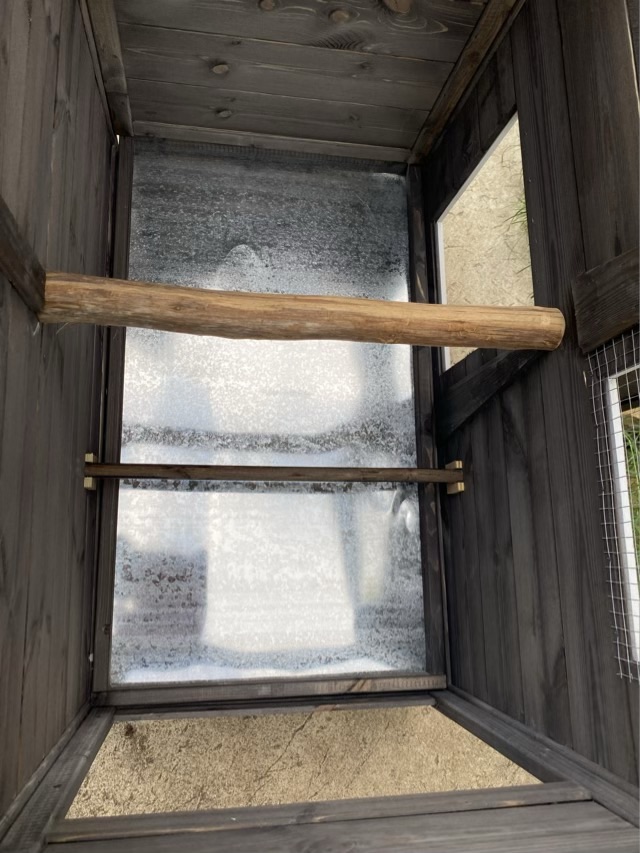
It was not a beginner build project, but I’m not a beginner, so it worked out. The wood is thin, but solid, not particle board. The directions were sparse, but my eldest and I were able to get through it. We built it on the back porch where we had a stable flat surface, then carried it to the run. The roost bar was a joke; a 3/4 inch dowel two inches from the bottom of the hutch. I found a 2 inch cedar branch and cut it to length and secured it with screws higher in the hutch.
Photo description: original roost bar near the removable metal floor, and the new cedar roost installed higher in the structure
When we went to install the hinged roof of the nest boxes, there was a significant gap that made attaching difficult, so we cut a section of scrap trim (from the garage) to fit before attaching the hinges.
Photo description: extra trim installed to provide a sturdy surface for the hinged roof
We placed the hutch in the most shaded part of the runs. The run itself is entirely encased in hardware cloth and I have not had significant animal incursion in the five years it has been standing. We did make sure it was out of reach of questing raccoon hands. We’ll have a chance to see how it weathers storms this week.