Sprang attempt

I’ve been wanting to attempt making sprang fabric for awhile now. I even made a small sprang loom from a trimmed elm branch. Sprang is a type of weaving where all the threads are warp threads (vertical), with no weft (horizontal). The threads are twisted around each other and the fabric is worked from the top or bottom simultaneously (what is done with threads at the top happens in opposite to the threads at the bottom). AI tells me that sprang dates back to the bronze age, although it seems like the summary was gleaned from Wikipedia, which at least gives me a list of references that confirm this art is ancient.

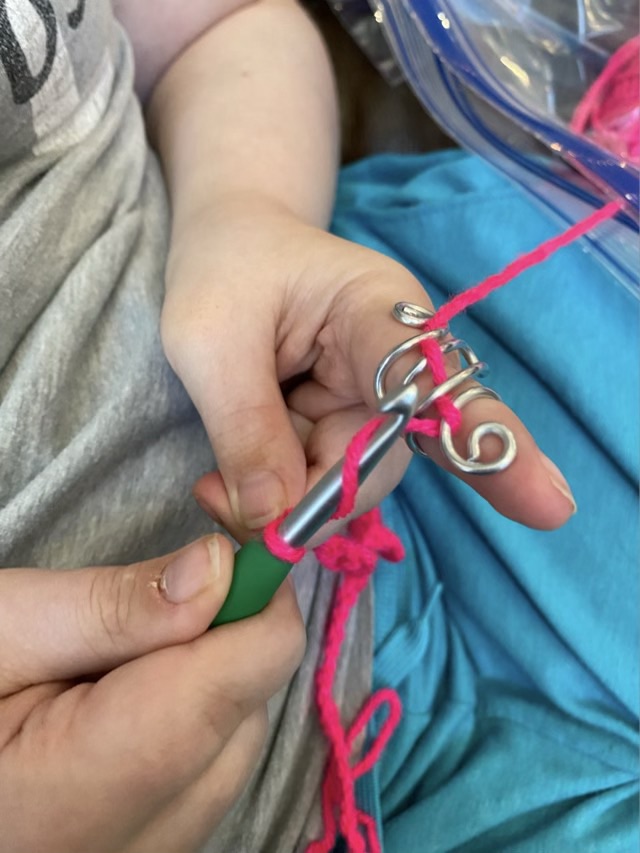
I had some #10 crochet cotton next to my chair (crochet is probably my youngest craft), so decided to use that after watching a video from Sally Pointer, who is an accomplished heritage educator.

Photo description: starting to weave sprang, I was warned that sprang holds special fascination for cats, and Izzy the cat was quite enthralled with the many strings
Photo description: sprang in progress with the loom on the floor and several rows completed

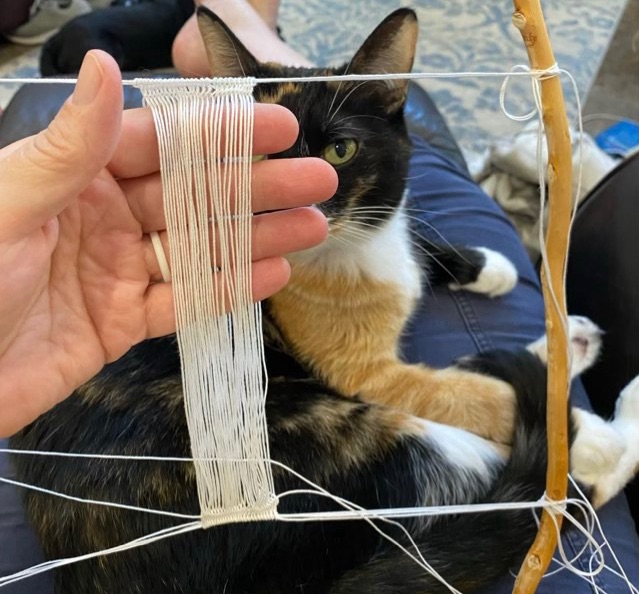
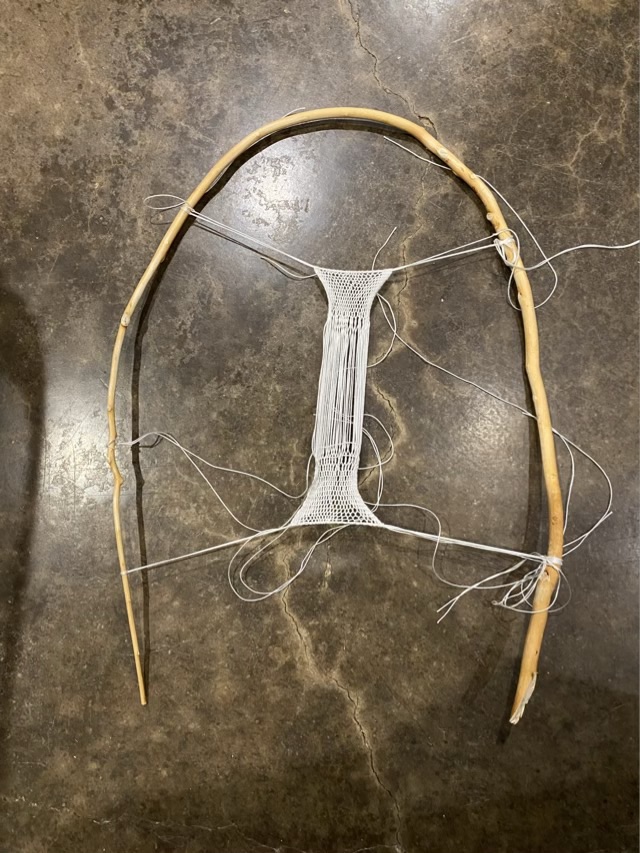
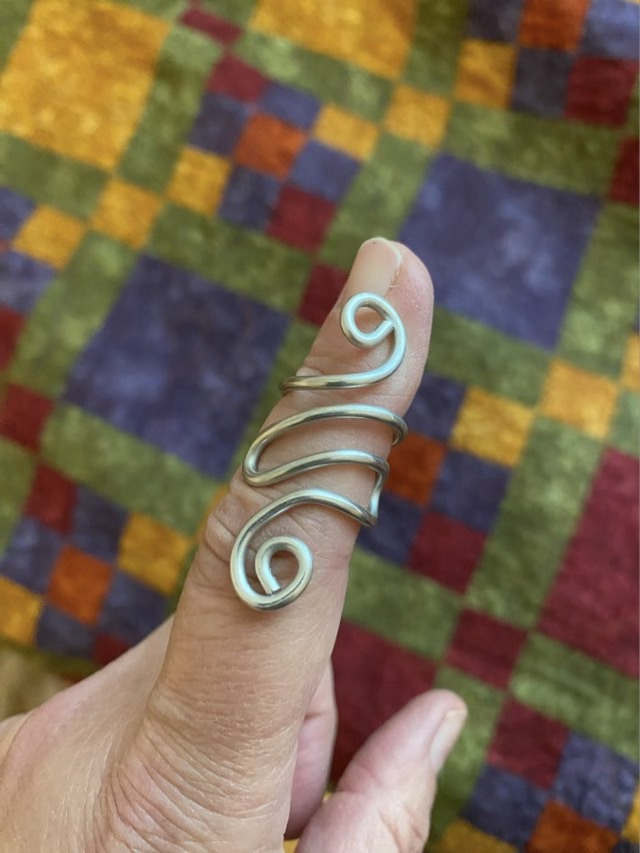
I achieved several rows without too much panic, but then the fabric started to make a hard bias twist that made it difficult to sort where the threads needed to go. I gave up and removed it from the loom, took a picture, and consulted a Sprang group on FB.

Photo description: partially woven sprang made from cotton thread, removed from the loom to show the twist

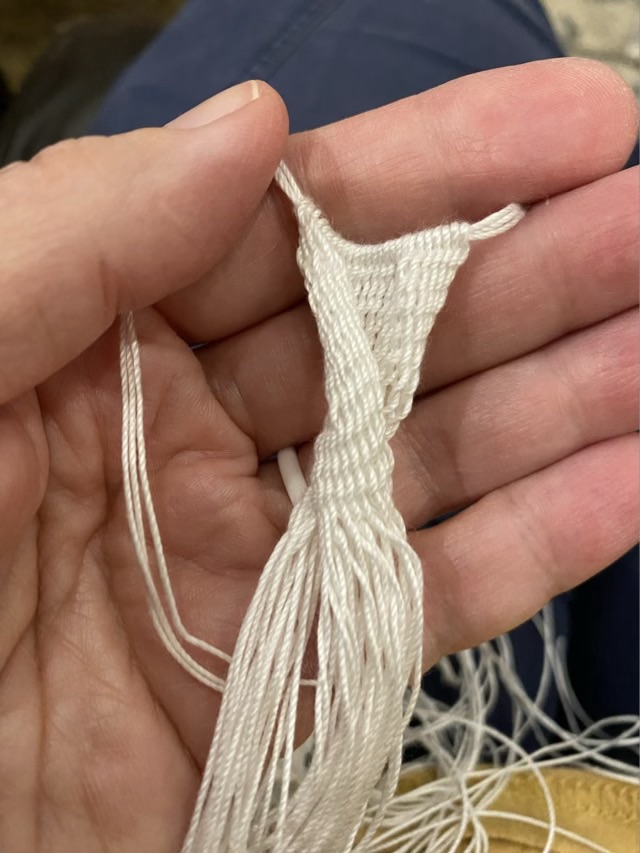
I was assured that twisting is what sprang does, and to try wool which blocks very well. While scanning the group posts, I also noticed that some weavers secure the edges to the loom periodically, which would also help manage the twist. I was told that narrow bands are particularly susceptible, and another way to manage the phenomenon is to switch twist direction, which is a more advanced technique. I have my marching orders.

A pointed look

Photo description: tree squirrel resting its arms on an empty corn cob, looking at the camera

The squirrel would like me to know that the corn cob is empty and she may need to speak to someone in management if I don’t remedy the situation.

Throwback Thursday: coaster study

In June of 2007 I did a wood and epoxy coaster study for Father’s Day.

Photo description: wood coaster with recessed center filled with symmetrically placed fishing lure, hooks, weights, and swivels covered in clear two part expoxy
Photo description: back side of coaster showing three round carved wooden “feet” and the words “CJH 2007 Coaster Study #1”
Photo description: wood coaster with offset rectangle carved out and filled with a slice of polymer clay in shades of blue and gray of a jumping fish, drawn fly hook on a line, all covered in a thick layer of clear two part epoxy
Photo description: back side of the coaster with three oblong “feet” carved in the wood and the words “CJH 2007 Coaster Study #2”

I used a hand held router setup with my rotary tool to carve the recesses and feet on each coaster.

My Dad sent me a picture of the fish coaster, 17 years later, and the coaster has held up well living in a display case. Interestingly, the blue “feather” I drew on the hook has faded.

Photo description: 17 year old wood and epoxy coaster

Inside view

A grass spider setup camp in our window, between the glass and the screen. It must have been catching enough to survive because it grew, and as it grew built several tunnel webs, which gave us a neat view of the structure.

Photo description: grass spider tunnel webs in the window, house spider webs in the inside corner
Photo description: the grass spider architect

We did free the spider and clean the window after taking pictures. I wasn’t sure big enough prey could now get caught in its web.

Tension ring

My youngest is showing interest in crochet. One of the hardest parts of crochet (and knitting) is keeping an even tension. To assist, I made a tension ring. Yes, I did model it off of one I saw for sale, but I used 14 gauge aluminum wire from my stash to make it. Aluminum wire is very malleable, so a larger gauge (smaller number) is needed to hold the shape under use, but it is still easy to form toa finger in order to get good skin contact.

Photo description: aluminum ring made of 14 gauge wire with two spirals and two loops

The shape of this ring makes it easy to slide the yarn under either a loop or a spiral, or have multiple points of contact. The more contact, the more drag, the more tension. It was a game changer for my daughter, who went from only being successful with assistance to chaining on her own.

Photo description: my daughter’s hands making her own chain using the ring tensioner and bulky weight pink yarn

I then made the mistake of introducing the double crochet. Too many steps. When she shows interest again, we’ll try a slip stitch, which only has one more step than a chain (inserting the hook into the work). There are historically created items that are made with only a slip stitch, so she can still feel accomplished. Sometimes baby steps are what works, and breaking tasks down to parts, finding what parts can be delegated or assisted to order to be successful.