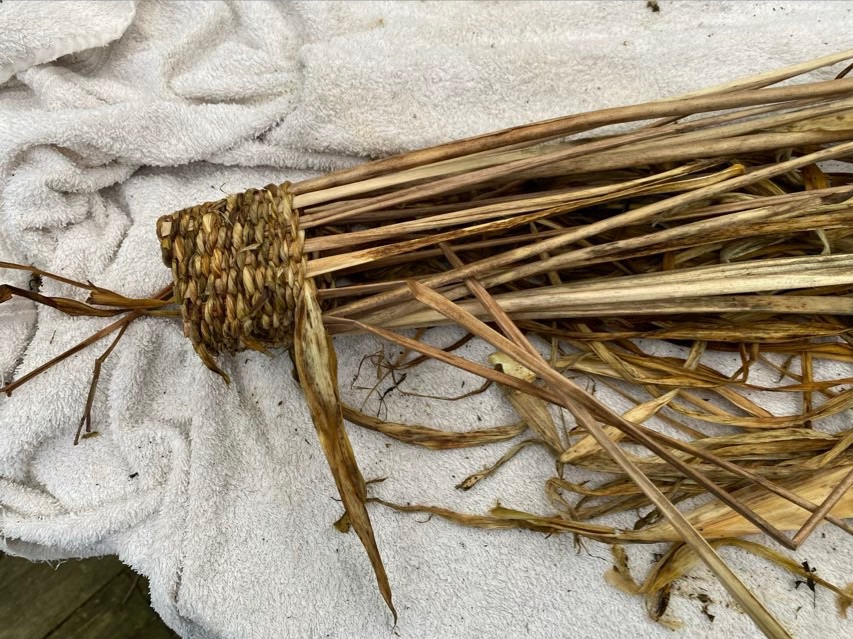
I gathered dead leaves from the base of several iris and daylily plants at my folk’s house, along with some daylily stems. To make them flexible I wet a large towel and wrapped the leaves and stems with it, leaving them in the towel for a few hours.

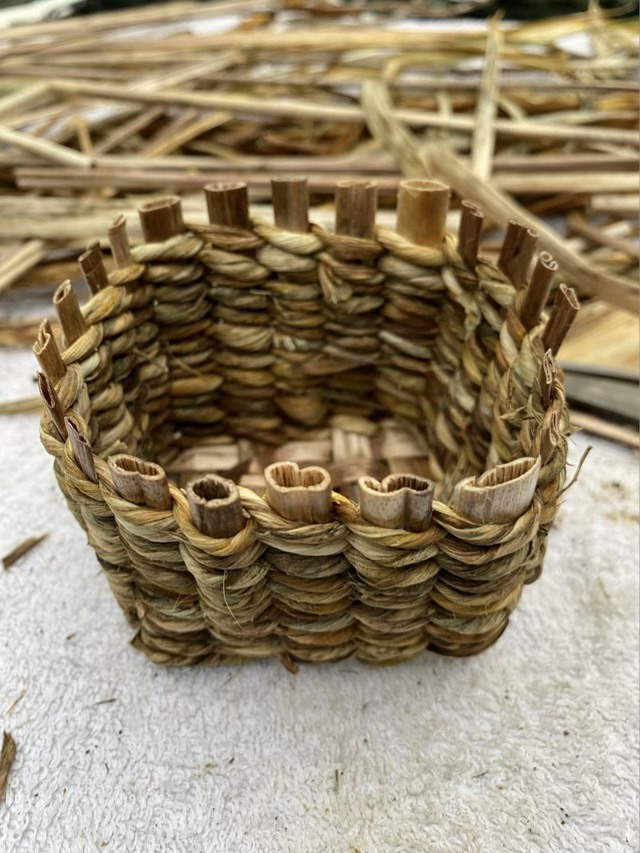
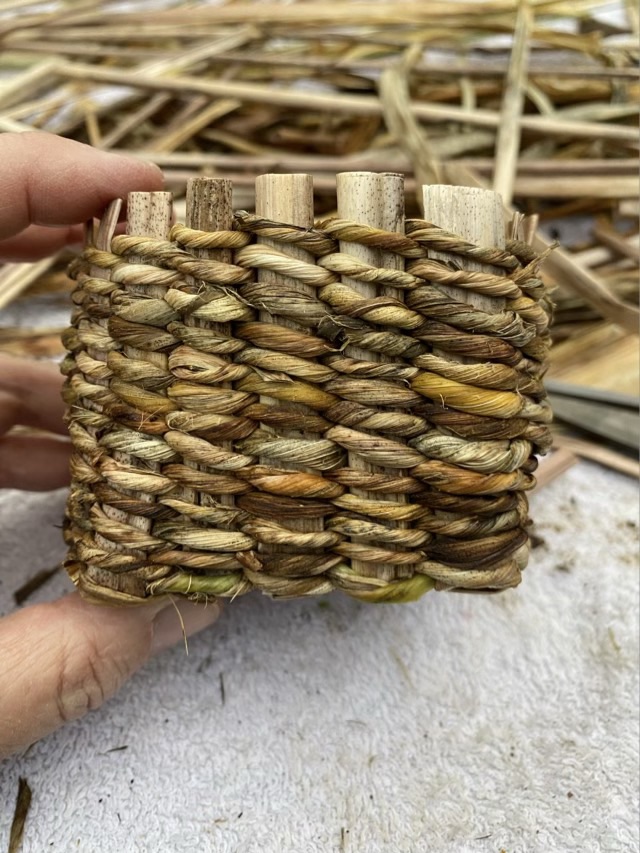
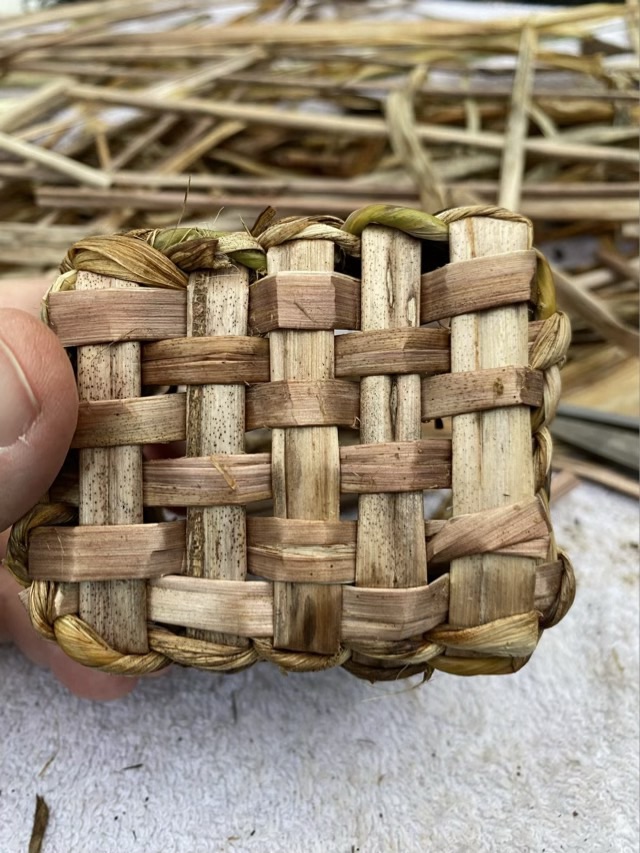
I chose ten daylily stems for my base stakes and did a plain weave 5×5. I then twined iris leaves around the stakes, creating a square basket. To add a new leaf, I folded the old leaf end into the new leaf end, twisting them together to lock it in.
I still need to study how to do borders for the top. I ended up clipping the stakes short and tucking in the twined ends for this basket.
I left the basket at my folks’ place to dry. The leaves had spots of mold, so it shouldn’t be used for foodstuffs, but after a solid coat of sealer, it could be a desk basket.