We recently took a flight for the first time (for me) in years. I was hoping to get some knitting done, but once I sat down in the seat, I could tell I didn’t have room for my paper pattern, yarn bag, and knitting with two circular needles. Nuts. I pulled put my emergency craft from my purse, which this trip was tatting shuttles and extra wound bobbins. This I could do within the confines of my seat. I pulled up my Pinterest Tatting list, and started on a round pattern. On the second round, I could tell I had a problem.
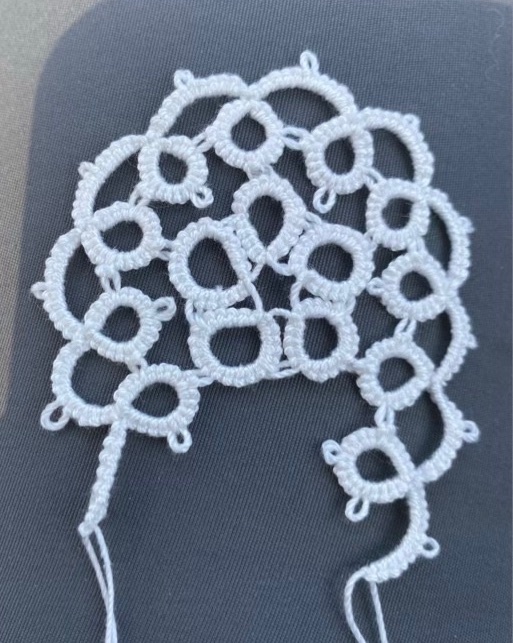
The way the pattern was laid out did not fit what I was doing; my second round could not lay flat and still connect to the beginning of the round. I could undo the second round and try something different, or clip out the center. Hm. I opted to clip out the center, literally, because I couldn’t have scissors on the plane so only had nail clippers.

After getting the second round to lay flat, I replaced the center with six loops done in rainbow thread, which worked out nicely and stayed flat.

I started on the third round with the colored thread to balance the center color. To my horror, I ran out of thread. During travel. Luckily, Walmart carries cotton crochet thread, and there are Walmarts nearly everywhere in the states. They did not have the colored yarn, but they did have something I could craft with (that will be another post). The little coaster had to wait until I returned home.
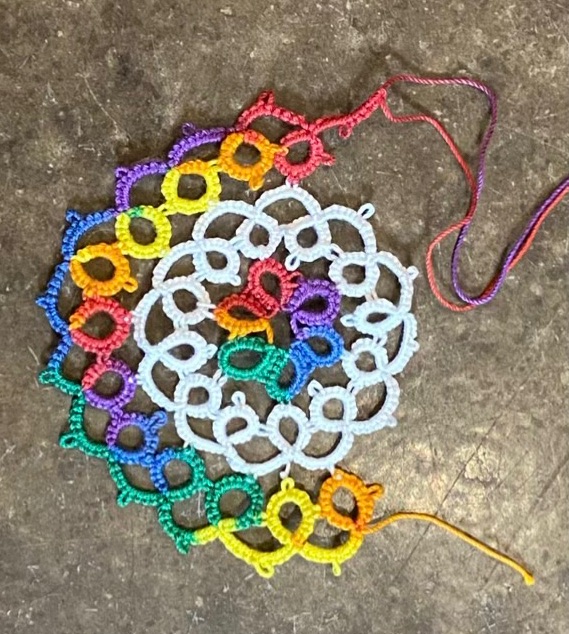
At home, I loaded up a bobbin with the same colored cotton thread and was able to finish the third round and weave in the ends.
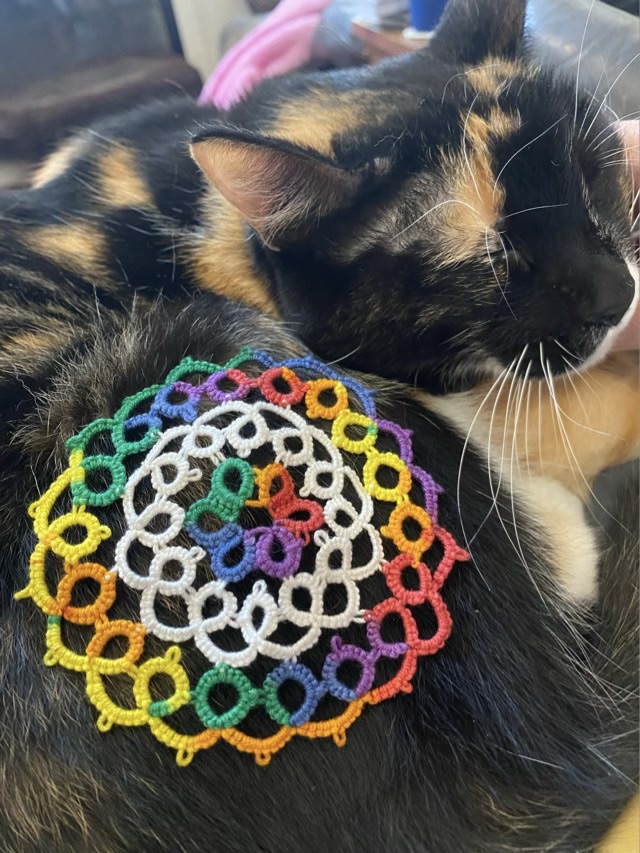
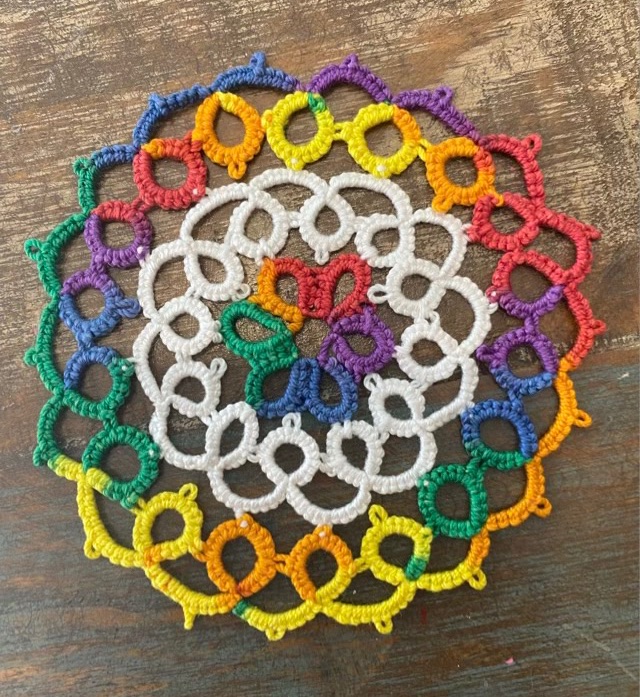
The finished lace is a nice coaster size, and it amuses me to see a bit of lace peeking out from under my cup. Apparently I am a lace person down deep (but not a frilly person). I am finding the tatting to be soothing now that my skills are developing.