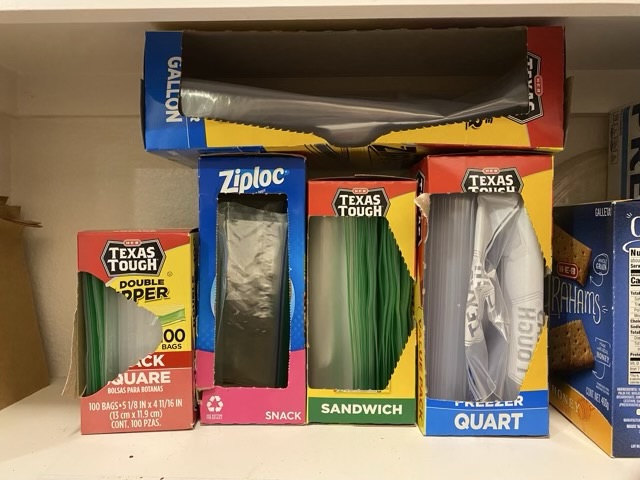
There are many times that I’m late to the proverbial party. I’ve been keeping my boxes of sealable plastic bags flat on a shelf in my pantry. I struggled with which size I was grabbing, and usually had to move the gallon bag box off to select something below it. I realized recently that the labeling on the boxes is designed to be seen at the top of the box. This works great if the boxes are in a drawer, or shockingly, standing on end on a shelf.
Photo description: snack square, snack, sandwich, quart, and gallon bag boxes arranged on a shelf with the openings easily accessible and the labels easy to read
The bags pull out easily from the box and it saves me a moment of frustration, which in some mornings is a rather large boon.
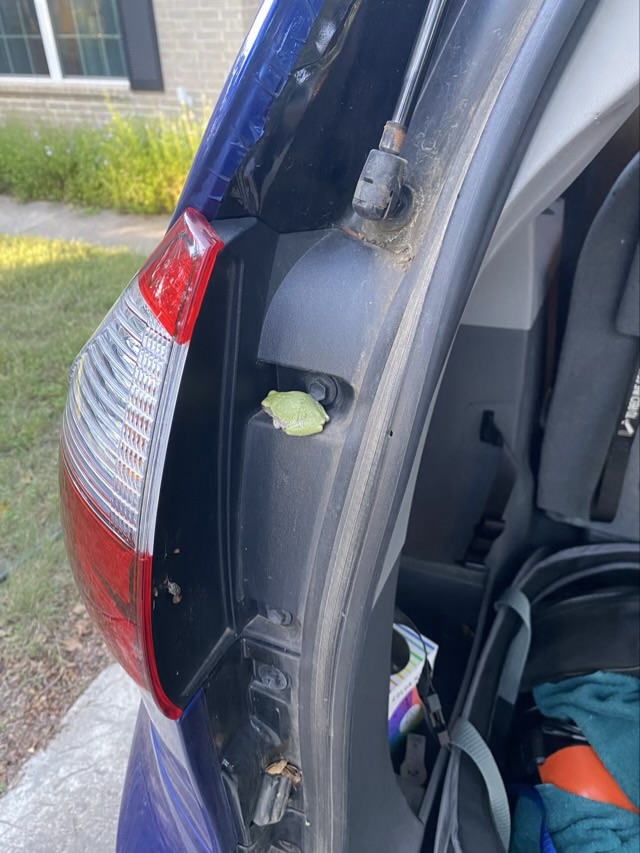
I did a day trip to a barbershop singing regional event that was four hours of driving and eight hours parked. I can’t be certain that the tree frog took the whole journey with me, but even if I picked him up on the last leg, it was a two hour car ride.
Photo description: green tree frog nestled in a hollow in the door frame of the back door of a mini van
I was certainly surprised to find the frog in the door jam when I opened the rear door. He has been gently removed and returned to a tree.
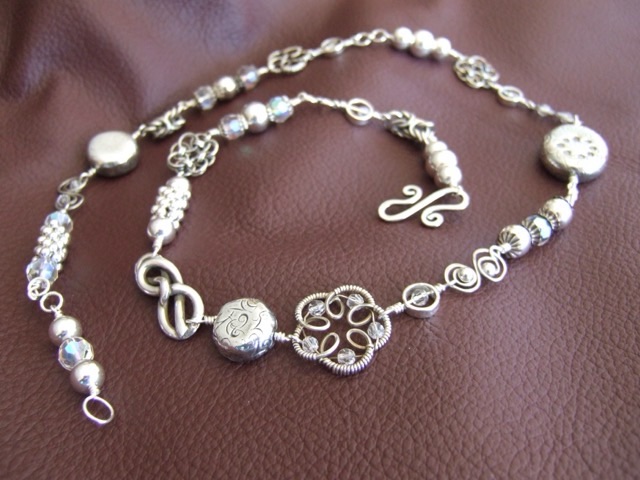
This is another favorite jewelry project I made back in January 2010. I used silver clay, some with cubic zirconia inclusions, to make unique beads, created custom wire elements, small chain link florets, and built links with end caps and beads.
Photo description: custom silver necklace with unique hand made links and custom clasp
This necklace did not do as well in the Fire Mountain Gems contest, which disappointed me because I thought this one displayed more technical skill. In hindsight, that is probably why it didn’t do well, it isn’t something easily duplicated, so wouldn’t advertise their products to the best advantage.
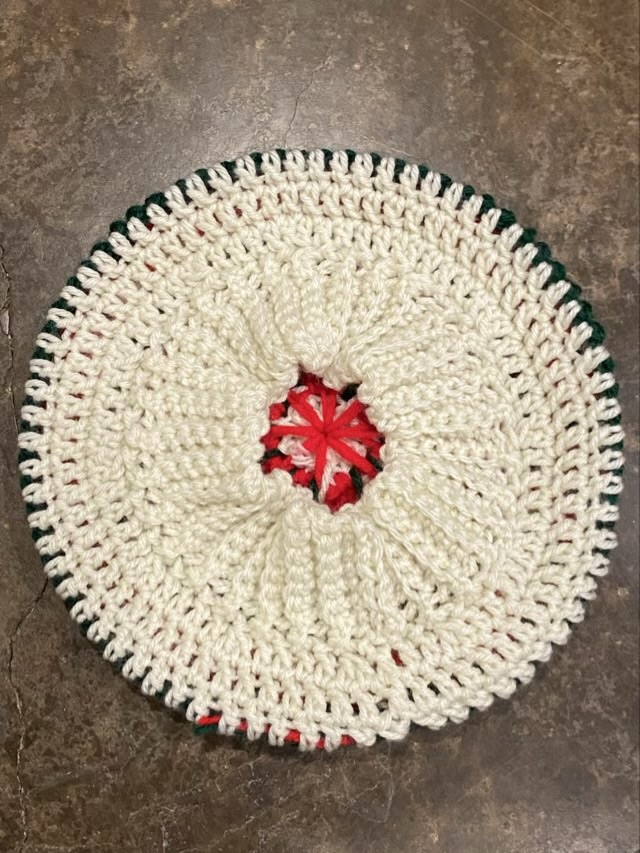
I’ve drifted off firmly into the realm of experimentation in this round of crocheted hats. Because I had red, green, and white in the stash of acrylic yarn, I wanted to experiment combining the colors with a spike stitch. A spike stitch drops one loop of yarn down a row, making a long V shaped yarn embellishment. I stuck with my standard double crochet hat pattern, making spike stitches every three double crochets and switching colors every row. I did not think that one loop of yarn would change the width of the row, but it did. Instead of getting a nicely rounded beanie, I had a flat circle. Hm.
Photo description: flat crocheted circle with rounds of alternating red, green, and white acrylic yarn, the spike stitches mixing the colors like a star burst
Time to make it a beret instead. I switched to using just the white yarn with no spike stitches, and the fabric immediately made the turn without decreases. I didn’t have to make decreases until round three. Then I switched to a single crochet parallel rib for the last band. The ribbing is very stretchy and although it looks in the picture like a small opening, it expands to fit a head, and lays flat for storage (happy accident).
Photo description: under side of the beret all in white with three rows of double crochet and a band of single crochet rib
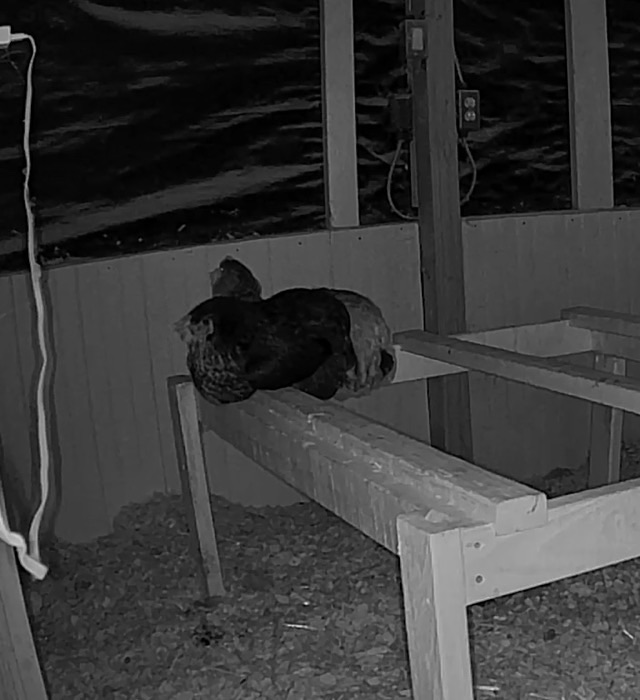
The back corner of the roost in the coop is the prime sleeping position for the chickens. Since Wing Ding the Black Star hen has taken to the roost, it has been her domain and the Faverolles have given her space. I caught them on camera recently snuggling up, though. I’m not sure if Wing Ding let them, or she was asleep when they shuffled over. Positive outcome either way.
Photo description: three hens in a tight group on the corner of a roost made with dimensional lumber, pine flakes on the floor and wainscoting on the wall