I saw a Josephine knot based basket as I scrolled Pinterest and was immediately captivated. The construction made sense and I loved the look of the starting knot. I still had #2 reed, so I gave it a go.
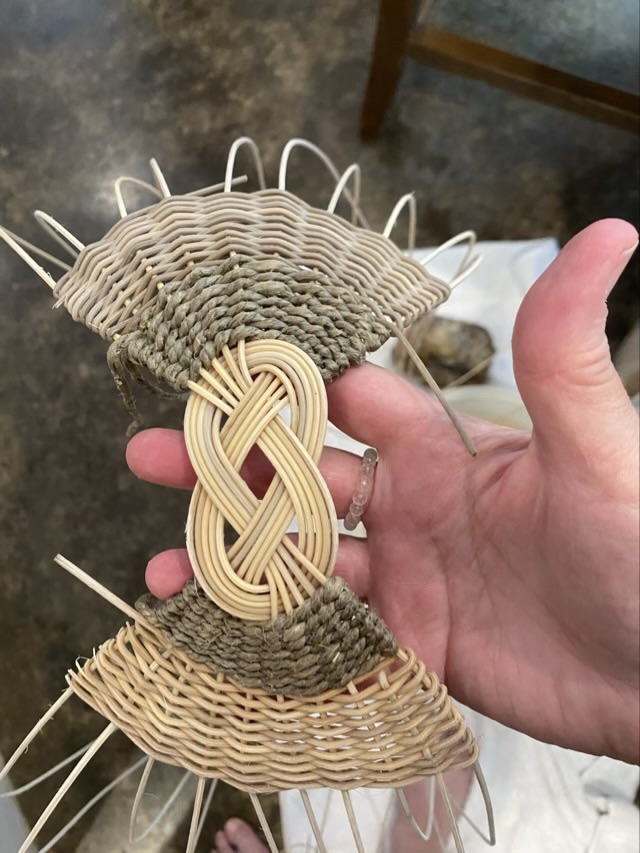
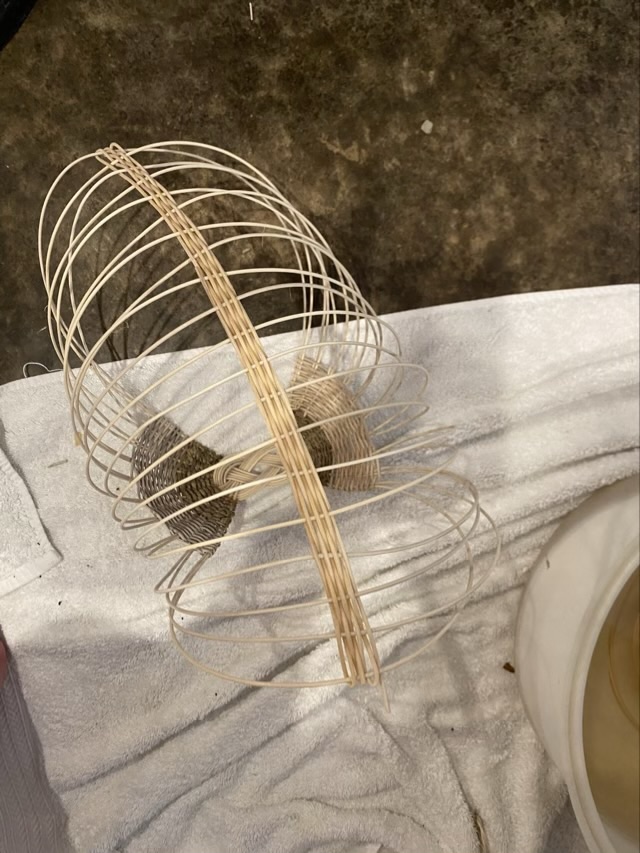
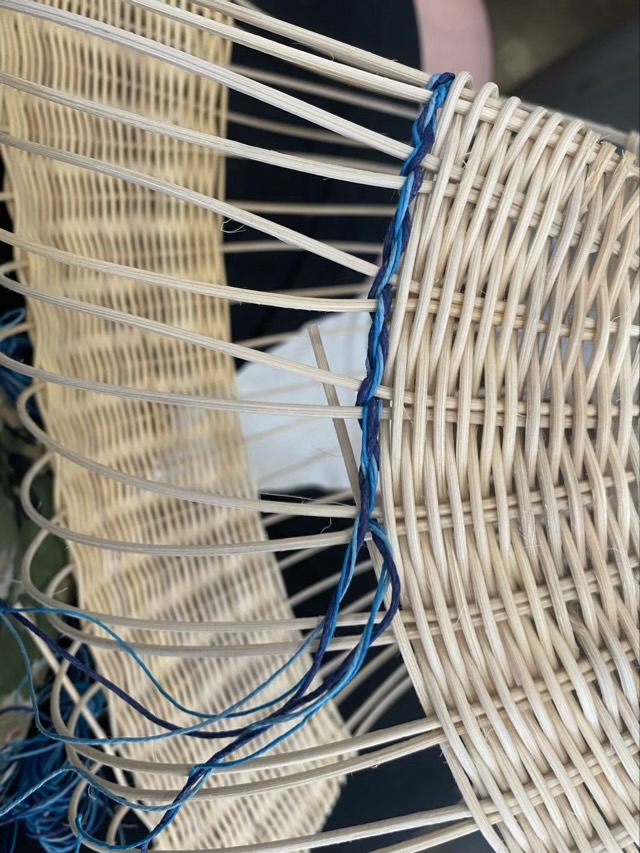
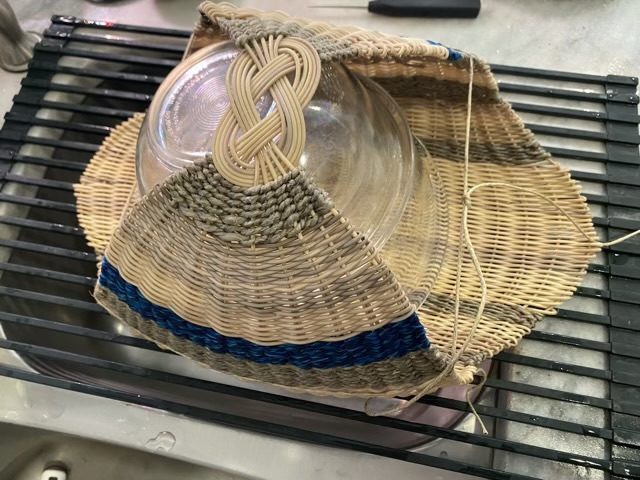
My Josephine knot basket starts with ten reeds divided into two groups and woven together in a figure 8, then the stakes are woven with hemp rope and more reed.I took the reed from each side and tucked them into the woven sections on the opposite side. I used a rolled mat as a form to get the cylinder even. I still had to adjust the staves as I wove.Once the staves were set, I started weaving from the bottom of the basket to get the spacing set.When the bottom section of the basket base woven, I then switched back to weaving down from the sides, which I wouldn’t do again. I think the edge of the basket would arch nicer if I had continued to work from the base up.I added some blue colored hemp cord. The cord was thin, so I combined three shades and twisted them together as I twined the two halves around the basket staves.Where the bottom weaving met the side weaving was a little tricky because there wasn’t much space. I used more hemp rope because it was flexible enough to take tight turns and fill in the gaps.I soaked the completed basket in water, weighed down with a bowl to keep it submerged.I used bowls and twine to shape the basket as it dried.The finished, dried basket maintained the shape, and had a flat bottom which makes it stable on a table. I was pleasantly surprised that I could block the basket as I do with cloth.
When I do another of these baskets, I want to use a larger reed for the knot and staves, but still do a combination of #2 reed and cord for weaving the sides. Once I have the knot secure, I would weave from the bottom up. This basket took me a few days of interrupted time to complete.