Twined card: Hemp

Next up for twining was some combed hemp fibers. I was rather surprised how short these fibers are, especially compared to flax, with a staple length of 3-4” for what I had. Other preparations can be longer. Still, it twines up well, especially using a small sponge to keep my fingertips hydrated.
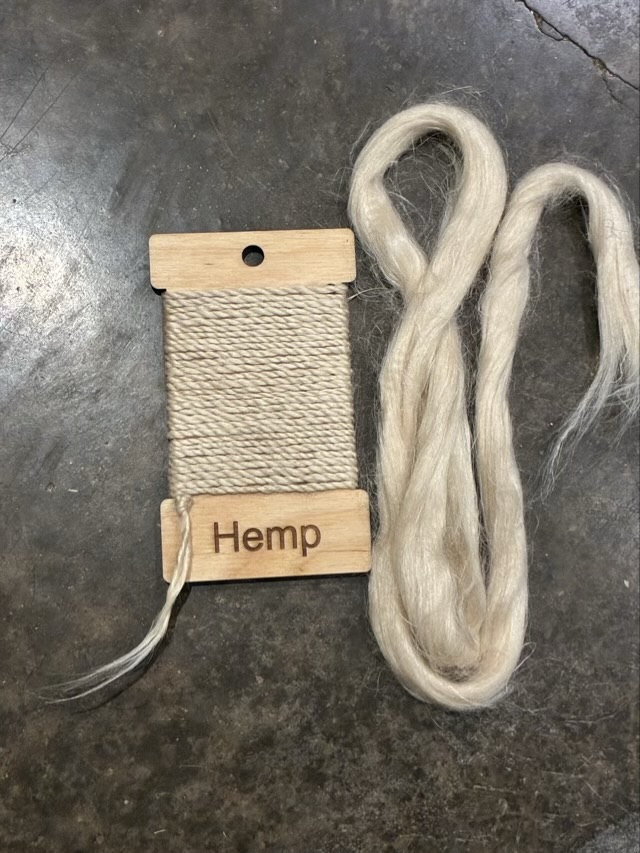
Photo description: flat wood spool with twined hemp next to the sliver of hemp fibers, off-white with a gentle sheen

Another fiber artist was trying to figure out a mystery fiber and what they described seemed very similar to hemp: staple length, sheen, feel. I did a burn test to compare data and the hemp burned fast, leaving very little ash, and had a smell of burned paper, which is typical of cellulose fibers.

The twine itself is strong and flexible, and surprisingly soft.

Coaster performance update

I sent my Dad four reed coasters for Father’s Day. He sent back data on preferences for hot and cold drinks.

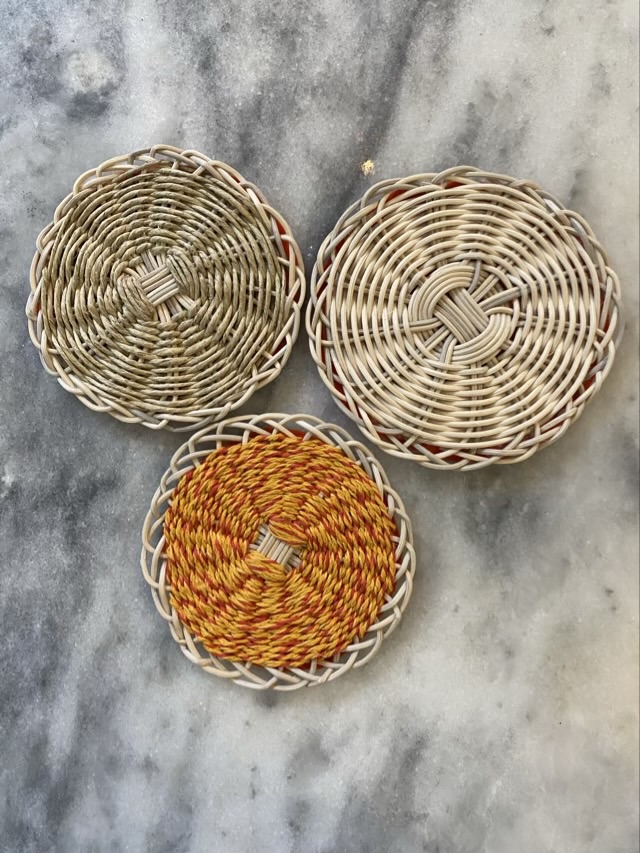
Photo description: from left to right, #2 round reed with braided edge, reed and hemp string with braided edge, reed with tucked loop edge, reed and plied hemp string with braided edge

Dad reports that his favorite coasters for hot drinks are ranked left to right, and for cold drinks, right to left. The shades of orange coaster on the right made with several plies of hemp string absorbs the most condensation, so is best for cold drinks with condensation.

Kits!

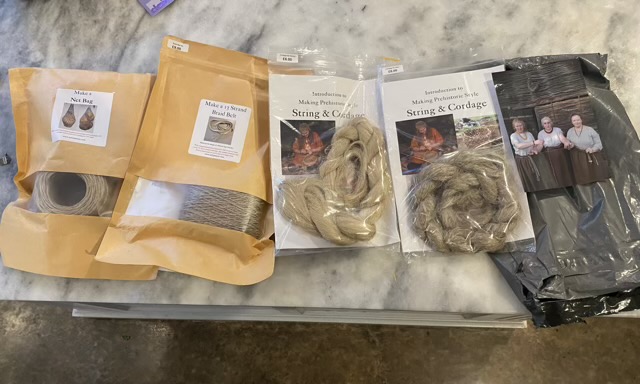
I read that Sally Pointer, an expert in Heritage Education in the UK, had developed a new pamphlet on making cordage and although I know how to make cordage, I wanted to see how she recommends construction. Since the kit is coming from the UK, with air mail prices, I maximized my kit to mailing cost ratio and bought four kits for the same mailing cost as one kit. So excited.

Photo description: string bag kit, braided belt kit, flax cordage kit, and hemp cordage kit from Sally Pointer

I follow Sally on Facebook and YouTube and thoroughly enjoy seeing the historic recreations she makes and appreciate her dedication to education.

Reed coaster experiments

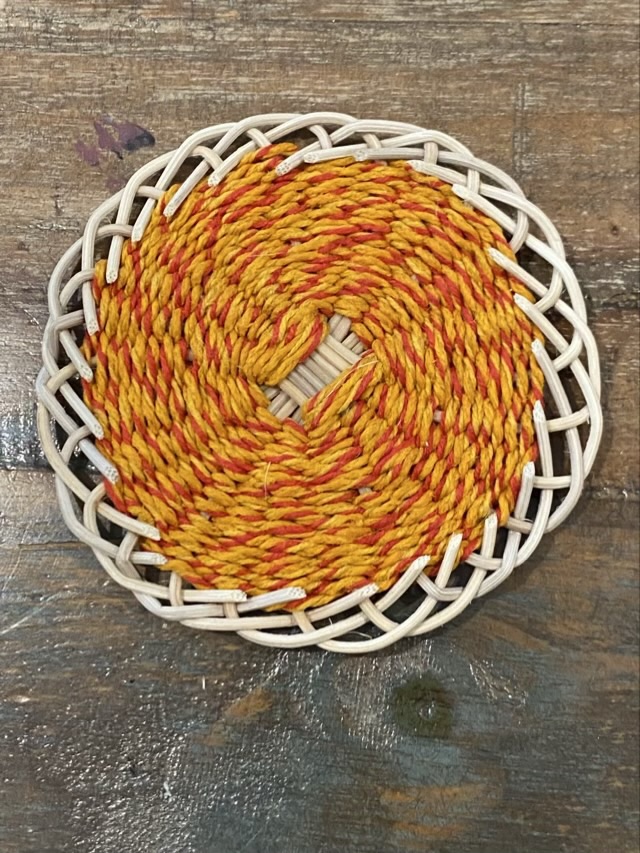
As with all my crafts, after I’ve made a few my mind wanders and I wonder how other variations might work. With the reed coasters, I tried weaving with hemp cord, and a different rim finish.

Photo description: reed coaster woven with natural hemp cord and finished with a woven edge instead of a tucked edge, back side shown
Photo description: reed coaster woven with orange and red dyed hemp cord, back side shown

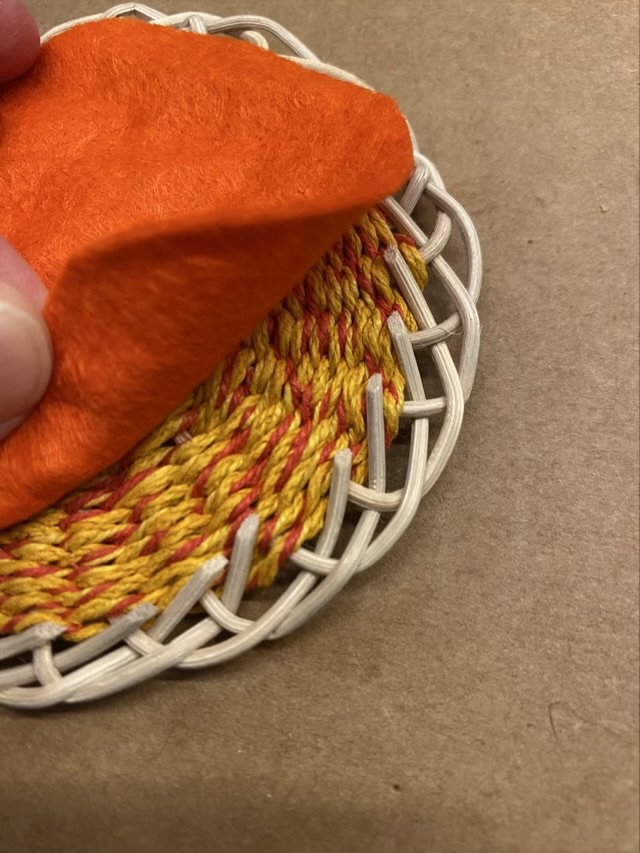
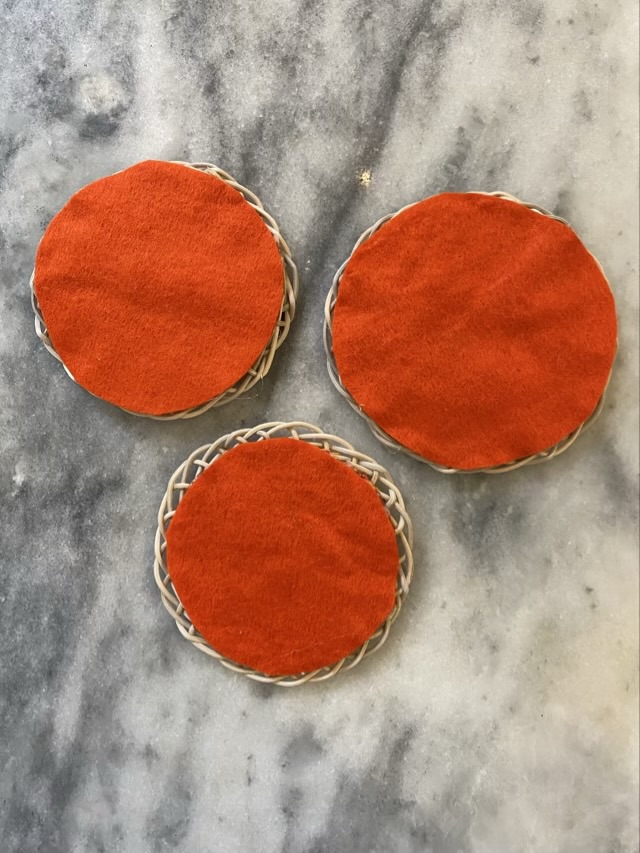
The “bob” edge (behind, over, behind) leaves the ends of the reeds sticking up. I trim them flush, but being a belt and suspenders type person, used hot glue and a layer of felt to make sure they don’t wiggle free and to protect any surface they are set on.

Photo description: showing the cut ends of the reeds before I hot glue down felt to secure them and protect surfaces
Photo description: orange felt backs for three coasters
Photo description: front side of three different reed coasters

Josephine knot basket

I saw a Josephine knot based basket as I scrolled Pinterest and was immediately captivated. The construction made sense and I loved the look of the starting knot. I still had #2 reed, so I gave it a go.

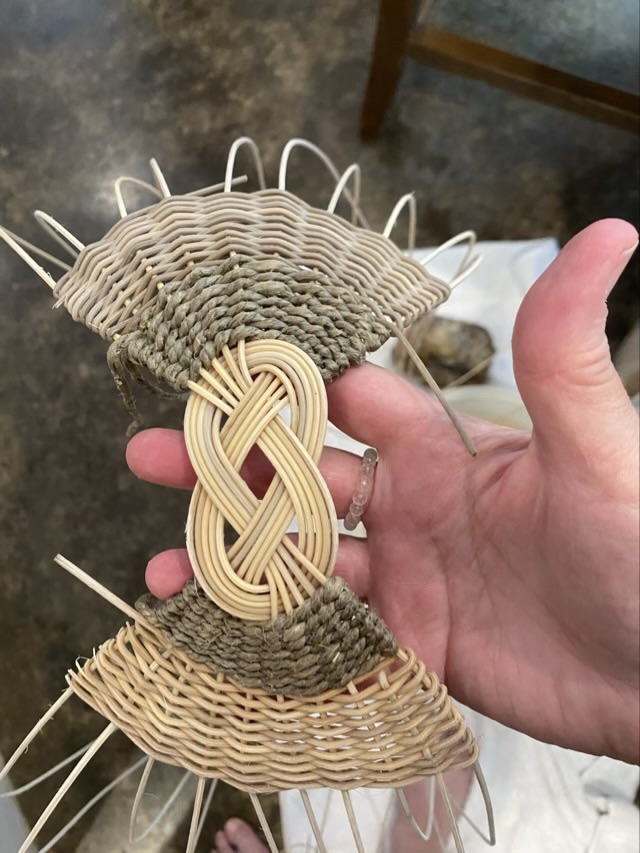
My Josephine knot basket starts with ten reeds divided into two groups and woven together in a figure 8, then the stakes are woven with hemp rope and more reed.
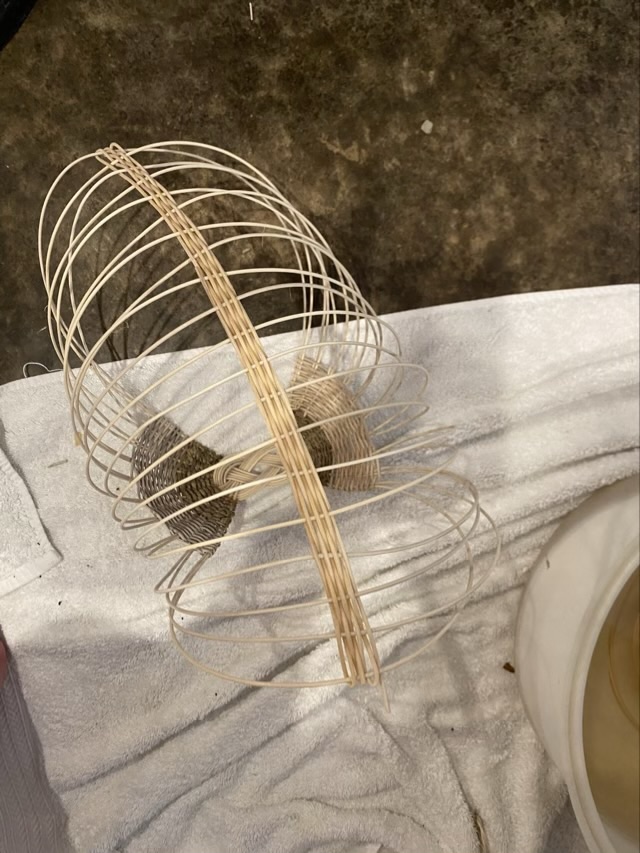
I took the reed from each side and tucked them into the woven sections on the opposite side. I used a rolled mat as a form to get the cylinder even. I still had to adjust the staves as I wove.
Once the staves were set, I started weaving from the bottom of the basket to get the spacing set.
When the bottom section of the basket base woven, I then switched back to weaving down from the sides, which I wouldn’t do again. I think the edge of the basket would arch nicer if I had continued to work from the base up.
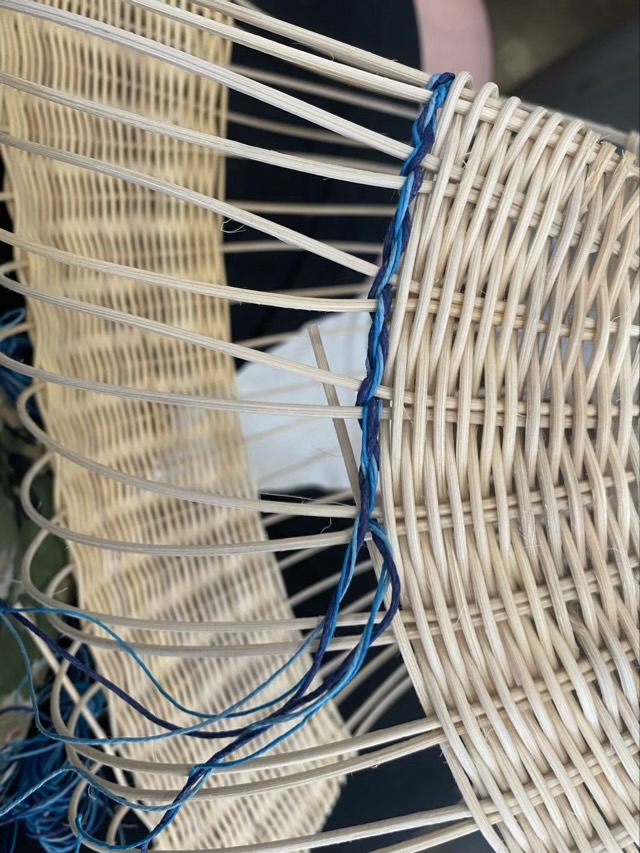
I added some blue colored hemp cord. The cord was thin, so I combined three shades and twisted them together as I twined the two halves around the basket staves.
Where the bottom weaving met the side weaving was a little tricky because there wasn’t much space. I used more hemp rope because it was flexible enough to take tight turns and fill in the gaps.
I soaked the completed basket in water, weighed down with a bowl to keep it submerged.
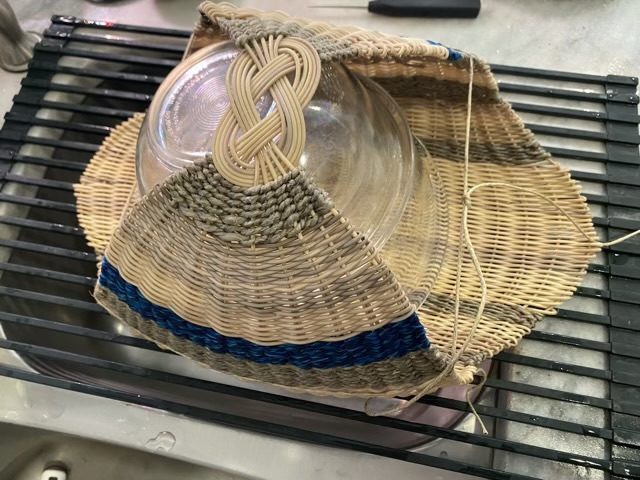
I used bowls and twine to shape the basket as it dried.
The finished, dried basket maintained the shape, and had a flat bottom which makes it stable on a table. I was pleasantly surprised that I could block the basket as I do with cloth.

When I do another of these baskets, I want to use a larger reed for the knot and staves, but still do a combination of #2 reed and cord for weaving the sides. Once I have the knot secure, I would weave from the bottom up. This basket took me a few days of interrupted time to complete.