
Back to talking about plarn. Yesterday I posted about how I connect and spin loops of plastic grocery bags as I stitch. I wanted to learn a new nålbinding stitch and using plarn was a perfect way to practice without wasting expensive fiber. The stitch is a Finnish 2+2 stitch as described here (this page also talks about how different connections affect the finished texture, I chose M1 + F1 because it looks more braided). I started my chain, and made it long enough that I could make a beach mat, if I so chose. It is easiest to do nålbinding in the round, so I continued in the round (nålbinding can absolutely be cut and tidied up later). As I progressed, I felt the texture would be better suited for a bag than a mat (it has a rough feel due to the twist). So then the dilemma was how to deal with the base of the bag. I could stitch it straight, as a tote bag, which wouldn’t stand on its own. I could sew an oval piece of hard plastic in, but what plastic, and would it still be recycling? I could nålbind an oval, which is downright tricky. What about weaving? It is an experimental piece anyway, could I weave a base? I found a box that fit snugly in my nålbound tube and connected the first loop by threading it through the edge and looping it back on itself (as you do for connecting loops).
I then gave the loop some twist and ran it the long way along the box, out through the edge, then back in through the next stitch. I added loops and twist as I went, making the warp threads for the weaving.
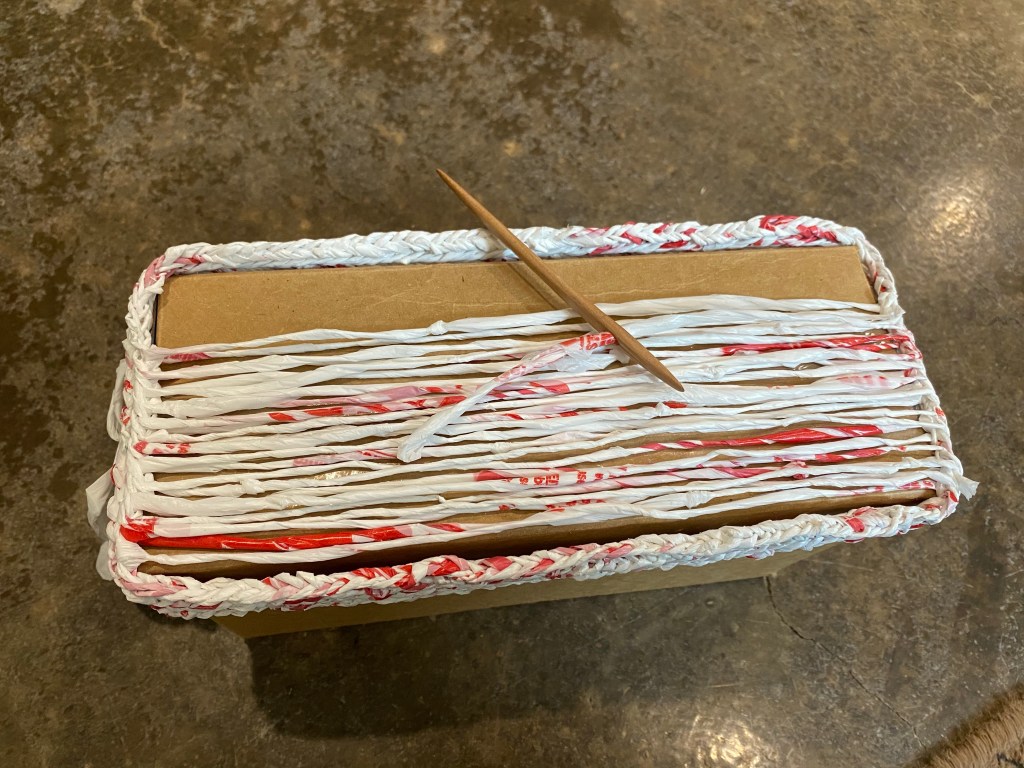
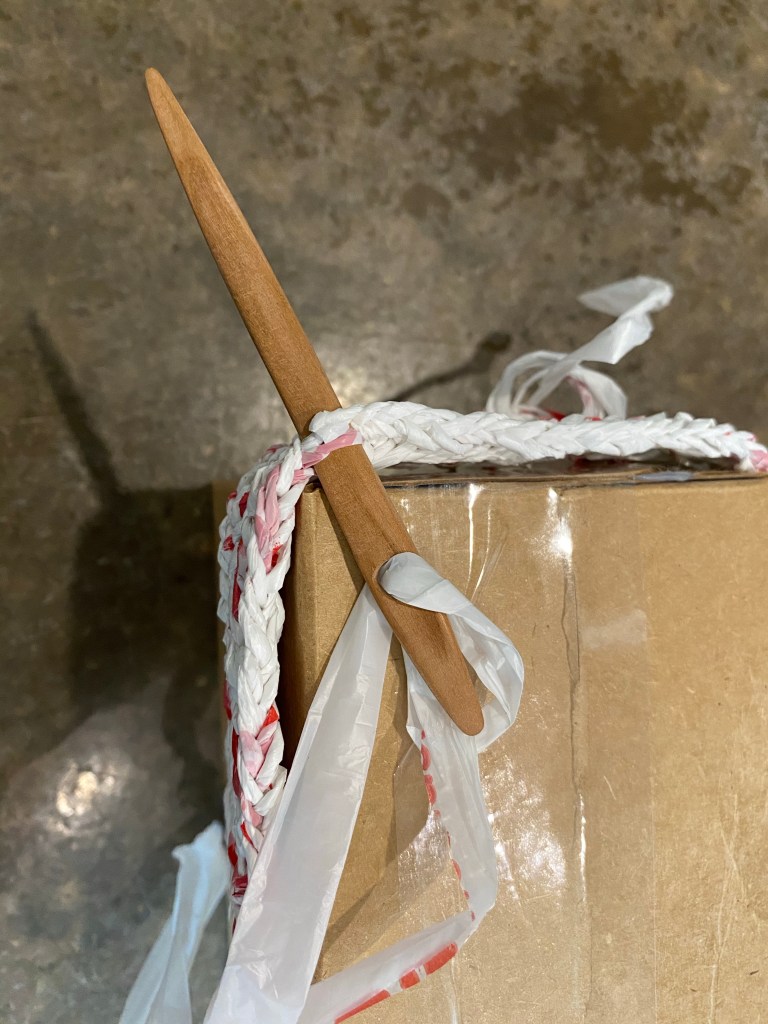
When it was time to start the weft, I realized that I didn’t have to break the plarn, I could just turn the box and keep going. I used a plain weave (over, under, over, under), and used a pick up stick to hold one shed, and a longer wooden needle to pick up the alternate threads. My nålbinding needle was best for connecting to the edge because it is smooth and doesn’t abrade the plastic.

I had to adjust my spacing as I went; I started off putting the weft through every edge stitch, then ended up every third stitch to get the weft to be straight. At the end, I wove in the tail and clipped it on the inside of the bag. (Only one tail to weave in, hurray!)
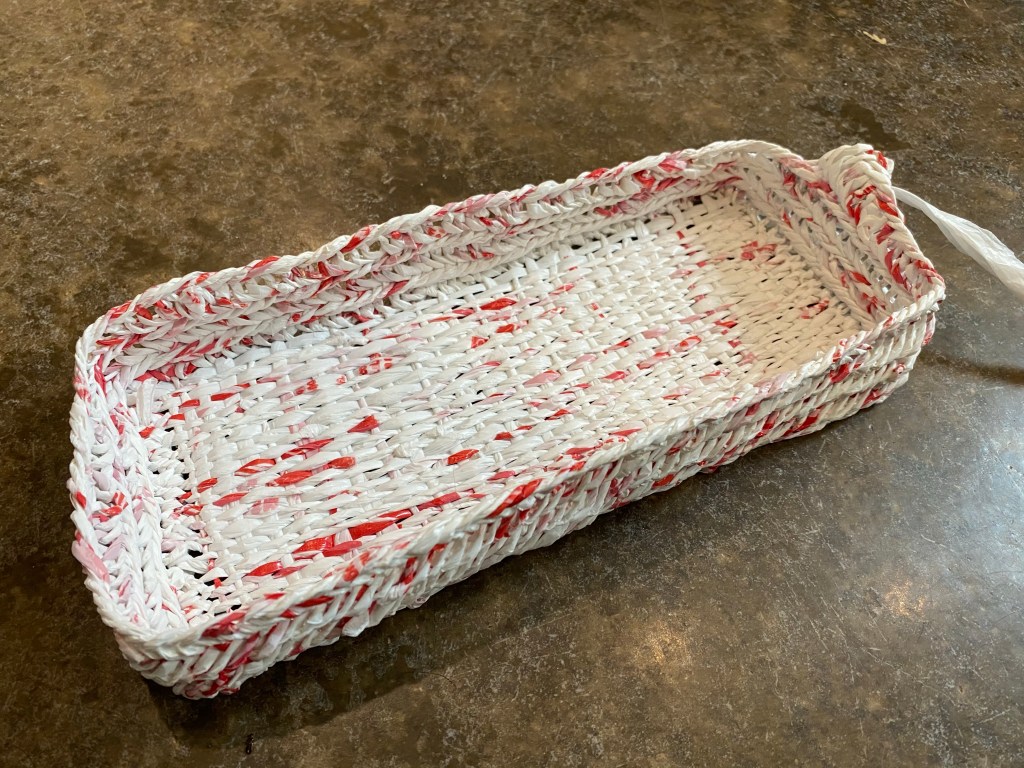
This was a very pleasing experiment. I really like the woven base: it feels nice and is sturdy. I will continue to build up the sides with nålbinding, but that will take awhile. I’ll post an update when it is done!
