I have a spinning demonstration coming up and I want to have small give aways that promote and encourage people to try spinning. While it is possible to spin without a spindle by rolling fiber along your thigh, tension management is more difficult. Tooth picks resemble small spindles, especially for cotton, and are inexpensive. Can I spin using a toothpick?

I started with combed cotton, and was pleasantly surprised that while spinning the toothpick in one direction with my fingers I could spin. It isn’t fast, but it is possible. As the cop of thread built up, though, it was harder to spin the short toothpick.
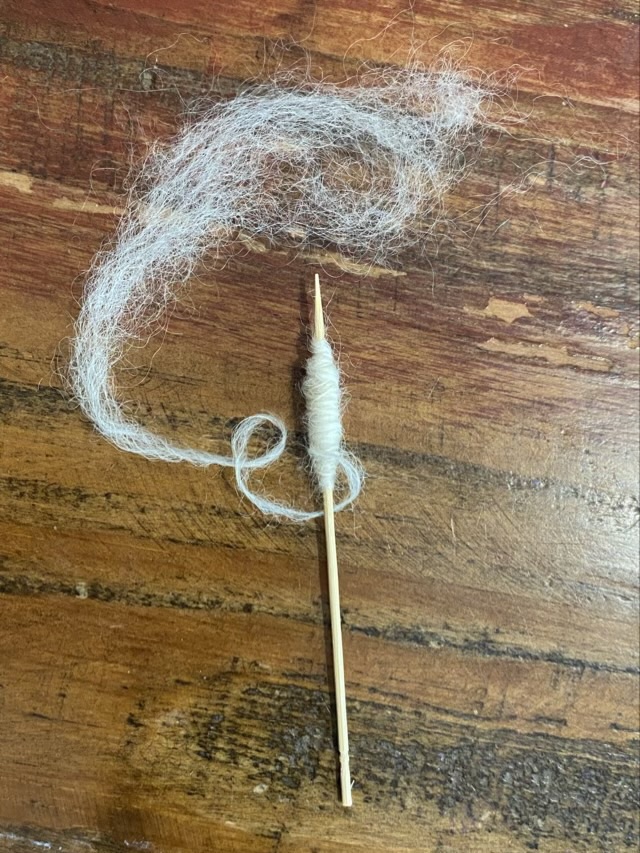
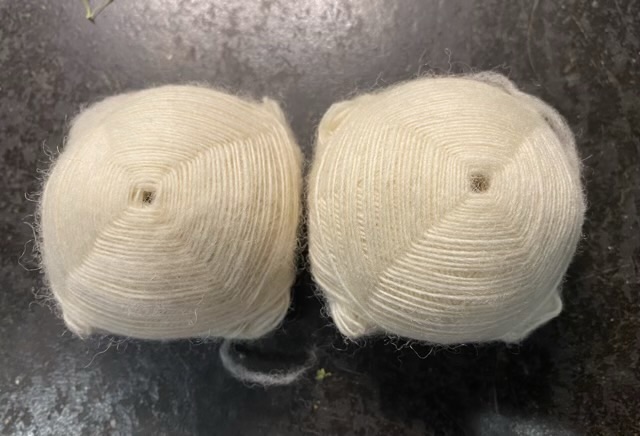
I tried a longer toothpick and some longer staple wool, and found spinning much easier. A small bit of wool also goes a long way when making thread! My plan is to make small bags with a fluff of wool or cotton, a 4 inch toothpick, and a small card with basic instructions and a link to a video.