Photo description: number 7 in yellow wool on a background of green dyed wool
Happy 7th anniversary to my blog, a couple days late. One of the traditional gifts for a 7th anniversary is wool, so I grabbed some off my counter (yes, really) and staged a photo. I also realized that I have four in-process spinning projects at the moment. Hm. I’m not going to count the number of other works in process, let’s just say that it is over three.
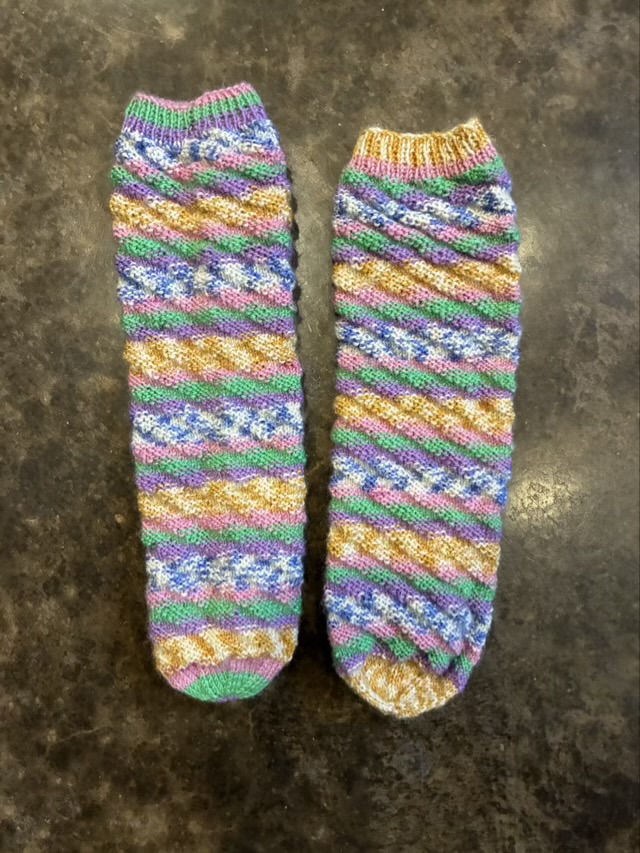
I’ve cast on a new pair of spiral socks. This time I’m trying a 3×3 offset rib. The yarn I purchased years ago, tried to make a sweater, but frogged the whole project, so am now using the yarn for socks.
Photo description: top down spiral socks in progress using variegated blue and yellow fingering weight super wash wool and nylon yarn
I do think it is an interesting phenomenon that the spiral rib presents the garter stitch, while a straight rib shows the stockinette as predominant.
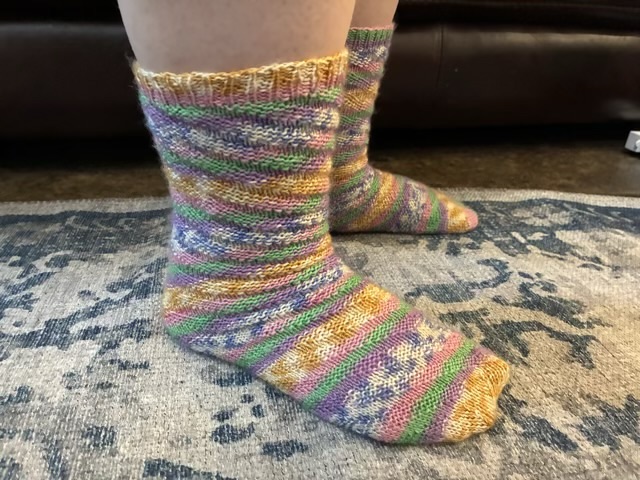
I finished the pair of spiral socks that I started in September. The special thing about spiral ribbed socks is that there is no heel, the rib expands to fit the heel without bunching at the ankle like tube socks.
Photo description: finished spiral knit socks made with Heritage Cascade printed fingering weight yarn and size 2.5 needles, 64 stitch cast on, 4×4 offset rib, knit cuff to toe
I was dubious on fit as I was making them, but after blocking they stretched out and they fit as advertised.
Photo description: spiral socks worn
My youngest struggles with sock heel placement, so these socks are much easier to get on. I will now always have a set of these socks on a pair of needles, to outfit her with friendly socks. I did check with a sock knitting machine company, with the idea to speed up production, but knitting machines can’t do the offset ribbing, so they have to be hand knit.
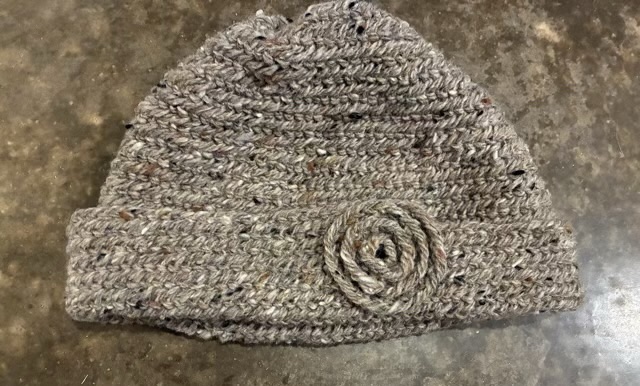
I wet down my recently nålbound hat with soap and water to do light fulling (locking wool fibers together in fabric) and was quite surprised when the stitches relaxed and the hat lengthened.
Photo description: nålbound hat before fulling and blockingPhoto description: same hat after lightly fulling and blocking
I intentionally made the hat larger because I know that wool hats shrink with wearing because of the natural fulling process from moisture and movement. I agitated the hat in the gentle soap and water to deliberately start the felting process, not expecting that much change with the Oslo stitch I used. I wanted the hat to be a slouch hat with folded brim, so really it came out remarkably well, serendipitously.
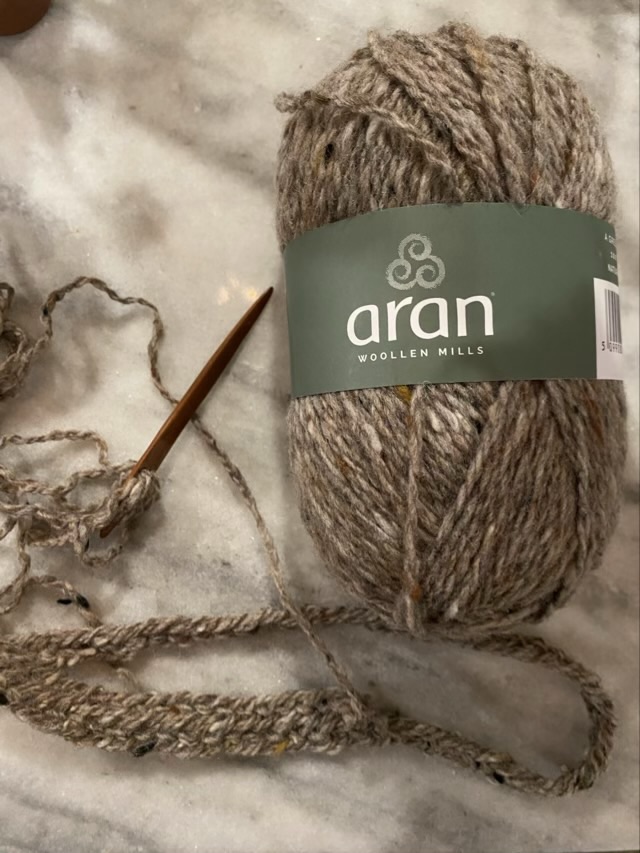
I spent last week watching as much of the Sweet Adeline International Convention webcast live as I could. This gave my fingers long stretches of idle time, which I filled with nålbinding a hat. My parents-in-law recently visited Ireland, and brought me back some Aran wool, which is lovely to nålbind because it tears apart easily and felts back together well.
Photo description: starting a hat with a cherry wood nal, Aran wool, and an Oslo stitch
At one point I ran out the door for school pickup and dropped my nal somewhere. Waiting in the car I crafted one out of a straw by cutting one end at an angle and making two slits at the other end to hold the yarn. It worked, but wasn’t as pleasant as my wool polished cherry wood nal. I’m glad I found it when I returned home.
Photo description: nal made from a plastic straw, convention notes in the background
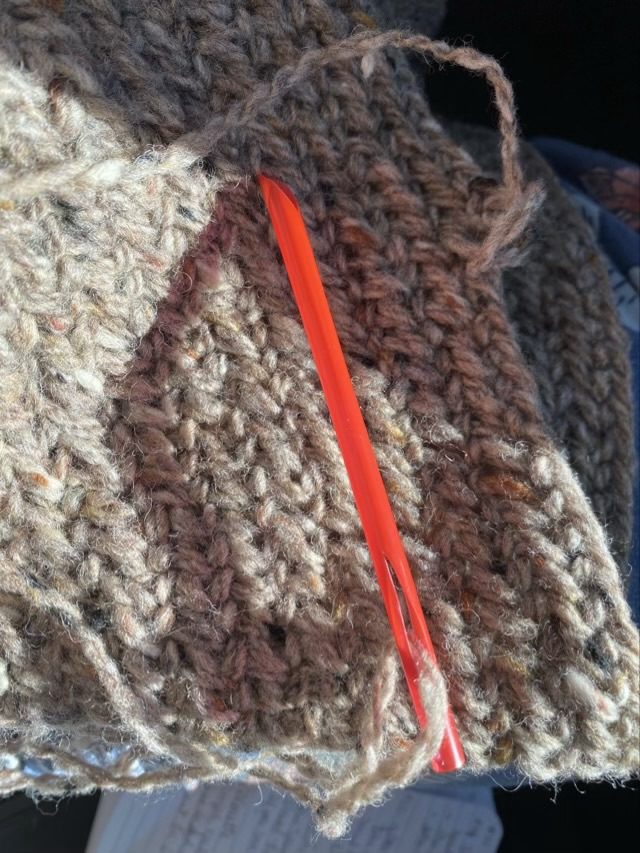
I know to make wool items bigger than intended because as it is worn it will naturally felt and shrink some. I thought my initial circle was oversized, but as I stitched the band contracted, so I switched my plan and added increases, and decided to gather the first rows together to form the crown. Aran wool is very lightly spun Merino, and does not have the strength to draw together and hold, so I made a length of flax cord instead. The flax won’t break and will probably outlast the wool.
Photo description: long line flax twine on the nålbound surface of the hatPhoto description: crown of the hat gathered together tightly with flax twine
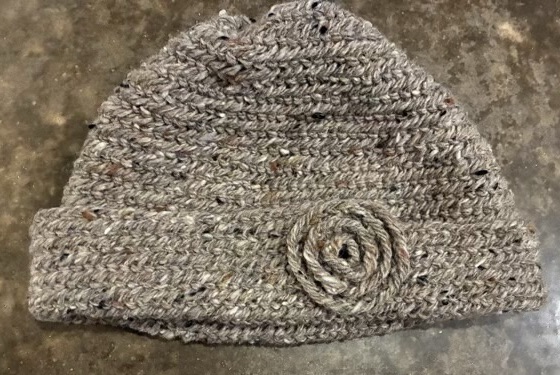
I didn’t want to finish the hat with decreases, so I stitched a free length of Oslo chain, spiraled it into a rosette, and stitched down the bottom edge.
Photo description: nalbound chain spiral with a steel yarn needle in the process of a securing stitchPhoto description: finished hat, before blocking