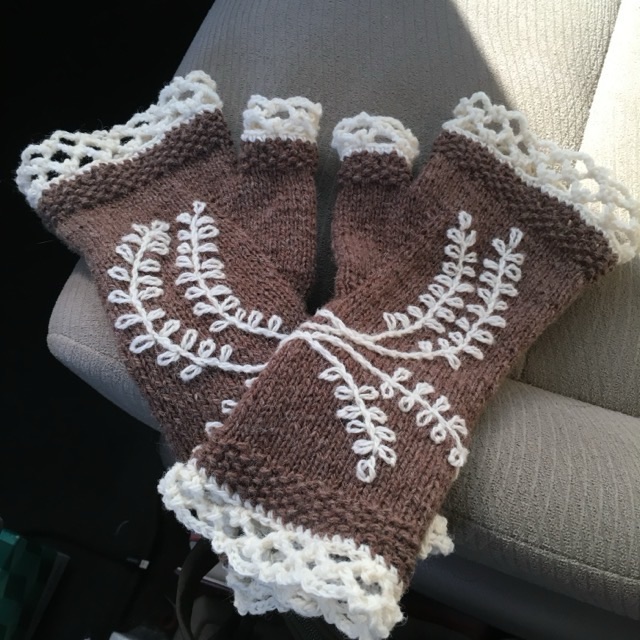
In October 2018 I finished a pair of fingerless gloves. I’m quite pleased with these, I knit a brown glove with wool yarn with stockinette stitch for the base and moss stitch for the edges, then used white wool to crochet a simple picot lace to the wrist and fingers. Using the same white wool I embroidered a mirrored leaf design on each glove. To plan the leaf design I digitally drew on a picture of the gloves then used my drawing as a guide for the stitches.
Photo description: brown and white fingerless gloves made from fingering weight wool yarn using knit, crochet, and embroidery techniques
I really enjoy making things using multiple methods in a single item. One day I’ll figure out how to make something spun, woven, knit, crocheted, nålbound, and embroidered.
There are so many applications for the word “twining” in crafting. I was going to start this blog post talking about twining wool, but I think I have to specify that I was making twine from wool. Typically twine is made from plant bast fibers: cotton twine, jute twine, hemp twine, for example, and forms a dense strong string. I took a long staple wool, Teeswater, and twined it in a similar manner. Twining wool could also refer to construction techniques in weaving or knitting, but not in this case. Here I am making yarn, nålbinding a few stitches, then making more yarn (I’m going to call it yarn because it is softer than typical twine, yes, I’m splitting hairs (haha)).
The problem I encountered was a strong twist in the small pouch I was constructing. I experienced this with a different project, so decided to try twining the opposite direction, by switching hands, but the twist still happened. I think it is in my nålbinding stitch. I do not enjoy twining with my left hand as much, so I halted the project.
Photo description: start of a nålbinding project that has a Z twist bias making it spiral
Then I had the problem of what to do with the abandoned project. Undoing nålbinding is a difficult, sometimes impossible task, which is what makes it good for items that need to be sturdy. So what could I make from a small bit of wool? Well, a cat toy, of course. Thor the cat loves wool, and steals socks and doll clothes that are made from wool. So I sewed up the seam, stuffing it with un-spun wool as I went, and ended up with a little roll.
Photo description: stuffed tube made from wool
The new cat toy was a big hit with Thor the cat. He loved it and it was very difficult to get a photo of him as he carried it around the house, flipping it and chasing it at speed.
Photo description: large gray tabby going in for the grab of the wool roll
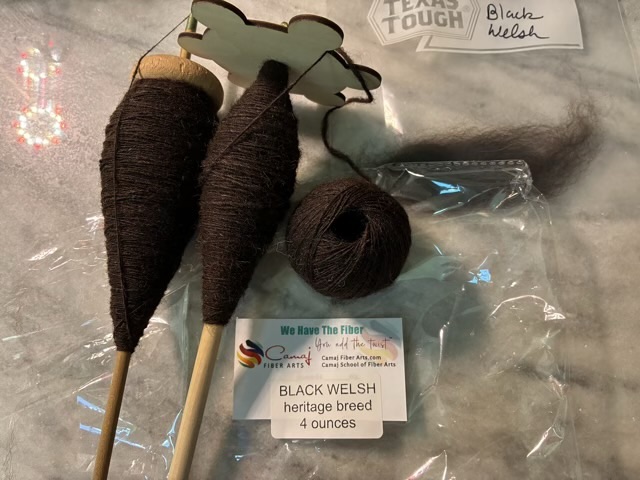
The Black Welsh Mountain Sheep is also on the Livestock Conservancy’s Shave ‘Em to Save ‘Em list as a threatened heritage species. I have finished single spinning my 4 ounce sample. It is very nice to spin, and I was able to achieve a nice thin single. My challenge for myself in this spin was switching direction half-way through, so I now have half the wool spun in the S direction, and half in the Z direction.
Photo description: spun Black Welsh Mountain wool on two spindles and one center pull ball, sitting on the original bag from Camaj Fiber Arts, and another bag with a lock of unspun wool
My plan is to do some parallel experiments with the two different spins in weaving, knitting, and crochet, until I run out of wool.
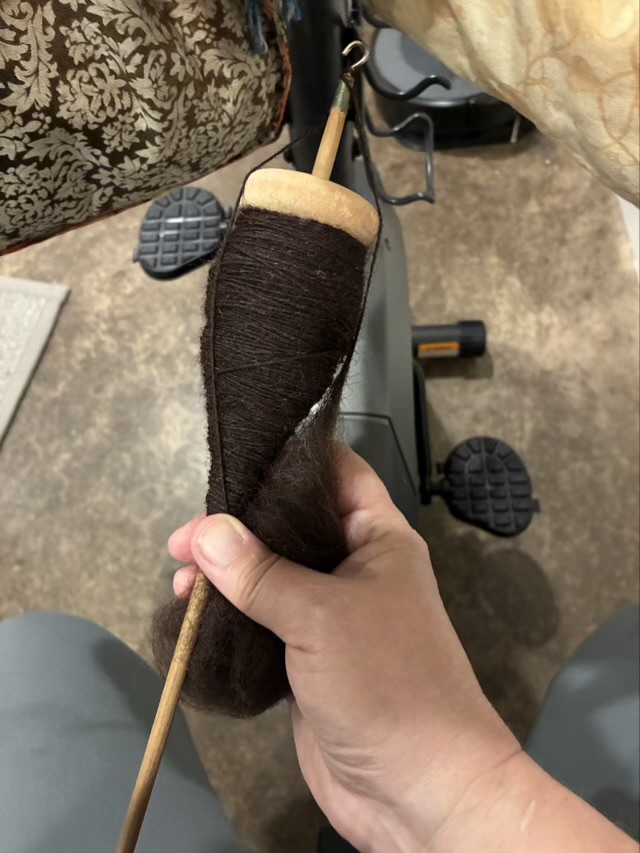
So yes, I can spin yarn while using a stationary recumbent bicycle.
Photo description: simple drop spindle with Black Welsh wool spun into a single, recumbent stationary bicycle pedals in the background
As expected, it looks different than walking and spinning, I have the spindle off to one side so it can hang down, and the floor is closer, so I have to wind up more often, but it works and gives me something to distract myself from what my legs are doing.
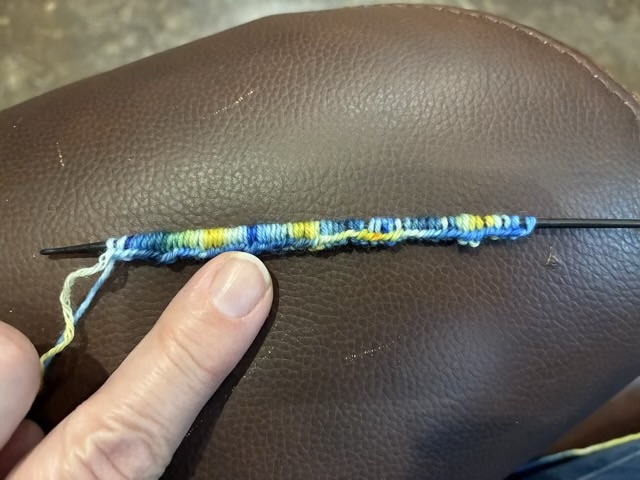
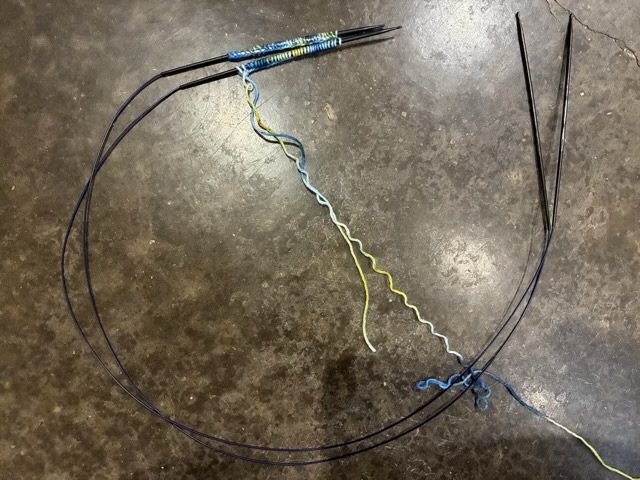
I love knitting two socks at the same time on two circular needles, but I forget how to do the initial setup every time. Every. Time. So to help my future self, here is what worked this time (after many trials and errors.)
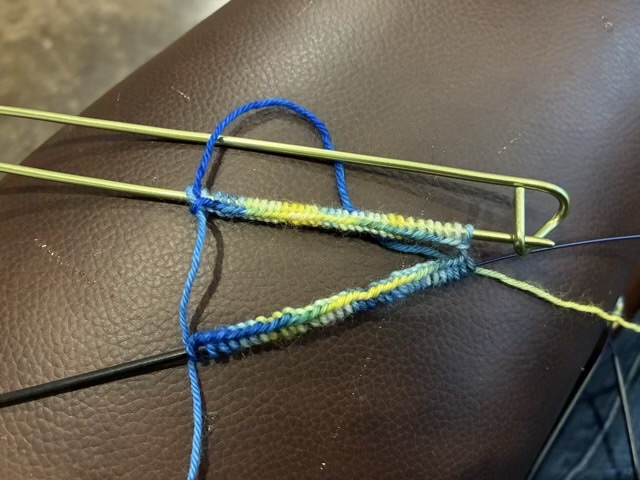
Photo description: loosely cast on 66 stitches using the long tail cast-on method with fingering weight wool yarn on Prym 2.5mm circular needlePhoto description: 33 stitches slipped knit-wise onto a second circular needle
With the first sock cast on and divided onto two separate circular needles, I cast on 66 stitches for the second sock and transferred all the stitches to a stitch holder.
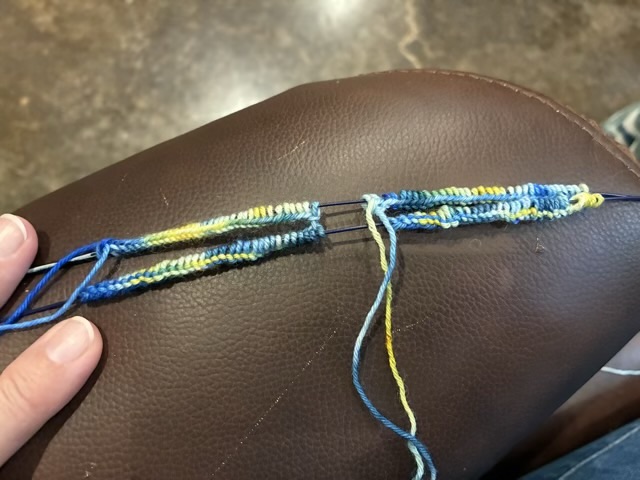
Photo description: transferring 33 stitches from the stitch holder to a circular needle Photo description: all stitches for both socks transferred to two circular needles so that the “U” shape of each sock has the open side to the left and the closed side to the right
For me, the trickiest part is getting the two socks in the same direction on the needles, then keeping the stitches untwisted as I join the first row. After that, for me, it is smooth sailing. I never cross the two circular needles, always using the ends of one needle set to knit half of one sock, then half of the other sock (remember to switch yarn sources for each sock, so they stay separate.)
On this particular sock set, I will be knitting a 3×3 rib to start.