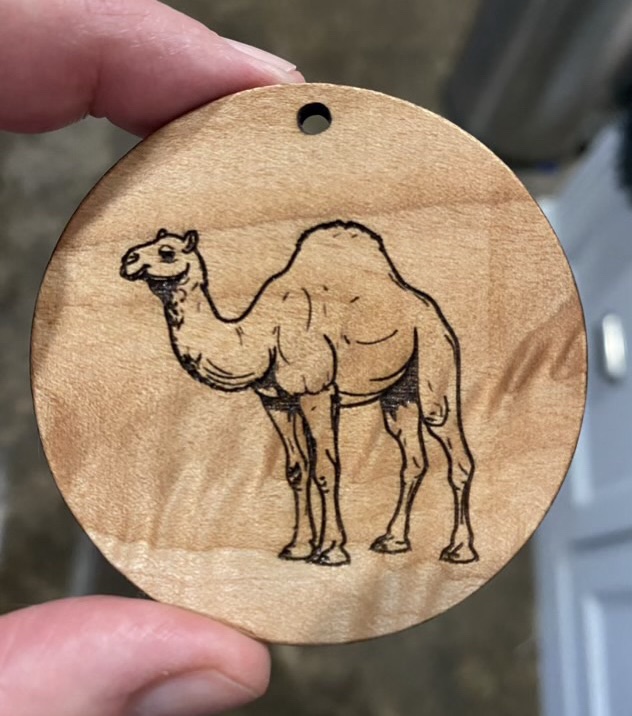
I had a request for a camel laser cut ornament, so took a slice of flame maple and line engraved an SVG camel image. I like a line engrave of SVG files better than a bitmap engrave for JPG type images.
Photo description: camel laser engraved on a circle of flame maple, finished with Howard’s Feed-N-WaxPhoto description: other side of the same ornament with the camel image reversed and done with a faster speed resulting in a lighter burn
I like the way the flame maple looks like shifting desert sands, especially when it catches the light on the move.
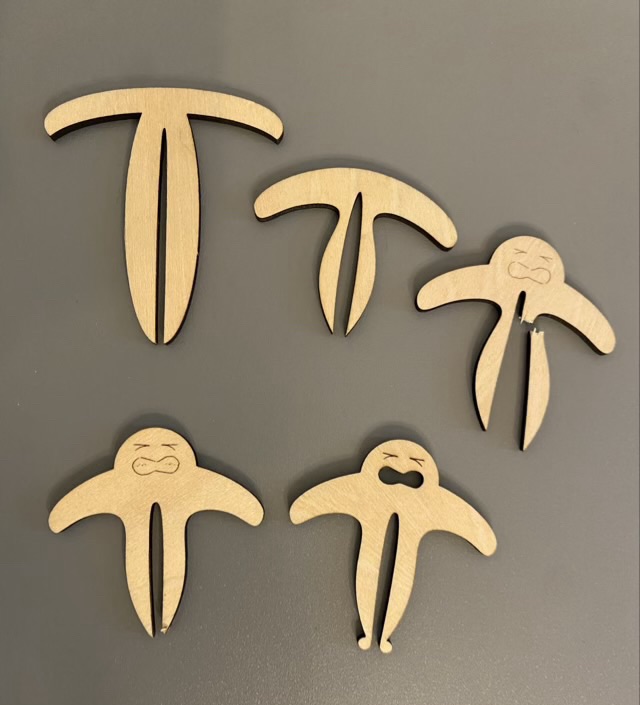
I saw a hint about making clips to hold down material in the laser cutter. The tip was for a different brand than I have, with a different grid, but I thought I could design my own clip.
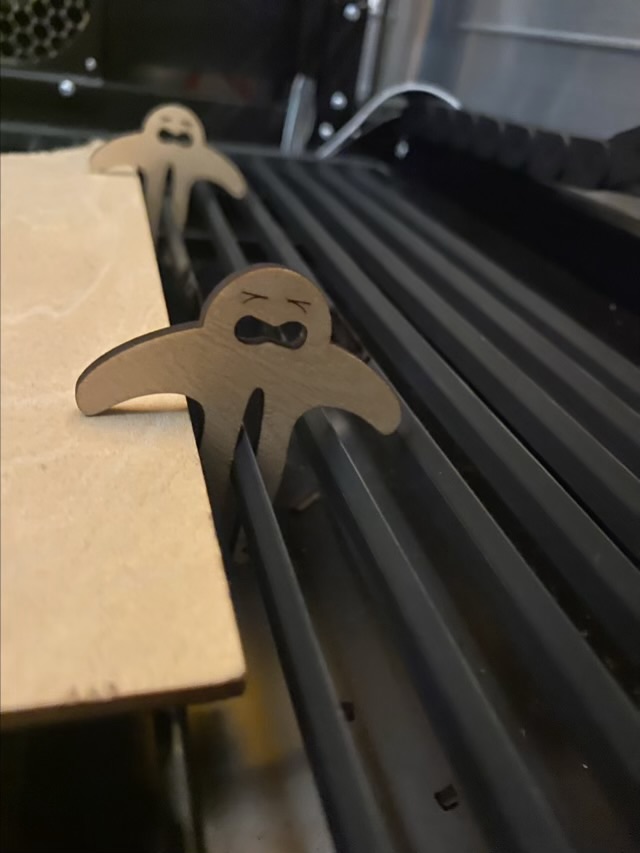
Photo description: clip design evolution: top left was too narrow to fit my tray, top middle needed a tab to make placing easier, top right got a face because the tab looked like a head, bottom left the tines were delicate, bottom right is a functional and personified clipPhoto description: laser cut plywood clip person in use
I find the little straining strongman amusing, but it does stick up above the material, so has to be placed away from the path of the laser. I may design something more streamlined later, but the current version is functional so it might be awhile before need demands a redesign.
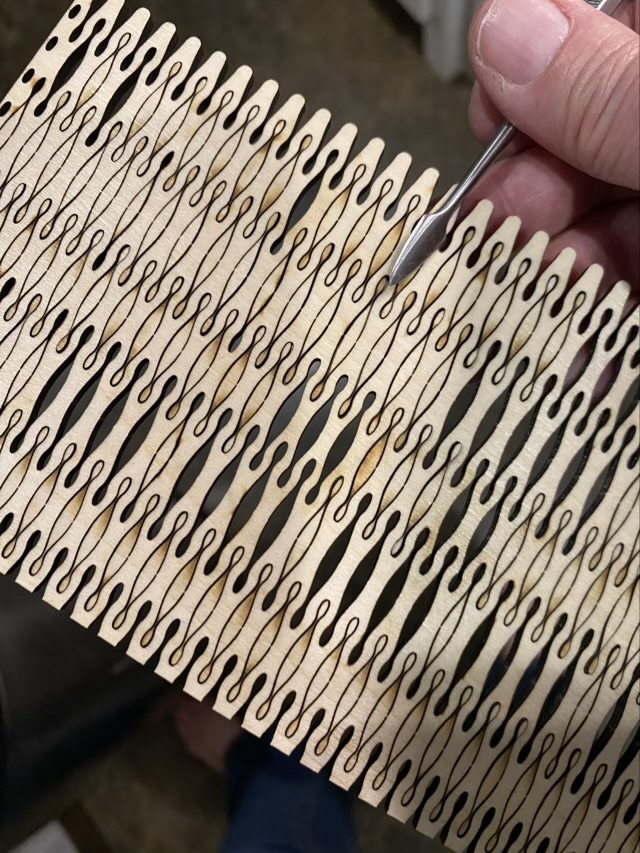
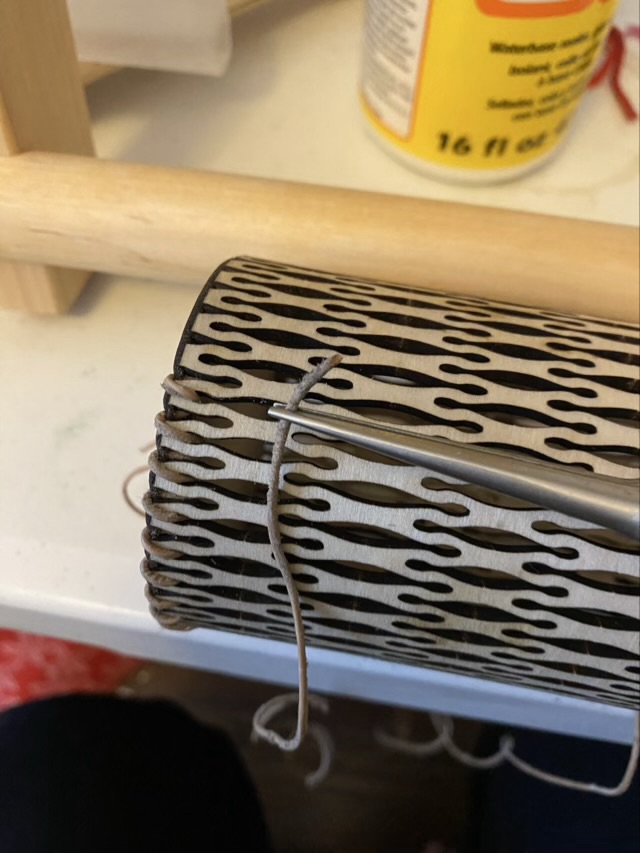
Making kerfs, small straight cuts, in thin plywood allows the wood to bend without breaking. Those kerfs can also be decorative. I found free patterns on an Instructables post, downloaded them, and used the basic building blocks to make an SVG file for a round dice cup. The SVG file was built with sections of the rounded pattern, which resulted in incomplete cuts only a fiber width thick, but enough that many of the cutouts had to be manually ejected (dental tools or long thin carving tools work well for this).
Photo description: cut sides of the dice cup with stuck cutouts, along with the end of the metal tool I used the weed the pattern
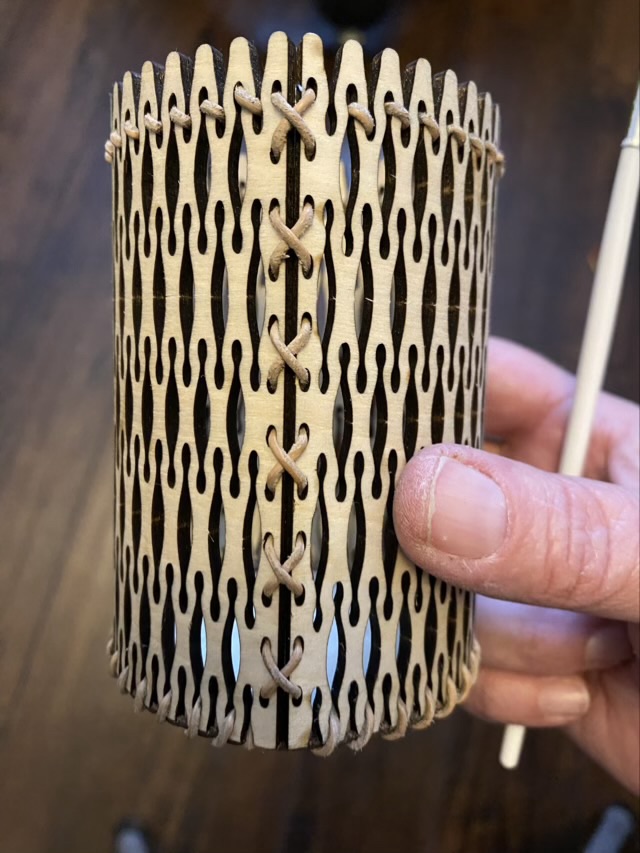
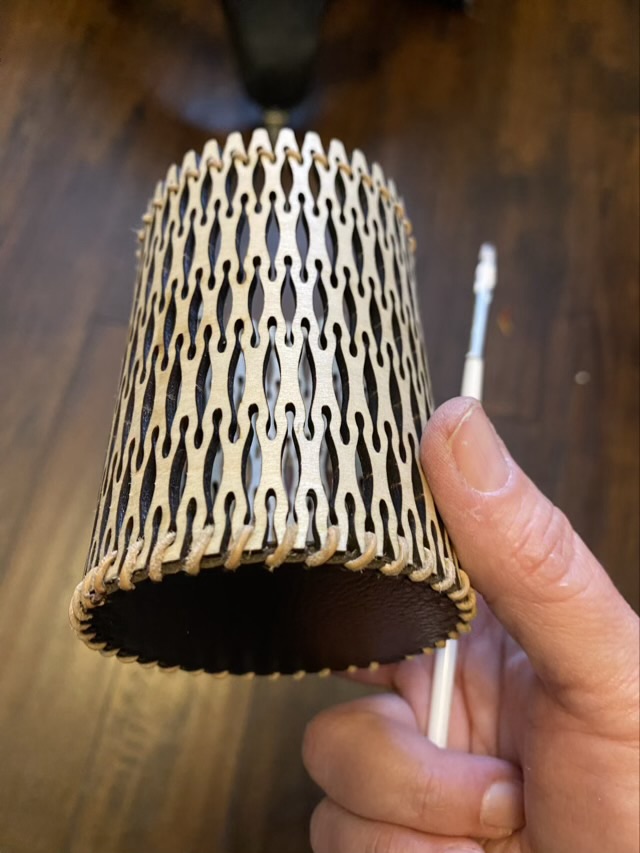
I mentioned that I don’t like butt joints, so I added lace holes along the edge and secured the join by lacing with leather cord. I then measured the diameter of my cup and cut a circle of wood to fit inside the bottom. This is a different kind of butt joint, so I also cut a piece of recycled leather (thank you old recliner) with holes spaced to line up with the gaps in the sides. I glued the leather to the wood and used the same leather lace to sew around the edge of the base.
Photo description: laser cut leather base for the dice cupPhoto description: reinforcing the base with leather lace sewn through the holes using a long nose pliers to reach inside the narrow cupPhoto description: finished cup with leather lace securing the joins and another line of lace as a decorative element at the topPhoto description: dice cup bottom oblique view
I used my go-to finish, Howard’s Feed-N-Wax, which was problematic. The wax became wedged in the small decorative curves and was very difficult to rub into the surface. Some time in the oven on low melted the wax, but I think for the next project I’ll use light coats of a spray finish.
This was an interesting project that resulted in an unusual object, but not one I think I’ll repeat. I will take elements of this piece and apply them to other ideas.
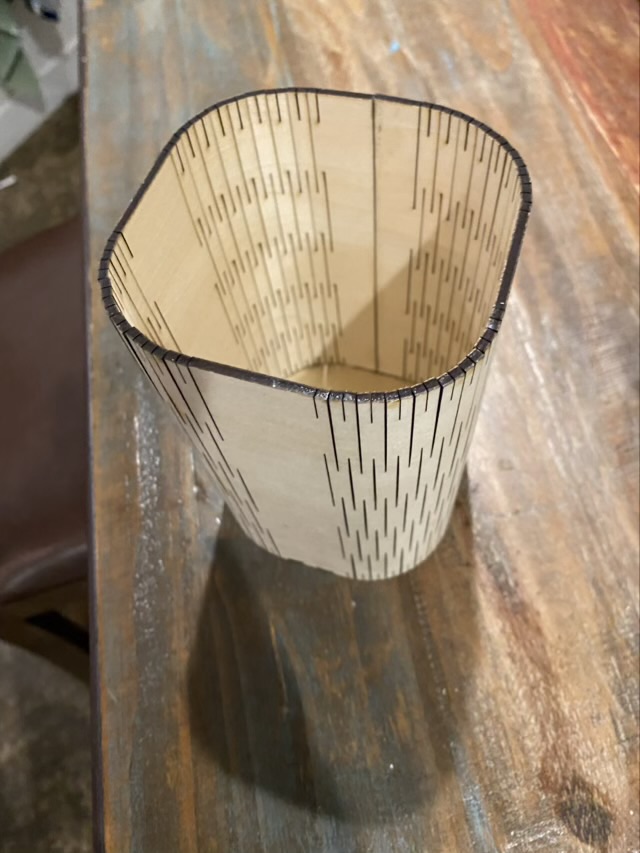
Kerfs are slits cut into wood. The right application of kerfs allows the wood to bend. I’m beyond excited about the possibilities combining laser cut kerfs and thin plywood. I found a box calculator website where you plug in dimensions and it outputs SVG files. I entered a 3” diameter and 6” height and downloaded files that easily went into my laser cutter software. I cut the box from thin plywood and glued it together.
Photo description: open topped container with rounded corners laser cut from thin plywood
The dimensions I entered were not the finished dimensions. It was 6” tall, but had a diameter over 3.5”, which turned out to be an awkward size, too big for pens or a dice cup, but OK for paintbrushes. I finished the wood with Howard’s Feed-N-Wax. I’m not a fan of butt end joints, which is what the seam on this cup is, where the edges of the wood come together without interlocking, but this was a very informative first kerf project.
Photo description: plywood cup and a bottle of Howard’s Feed-N-Wax
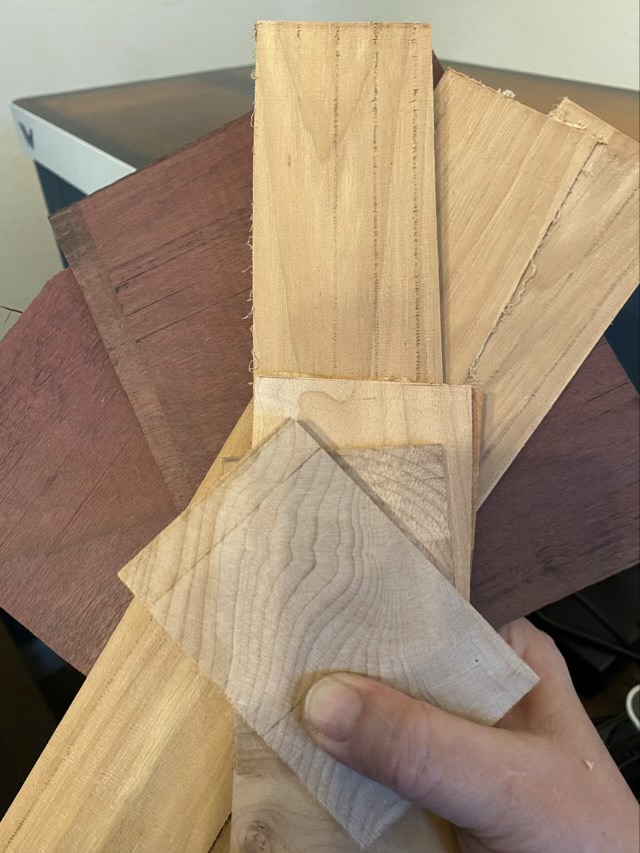
I used my bandsaw to cut thin wood blanks for the laser cutter.
Photo description: purple heart, hickory, and flame maple thin boards
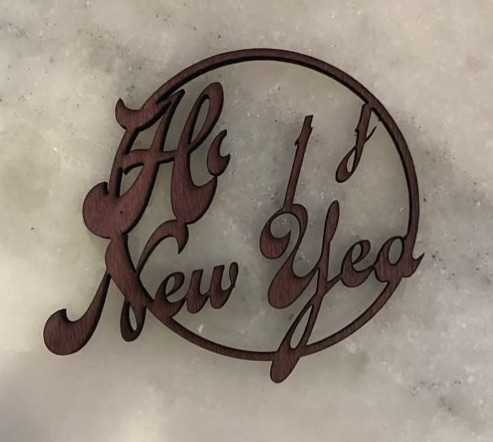
One disadvantage of thin cut hardwood is that it can be brittle. Plywood is constructed with layers of wood glued with the grain perpendicular to add strength, which is why most of the laser cut kits include plywood. As an example, I tried cutting the “Happy New Year” ornament from purple heart and I couldn’t even take it out of the machine without it breaking. (I did mention this in the post Wednesday, but did’t post the fail, so here it is!)
Photo description: failed Happy New Year ornament
So the challenge here is to design for support and strength when working with these hardwoods. I do have some ideas.