Student spindles

I made up another batch of student spindles. These are made from dowels, wooden toy wheels, and cup hooks. The only thing I work on is the dowel; shaping the top to friction fit the wheel, drilling a pilot hole for the cup hook, and this time, shaping a head on the other end so the whole thing can be flipped and used as a bottom whorl spindle or a top whorl spindle. Oh, I did also put a notch in the wheel because I read that helps beginning spinners, but my first student using one of these didn’t need it. Maybe another will.

New student spindles (right) versus my first handmade top whorl spindle (left)

The student spindles weigh in at under an ounce, which is much nicer than the behemoth top whorl spindle I made the first go round with a post oak whorl that tips the scales over two ounces.

I keep a stash of these spindles so that if I encounter someone that shows interest in learning to spin, I have something they can practice with right away.

Muddle

mud·dle /ˈmədl/ verb

  1. bring into a disordered or confusing state.
  2. mix (a drink) or stir (an ingredient) into a drink.

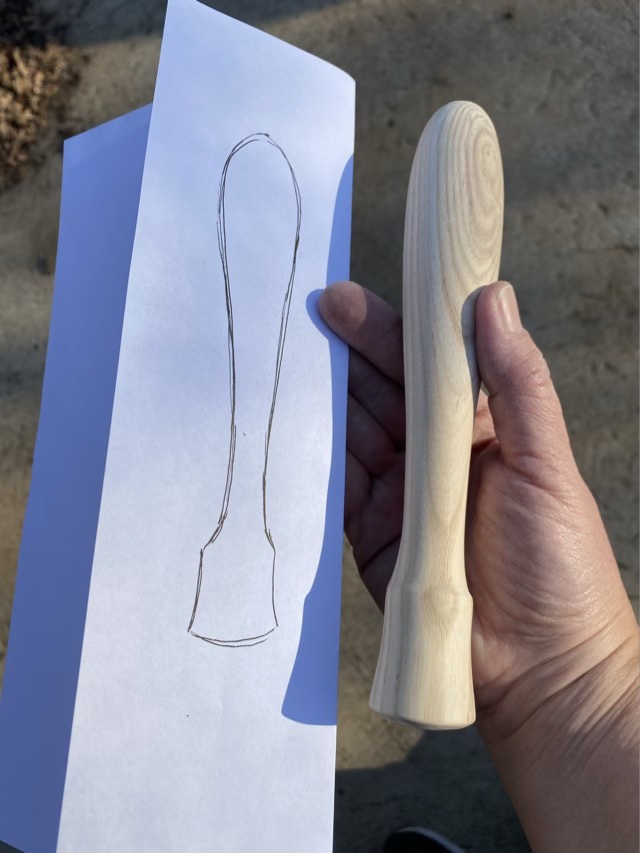
I like both of these definitions of muddle from Oxford Languages, but today we are specifically talking about muddling an ingredient into a drink. To muddle, it helps to have a muddler, which is a hand-held specialized pestle for gently crushing ingredients in a glass. I made this muddler out of a blank of ash wood by turning it on my lathe. First, I did a sketch of my desired profile, then roughed out the blank, refined it, and sanded down from 80 grit to 600. I used the parting tool to separate the muddler from the blank (which is nervous as this is done while the lathe is turning). I did need to sand the ends to remove tool marks.

Muddler sketch, with turned muddler
Muddler rinsed with water to raise the grain and get an idea of the finished color

This muddler needs a few coats of tung oil and some curing time, then it will be ready to send for testing.

Notch

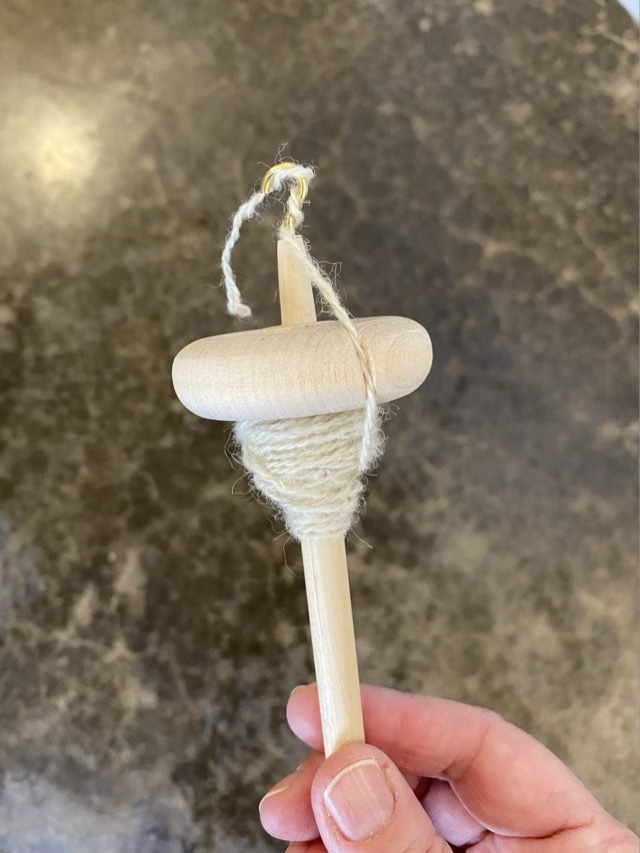
I’ve added a notch to the whorl of my student spindle. I make these from a 5/8” hardwood dowel, a cup hook, and a toy wooden wheel. Using a belt sander, I shape the ends of the dowel slightly; the top to accommodate the screw-in cup hook and whorl, and the bottom to make a point so it can be used also as a bottom whorl spindle. I read that beginners should also look for a spindle with a notch in the whorl to help hold the spun yarn in place. That is easy enough to add with two quick cuts with a small saw and some progressive sanding starting with 120 grit and working down to 400 grit. I had to test the new feature, as you do, so spun up some Shetland wool. The notch lines up to the back of the hook to help prevent the yarn from spinning around the whorl. I am past that learning hurtle, but I can see how this might help a beginner, so I’ll continue to add the notch.

Small amount of two-plied Shetland wool made to test the notch in the whorl

Color changing spinning top

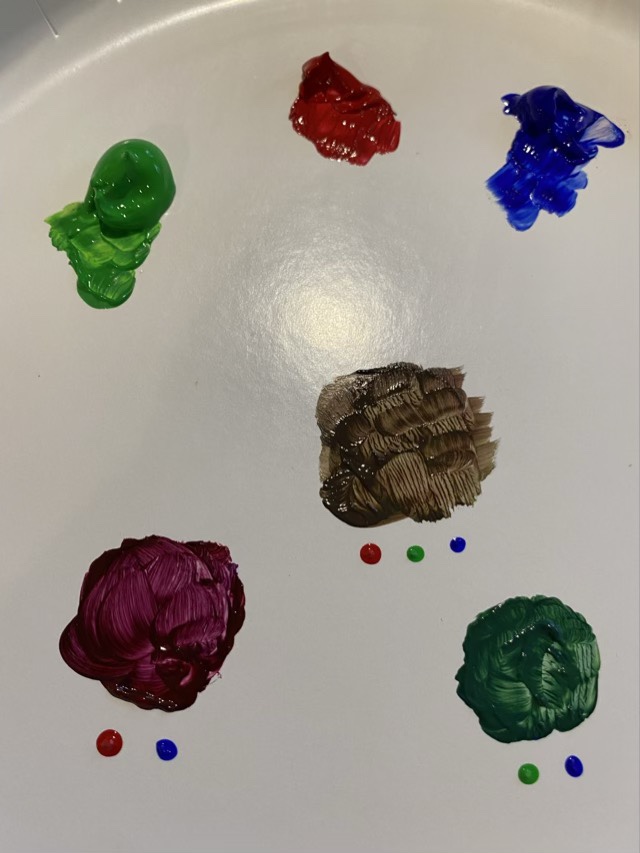
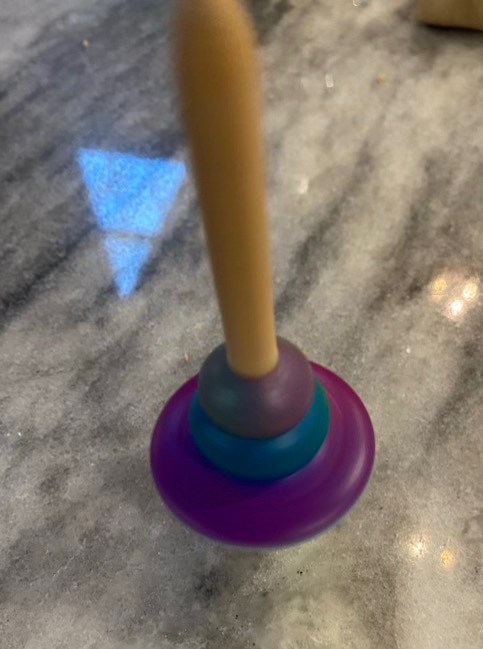
I made another toy top on my lathe. This time I painted it with red, green, and blue to see what would happen when it was spun. Our standard school book learning that red and blue mix to make purple doesn’t quite hold when it comes to reflected light. So the color is different when I spin the top than when I mix the paint, which is fascinating. The coolest part is when I made a video of the spinning top. Because of frame rate, the colors shift and spin through a rainbow in the video. To the naked eye, the spinning top remains magenta, cyan, and gray until it topples. Very interesting phenomena.

Top painted red, green, and blue
Acrylic colors mixed on a pallet (aka paper plate)
Colors as the top is spinning

It really is worthwhile to click on the video link, so I’ll give it to you again.

French-style rolling pin

I thought a French-style rolling pin would be a nice easy turning project. Hm. I started with a maple wood blank and roughed in the shape, which is tapered at each end. These rolling pins do not have moving parts, but are used by rolling your palms across. I intended the center of the pin to be 2” in diameter, but it is much harder to get a long straight section than I thought! I stopped chasing the illusive straight line in order to preserve some of the diameter, which ended up closer to 1 3/4”. I finished by sanding down in increments to 400 grit, then wet the whole piece, let it dry, and sanded with 400 grit again. I then used a acrylic paints to decorate the pin with daisies for my mother-in-law. To keep everything sealed, I applied seven coats of tung oil by rubbing it into the surface in thin layers.

French style rolling pin with daisy decoration along the side