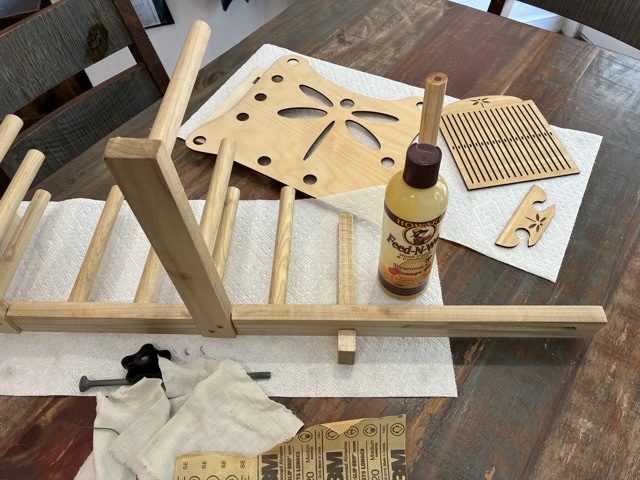
I applied Howard’s Feed-n-wax to my newly made inkle loom, and to the freshly designed and cut wood rigid heddle and shuttle, both marked with the dragonfly symbol I designed for the loom.
Photo description: inkle loom in pieces so the feed-n-wax can be rubbed onto all the surfaces
It was so hard to wait for the finish to dry, I really wanted to warp it up and get testing!
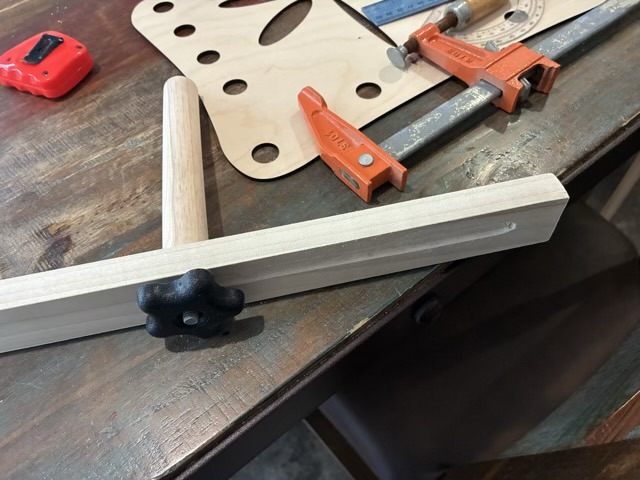
I made a new inkle loom that can make longer bands. The design is based on a picture from an Estonian band weaving book that I saw on a blog post by Durham Weaver. I used poplar 1×2 boards and 3/4” dowels, predrilled wood pipe, carriage bolt and knob, small screws, 1/8” birch plywood which I laser cut for the side, a 3/4” Forstner bit to drill the holes, gimlet to make a starting hole, coping saw to cut the channel, and sand paper. The toughest part was cutting the channel for the tension rod, my coping saw skills are rusty, and sawing along the grain is difficult.
Photo description: channel cut in a 1×2” board to accommodate a carriage bolt holding a drilled dowel
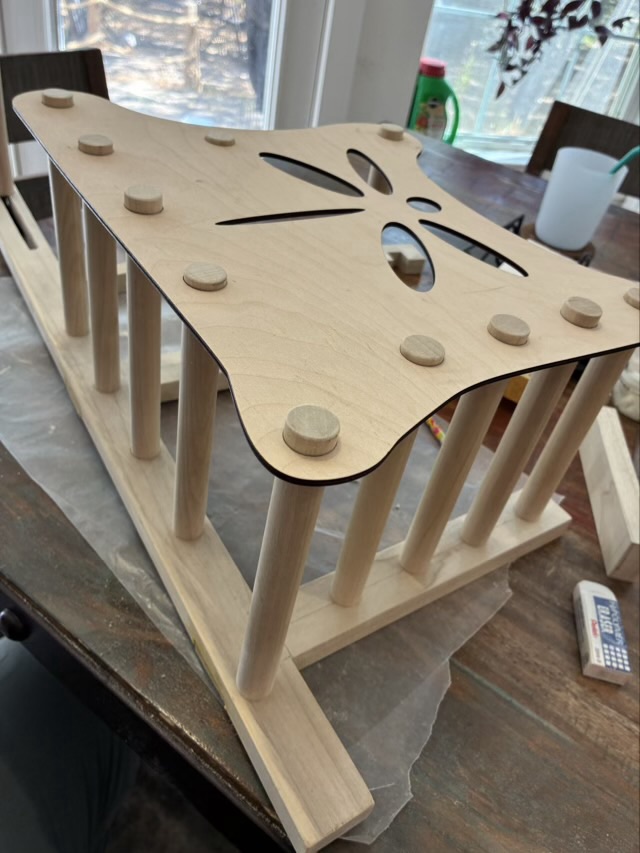
I laser cut the removable side panel first, then missed my angles during assembly by 1 degree, so had to recut the panel. To get everything to dry in the right position, I glued in the dowels, then wiggled them into place in the side panel.
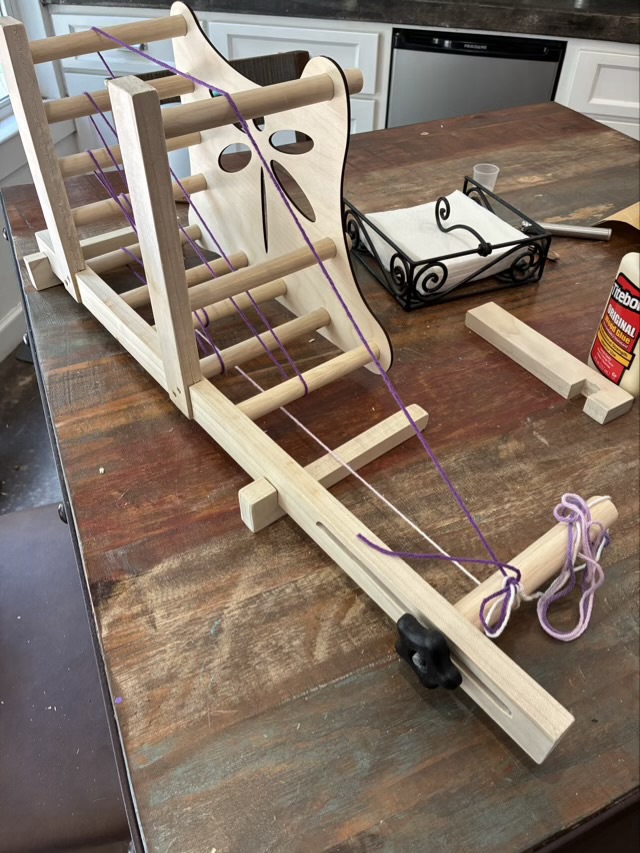
Photo description: side panel friction fit onto the glued-in dowels to hold them in place while they dried, dragonfly hole shapes added for decoration Photo description: assembled inkle loom with scrap cotton yarn tracing the warp path
Next step is to apply a finish coat to protect the wood from finger oils.
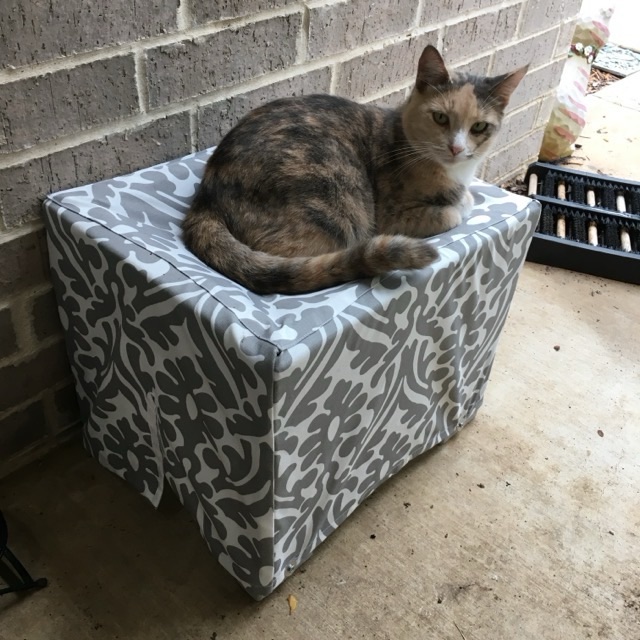
Photo description: Sophie the dilute calico on a wood framed fabric covered hammock and hide box made from white and gray patterned fabric
In September 2018 I made a second furniture item for the outdoor cat Sophie. This one was much, much more popular than the insulated bench. I started by making a small frame with 2x4s, then painted it.
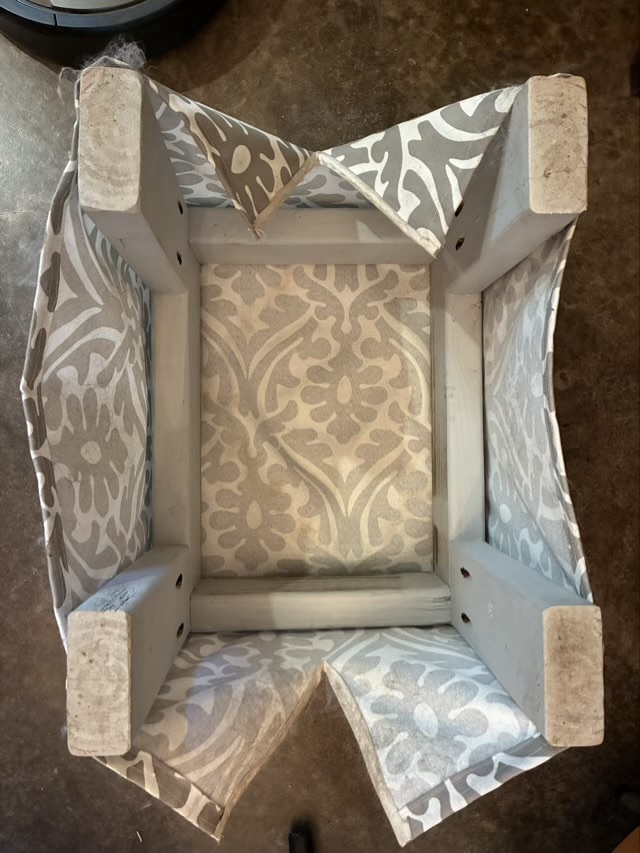
Photo description: upside down cat box showing the painted frame, photo taken in 2026
I used outdoor fabric with a pretty white and gray pattern and sewed a cover for the frame, with two slits on each side secured with white bias tape. This was all before I started this blog, but I did make a social media cry.
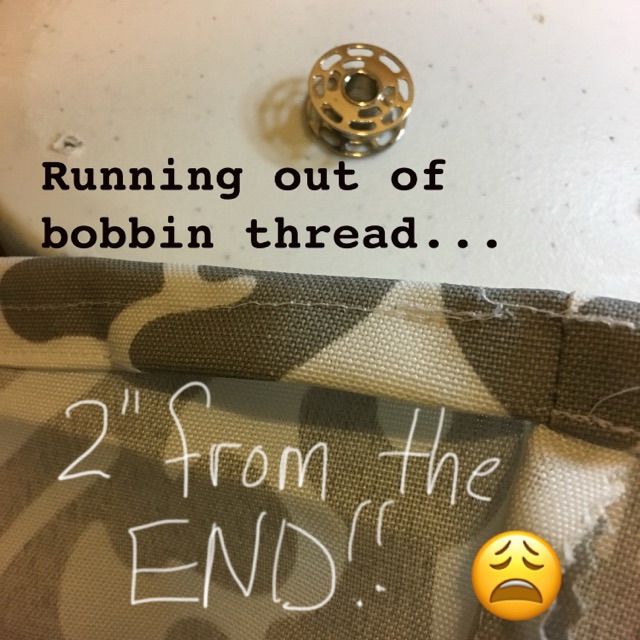
Photo description: “Running of out bobbin thread…” in type and “2” from the END!!” In handwriting, showing the bottom seam of the cover for the cat bench and an empty modern sewing bobbin and a crying emojii
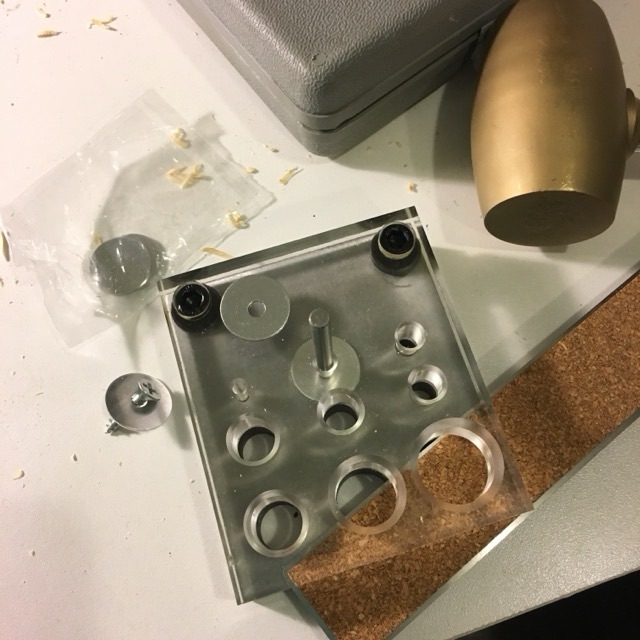
To keep the cover in place I punched my own washers from aluminum blanks. I’m not sure why I couldn’t find premade washers. I probably put them somewhere safe.
Photo description: disc cutter set up to punch a hole in the center of a circular aluminum blank
I used four washers and four screws to secure the bottom edge of the cover on the non-slit sides to the wood legs. This works quite well and has held up for 8 years.
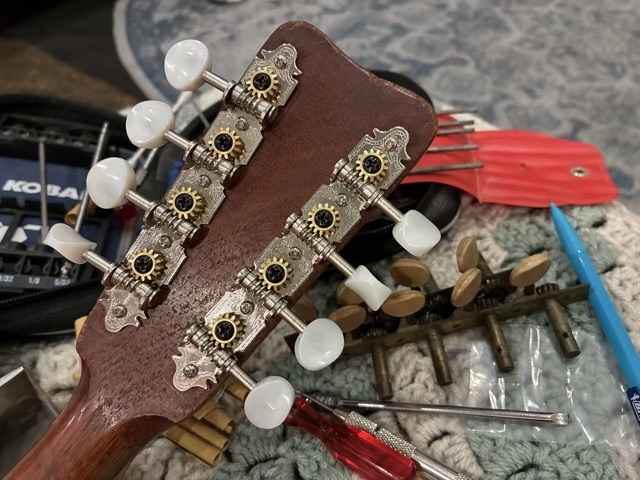
I bought new tuning peg plates for my 1895 bowl back mandolin. The original (maybe?) plates were worn and one peg in particular couldn’t hold its string tight. I purchased Golden Gate A style tuning peg plates and they were almost the right size. I had to sand out the holes to get them seated flat. The old plates came out easily and I replaced one at a time so the bridge stayed in place.
Photo description: back of the head of a mandolin with new Golden Gate A style tuning peg plates, old plates in the background
The mandolin sounds amazing and the strings are holding their tuning. I am happy that she is happy.
I do have to say that as a child of the 80s this week has been a hard hit. Dolly Parton, who was amazing angelically, Tim Curry who was amazing demonically, and Peter Cullen, the voice of Optimus Prime, who probably started my fascination with the human voice.
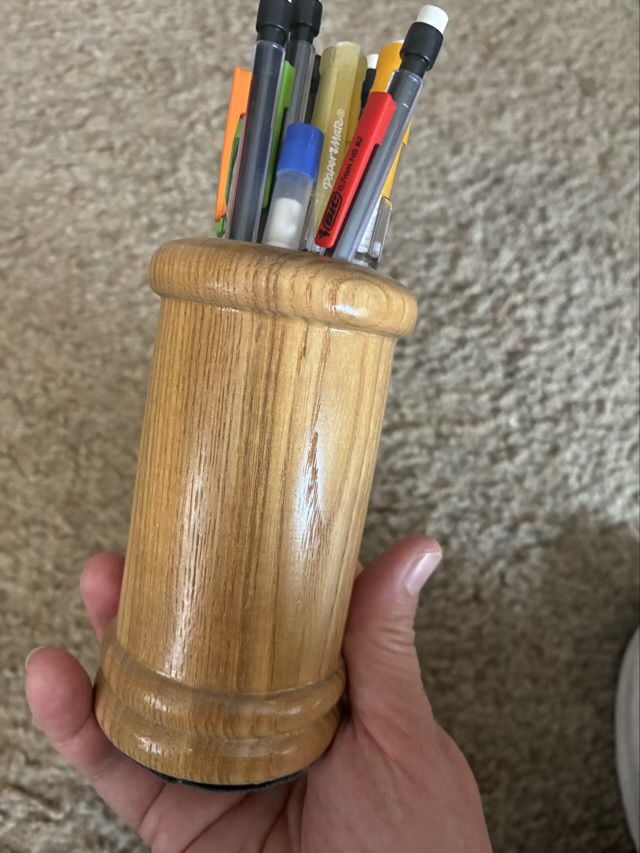
In February 2025 I made a turned wood pen holder for my Dad. A month later my first child was born. What is the correlation? When I saw the pen holder at my folk’s house I didn’t remember it. At all.
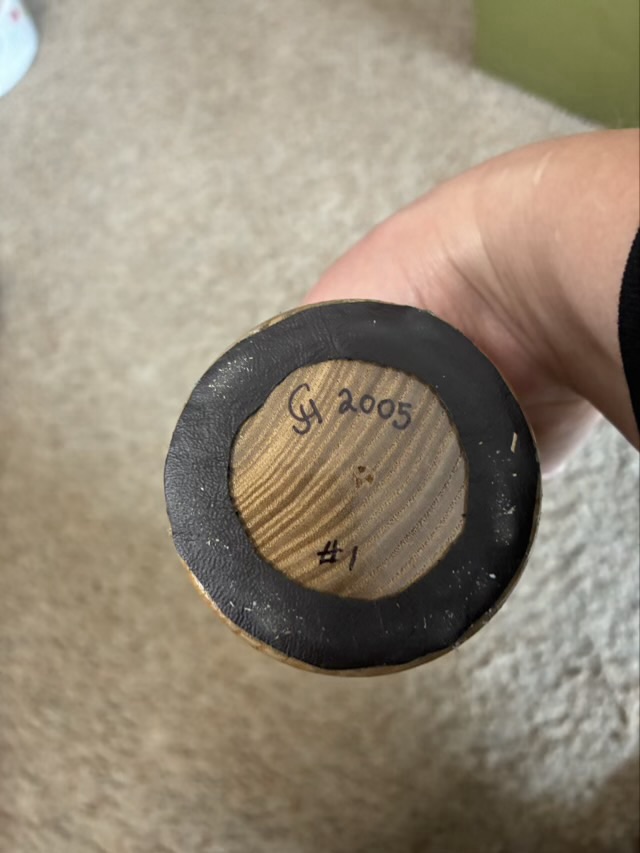
Photo description: cylindrical wood pen holder with turned bead accents at the top and bottom, filled with several mechanical pencilsPhoto description: bottom of the holder with a glued on non-slip ring (maybe leather?), and hand written “CJH 2005 #1”
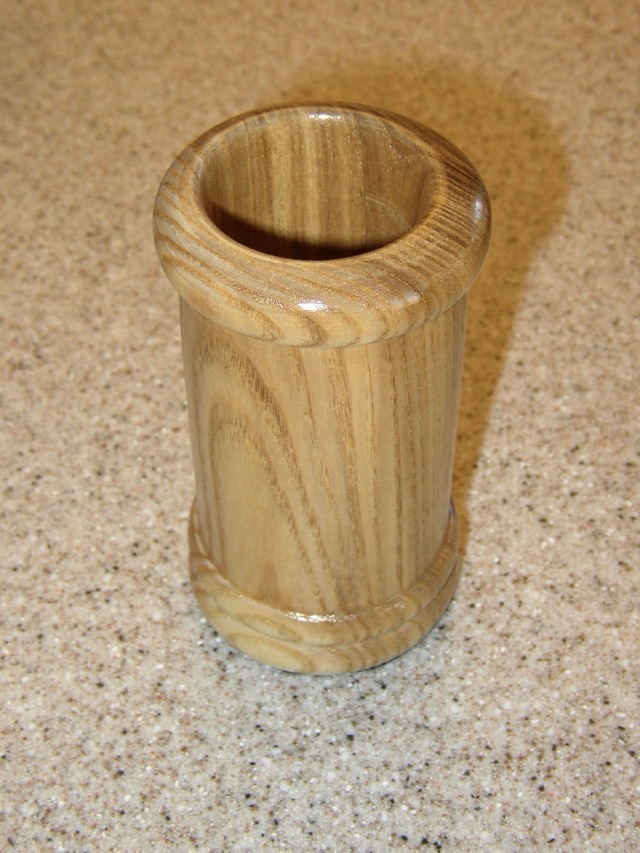
I used the information on the bottom to find the original picture, that is how I figured out that it was a month before my first child was born.
Photo description: original picture of the turned wood pen holder taken on a kitchen countertop
There are small indents on the bottom of the cylinder which are likely marks left by the lathe. The two beads carved at the bottom and one at the top also would have been done on a lathe, because the precision is very difficult to achieve without a lathe. The wood grain looks like white oak, which is a common hardwood and one that I had access to at the time. I can’t remember how I hollowed it out, but since the piece is marked #1 and there are no others in the following month, I imagine it was difficult. I know it is difficult to hollow out a form even with a lathe. Getting the wood secured and balanced is tricky, and the angles are awkward for a beginner, which is what I was in 2005. The finish is likely to be a store bought urethane, because that is also what I was using at the time. I didn’t discover tung oil until later.
I do think it is interesting what my brain retains and what it jettisons. This is why I take pictures and mark my work.