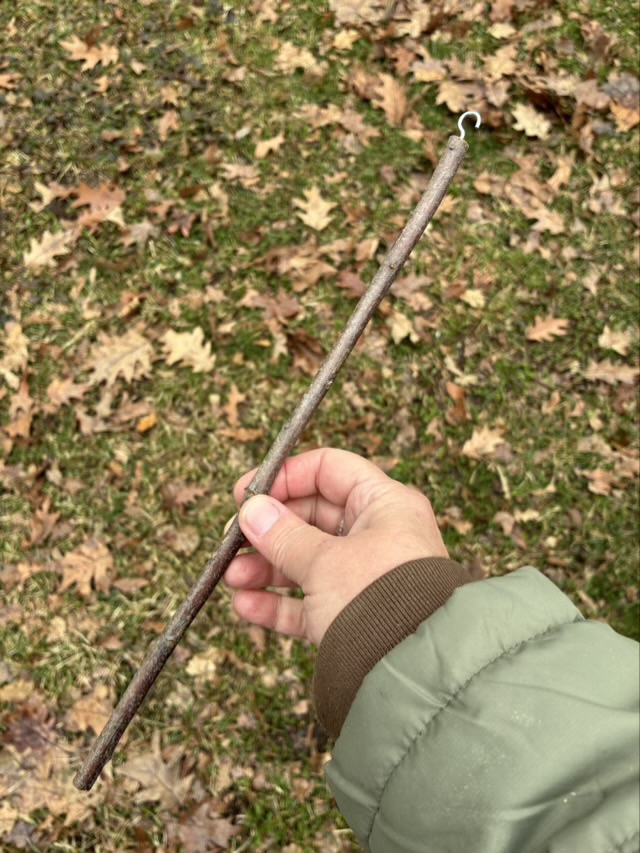
I did forget to bring a spindle when I went on my trip north. Horrifying, I know. I rallied by finding a smooth stick and screwed in a cup hook at the end.
Photo description: smooth stick with a metal hook on the end
Using a stick with a hook is actually my preferred method to teach people spinning. It slows down the twist, making it easier to see and control.
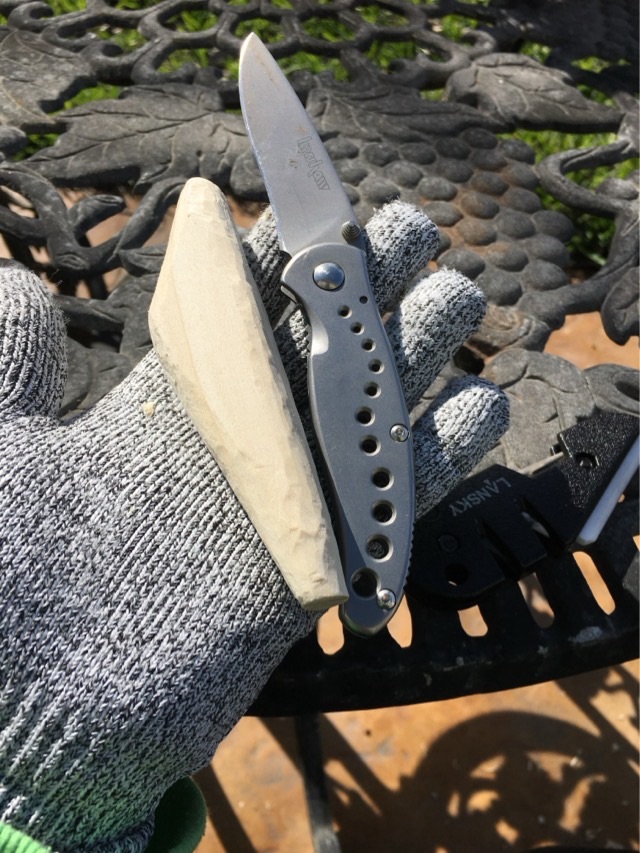
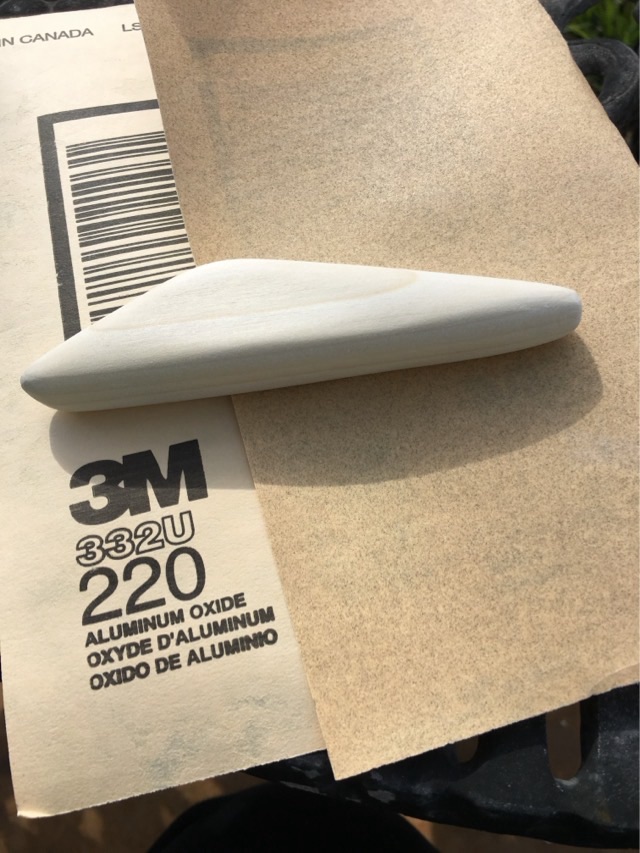
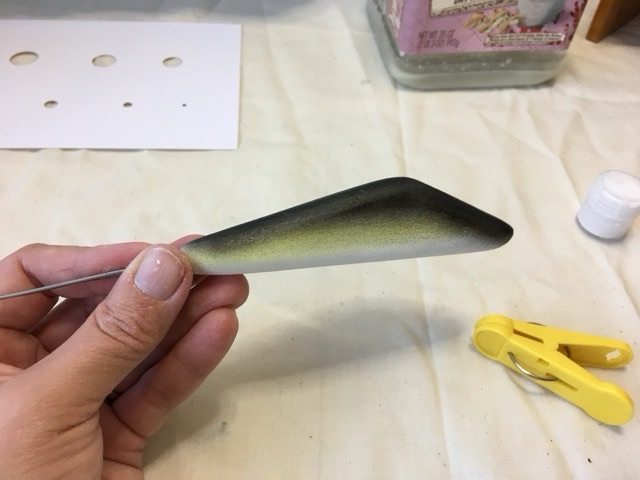
In March of 2017 I hand carved and painted a fishing lure for my Dad.
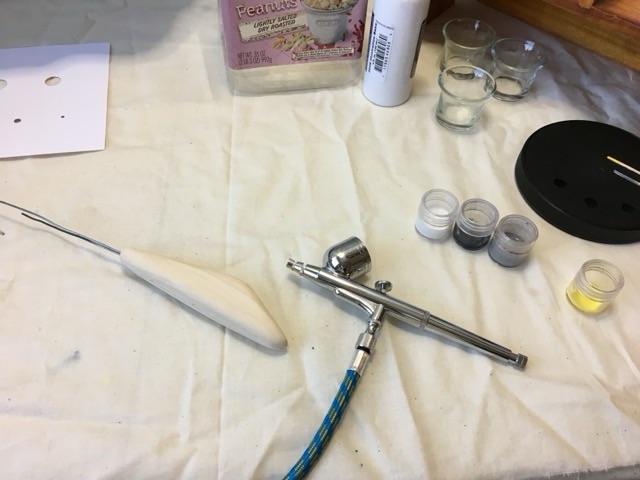
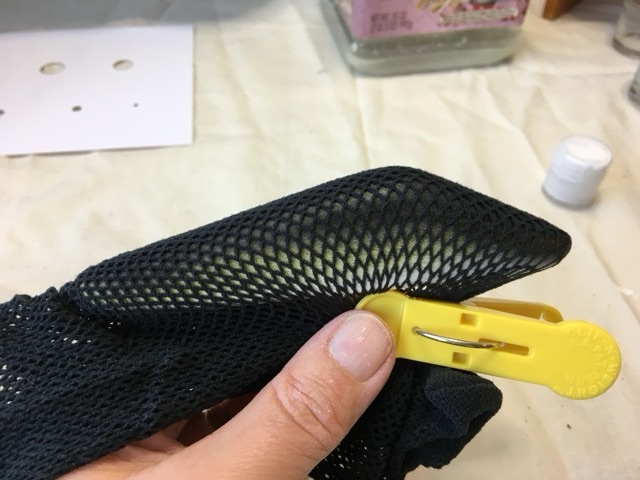
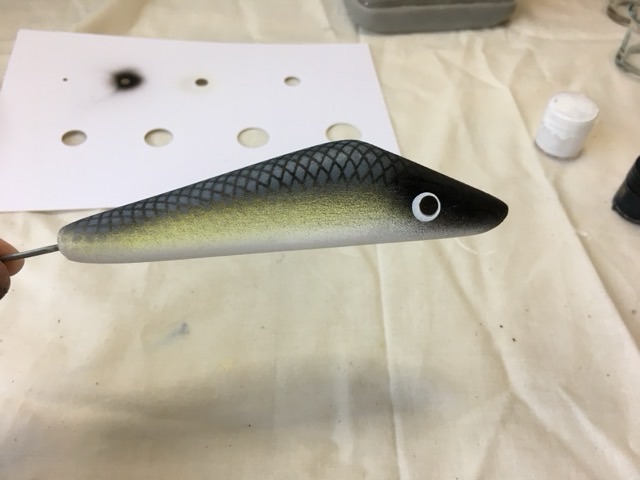
Photo description: carving a basswood lure blank with a pocket knife and cut resistant glovePhoto description: sanding down the blank, started with 100 grit, 220 grit shownPhoto description: air brush setup with lure mounted on a wire for controlPhoto description: base coats of paints appliedPhoto description: fishnet stocking pulled tight over the lure blank to mask for painting scalesPhoto description: finished airbrush painting
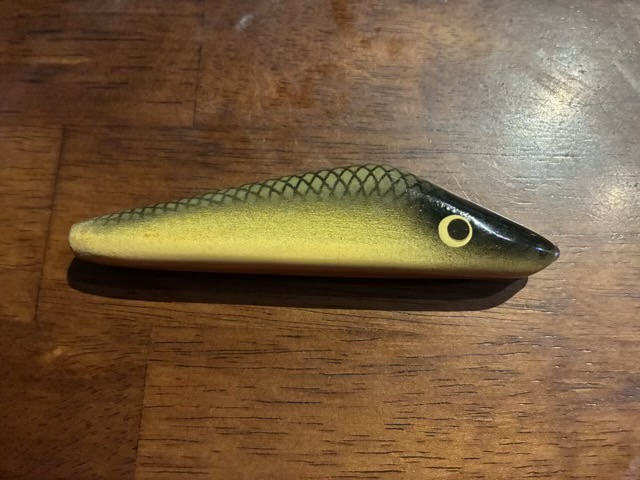
I did coat the lure in a water proof gloss finish, but didn’t take a picture at the time. Below is a picture of the lure in 2026.
Photo description: gloss coated hand carved and painted wood fishing lure, approximately 4” long, 9 years old
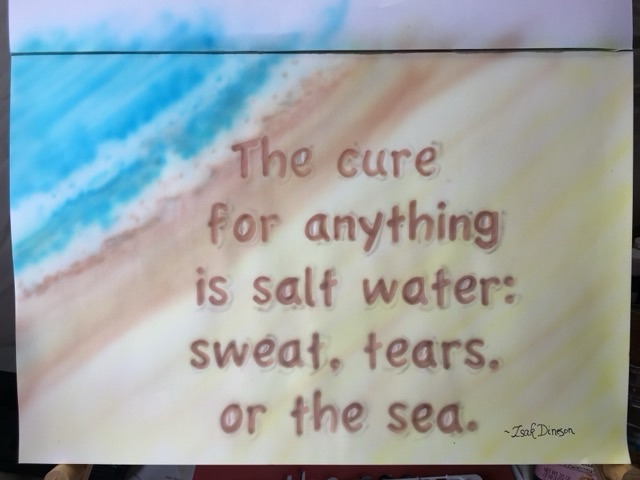
In February 2017 I was experimenting with my new air brush. I tried a design out on paper, then did it on a plank of wood.
Photo description: airbrushed painting on paper of a sandy beach with waves and the quote “The cure for anything is salt water: sweat, tears, or the sea.” -Isak Dineson
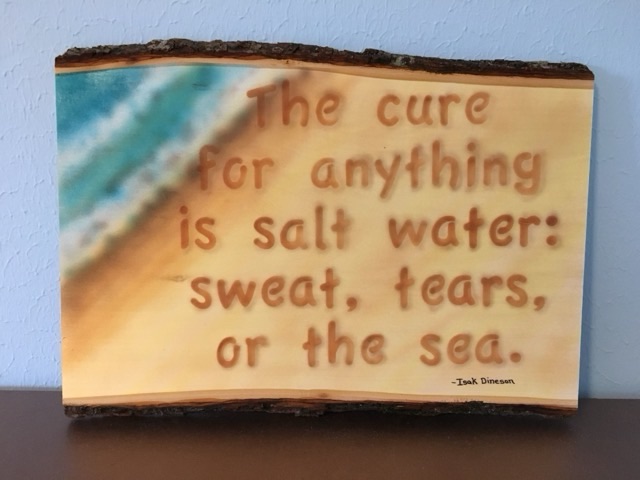
For the words I used a stencil, then airbrushed in shadows.
Photo description: same theme airbrush painting on a live edge plank of pine
This was a gift for a friend. I did enjoy the airbrush, but set up and clean up is an involved process, so I don’t use it often.
I played my mandolin for a little while, until my fingers started to hurt. The top strings are thin and feel sharp. To deal with it I need some calluses.
“Calluses develop from repeated friction, rubbing or irritation and pressure on your skin.” (Cleveland Clinic)
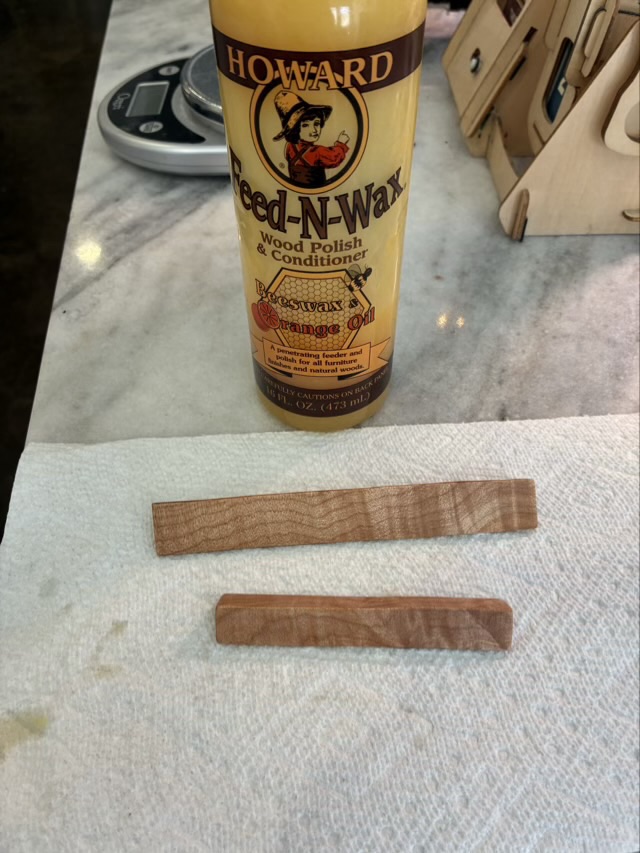
Traditionally string players develop calluses from playing their instruments; one recommendation is to play for 10 minutes multiple times per day, rather than one long session. I would love to this, but my schedule doesn’t always allow for that, and I am easily distracted. I started to look for other ways to apply sharp pressure to my finger tips. I tried several home grown things, a block of wood wrapped with old guitar strings, a hand strengthener wrapped with wire, but they did not fit easily in my pocket and so would not be readily available throughout the day. I ended up making a triangular stick.
Photo description: two lengths of flame maple cut with a profile of right triangles, sealed with Howard’s Feed-N-Wax
I squared up a small piece of flame maple to 3/4”, then cut it down the middle to make two triangular shaped sticks. I sanded them to 320 grit and sealed the wood with feed-n-wax. I made two lengths, one to sit by my chair, and the shorter one to go in my pocket.
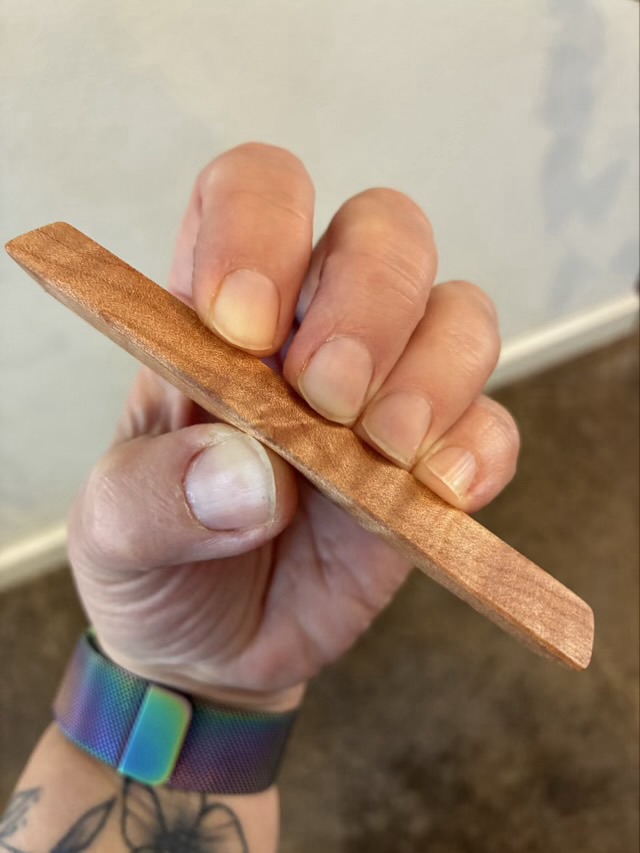
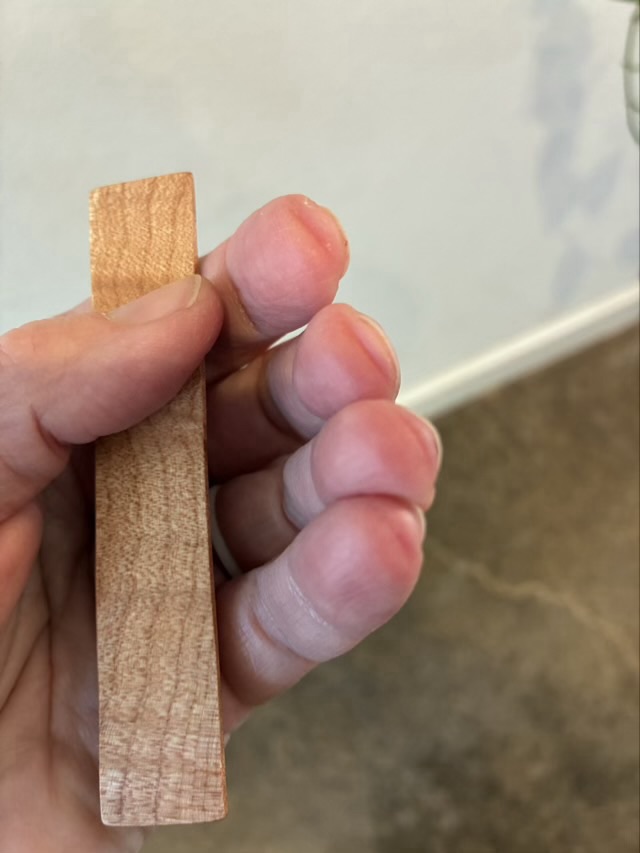
Photo description: gripping the triangular flame maple stick
To get the edge of the triangle to bite into my fingers, I place my thumb at the wide base and my fingers on the apex.
Photo description: grooves in my fingertips from gripping the wood, which are similar to how my fingers look after playing a string instrument
It takes a month to develop proper calluses, so I will update y’all later on the efficacy of this method. I can say that in the past few days I do pull out the stick (I need a better name) and use it several times a day. Even if calluses don’t develop, it makes a useful fidget.
I built a cat house bench back in August 2018, before I started this blog. The outside cats never really used it. I cleaned out the old straw and evicted the insect residents.
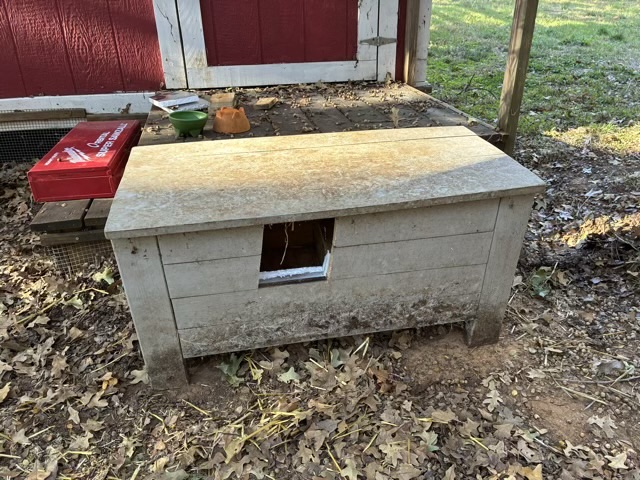
Photo description: 7-year-old storage bench that is really an insulated cat house, entrance on the right side
I decided to cut an exit hole, so there was an escape route. I didn’t want it to be a wind tunnel, so I cut it into the side of the insulated box.
Photo description: same bench but now closed and a new exit cut into the side
I used a saws all to cut and rather lost control as my cuts are diagonal rather than straight. Serendipitously the two cuts are parallel, so that’s a bonus, even if they are crooked.
I put lavender inside to deter bugs, and put down some fresh straw, since I’ve read that when fabric scraps get wet they don’t insulate where straw insulates even when damp.
Photo description: inside of the bench showing new straw and both escape hatches
While I was at it I also caulked in the gaps on the top that were letting in the damp during heavy rains. We’ll see if the modification made any difference to the local colony. Winter is coming, but it is Texas, so it will flirt with fall for a while longer.