Throwback Thursday: wire roots

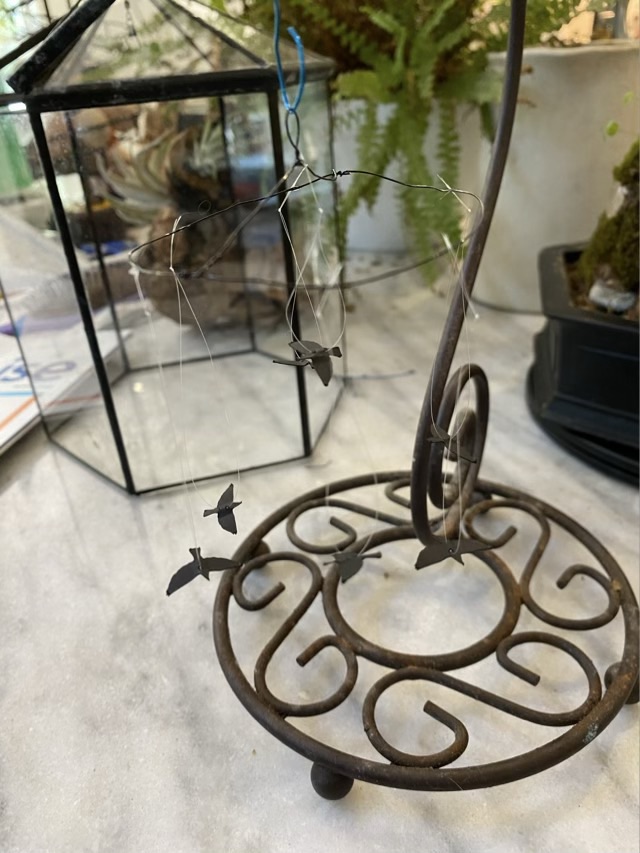
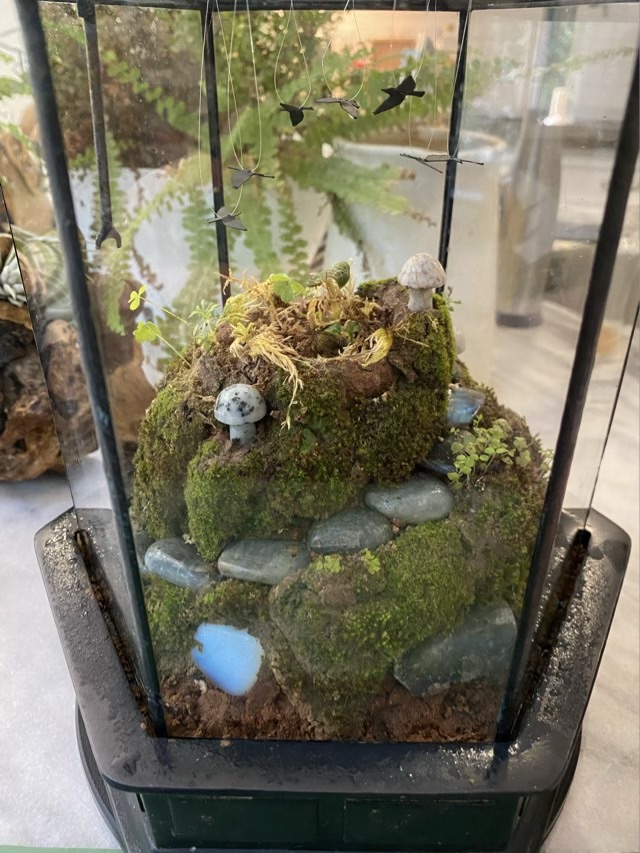
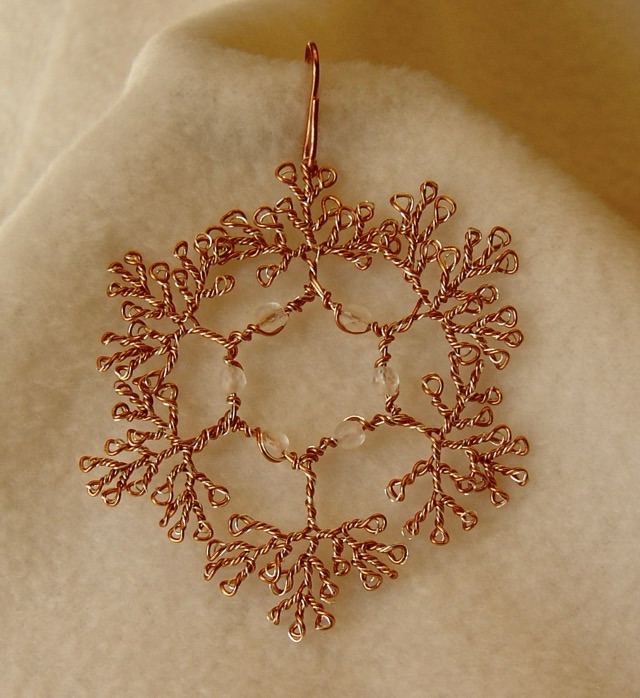
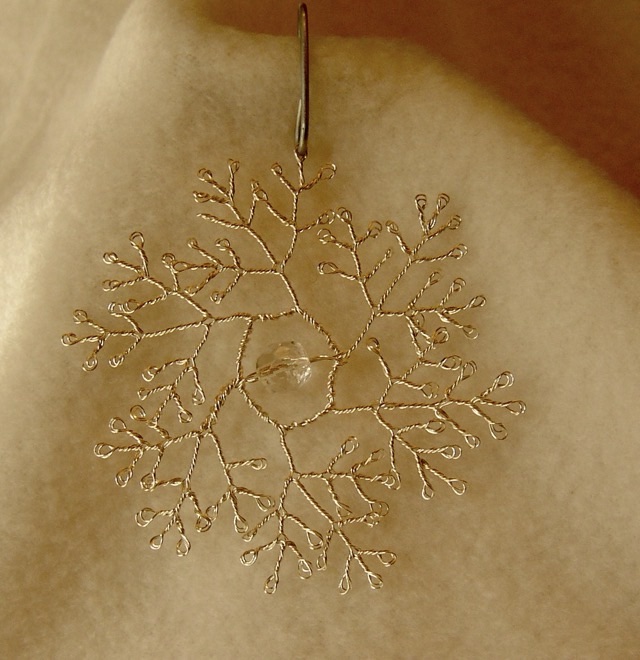
When my kids were young I turned to making more jewelry. The projects were usually quick (under a couple hours), easily stashed out of reach, and didn’t involve things like knives or torches. Wire is one of my favorite crafting media, and I still like this wire wrapped stone with braided wire necklace I made in July 2007. I feel the photography on this piece also shows skill improvement.

Photo description: triangular polished stone wrapped with twisted wire “roots”, combined at the top, then split and braided to form the sides of the necklace, finished with a magnetic clasp

Ironically, when my kids were babies, I stopped wearing necklaces and earrings so they wouldn’t be targets for little hands. Over that time I developed a neck sensitivity and can now only wear a very light necklace for an hour tops before it bugs me and has to come off. Heavier necklaces like this one don’t last 30 seconds.

Happy Fourth of July, may your neighbors celebrate quietly and early, and may your animals be calm.

P.S. My apologies for email subscribers on a partial post yesterday. I started writing tomorrow’s post, stuck my phone in my pocket, and the post published itself, incomplete. The full post should go out tomorrow, barring more technology hiccups.

Tension ring

My youngest is showing interest in crochet. One of the hardest parts of crochet (and knitting) is keeping an even tension. To assist, I made a tension ring. Yes, I did model it off of one I saw for sale, but I used 14 gauge aluminum wire from my stash to make it. Aluminum wire is very malleable, so a larger gauge (smaller number) is needed to hold the shape under use, but it is still easy to form toa finger in order to get good skin contact.

Photo description: aluminum ring made of 14 gauge wire with two spirals and two loops

The shape of this ring makes it easy to slide the yarn under either a loop or a spiral, or have multiple points of contact. The more contact, the more drag, the more tension. It was a game changer for my daughter, who went from only being successful with assistance to chaining on her own.

Photo description: my daughter’s hands making her own chain using the ring tensioner and bulky weight pink yarn

I then made the mistake of introducing the double crochet. Too many steps. When she shows interest again, we’ll try a slip stitch, which only has one more step than a chain (inserting the hook into the work). There are historically created items that are made with only a slip stitch, so she can still feel accomplished. Sometimes baby steps are what works, and breaking tasks down to parts, finding what parts can be delegated or assisted to order to be successful.

Mossarium: Adding birds

I love my little mossarium, and keep looking for tiny things to add: little plants from the yard, lichen, birds. Birds! I cut out flying bird silhouettes on my Cricut from black cardstock, and hung them from monofilament attached to a wire mobile.

Photo description: more card stock black bird cutouts than I needed in four sizes on a green Cricut mat

I used 22 gauge black coated copper wire to hang a fishing swivel on the inside of the terrarium.

Photo description: small fishing swivel connected to black wire with a closed loop

I made a circle of wire with a cross bar and loop, and hung it from a banana stand so I could balance it as I added the birds, which had monofilament strung through the body area. I only needed seven of the smallest birds I cut, the rest will be saved for other projects. I used super glue to tack the line onto the wire because I didn’t want the line to slide along the wire, and I didn’t want to add weight by making wire loops.

Photo description: tiny bird mobile hanging from a banana stand, terrarium lid in the background
Photo description: mobile in place in the terrarium lid, showing the wire circle hanging from the fishing swivel attached to the peak of the lid and the birds hanging down
Photo description: terrarium lid in place over the moss covered mini landscape

Here is a 5 second video of the birds “flying”. I put the terrarium on a small lazy susan, so when I turn it, the birds turn at a different rate, and will continue to spin briefly when the turntable stops. The swivel doesn’t spin as freely as I would like, but this is a happy start.

Throwback Thursday: wire snowflakes

In November of 2005 I made a wood and nail jig and produced several styles of wire snowflake ornaments.

Photo description: twisted dark blue wire snowflake with one branch replaced with a crystal bead
Photo description: twisted copper wire snowflake with crystal beads around the center and double the amount of wire
Photo description: twisted silver wire snowflake with a single crystal bead in the center

It is quite satisfying the number of permutations that can be achieved with a single jig just by skipping an element or doubling the wire or adding beads in different places. I did move away from the black velvet for photos, but was having trouble with white balance using the cream colored felt. Yes, I could break out Photoshop and adjust them to all match, but I think the varied backgrounds are appropriate for a Throwback Thursday.

I don’t have the jig anymore, but it was a simple affair with nails driven through 1/8” or 1/4” plywood. I didn’t make any more wire snowflakes after this round because it was a pain and a twisting nightmare.

Knitting row counter

Here is a different version of a row counter for knitting. I used flat round wood beads and copper wire to make a chain with larger loops to accommodate larger needles. I then used a wood burner to number each bead; it is actually easier to wood burn the assembled chain rather than individual beads. To mark the tens, I used a copper lobster claw clasp with a copper clay leaf (that I made many, many years ago and has been waiting for a project). I find the lobster claw easier to deal with than a melody clip.

Photo description: handmade row counter in the center with handmade copper leaves on the right, then going counter clockwise: purchased copper lobster clasps, bead reamer, pliers, a pile of row counters waiting for their dangle, and a spool of 22 gauge copper wire.