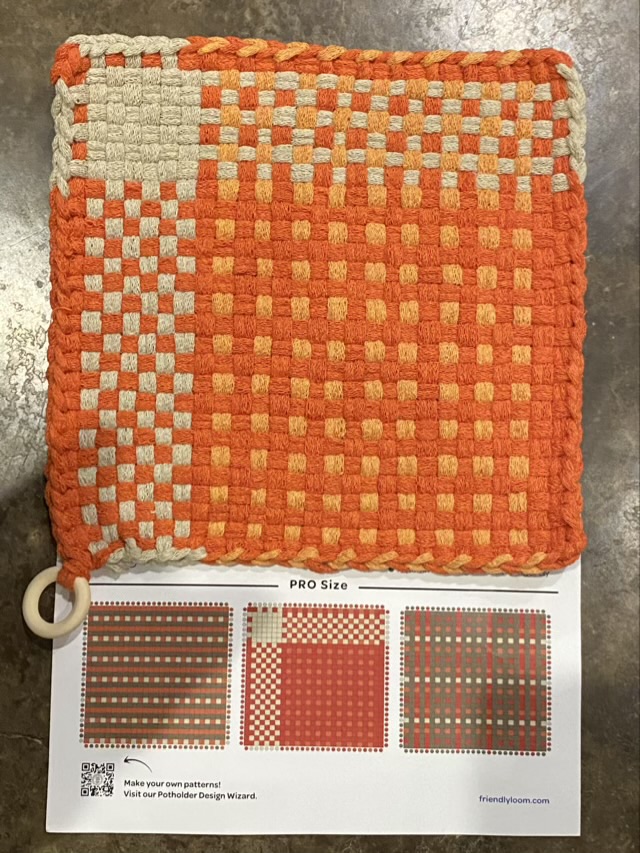
Friendly loom has my number, or rather, my email address, and had a sale and a color collection called “Pumpkin Spice.” I couldn’t resist, especially when I found out they had an online design app. Ooo.
I made one of the designs they suggested on a card they sent, and the card also has a link to the Potholder Design Wizard. Like I said, they have my number.
Photo description: Pro sized potholder made from flax, orange, and tiger lily colored cotton loops with wood ring sitting with the Friendly Loom design card with QR code
I ordered the wood rings too, since they are such a nice way to tie off the last loop, and I didn’t know about them before either. Ooo.
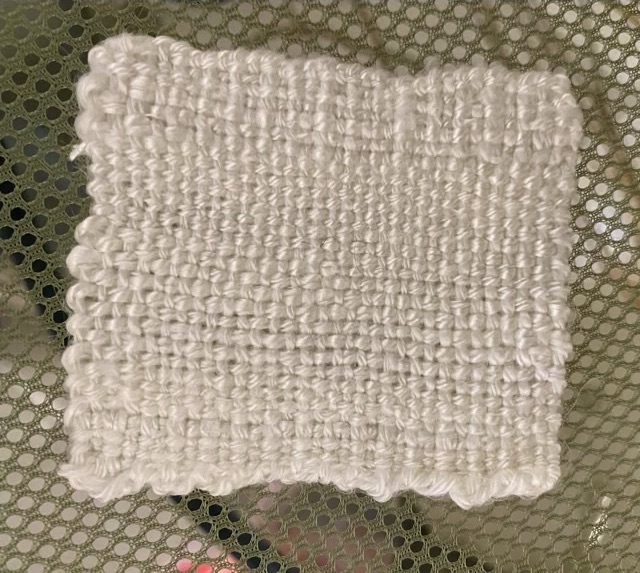
I was only able to get three swatches from my Tencel sample, knitted, crocheted, and woven. I wove this swatch on a Clover mini loom, with the warp doubled. To finish it I ran the warp back up through the weft passes. I like the edge the method makes, but I don’t like how wonky this piece came out.
Photo description: plain weave swatch made on a Clover mini loom with three ply hand spun Tencel yarnPhoto description: same woven swatch after blocking, but still wonky
I’m going to blame the spin on this one.
P.S. Sorry if you received this post twice by email. I usually schedule my posts about three days out, and I hit the wrong button, tried to retract it, and put it on the proper schedule. I wasn’t fast enough and the email went out. It bothered me to have this series of posts out of order, so I fixed it for the blog, but those emails may have a duplicate or not resend. Ah, technology.
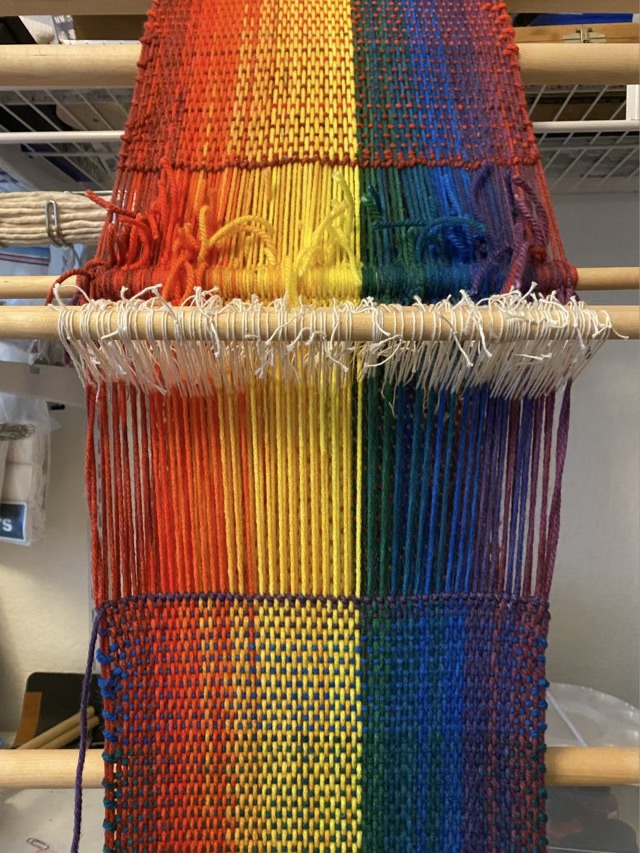
The warp I prepared for a local kid’s event has been on my tapestry loom for awhile. I did get to use it as a demonstration, and was hoping to use it again, but it didn’t happen this summer, and I want to use the loom for something else, so I finished it.
Photo description: weaving finished on a tabletop tapestry loom showing the string heddles and twined first and last row
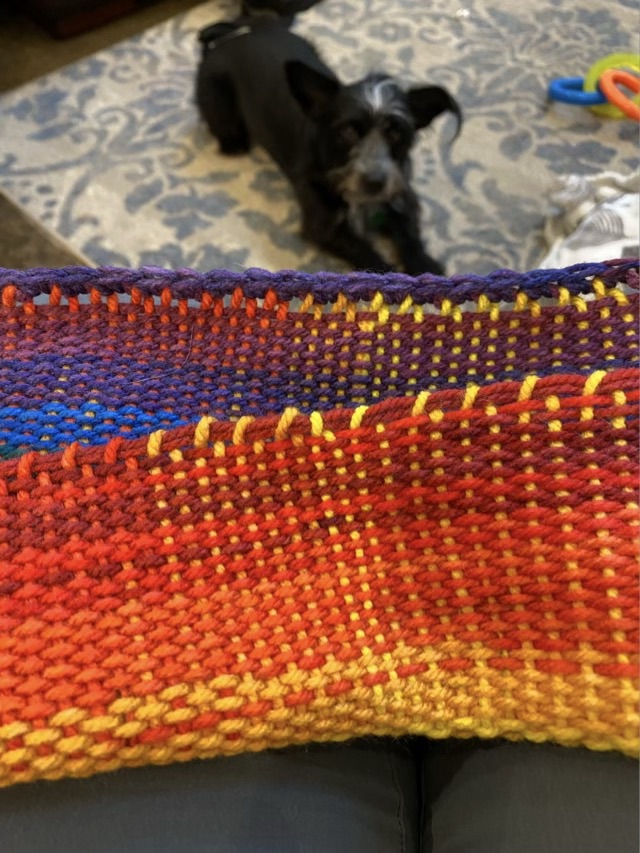
The edges were wonky, so I decided to run a row of coordinating crochet stitches along the outer double warp. It helped hide the contrasting weft and gave it a nicer finish.
Photo description: top edge finished with a row of single crochet stitches, bottom edge unfinished. Missy the dog in the background.Photo description: finished scarf with knotted fringe and crocheted edgesPhoto description: entire scarf laid out on the floor showing the strong warp color and a much more subtle weft color shift
I think it is interesting that even though the warp and the weft are visible in the weave, the warp color shift is much more prominent, I was hoping for an even split.
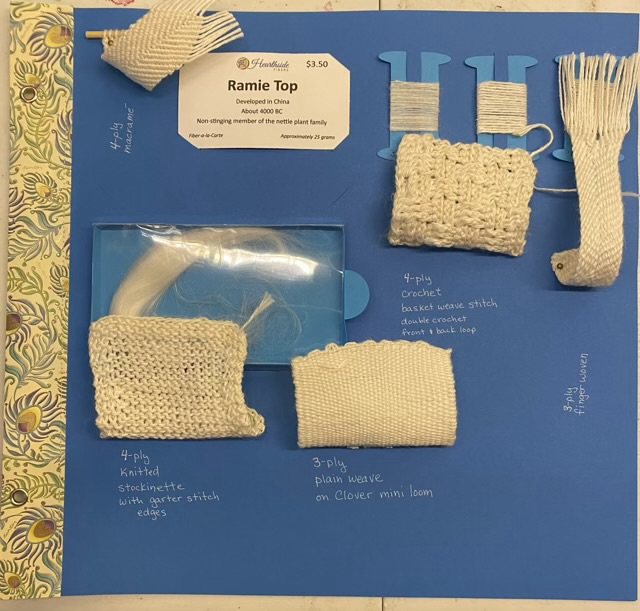
I completed the fiber page for my spindle spun Ramie top fiber from Hearthside fibers. Ramie was pleasant to spin and has a cottony feel but with a long staple length. I experimented with three and four ply yarns.
Photo description: 12 x 13.5 inch fiber page with (clockwise) a sample of macrame on a bamboo stick, the card from Hearthside Fibers that says “Ramie Top Developed in China about 4,000 BC Non-stinging member of the nettle family”, paper bobbins containing single spun, 3-ply, and 4-ply yarn, finger woven sample, crocheted basket weave swatch, plain weave swatch, knitted swatch, unspun fiber in a clear topped drawerPhoto description: sample fiber page with the swatches flipped up to show the descriptions written in white ink on the blue card stock
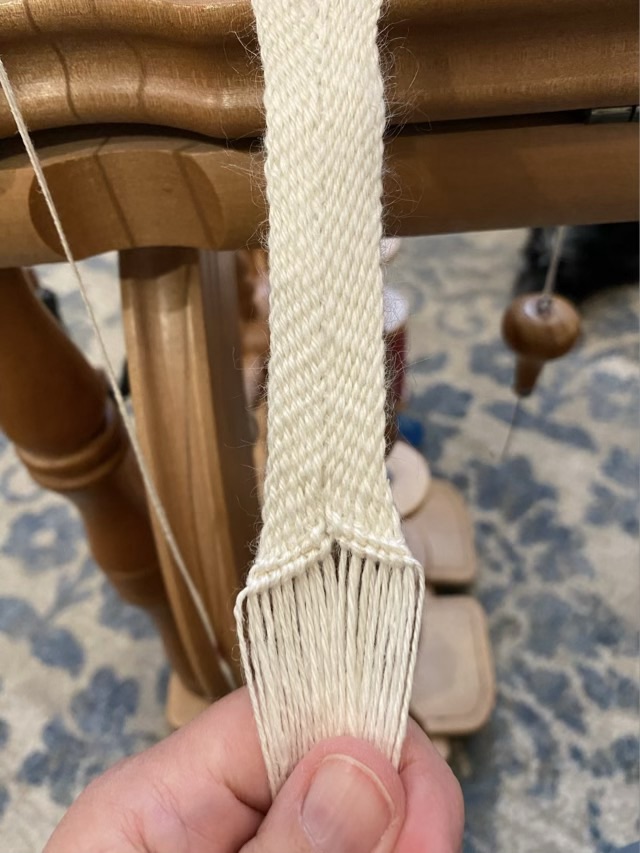
I’ve wanted to try finger weaving since I heard about it on a Sprang group (it was misidentified as Sprang). In Sprang, there are no weft threads, the vertical warp threads are overlapped consecutively. In finger weaving the warp threads become the weft threads, similar to braiding, but with more threads. I watched video after video before I found this video showing the weaving going out from the center, which made sense to me, and seemed balanced.
Photo description: start of a finger woven band made from hand spun Ramie four ply yarn, anchored on a bamboo skewer resting on a spinning wheelPhoto description: weaving continues, the characteristic chevron pattern emergingPhoto description: the end of the weaving secured with two rows of macrame knots
I wasn’t sure how to end the weaving, I’ve seen some bands just knotted at the end, but I want to put it in my fiber book, so the finish needed to be relatively flat. I opted to run two rows of double half hitch knots along the angles of the weave, which I think came out complimentary.
Photo description: back of the weave, showing the back of the knots and the sewn hem at the top
This was an interesting exercise, and finger weaving is a nice addition to my craft repertoire. It is nice that it can be done by anchoring one end, rather than needing a loom, and it comes out thinner and more flexible than macrame. It is more interesting with multiple colors.