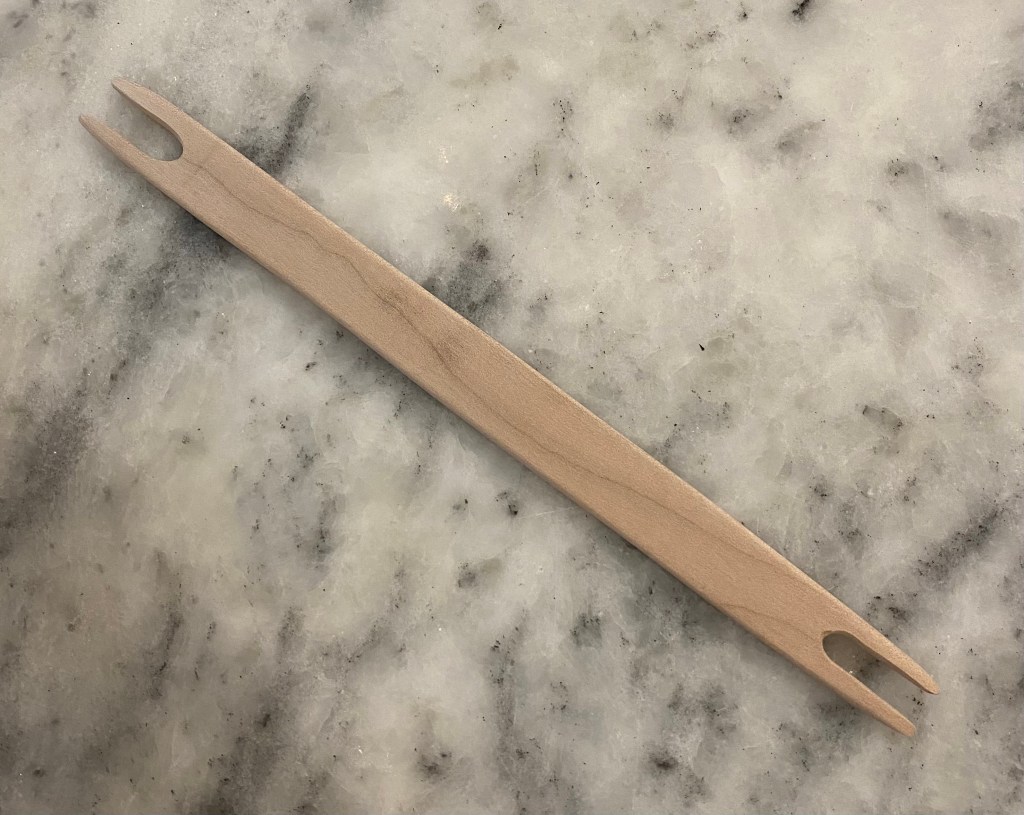
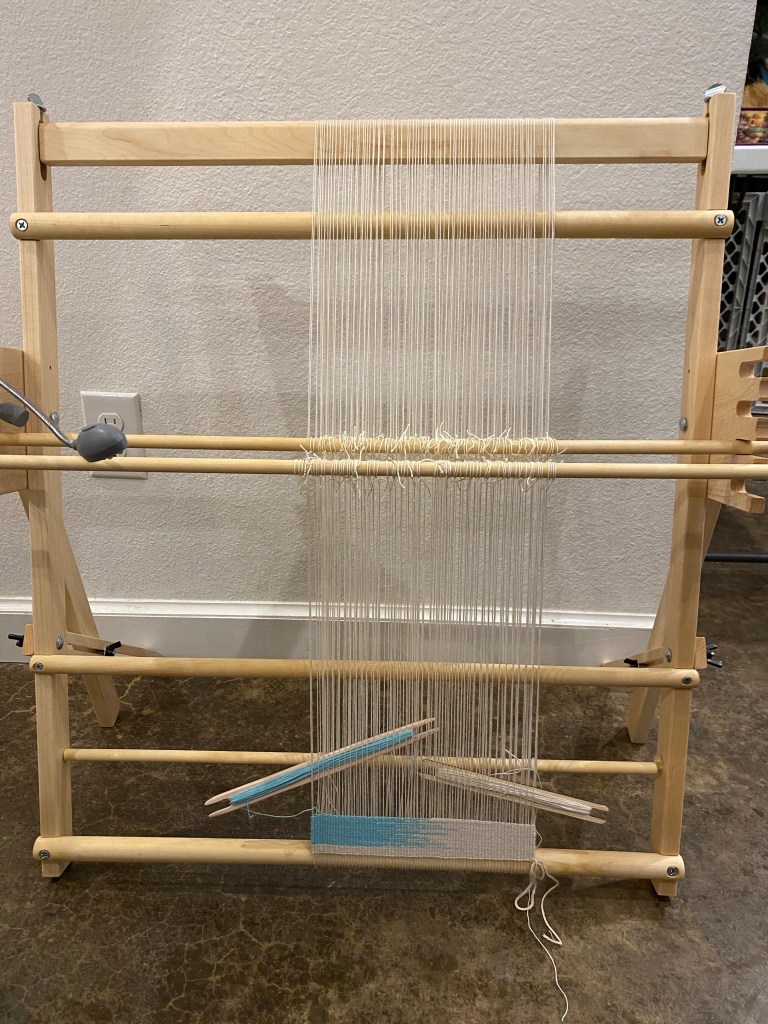
I’m not sure whether I continue to weave because I actually like it, or whether I just like the chance to make little wooden doo dads to weave with. I warped my new loom (and totally forgot to get a picture before I started weaving, oops), and decided I needed another long shuttle. I found some flame maple in my wood scraps and used the band saw to slice and shape a new shuttle. I did sand it down to 400 grit before I wrapped it with yarn, but I didn’t want to spend the time to finish it with tung oil. I’ll get to that later, or, I’ll use it so much it gets a natural finish.
Shuttle made of flame mapleTapestry loom warped and weaving started
I don’t weave with the loom on the floor, but my kitchen counter is seldom photo worthy!
Here is my exciting thing for the beginning of 2021: a new loom! It is a Schacht tapestry loom, which has heddle bars and a way to control warp tension. I felt that it would be the most flexible and easily stored commercial purchase. I wanted more room to weave than my frame loom provided, but didn’t want something that had a large footprint. It is rather larger than I anticipated, though! It doesn’t quite fit on my chair, so I’m glad I also purchased the A frame stand for it.
Schacht tapestry loom compared with a notched frame loom
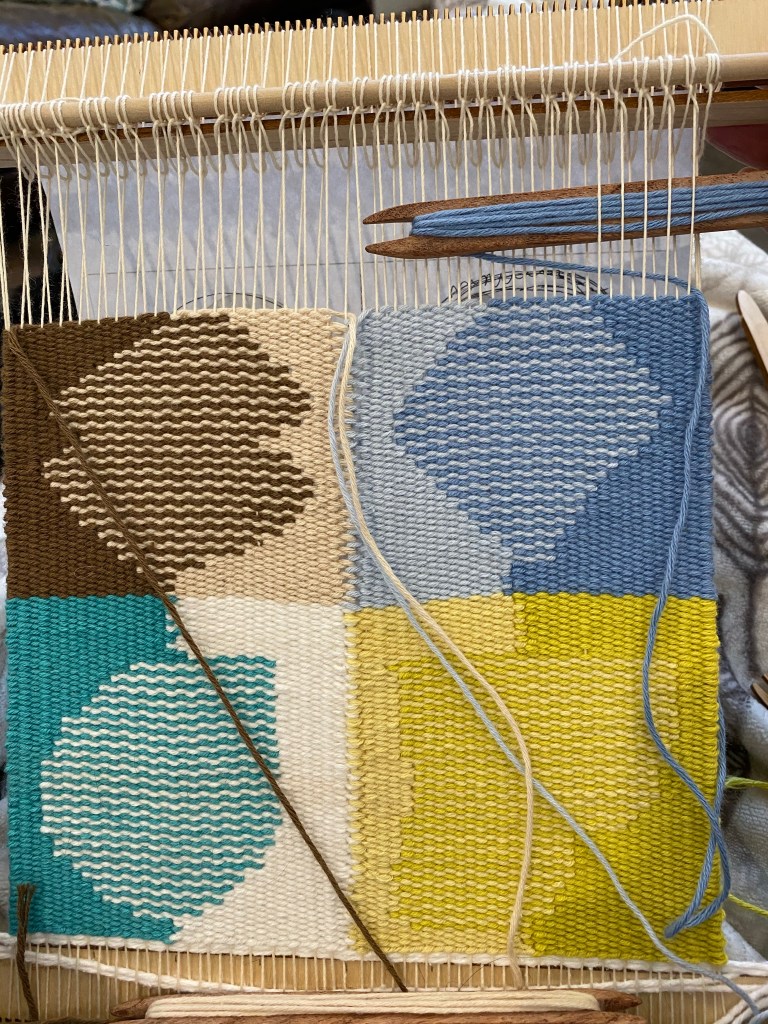
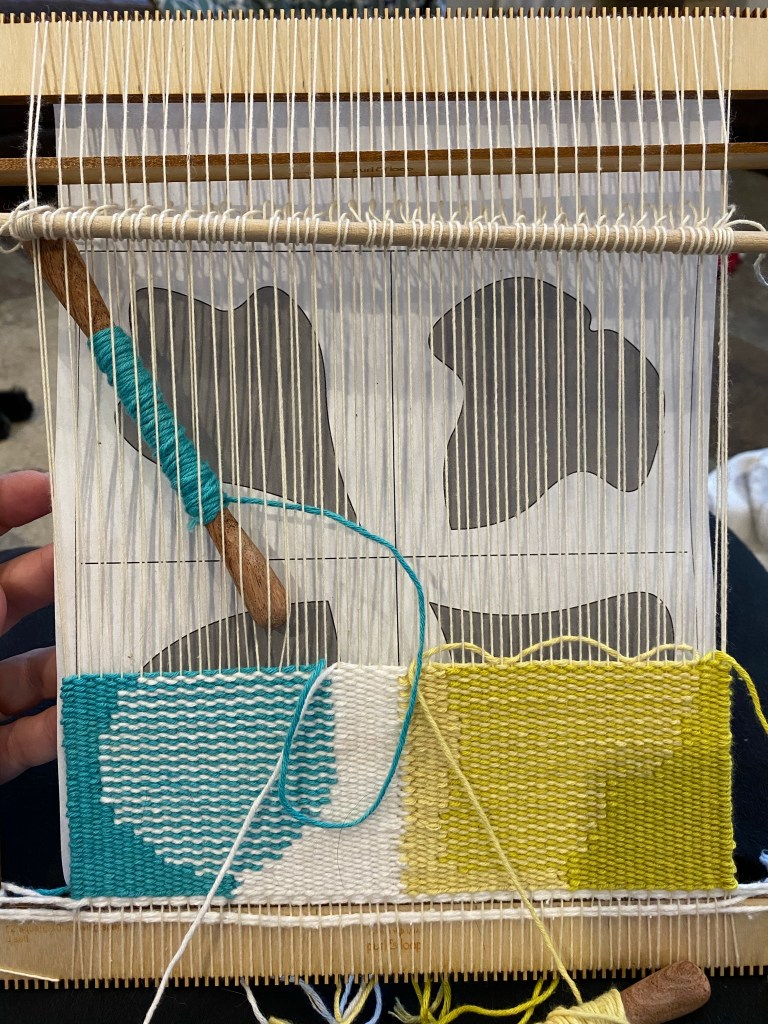
I had a hard time finishing this weaving. I had the idea of forming shapes using only hatching, but my design was not a good and one. I wanted four basic leaf shapes, but half way through I realized that two of the shapes wouldn’t work the way I laid it out on the paper and I had to wing it. I also don’t like vertical lines, those were a missed opportunity for more hatched shapes. And I really don’t like that the yellow and green I picked for one area are too visually similar, so the shape is all but lost. But. Now it is done, can be used as a washcloth until it dies, and I can move on to other things!
Woven cotton with four shapes. Woven on a frame loom with cotton warp and weft, finished salvages by pulling warp through. I did switch to my little shuttles for the top part of the weaving, because my bobbins wouldn’t fit. I like the little shuttles.
My only motivation for finishing this is to move on to a new thing. Yay I get to put together something new! Blog post to follow. 😉
I’m trying out the tapestry weaving bobbins that I made the other day with my current weaving practice.
There is a bit of a learning curve with the bobbins. They work better when they are passed through the shed vertically, rather than horizontally as you would do with a shuttle, because then the yarn wrapped around doesn’t catch on the warp threads. Using a half hitch to secure the yarn on the bobbin works well, and it is much easier to pass the bobbin through a large area of the shed, compared to a yarn butterfly. I can also get down to just a few wraps on the bobbin, which means I have to deal with far less tail tucking. These bobbins are a bit big for my little frame loom, but they feel nice in my hand, so I’ll leave them as they are. They also make a pleasing clink noise when they tap together, which is not a weaving pro or con, but does make me happy, like listening to nice wooden wind chimes.
I have been weaving with my yarn tied into butterflies (not onto butterflies, which would be cruel and flappy, but the practice of looping yarn over two fingers and tying in the middle resembles a butterfly). They are easy to tie and require no additional equipment. For the most part the yarn management is easy, until near the end when you either have to retie the butterfly or deal with a long end. After looking through my book and magazine, I decided to make some tapestry weaving bobbins.
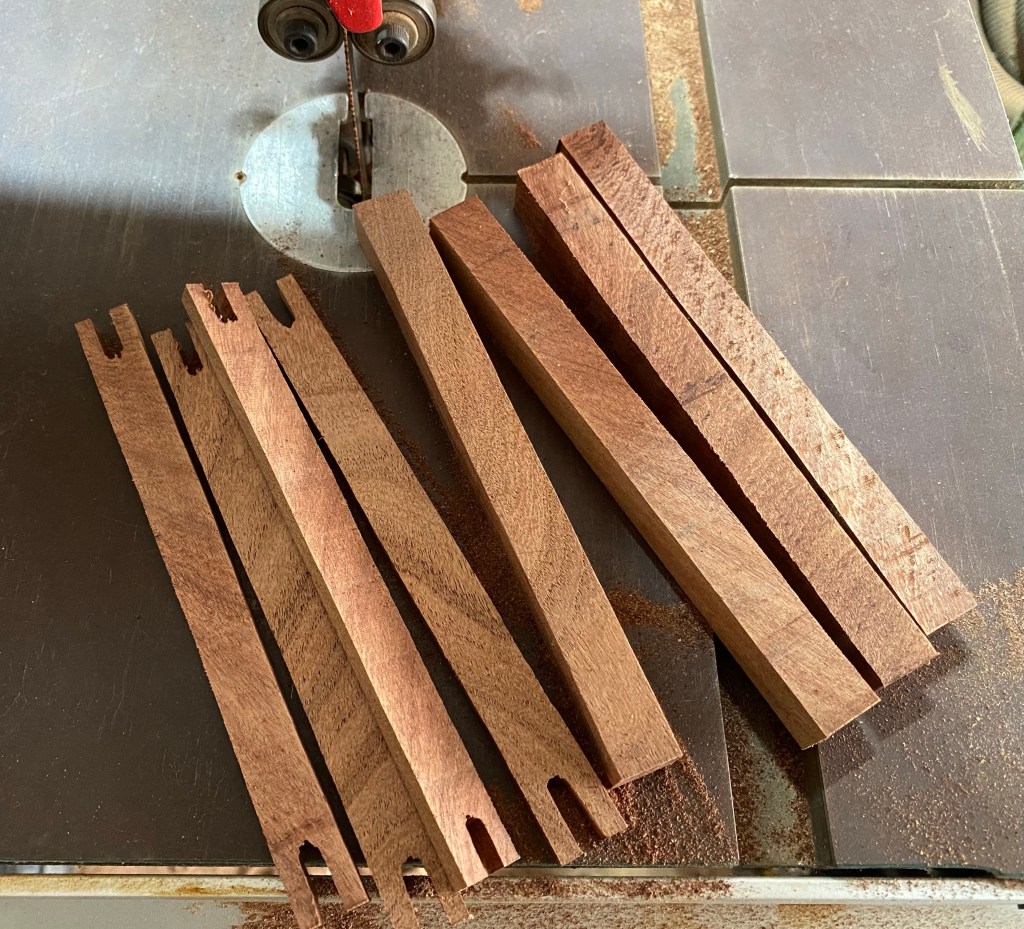
I chose mesquite because I had some scrap laying on my bench. I used the band saw to cut square dowels about 6 inches long and about 1/2 inch in diameter. The scrap from this looked useful, so I also made some small yarn shuttles.
Mesquite cut into blanks on a band saw
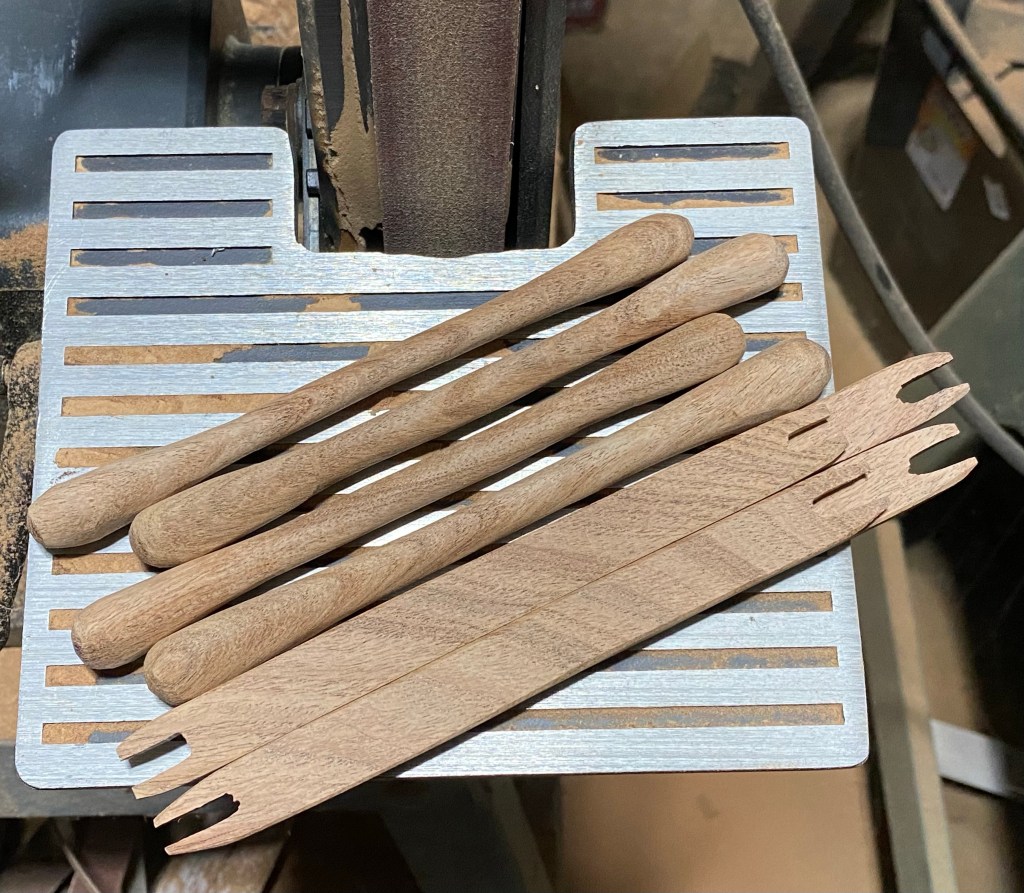
Then I moved on to my band sander to shape the bobbins, and smooth the shuttles.
Bobbins and shuttles shaped with a band sander
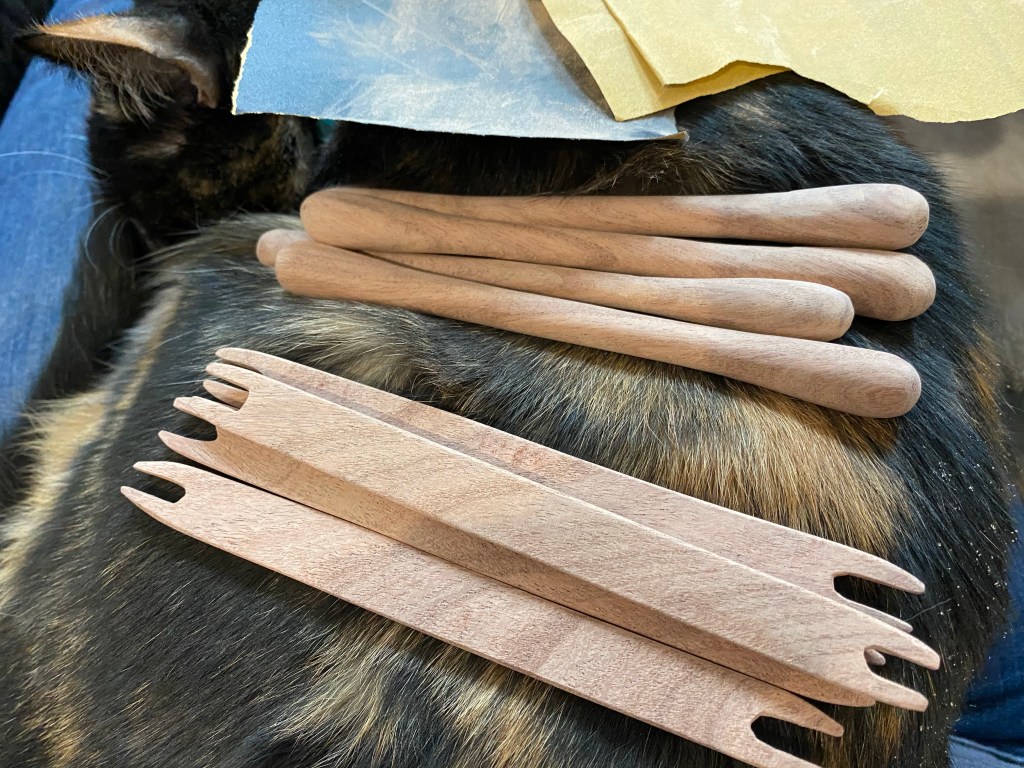
After roughing in the shape, I hand sanded all the pieces down to 400 grit. I have not finished them yet, as I am not sure they are at their final size (and I really wanted to start using them, and not wait for tung oil to dry!)
Hand sanded bobbins and shuttles and a cat who insisted in lap time even though I was sanding
I am pleased with the shape and feel of my bobbins. They could have been more regular if I turned them on a lathe, but I still haven’t secured my lathe in the rearranged garage, so this will do. Hand shaping has given them an organic feel, which is nice as well.
Interesting to note, I will have to be more careful when working with mesquite in the future. Like wearing a mask when I’m sanding, even if I only think it will take a few minutes (wear your dust mask kids!) After sanding I felt light headed, and the next day I had a headache. This is not my first wood sensitivity; I’m outright allergic to walnut and can’t work the wood at all. I did find a nifty chart with wood allergies and toxicity here (https://www.wood-database.com/wood-articles/wood-allergies-and-toxicity/), which lists Mesquite as sensitizing. So there you go.