Tablet weaving

I caved. I’ve been seeing bands made by tablet weaving for years, but didn’t see why I should expend the effort. It makes a strip of fabric, a small thing, what’s the point? Curiosity got the better of me, and I found instructions here to get started without buying anything. I made my “tablet” or cards from old UNO cards (we have SO many different decks), which conveniently are already numbered.
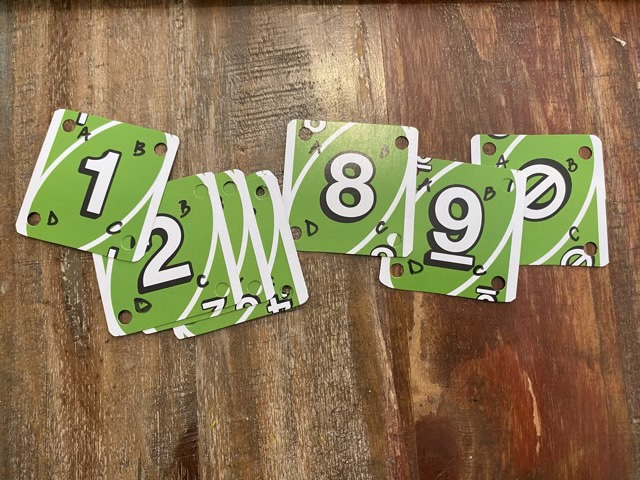
Tablet weaving cards made from an UNO deck

I used thin yarn leftover from several projects and two chairs spaced a distance apart to make the warp threads, knotted the end, then threaded them through the cards according to the directions.
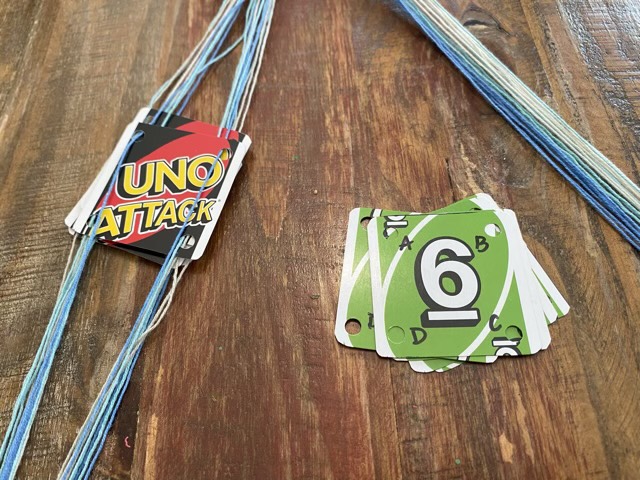
Half of the tablet cards threaded with warp yarn

I used the back-strap method of applying tension to the warp threads, which means I attached one end to my belt, and the other to a stationary object. I experimented with: my toe, a door knob, and my steering wheel (when parked). When not weaving I used a cable needle (like a giant safety pin) through one hole to hold the cards together.
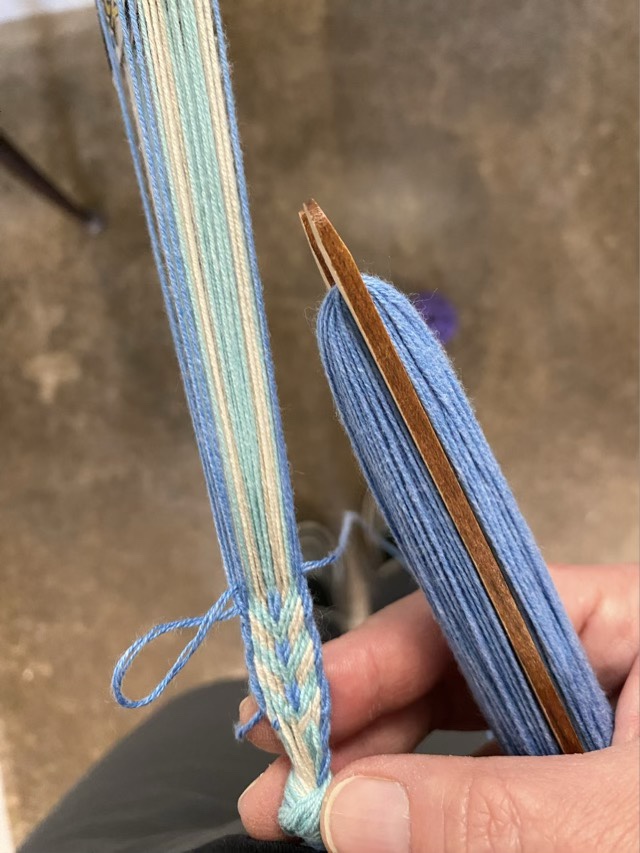
Starting weaving

To change the shed (which threads are on top or bottom), you rotate the cards forward or backward. This is absolutely brilliant, and a kind of weaving I can totally get behind. The possibilities for patterns are immense, the weaving goes quickly, and is done in less time than on a wide piece or a picked pattern. I definitely had learning woes, I thought I was weaving too tight, but I was actually too loose, but it was a worthwhile experiment.
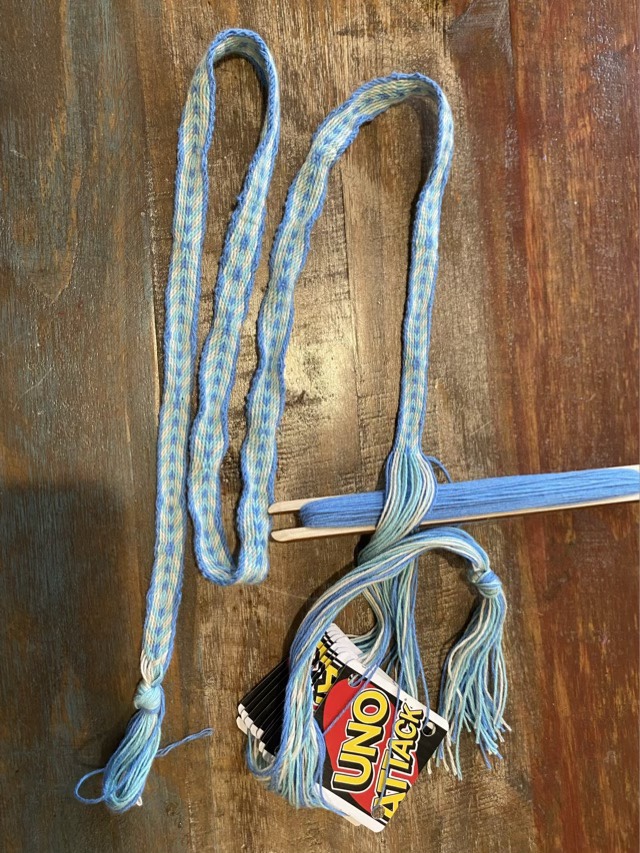
Done weaving.

The ripples in my band are because I wasn’t tight enough with my weave. I knotted the ends and cut off the extra warp, then ironed the band. It isn’t perfect, but I want to do more. (I do need a better way of keeping track which way I turn the cards. Squirrel.)
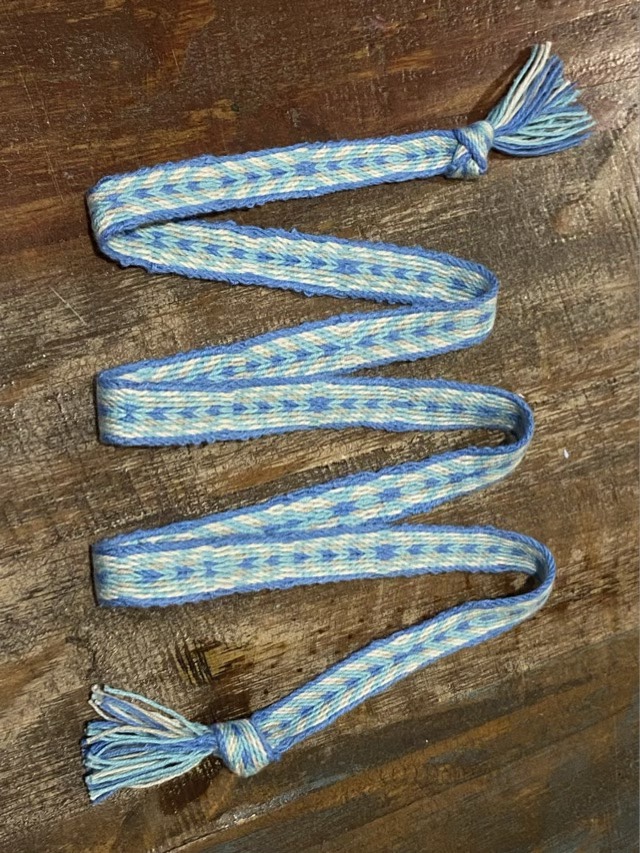
Ironed band showing both sides

I have also added an inkle loom to my wish list, which would enable me to keep tension on the work at all times and not have to go looking for a stationary object.
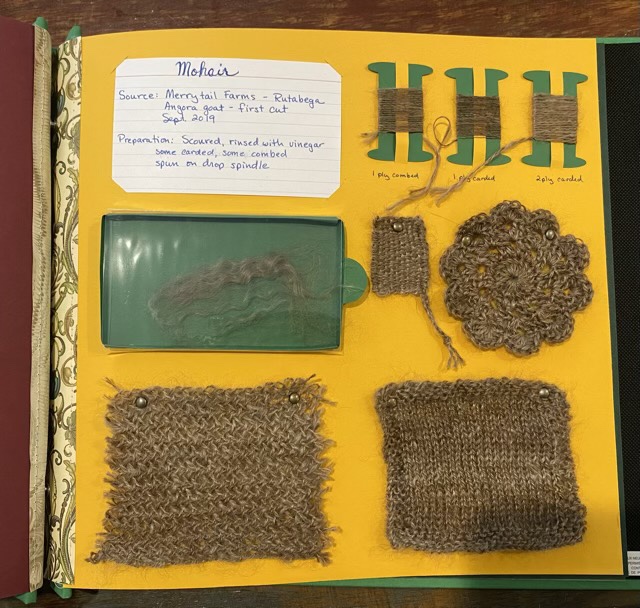
Mohair fiber page

I finished my spun mohair fiber page. This mohair is from Rutabaga the Angora goat and is from her first shearing.

Mohair fiber page

I did a knitting swatch in stockinette stitch with a garter stitch border, crochet round, a minute weaver, and a nålbound swatch.

Information on each swatch written beneath the fabric

I’m calling it done.

The tapestry loom experiment provided valuable data: mostly that I don’t like to sit still and weave. After taking up space on my kitchen counter for many, many months, I finally decided to take it off the loom. It is a shame that I couldn’t bear making it into a scarf size; the fabric drapes beautifully and has a nice feel, but I truly could not face the project any longer. The killer was the loose stripes. My concept for the weaving was “identity crisis” and to show that I had two striped color schemes warring across the field of fabric. I intended to have several “loose” stripes instead of just two, but those two slowed my production to a near standstill. Once I decided to move on, the remaining stripes went fairly quickly. I removed it from the loom and let it rest for a couple weeks. Then I finished the edges by braiding the warp threads, weaving in the loose weft threads, and machine sewing a hem on the top and bottom.

“Identity Crisis” weaving cotton and acrylic

I do like the “war” between the color schemes, and I may cut down the very large (to me) tapestry frame to a lap size, but for now there are many, many portable projects to pursue.

Lake weaving

Spent another couple hours out at the lake. I spotted a different variety of grass by the edge and selected a few long strands near the mowed part to see how they behaved when woven. My weaving skills are still very rudimentary, however I’m learning so much about construction in experimentation. The basket started off as I’ve seen in pictures for twined baskets, but then when I started up the sides my spacing narrowed into more of a rough vase than a basket. (I will say that it was laid down many times for the baiting of the youngest’s hook.) I made fair progress and decided to continue the study at home.

Experimental weaving with lake grass

Since the weaving wanted to narrow, I went with it, changing the uprights to weavers, thus narrowing the number of uprights. When I was down to five uprights, I braided them to end the sculpture. (We are going to call it a sculpture since I tucked all the ends inside and it is non-functional as a vessel.) I also don’t speak basket, so my terminology leans to descriptive. (Even when I know the proper terms, though, they don’t always surface appropriately, so there we go.)

Woven lake grass sculpture study

Nålbinding Plarn

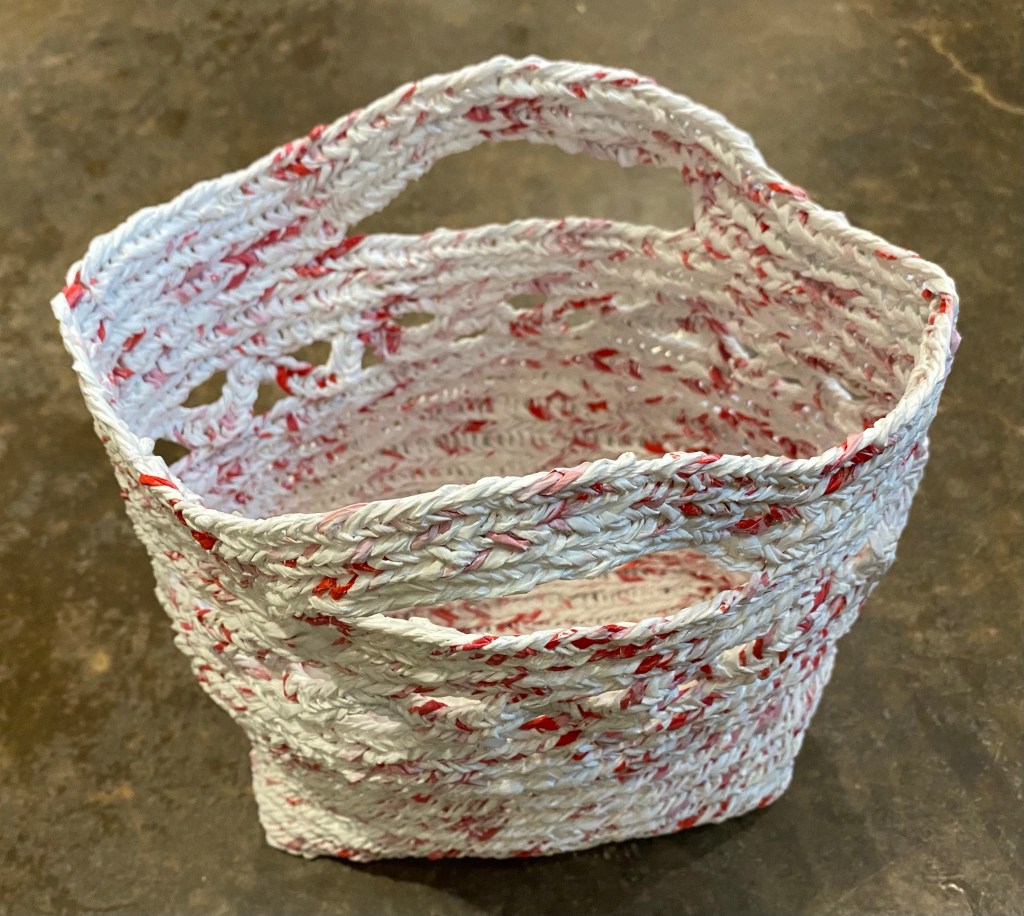
I finished the plarn bag! Or maybe it is a basket. It can stand on its own, but is still flexible. Hm.

Nålbound bag made from plastic grocery bags

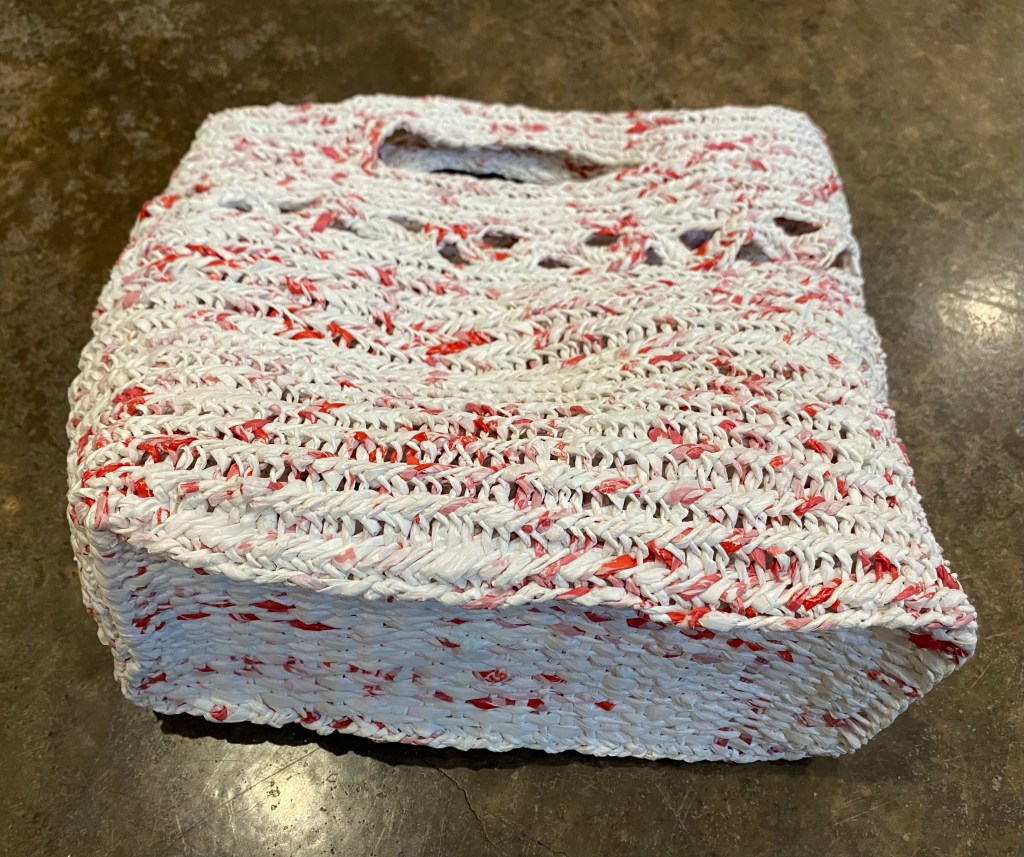
I changed connection stitches mid-bag (we’ll just call it a bag, yes?) because I was aiming for the tight braided look I’ve seen produced with the Finnish 2+2 stitch. I figured out my tension at the 2/3rd mark, and the stitches finally achieved the look I wanted, so I decided to also try some decorative work (since it is an experimental object anyway).

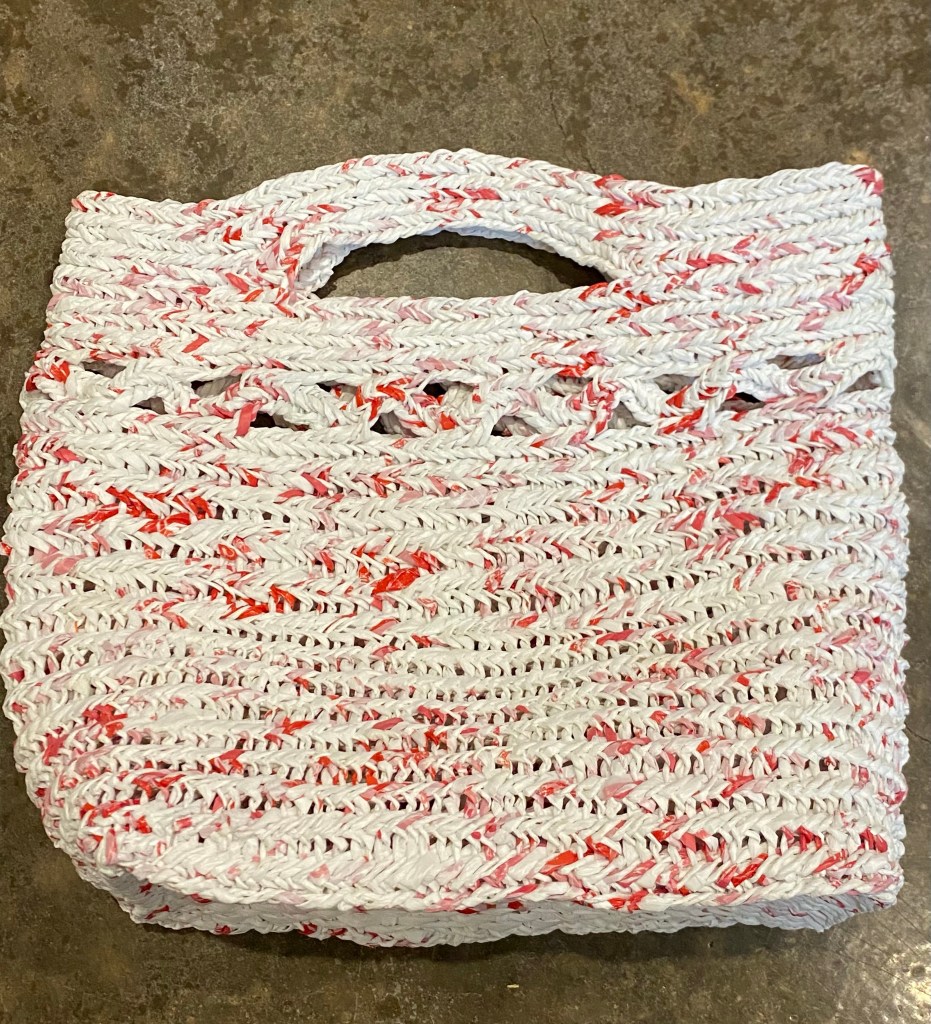
Woven bottom of the nålbound bag

It turned out quite functional and sturdy. The handles with the three rounds are comfortable, and I made it to be large enough to hold my longest spindle. I can tell where I changed connections (from M1 F1 to F2, note to self), and where I achieved even tension, but I’m going to claim them as design choices.

Nålbound bag made of plarn

Whether the finished project is considered a bag or a basket, it is done!

P.S. This took me three weeks to complete, working in bits and pieces. The magic of the blogosphere made it seem like a few days, but it wasn’t!

P.P.S. This bag used the plastic from approximately 43 grocery bags. (And it drives me crazy when I hit “publish” instead of “save as draft” on a post.)