Adventures with a mini loom

I recently used points to get a Clover mini loom. I have been using scraps of cardboard to weave samples of my spun fibers to go in my fiber journal, so this was an upgrade!

First finished linen swatch, forgot to take progress photos, warped for fringe on the bottom only, came out a weft-faced weave

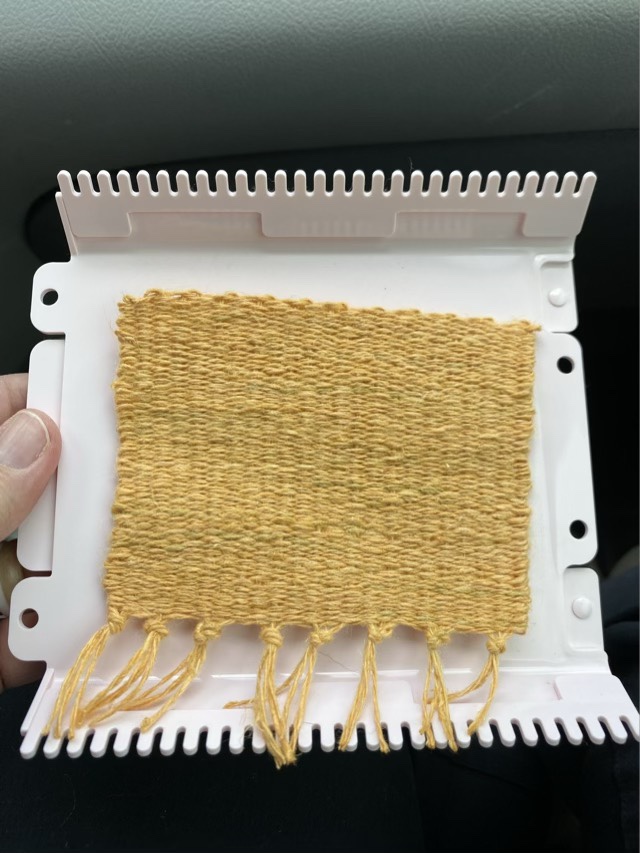
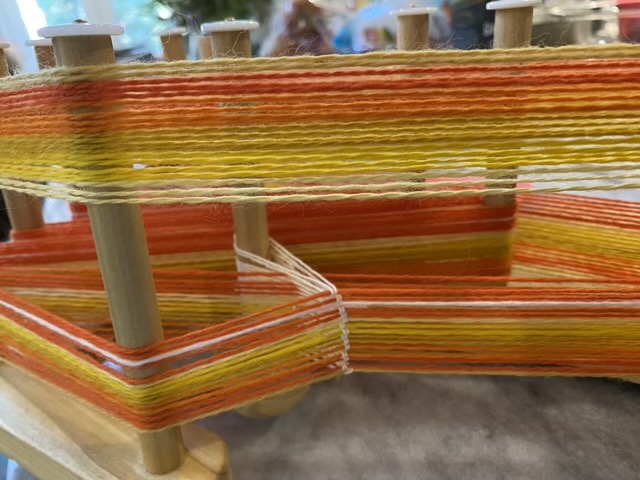
I started by following directions, amazingly, but the spacing of the tines were very wide and gave me a weft-faced weave, where the warp threads are completely covered by the weft yarn. This is the technique used for tapestry weaving, but not what I was looking for.

Linen warp doubled up and wrapped completely around the loom, starting with a twined row to space the threads

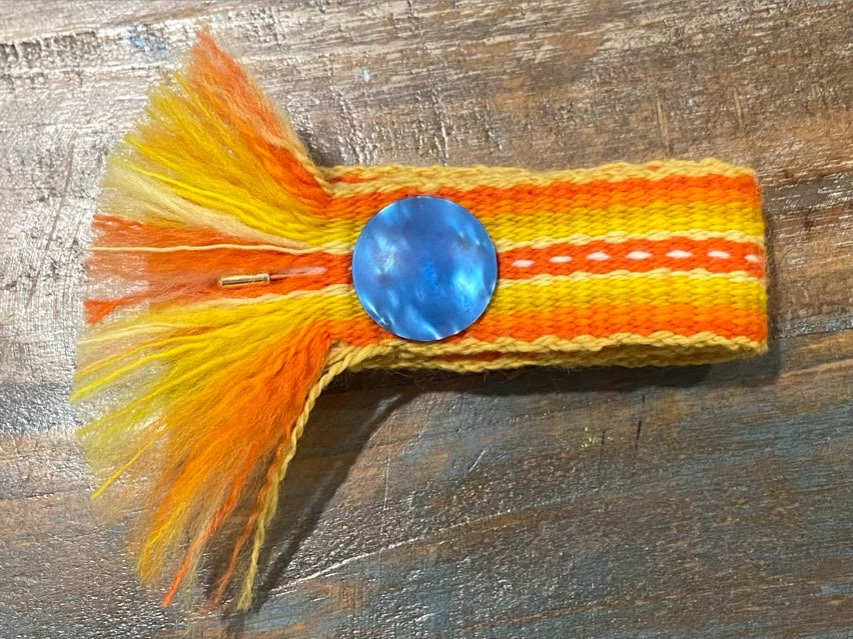
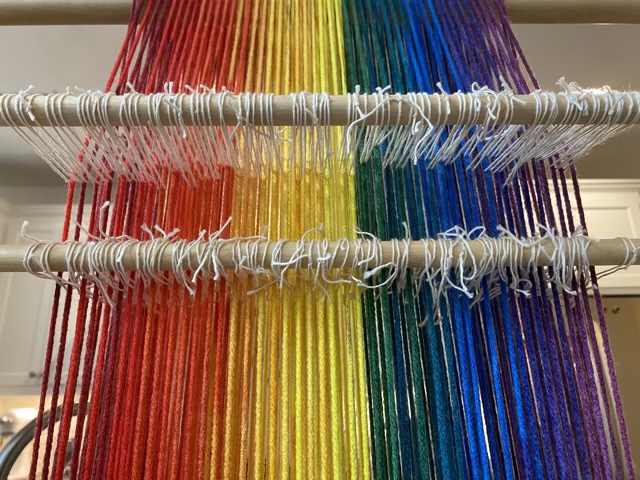
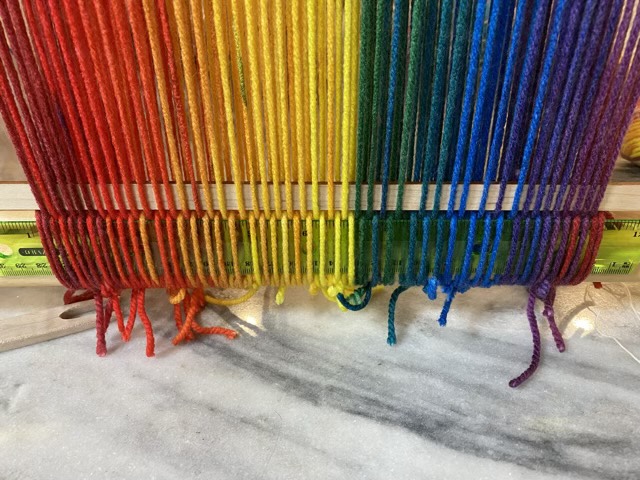
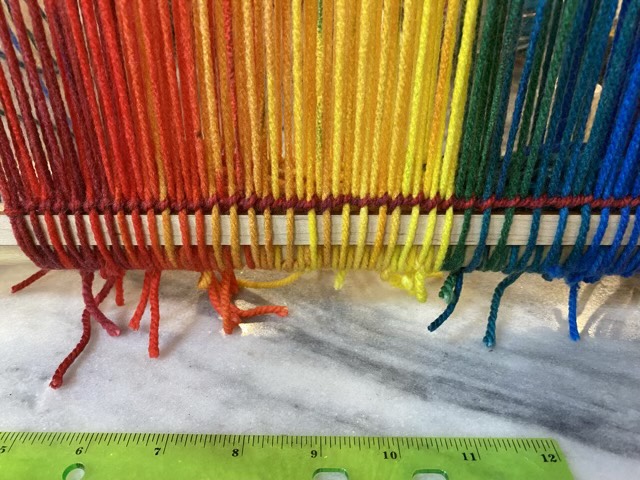
The next attempt I doubled the yarn in each slot by wrapping the warp yarn completely around the loom. This gave me fringe on top and bottom when it was finished, but the weave came out with both the warp and weft showing.

Linen woven swatch with knotted fringe

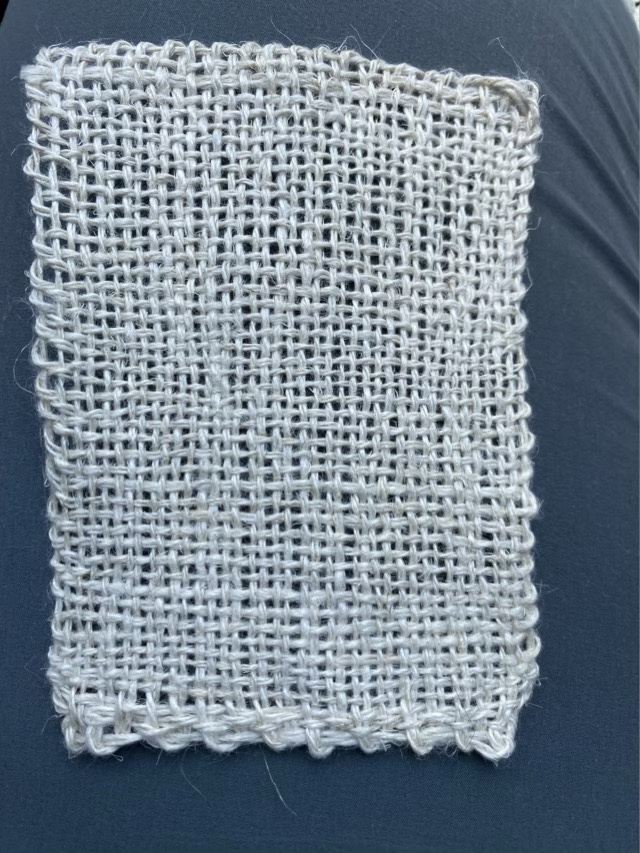
I moved on to my hemp yarn, and of course I forgot to take progress photos, but I doubled up the warp thread by making loops around the tines, resulting in a fringeless swatch. I found I didn’t need the twined first row to space the threads. It came out a bit wonky, but I am seeing process improvement.

Four-selvage hemp yarn woven swatch

Woven hat band

For my Dad, I took an end section of my Inkle woven band (post from yesterday) and made it into an adjustable hat band.

Woven hat band

I sewed where I wanted to put the end before cutting it, then sewed it over again to catch all the ends inside the seam. For the pin, I used a shanked button from my button stash. I believe this one is vintage, but sometimes my buttons get mixed. To make a button into a pin, I use a spiral wire with the end sharpened.

Back of button and handmade pin converter
Button installed on pin converter

I brushed out the fringe on the woven band and shaped it to mimic a feather. The weaving is doubled back so won’t unravel, and I think the spray of yarn adds a bit of flare to the band (although it will probably have to be combed out straight occasionally). To set the band size, the pin holds the ends of the band together.

Fringe and pin

Weaving handspun

After spinning all my merino wool roving, I used it to warp my inkle loom. This is my first time weaving with my own hand-spun yarn.

Inkle loom half warped with hand-spun yarn

I did learn to review instructions before starting, I thought I could warp the loom, then put on the heddles, but I forgot the warp path for non-heddled yarn is different. I had to go back and untie and retie many warp threads. Lesson learned.

Weaving started using recycled plastic strips

I used strips of plastic cut from an empty laundry container to start the weaving and keep it straight. This also saves some unwoven warp to keep as fringe in the finished weaving.

Helper (not)

Weaving went slowly because I couldn’t progress while the kitten was awake. He wanted to help.

Wool build up on heddle strings

Another challenge was the halo on my wool. The little fibers that stray out of the spun yarn like to stick together, especially when passing other little fibers on other threads. Oy. I found if I went slower and took time to separate the warp threads when I changed the shed, things went smoother. The felted wads on heddle strings are a testament to how much wool likes to felt.

Finished band

I gave the band a light felting, just by taking it back and forth from hot water to cold water. I then laid it out to dry.

Gently felting the band

Happy Father’s Day to all those that give stability and guidance. Tomorrow I’ll share what I made for my Dad.

Weaving demonstration

The prep I did for the weaving demonstration for a local kid’s camp was worth it. The demonstration went smoothly and most kids had a chance to pass the shuttle through and change the shed. Of course I completely forgot to take any pictures, so the still below was taken from the day summary video Doss Heritage posted.

Weaving in progress (still from Doss Heritage video)

I did take a picture with a skein of the yarn I used, but it was after the fact. I think we are going to do another camp, so I’ll leave the loom setup rather than finish this weaving.

Weaving with rainbow yarn

Fussy cuts

In quilting, when you cut a centered motif out of a printed fabric, it is called fussy cutting. Not sure what it is called when you do a similar thing with gradient yarn, but that’s what I did to warp my tapestry loom.

Tapestry loom warped by spectral color from a gradient ball of yarn

I needed a demonstration setup for a local kid’s camp. I was demonstrating weaving, a friend was spinning, and another was carding. I thought it would be neat to see color shift across the rainbow both in the warp and the weft. I setup string heddles because this is a step up from picking, which is what is usually demonstrated in art classes in school. String heddles are consistently sized loops of yarn that go around one warp thread, then around a heddle stick. Properly setup for plain weave, the heddles will lift every other warp thread. Switching heddles changes the shed, which is what the shuttle with the weft yarn passes through. I tested my heddles with a ruler and a pickup stick until I had everything correct. (I didn’t at first, and had to undo and redo.)

String heddles installed
Testing the heddles with ruler and stick

To set a secure first row and space the warp threads, I twined a row. Twining in weaving involves two threads twisting around each other and the warp threads.

First row twined

The setup is ready for demonstration day!