Twined bracelets

I saw another crafter post in my Wild Basketry group about making twined bracelets and wearing them as a durability test. Yes, please, and thank you Marijke!

Twining has become my go-to fidget when I’m waiting or wandering. The brown bracelet on my wrist is daylily leaf gathered from the ground where they were dead and dried, but still pliable. The green bracelet is dried and rehydrated leaf strips from corn that I gathered on a countryside road. The white bracelet was twined out of the paper packaging on restaurant straws while waiting for lunch.
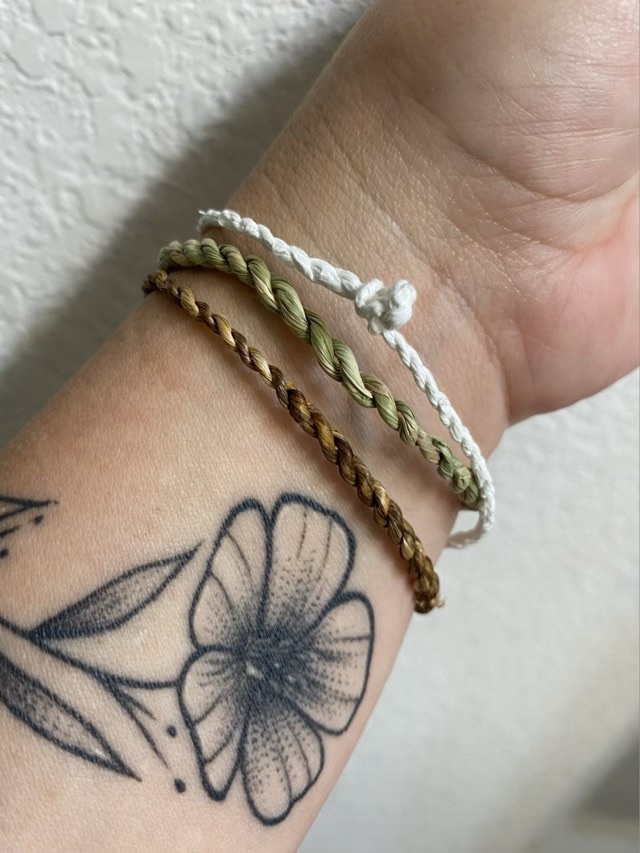
Photo description: my wrist with three twined bracelets, daylily, corn leaf, and paper packaging

To connect the bracelet, I untwist the start, which is a loop, and slide it over the end knot. The twist in the twine keeps the loop locked behind the knot. I have been wearing the bracelets at all times, so unsurprisingly the paper bracelet did not survive the shower test. The paper soaked up the water and separated at the weakest point: the untwisted loop.

Photo description: twined paper bracelet broken at the connecting loop

The daylily leaves have shrunk some, leaving gaps in the twine. Since I gathered them when they weren’t completely dry, the separation is expected. When crafting with plant fiber, most crafters recommend letting the material dry completely, then rewet, but not soak, the material to make it pliable. This method reduces shrinkage in the finished product.

The corn leaf was completely dry, and I did gently rehydrate by wrapping it in a wet towel. The twine has held together without gaps.

Now we wait, and maybe add some more.

Basket experiment: Iris and Daylily

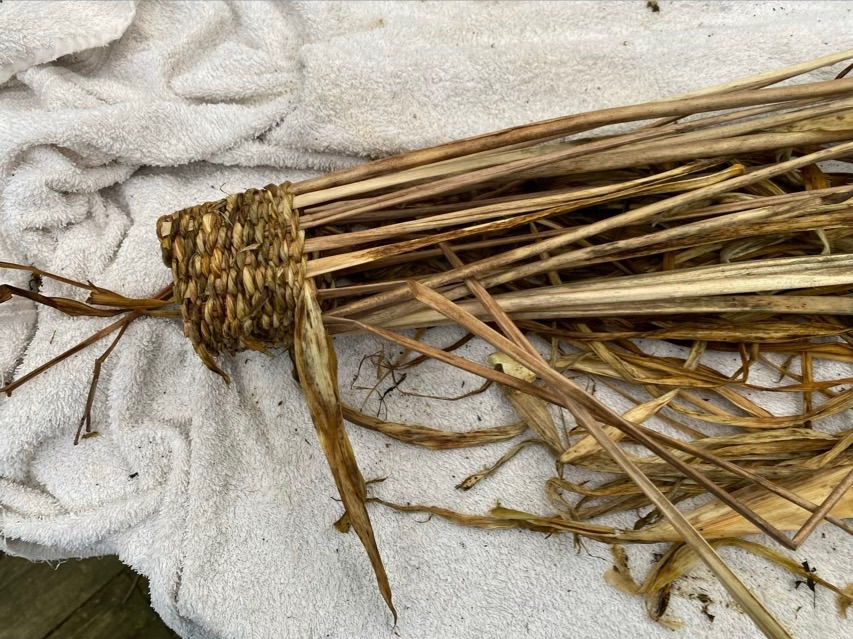
I gathered dead leaves from the base of several iris and daylily plants at my folk’s house, along with some daylily stems. To make them flexible I wet a large towel and wrapped the leaves and stems with it, leaving them in the towel for a few hours.

Photo description: gathered materials laid out in an old terry cloth towel

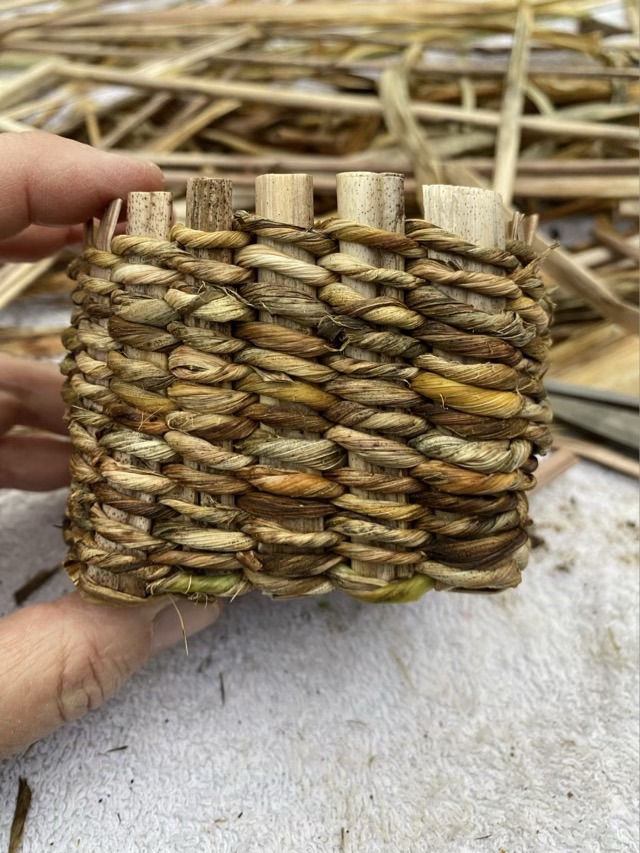
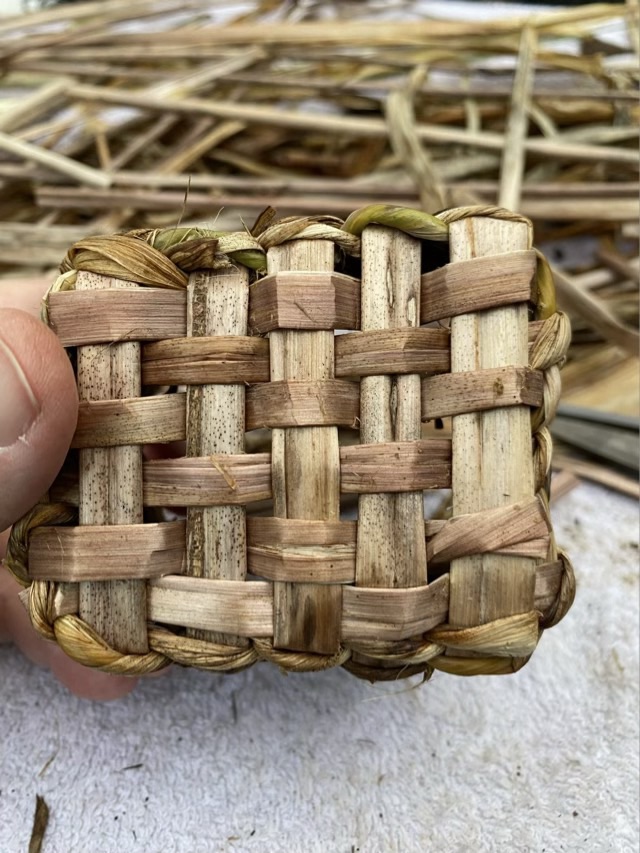
I chose ten daylily stems for my base stakes and did a plain weave 5×5. I then twined iris leaves around the stakes, creating a square basket. To add a new leaf, I folded the old leaf end into the new leaf end, twisting them together to lock it in.

Photo description: basket in progress showing very long stakes and several twined rows

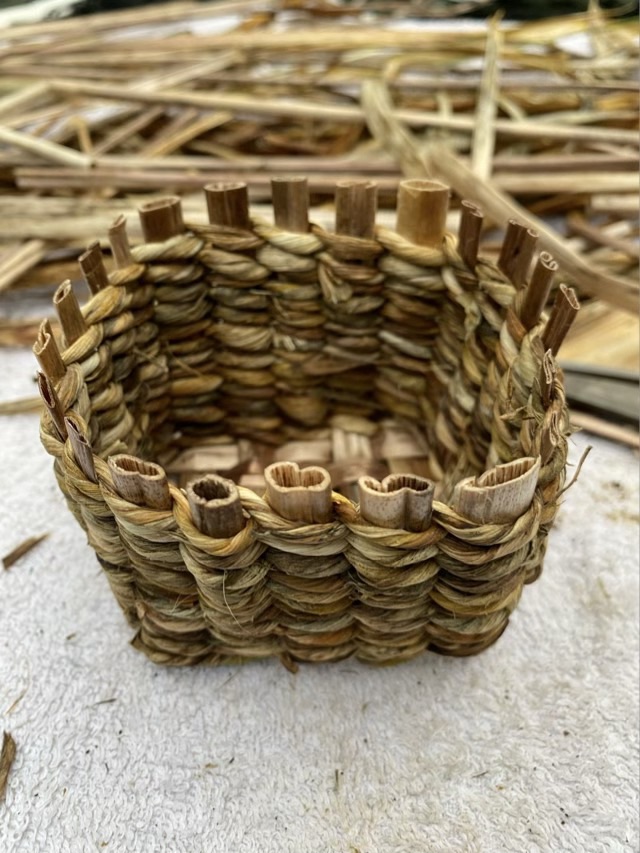
I still need to study how to do borders for the top. I ended up clipping the stakes short and tucking in the twined ends for this basket.

Photo description: twined basket with cut stakes
Photo description: side of twined basket
Photo description: bottom of twined basket

I left the basket at my folks’ place to dry. The leaves had spots of mold, so it shouldn’t be used for foodstuffs, but after a solid coat of sealer, it could be a desk basket.

Fast food basket

We picked up a fast food dinner and were given a plethora of paper napkins. I had a stash of straws. Could I make a basket? (Because that is the logical thought process with excess disposable paper products, right?)

Photo description: unbleached paper napkins and paper wrapped straws

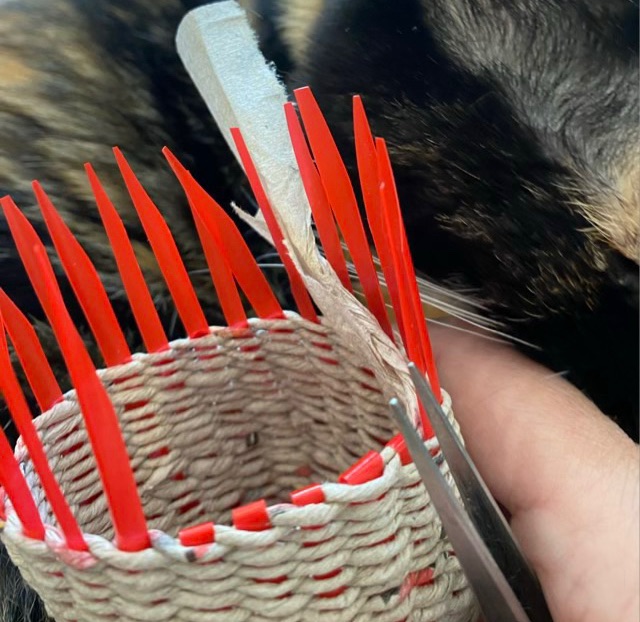
I unwrapped and split the straws by running a scissors down the length to obtain four plastic strips from each straw. I wove a square base (6×6 straw pieces). I tore the napkins into 1/2” strips and twined them around the straw “staves”.

Photo description: slivers of red plastic straws woven together and secured with paper napkin twine

It took some time to twine up the sides of the basket. The joining method I liked best was to overlap the end of a napkin strip with a new strip, fold the sides to the middle, then secure with a good clockwise twist. The two clockwise twisted strands were then wrapped counterclockwise around each straw, which isn’t as complicated as it sounds. To finish the basket, I trimmed the end of the straws to a blunt point, and used tweezers to thread them back down through the weaving.

Photo description: in process threading of the straw staves back into the twined weave, calico cat as a background

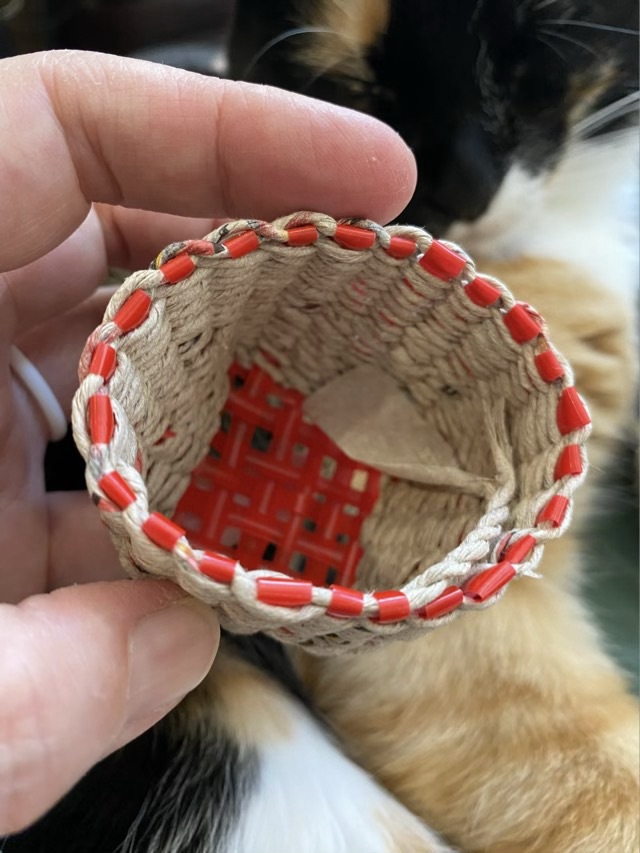
I was quite surprised that the little basket is fairly sturdy. It certainly won’t hold up to water or washing, but it is a cute little basket. I left the end of the napkin twine inside the basket to remember its humble origins.

Photo description: finished basket, top view, happy calico cat as the background
Photo description: finished napkin and straw basket, side view, sitting on a calico cat

Materials are everywhere.

Bent cane weaving frame

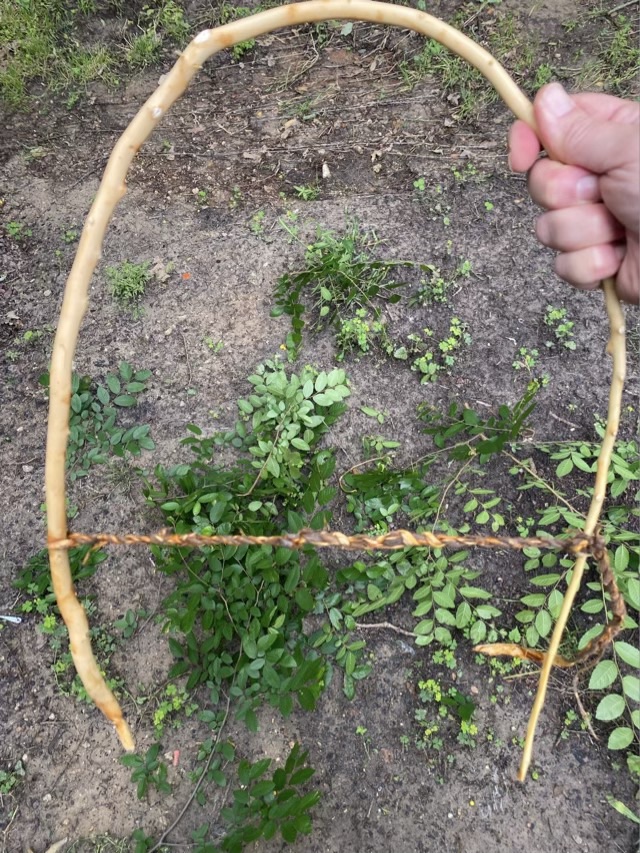
I was trimming the yard, and took down a sapling (iNaturalist identified it as a type of elm) growing near the AC units where it didn’t need to be. I noticed that the diameter was similar to some bent cane weaving frames that have been popping up on my Pinterest feed. Because I am easily distractible, my next task became making my own frame. As I stripped the side branches off, I noticed that the bark peeled off easily, like that of a mandarin orange. The bark was flexible, strong and fibrous, so I roughly split it into thick strands and twined the strands together to make a primitive rope. I used this rope to keep the branch in a nice curved shape while it dries.

Photo description: stripped elm cane bent into a narrow arch and secured with elm bark twine

I think this frame is on the small side for the kind of weaving I want to attempt, but it was a good exercise, and I have an acre of woods to source longer cane.

I will twine

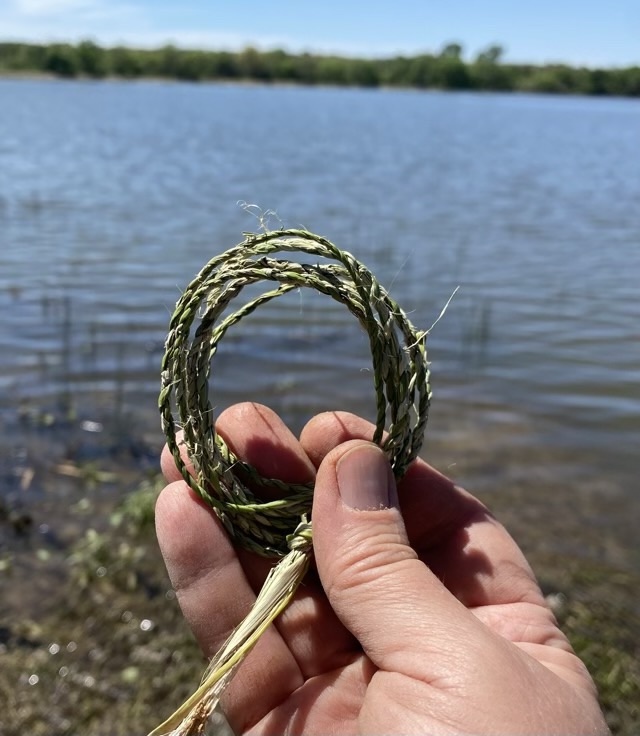
What to do at the lake when you’re waiting for the fish to bite and there are downed reeds at your feet? Twine! It was a beautiful day, but the fish weren’t frenetic and my worm duties were low, so I stripped down a reed that had washed up on shore. After removing the inner soft material from the strong outer casing and tearing it into even strips, I started to twine. I had a new technique from Sally Pointer (on YouTube) that I wanted to try. Instead of adding strands end to end, she adds the new strand in the middle, so each side gets new material. Nice!

Photo description: five wraps of green twine made from reed with the lake and blue skies in the background. This is about an hour’s worth of twine.

This twine was quite strong; I couldn’t break it with my hands. Next time I might see how fine I can twine.