Pegboard sandwich board

I used scrap pegboard to make a display for all my twine cards for the Pioneer Festival at the Doss Heritage and Culture Center. To make the two pieces of pegboard into a sandwich board I cut and punched a strip of leather and riveted it to the top of the boards.
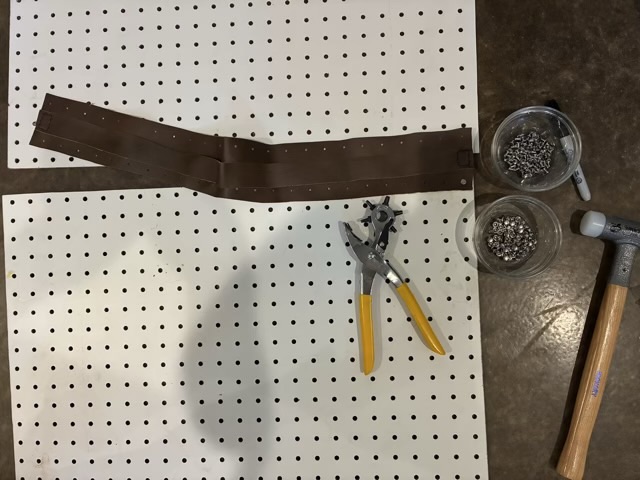
Photo description: pegboard, leather strips, leather hole punch, two bowls holding one half of the two sided rivets, and a dead blow hammer

My rivets were just the right size to lock together through the leather and the pegboard. I used a dead blow hammer to secure them as the board laid flat on the floor. The second board was a little tricky to set the bottom rivet, so I flipped the board over, put in the rivets, and secured them with tape so they wouldn’t fall out. I used screw rivets to secure side straps to keep the boards at the same angle when open.
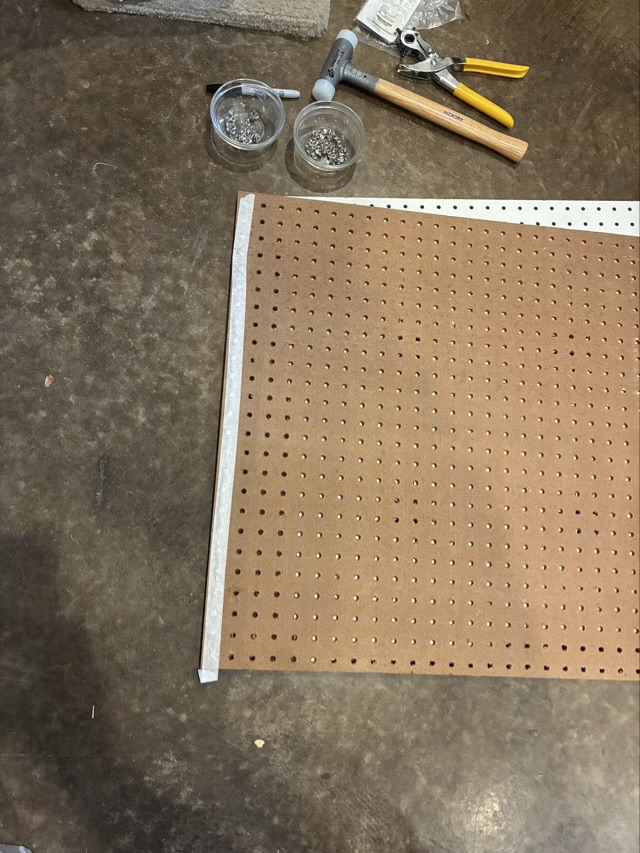
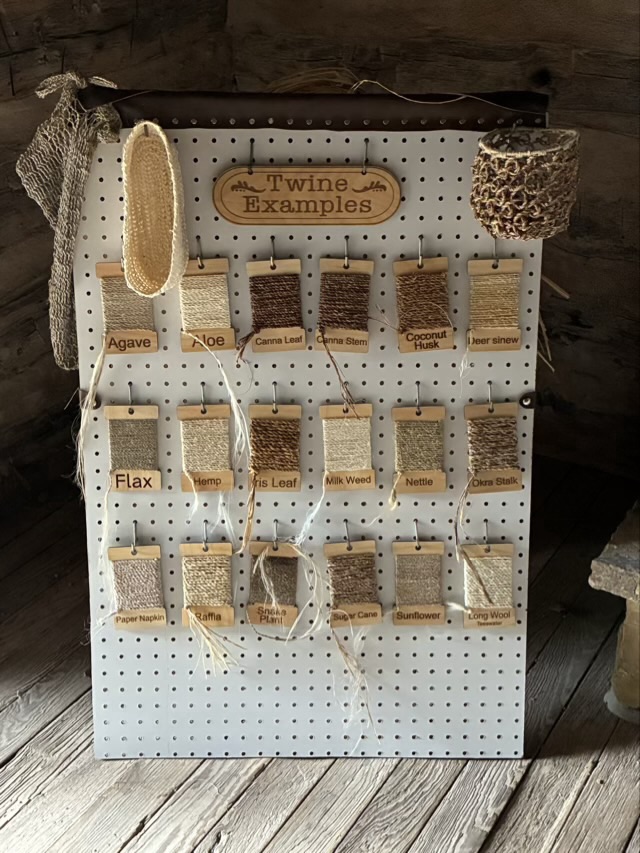
Photo description: back side of the pegboard with half the rivets in the top holes secured with tape
Photo description: finished pegboard sandwich board with 18 examples of twine, a laser cut “Twine Examples” sign, two baskets made from looped twine, and a bag made from twine

The twining went over well. I took raffia and taught two wonderful volunteers to twine and they taught hundreds of people coming through the event to twine bracelets while I demonstrated spinning on a great wheel and a treadle wheel (not at the same time, but as a comparison). Of course I didn’t take a single picture of my period outfit, but I did take one of the wheels I worked with in the 1850s cabin I was in.
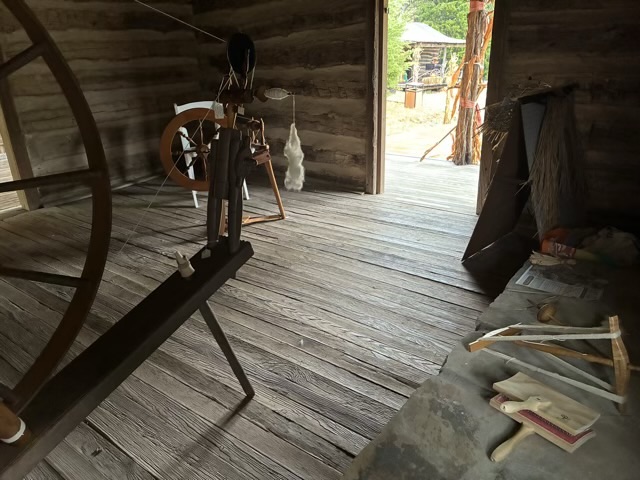
Photo description: inside the Strain cabin with a great wheel (left), modern treadle wheel (behind the great wheel, twine display (far right), and spinning tools on the hearth: carders, niddy noddy, and drop spindles

The treadle wheel was meant to only be decoration, but it just needed a new string on the footman at the bottom, and a bit of wire at the top to keep it on. I cleaned it and oiled it and had it spinning wool again. On the Great Wheel I was spinning Texas grown cotton.
Adding a top

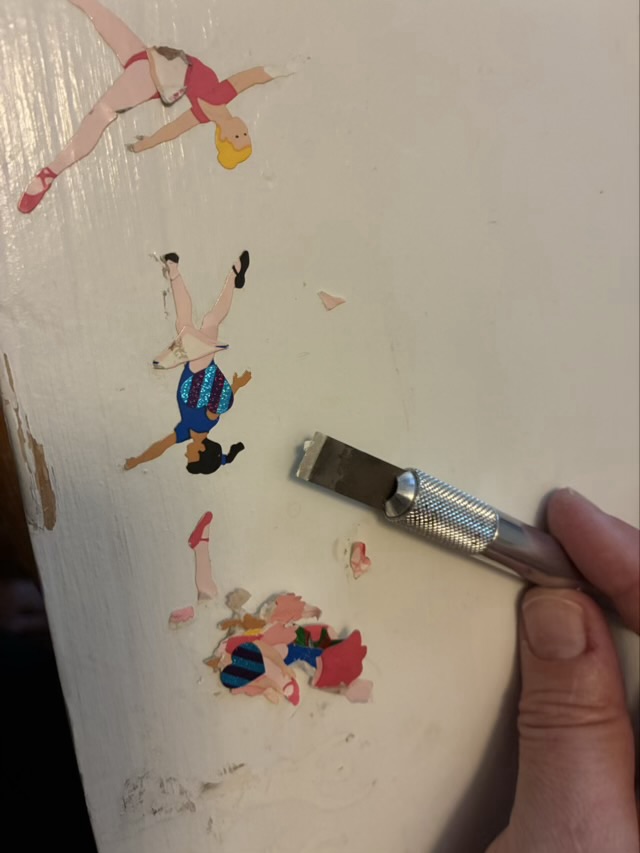
When my youngest was little, I made a little table/bench from pine with screw-on wood legs for her as a play surface. I painted it white, but she festooned it with stickers of ballerinas. The little table was outgrown many, many years ago, and the disassembled pieces have been sitting in my craft room. I decided to use the wood slab as a mockup top for my Singer treadle base. I cleaned off the stickers with a flat craft knife (they were the horrible kind that comes off in tiny pieces if pulled).

Photo description: scraping off 14-year-old stickers from a painted board

I cleaned the residue up with a Magic Eraser, and removed the brackets for the legs. Then I screwed the treadle base to the board.

Photo description: cast iron treadle base set on a painted pine plank

It isn’t fancy, but the pine will be easy to saw holes in for the drive band to come through. The yarn winder design is still in the thoughtful stage, but I’ve had a couple breakthrough ideas that may work out well with the tools and skills I have.

Singer treadle base

After removing the rotting wood top and wire brushing the rust and wasp nests from the Singer Treadle machine base, it was time to refinish the cast iron.

Photo description: Singer Treadle machine base from 1907 before polish

I chose to treat the cast iron with black stove polish to keep the rust away and keep it close to the original color.

Photo description: using a soft bristle brush to apply the black stove polish into the intricate cast emblem on the side of the treadle
Photo description: completed application of black stove polish

I used squares of cotton and a small brush to get the polish in the cracks and crevices. It was satisfying to see the paste melt into the iron.

The wheels all rolled well, so I cleaned them with a brass wire brush on my rotary tool and treated them with sewing machine oil.

Photo description: steel wheel before picture
Photo description: steel wheel after picture with the dust and dirt removed

The plan is to put on a table top, but keep the treadle functional by putting holes in the top so the drive band can come up through and run a device on the surface. I may experiment with some scrap wood first.

SMO

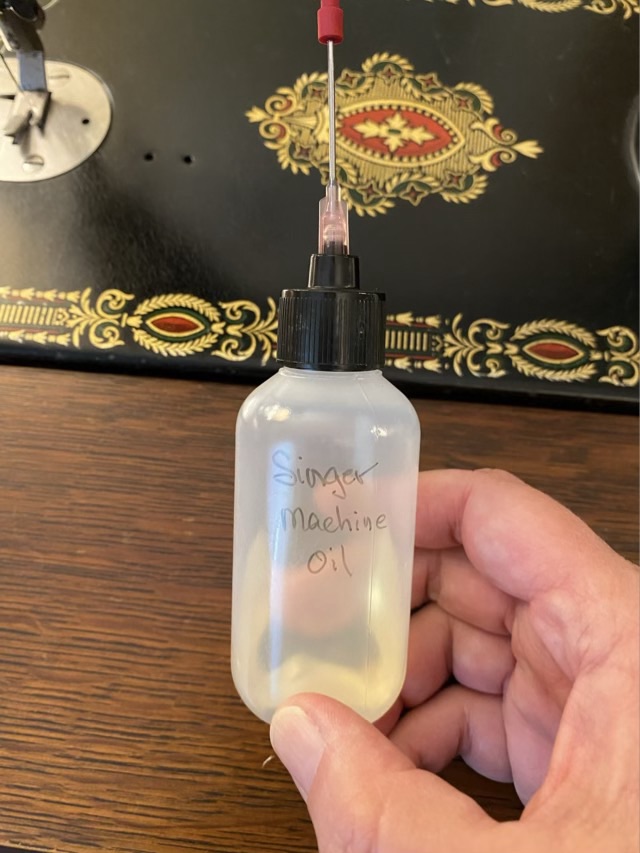
If you start following treadle sewing machine groups, you’ll see frequent use of the acronym SMO, which stands for Sewing Machine Oil. This lubricant is vital, especially for older machines. Of course Singer recommends using Singer SMO, but I find the applicator to be clunky, so I took the advice of several treadle machine bloggers and purchased squeeze bottles with a stainless steel tube to facilitate precise oil placement.

Photo description: 2 ounce plastic squeeze bottle with 1.5” stainless applicator, filled with Singer Machine Oil

I purchased my bottles on Amazon, and it was a little tricky because the name is awkward: plastic squeeze bottle with stainless applicator. Accurate, but hard to search without all the words. Any how, I found them, filled one with SMO, and love how much easier it is to apply the oil without overshooting. I did worry about light getting through the bottle and degrading my oil, but after researching, it is better to be able to see the oil to check for changes (darker, cloudy). I might still keep the bottle in the dark, because some things are deeply ingrained.

Testing for lead

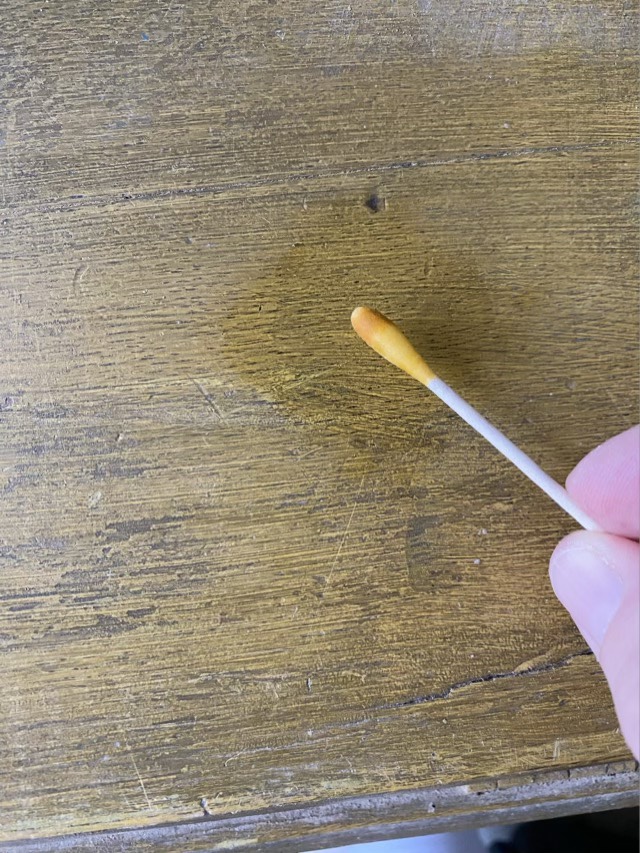
The cabinet of my 1907 model 27 Singer Sewing Machine is yellow. Hm. Pinging online groups, there is a general consensus that they didn’t come in yellow. Prompted, I looked at the hinges, and yes, the hinges and screws also had yellow paint, so someone, during the life of the machine, had thinly painted it yellow. Sigh. The next question, how long ago? Was there lead in the paint? I purchased a lead test kit, followed the directions, and happily, no pink. If the swab or surface turns pink or magenta, it indicates the presence of lead. Since it isn’t lead paint, and it is not original, when the weather cools off here I’ll strip the paint and refinish.

Photo description: Antiqued yellow wood surface showing a wet round area and a yellow swab.