Tablet weaving double sided

It has been awhile since I pulled out my inkle loom and did some tablet weaving. I wanted to try a double-sided design and use some size 3 pearlized cotton from my stash.
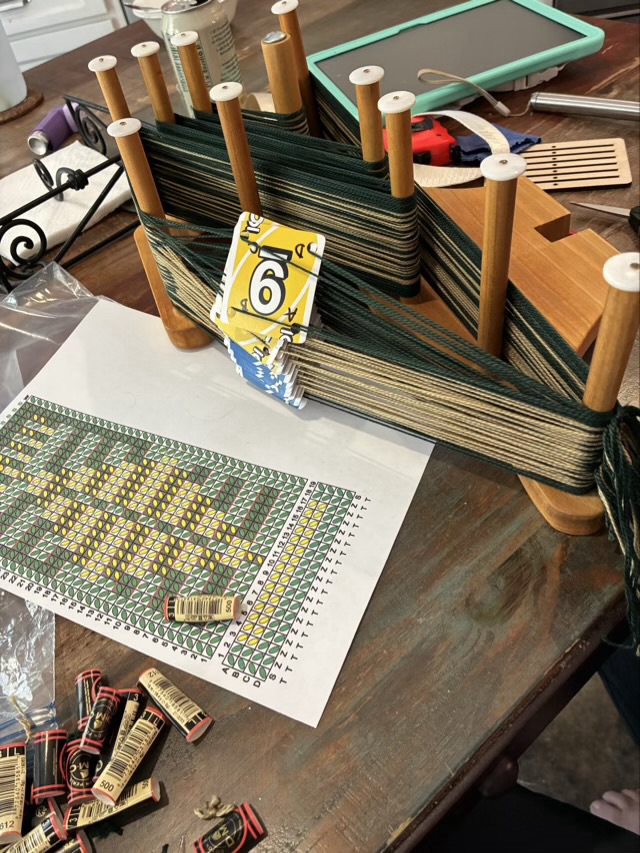
Photo description: inkle loom warped with tan and green pearlized cotton with 19 4-hole tablet cards

I used the online pattern maker Tablet Weaver Designer App and made several designs as I went. The band ended up being more of a sampler piece as I experimented with letters and music notes.
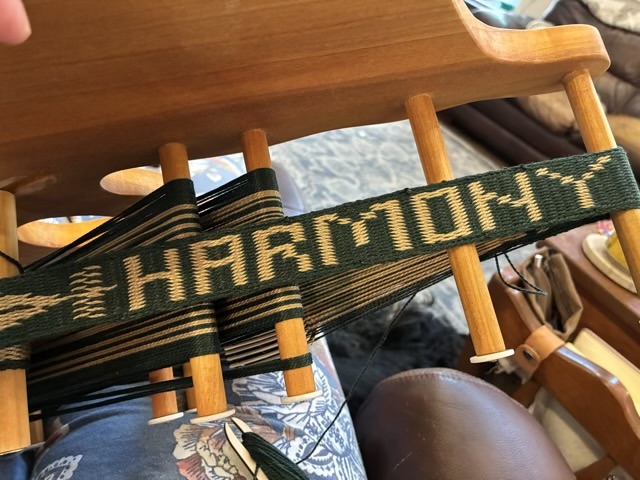
Photo description: “HARMONY” woven on an inkle loom with 4-hole tablet cards using size 3 pearlized cotton

The designer app now also shows if the pattern is balanced— that each card has the same number of forward and backward turns across the pattern. As weaving progresses for tablet weaving, twist builds up in the warp.
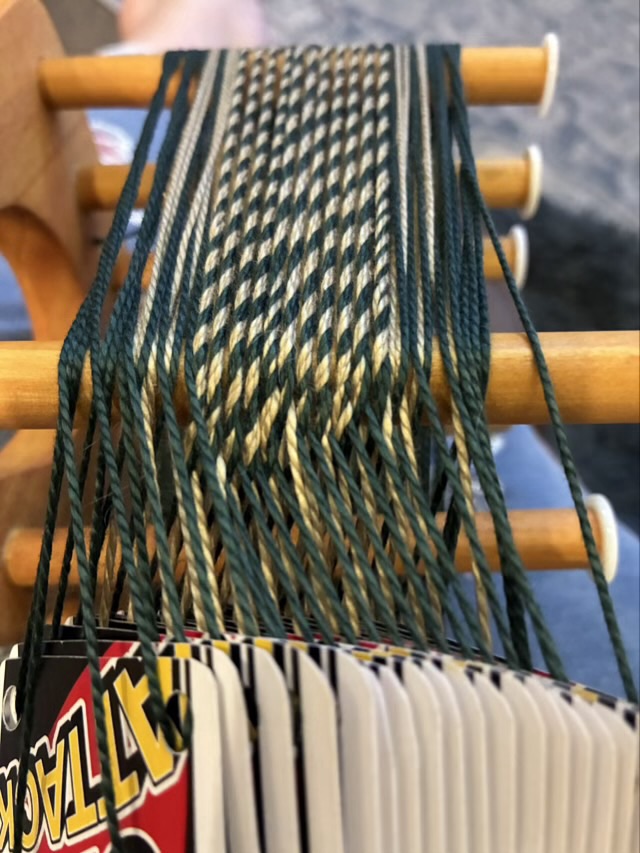
Photo description: twist in the warp across the top posts of an inkle loom

There are a number of ways to deal with warp twist, I find making a balanced pattern the easiest. Using the design app I discovered that adding an extra row between two of the same motifs reverses all the forward and backward turns, balancing the pattern in double sided weaving.
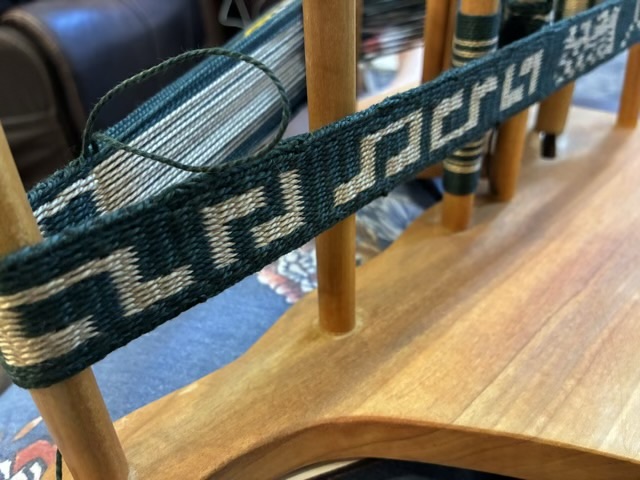
Photo description: music notes tablet woven on an inkle loom

To keep track of rows, I cut two slits in a piece of cardstock and slid it over my printed pattern.
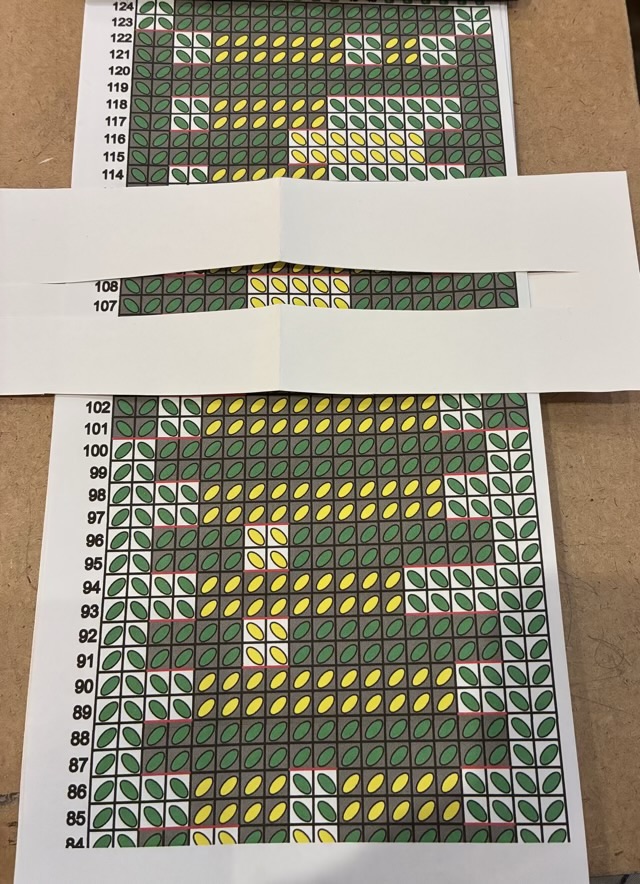
Photo description: paper row tracker

I did keep track of time for this project. It took me 1.5 hours to warp the loom, and I wove for 6 hours and 10 minutes. I used a timer in a knitting app to track the time.
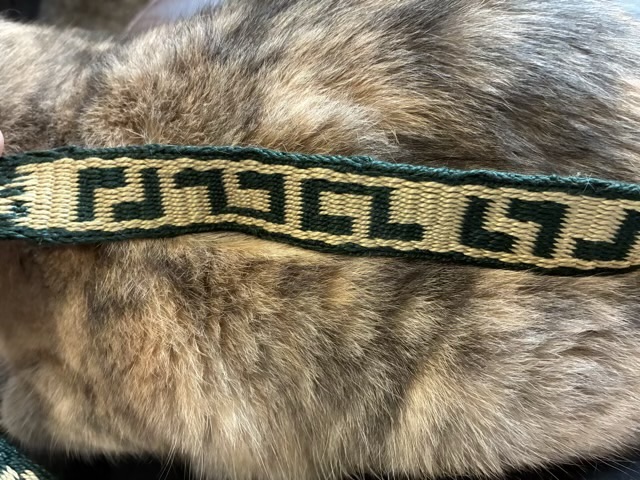
Photo description: band removed from the loom, showing the reverse side of the music notes

The next step is to add ends on the strap.
Woven elastic

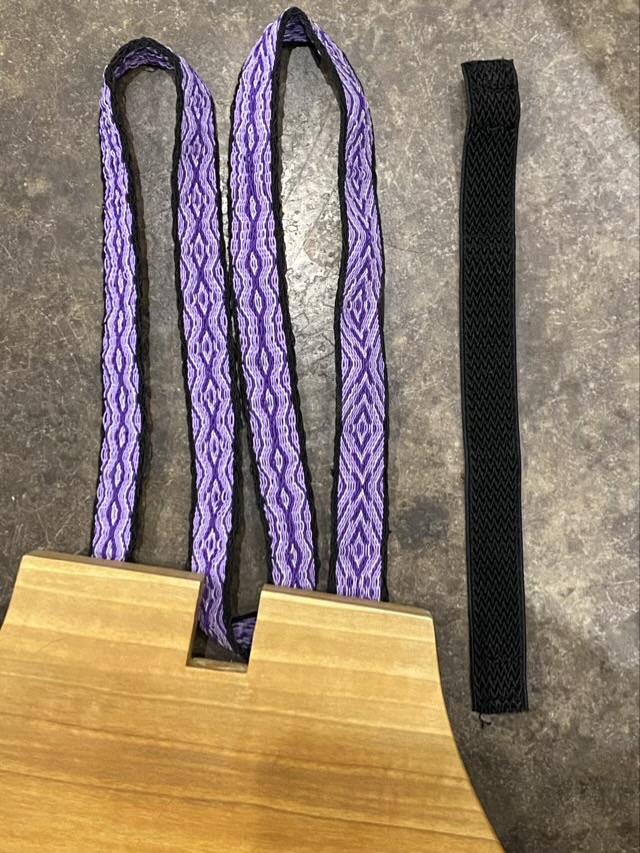
My Mom requested a stretchy woven watch band. I took one of the plain purchased bands she had so I had the hardware, and I purchased colored shirring elastic thread. I set up a 22 card tablet weave on my Inkle Loom using a pattern I found on Pinterest. An interesting thing about tablet weaving patterns is that the result changes depending on how the cards are turned. It took me a little time to figure out how the pattern worked, so I decided to make four different patterns on the same band, then cut them later. I also had quite a shock when I removed the band from the loom and the elastic contracted, creating different issues.

Photo description: shades of purple, gray, and black elastic thread woven into a band and laid out to show the different patterns next to the black purchased band

When I warped the loom, I didn’t pull the thread completely tight, it is quite elastic, but on hindsight could have loosened it up a little more. I did pull the weft thread taught. If someone is reading this to get hints on the how, I recommend trying a non elastic weft. On the final band three of the designs puckered strangely, one in the middle and the other two on the edges. I think this is due to the tension or uneven tension on the warp and the pattern. It was difficult to get an even pull on all 88 threads when it was so elastic.

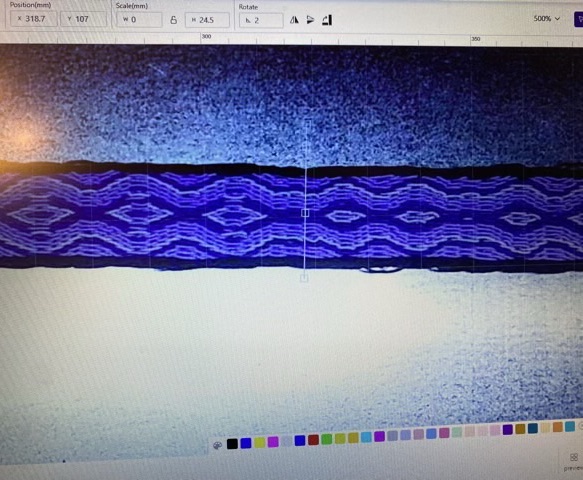
I had at least one decent section, so the next quandary was how to cut it. Ideally, it needed to be cut and sealed to prevent the elastic from unraveling. I happen to have a laser cutter. I couple experiments with settings, and I was able to cut and, in the same process, seal the band.

Photo description: picture of the computer screen focused on the woven band with a cut line positioned between patterns

I put the band on a sheet of steel, and used high power and a slow speed to cut the band. It look a couple of experiments with settings to get a cut with minimal burn.

Photo description: cut band with minimal unraveling

To protect the end while threading it through the hardware, I wrapped it in washi tape.

Photo description: washi tape wrapped end threaded through the slide

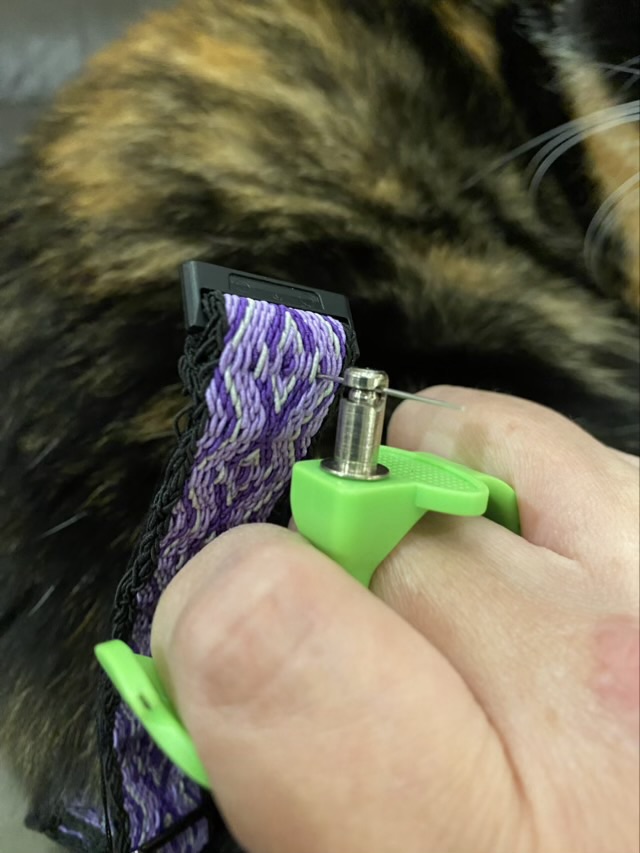
Sewing was a little challenging because of the thickness, but this little three-in-one sewing tool was a life saver.

Photo description: using a sewing tool to pull the needle through the band
Photo description: finished band on a calico cat

The most unfortunate part of the whole project is that I didn’t realize the slides on the ends have an up and down. I installed them both upside down. Nuts.

Tablet weaving

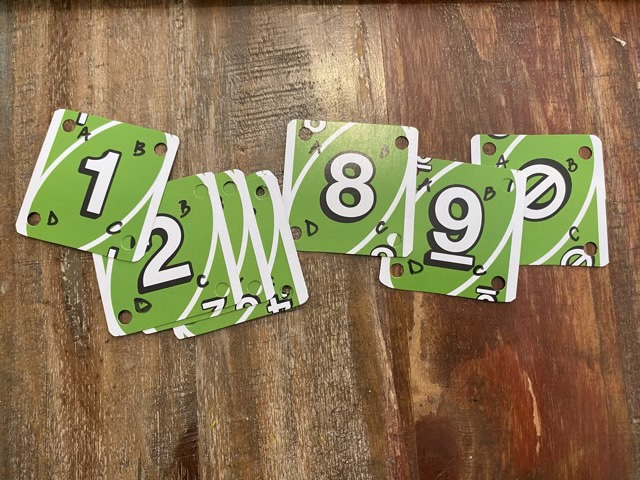
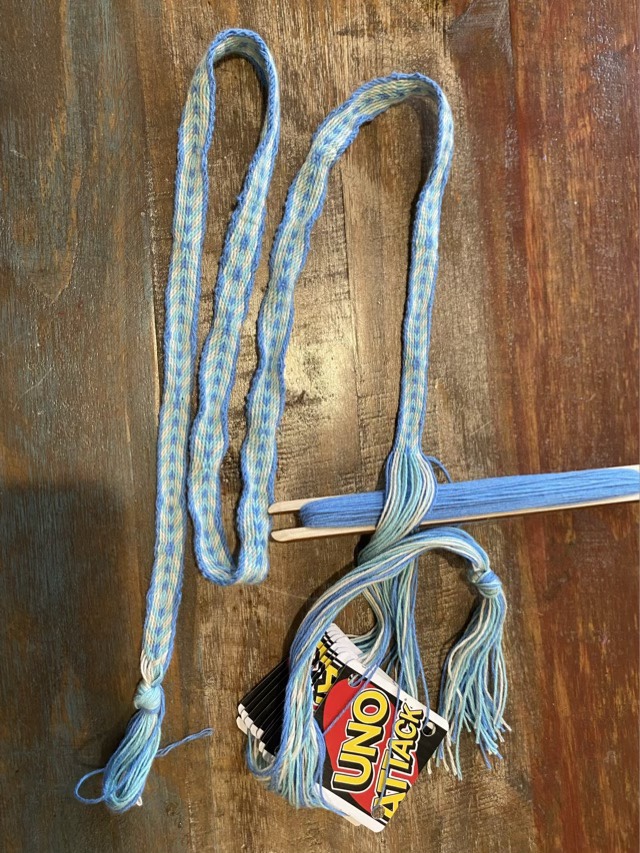
I caved. I’ve been seeing bands made by tablet weaving for years, but didn’t see why I should expend the effort. It makes a strip of fabric, a small thing, what’s the point? Curiosity got the better of me, and I found instructions here to get started without buying anything. I made my “tablet” or cards from old UNO cards (we have SO many different decks), which conveniently are already numbered.

Tablet weaving cards made from an UNO deck

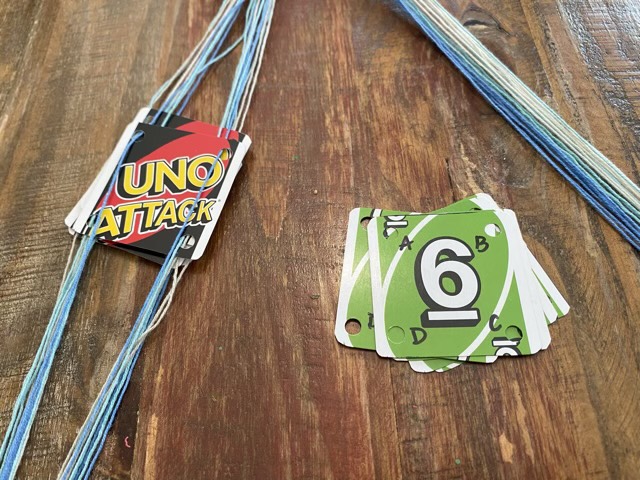
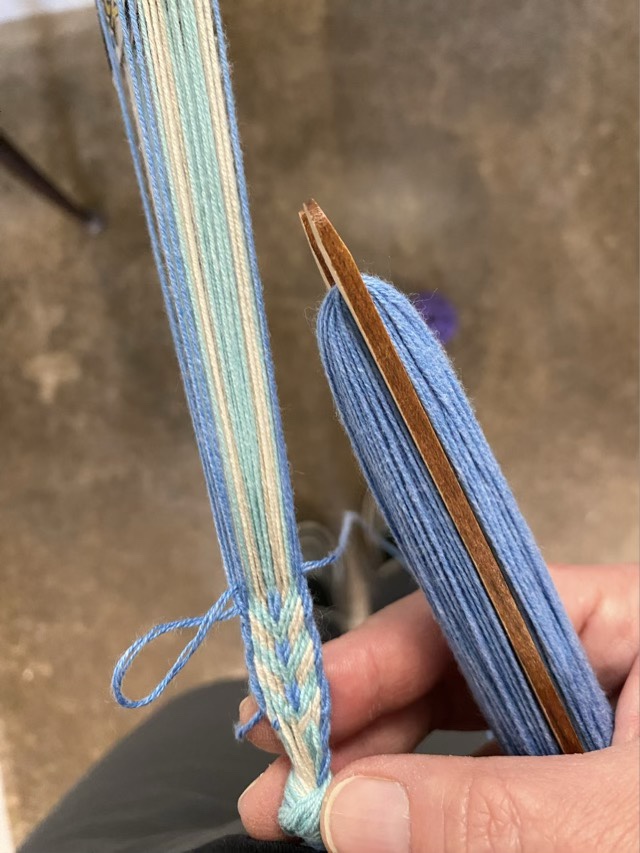
I used thin yarn leftover from several projects and two chairs spaced a distance apart to make the warp threads, knotted the end, then threaded them through the cards according to the directions.

Half of the tablet cards threaded with warp yarn

I used the back-strap method of applying tension to the warp threads, which means I attached one end to my belt, and the other to a stationary object. I experimented with: my toe, a door knob, and my steering wheel (when parked). When not weaving I used a cable needle (like a giant safety pin) through one hole to hold the cards together.

Starting weaving

To change the shed (which threads are on top or bottom), you rotate the cards forward or backward. This is absolutely brilliant, and a kind of weaving I can totally get behind. The possibilities for patterns are immense, the weaving goes quickly, and is done in less time than on a wide piece or a picked pattern. I definitely had learning woes, I thought I was weaving too tight, but I was actually too loose, but it was a worthwhile experiment.

Done weaving.

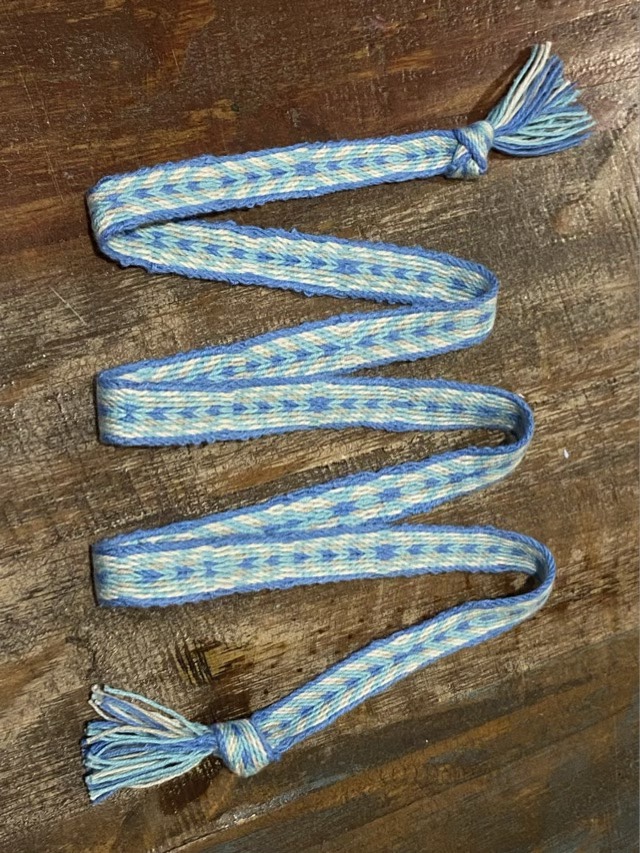
The ripples in my band are because I wasn’t tight enough with my weave. I knotted the ends and cut off the extra warp, then ironed the band. It isn’t perfect, but I want to do more. (I do need a better way of keeping track which way I turn the cards. Squirrel.)

Ironed band showing both sides

I have also added an inkle loom to my wish list, which would enable me to keep tension on the work at all times and not have to go looking for a stationary object.