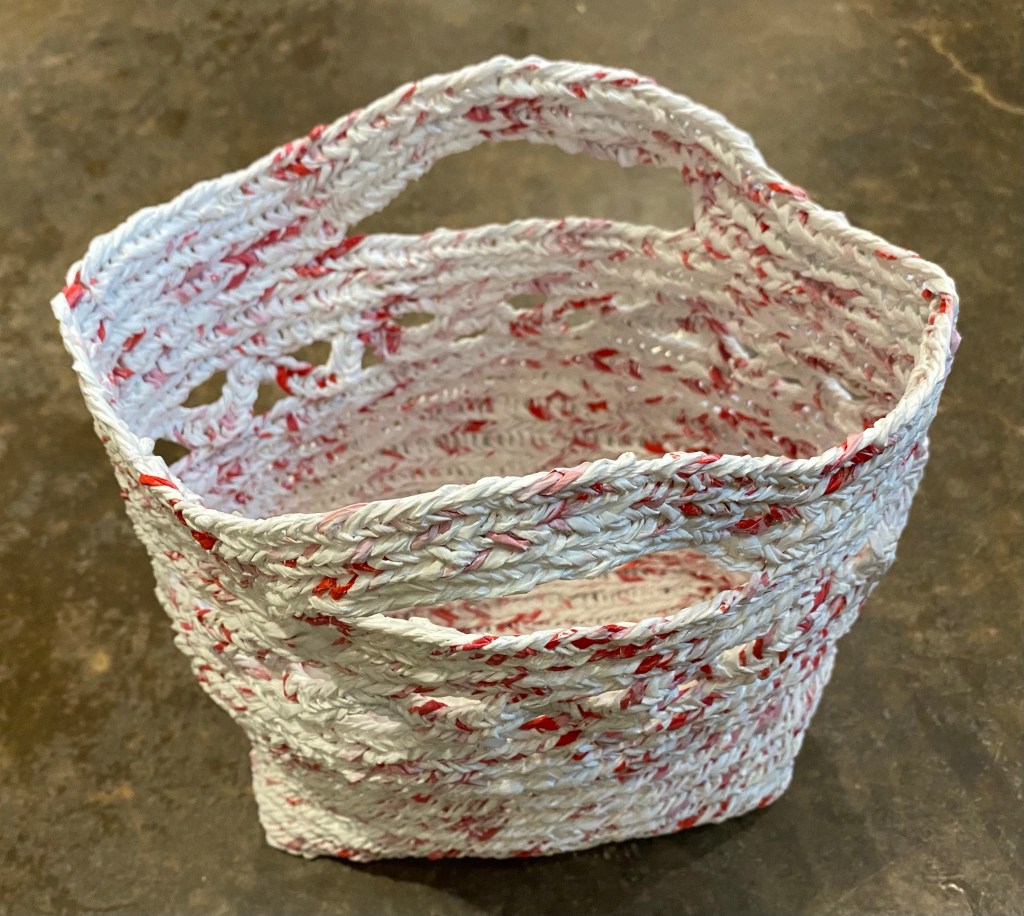
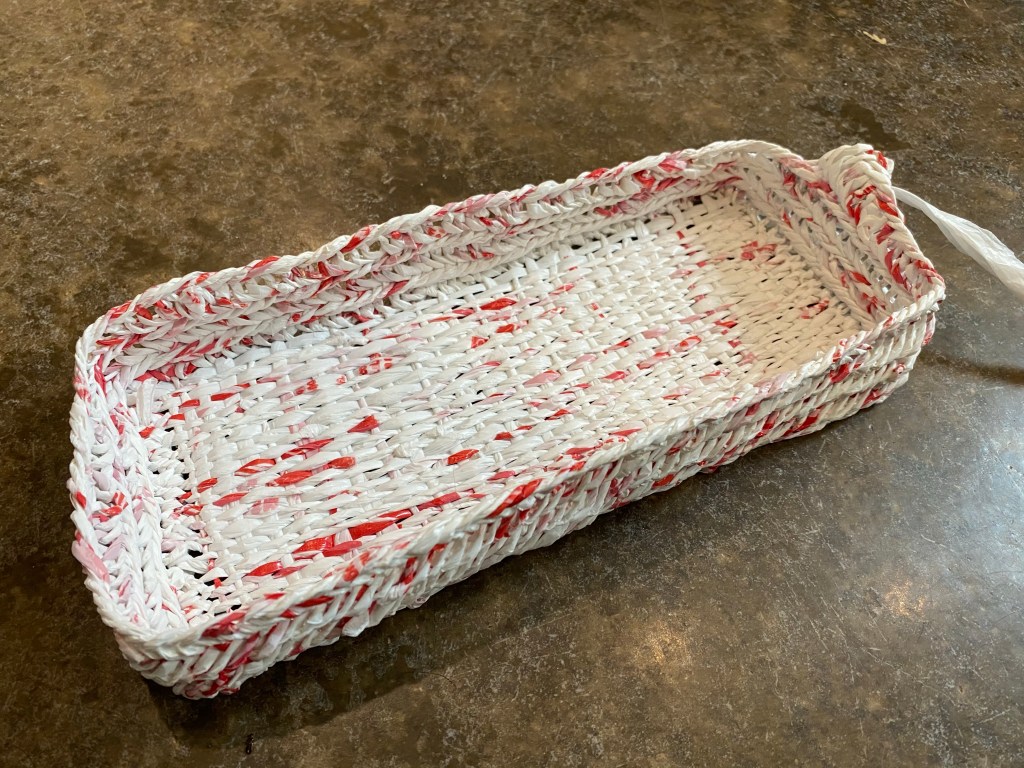
I finished the plarn bag! Or maybe it is a basket. It can stand on its own, but is still flexible. Hm.
Nålbound bag made from plastic grocery bags
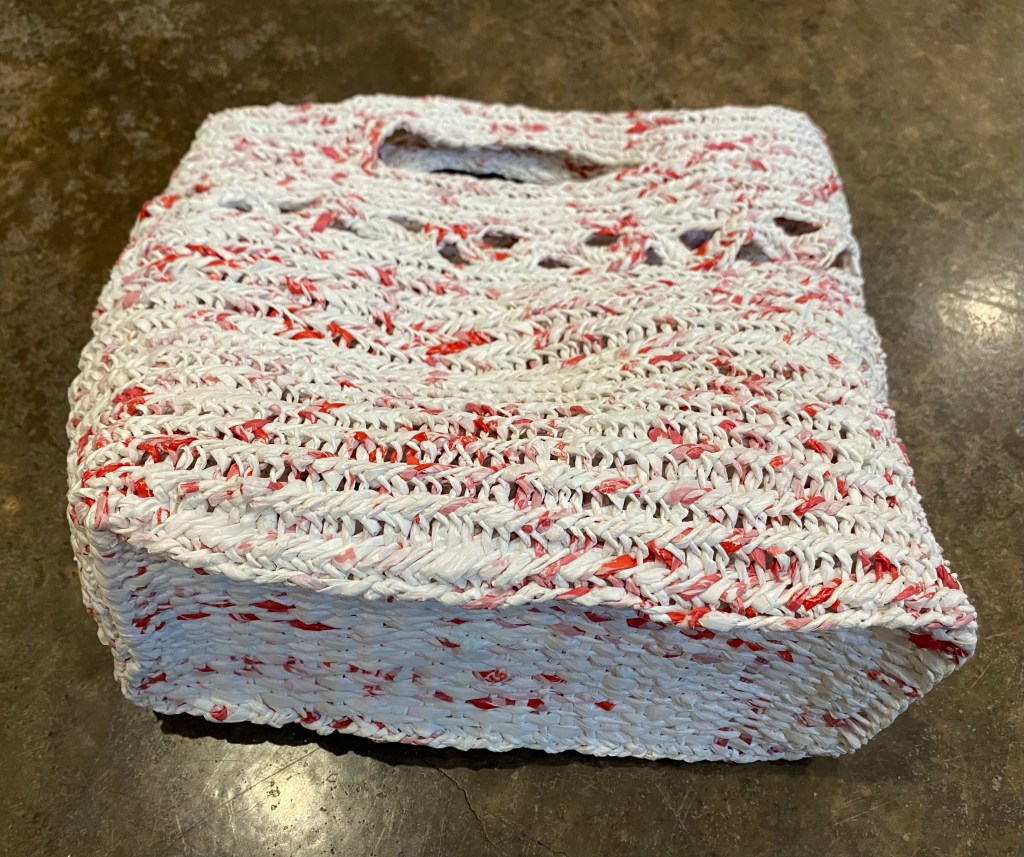
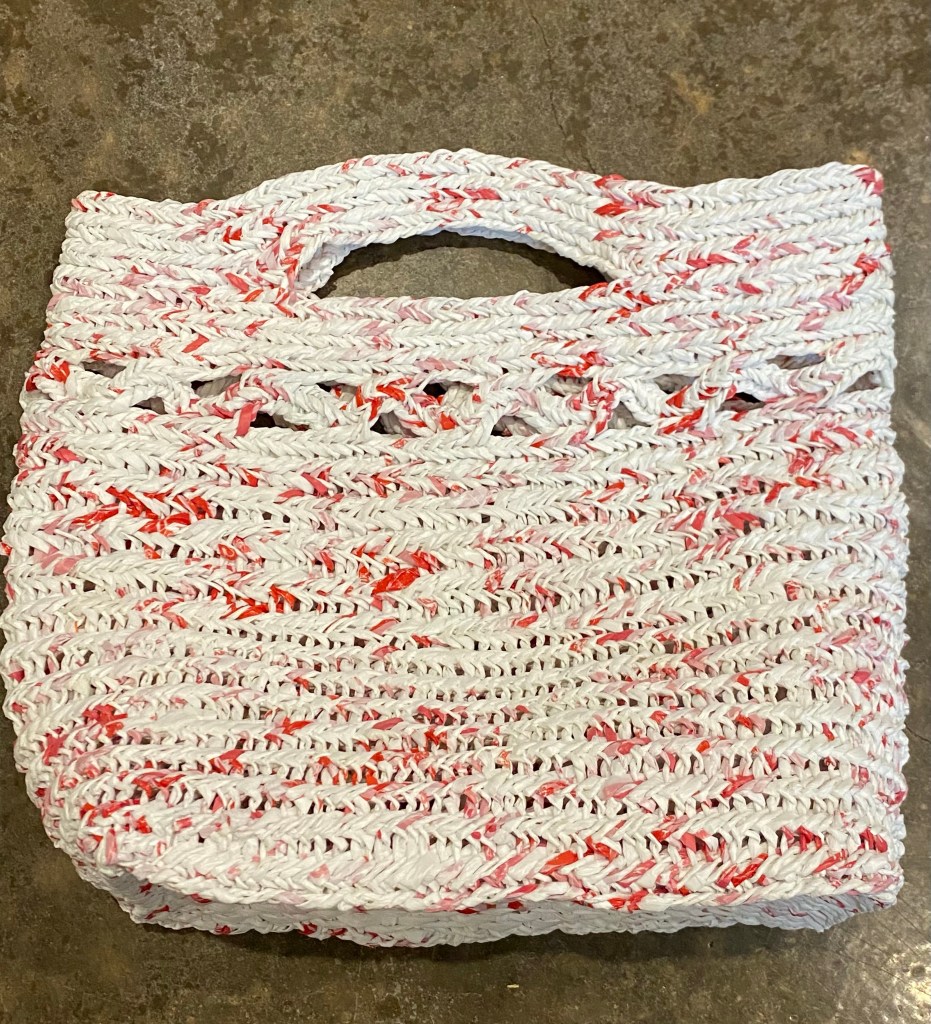
I changed connection stitches mid-bag (we’ll just call it a bag, yes?) because I was aiming for the tight braided look I’ve seen produced with the Finnish 2+2 stitch. I figured out my tension at the 2/3rd mark, and the stitches finally achieved the look I wanted, so I decided to also try some decorative work (since it is an experimental object anyway).
Woven bottom of the nålbound bag
It turned out quite functional and sturdy. The handles with the three rounds are comfortable, and I made it to be large enough to hold my longest spindle. I can tell where I changed connections (from M1 F1 to F2, note to self), and where I achieved even tension, but I’m going to claim them as design choices.
Nålbound bag made of plarn
Whether the finished project is considered a bag or a basket, it is done!
P.S. This took me three weeks to complete, working in bits and pieces. The magic of the blogosphere made it seem like a few days, but it wasn’t!
P.P.S. This bag used the plastic from approximately 43 grocery bags. (And it drives me crazy when I hit “publish” instead of “save as draft” on a post.)
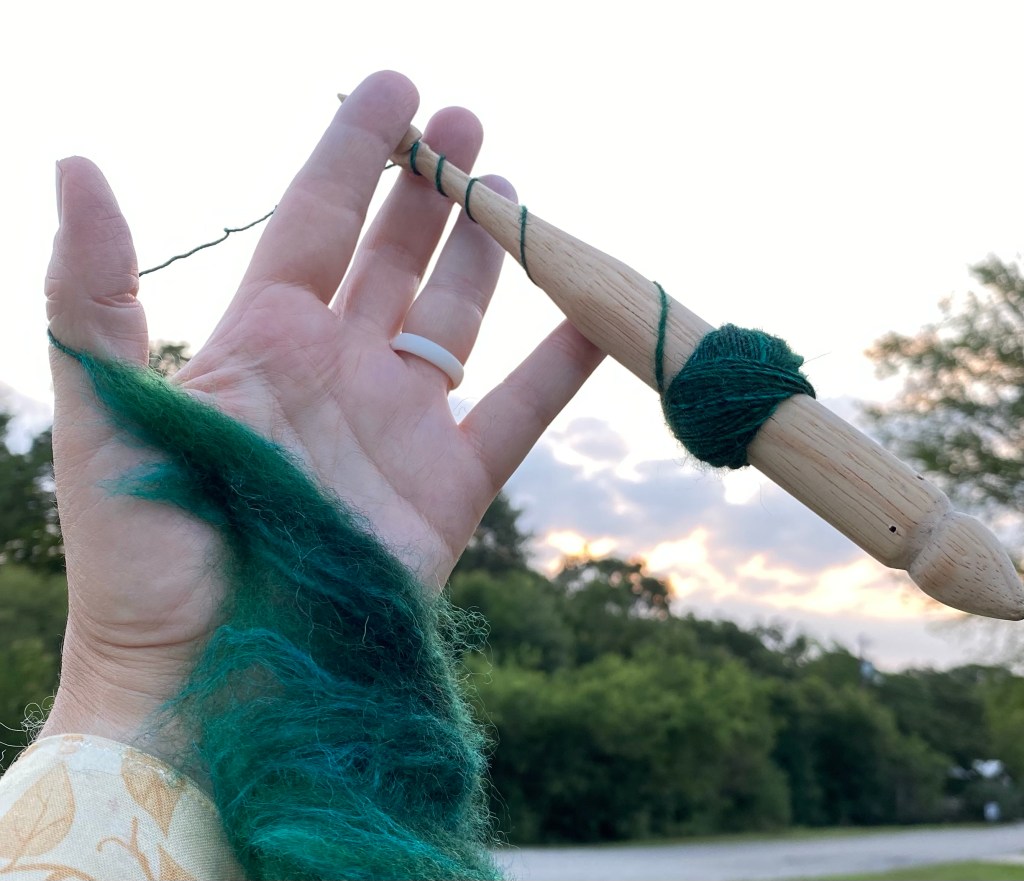
Spinning green roving nearly the color of the trees
I have started a new spinning project for my morning walks. I succumbed to color a few months ago and purchased a hand-dyed Bluefaced Leicester (a type of sheep) and silk blend roving because the colors were amazing. The color way is called “Balsam”. I think if I lived in a coniferous forest full of balsam the colors would be spot on, as it is, I noticed as I spun that it was a fair match to the greenery around me. It is joy to be spinning up essence of the trees. Mostly. I am typically not a fan of dyed fibers, not because I don’t like color, but because I like the color to stay put. I’ve noticed the top of my spindle has taken on a green hue, and when I get home my fingers are tinted. It washes away, but I will have to be very careful in the treatment of the spun yarn and final project so that it doesn’t ever lay next to something light in color. Now the conditions of my spinning are not typical, since I am outside taking exercise and the fibers are exposed to more moisture than I imagine would happen spinning inside on a wheel. The walking and spinning is teaching me to be light with my fiber hand, as pressure, heat, and water together felt wool, and all those factors can be present in the palm of my hand.
Back to talking about plarn. Yesterday I posted about how I connect and spin loops of plastic grocery bags as I stitch. I wanted to learn a new nålbinding stitch and using plarn was a perfect way to practice without wasting expensive fiber. The stitch is a Finnish 2+2 stitch as described here (this page also talks about how different connections affect the finished texture, I chose M1 + F1 because it looks more braided). I started my chain, and made it long enough that I could make a beach mat, if I so chose. It is easiest to do nålbinding in the round, so I continued in the round (nålbinding can absolutely be cut and tidied up later). As I progressed, I felt the texture would be better suited for a bag than a mat (it has a rough feel due to the twist). So then the dilemma was how to deal with the base of the bag. I could stitch it straight, as a tote bag, which wouldn’t stand on its own. I could sew an oval piece of hard plastic in, but what plastic, and would it still be recycling? I could nålbind an oval, which is downright tricky. What about weaving? It is an experimental piece anyway, could I weave a base? I found a box that fit snugly in my nålbound tube and connected the first loop by threading it through the edge and looping it back on itself (as you do for connecting loops).
Starting the weaving
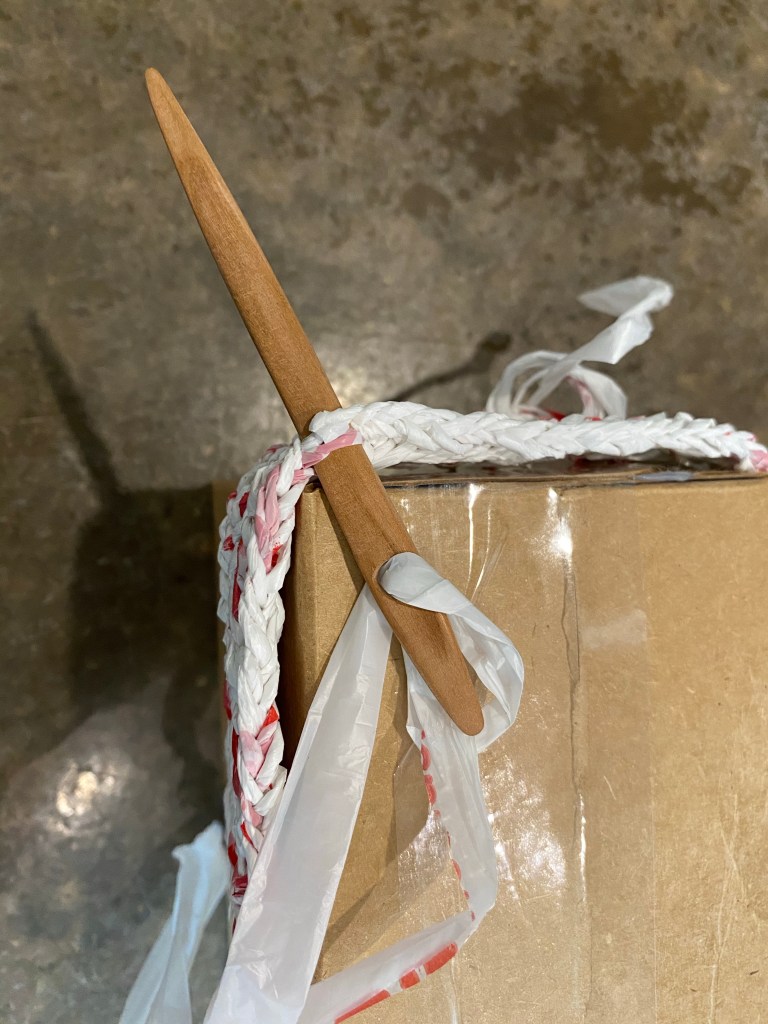
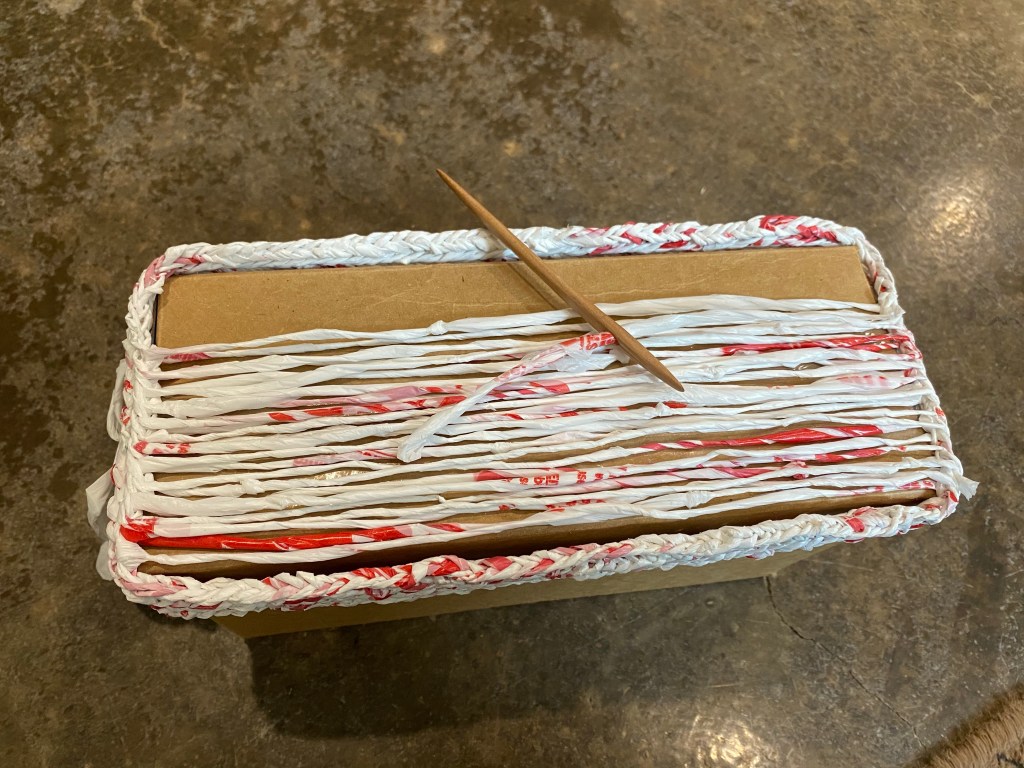
I then gave the loop some twist and ran it the long way along the box, out through the edge, then back in through the next stitch. I added loops and twist as I went, making the warp threads for the weaving.
Setting up the warp threads with plarn
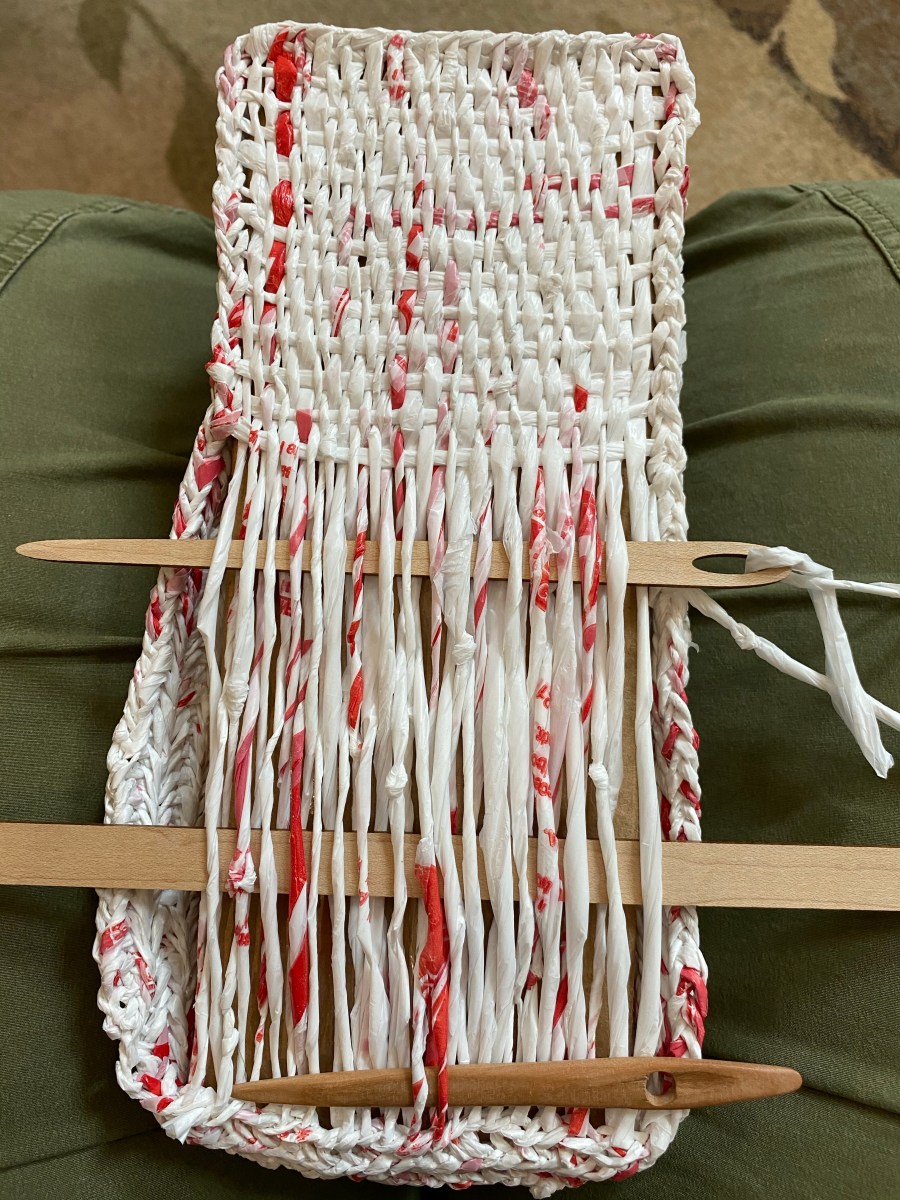
When it was time to start the weft, I realized that I didn’t have to break the plarn, I could just turn the box and keep going. I used a plain weave (over, under, over, under), and used a pick up stick to hold one shed, and a longer wooden needle to pick up the alternate threads. My nålbinding needle was best for connecting to the edge because it is smooth and doesn’t abrade the plastic.
Weaving the weft on the bottom
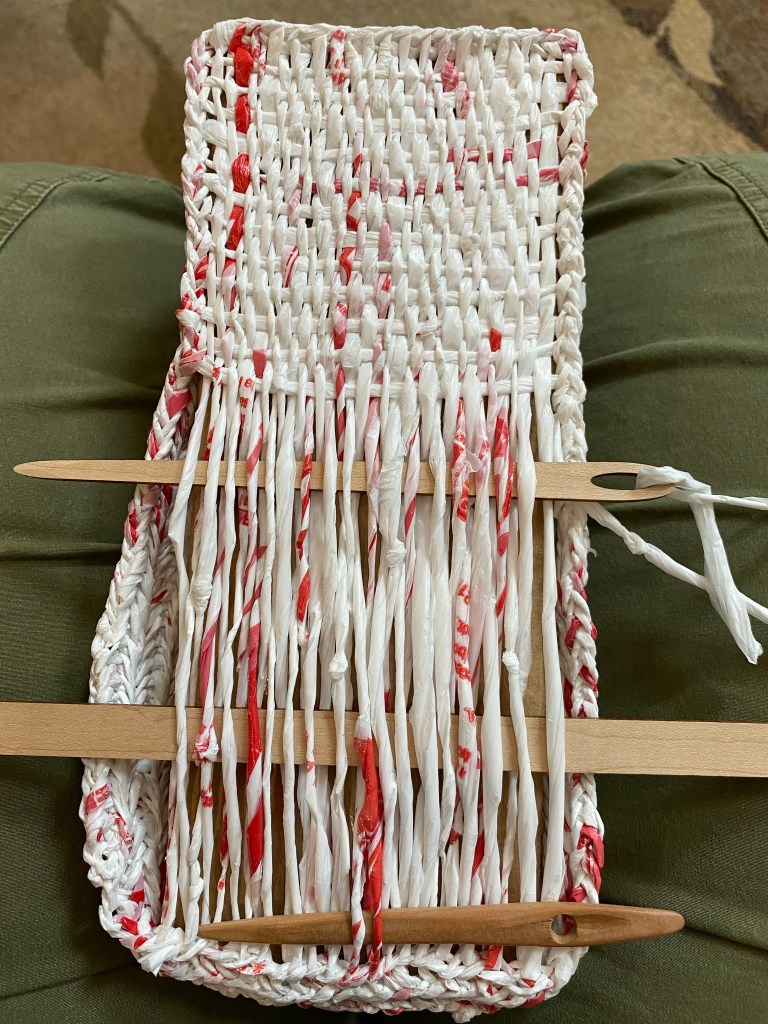
I had to adjust my spacing as I went; I started off putting the weft through every edge stitch, then ended up every third stitch to get the weft to be straight. At the end, I wove in the tail and clipped it on the inside of the bag. (Only one tail to weave in, hurray!)
Woven base for nålbound bag (in progress)
This was a very pleasing experiment. I really like the woven base: it feels nice and is sturdy. I will continue to build up the sides with nålbinding, but that will take awhile. I’ll post an update when it is done!
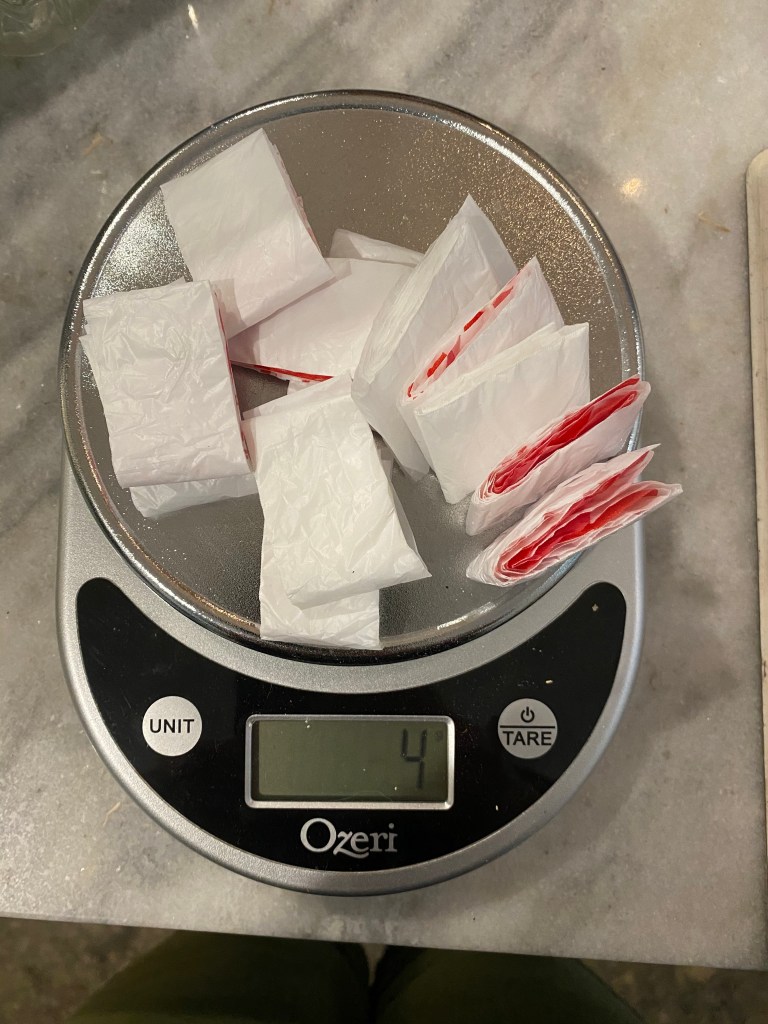
A crafting friend recently reminded me of the value of plarn. Plarn is yarn made from plastic (PLastic-yARN). Typically it is used in recycling efforts by giving new life to used shopping bags. (And oh the things people make, just image searching plarn is its own rabbit hole.) The attraction of cutting up bags is that if you cut them from side to side you end up with loops, which are very easy to connect into longer pieces. So I set my grocery bags out to dry, then cut them into loops by folding them length-wise several times, squeezing out the air, and cutting about one inch sections. (I found the measurement of the end digit of my tallest finger is one inch. Convenient.)
Sections cut from a grocery bag
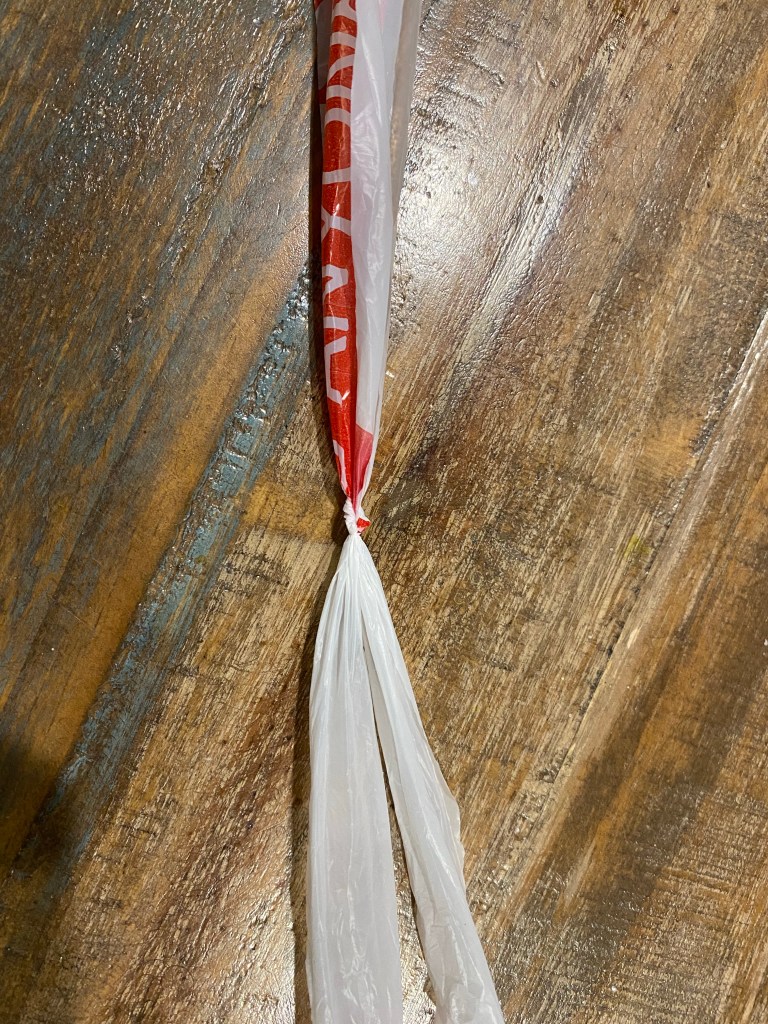
I really enjoy nålbinding, and connecting short sections is the exact method needed for this technique. Rather than making a large length of plarn, I decided to attach as I go. But can I spin it too? Well of course. It actually works quite well to attach a loop, use the hook on my drop spindle on the other end of the loop, and spin just that section. (It is possible to put twist into the plarn with a pencil or fingers if you don’t have a spindle with a hook.) Putting twist into the strand makes it more durable and easier to work with when making stitches. The tighter the twist the harder the plarn feels; I prefer to twist until the diameter is about the same as the knot.
Plastic bag loops attached and alignedTwo loops pulled snug to make a small knotDrop spindle hook used to put twist in the section
I did a short video to show this technique. (I used a new method for closed captions, so check that out too.) This post is getting rather long, so I’ll talk about what I’m doing with the plarn tomorrow.
I have read that some people spin alpaca fiber without washing it. Alpaca fleece does not have heavy deposits of lanolin like the wool from sheep. There seems to be a great debate on whether it needs to be washed, or at least very strong feelings, so I thought I would make up my own mind in the matter with a little experiment.
Singles spun from washed and carded alpaca, washed alpaca, and unwashed alpaca (respectively)
I took three samples from the same fleece (Sugar Plum’s). Two were washed (not scoured, but washed in warm water with mild soap), and third I pulled from the cleanest part of the fleece. One of the washed sections I carded using fine toothed hand carders and made rolags. The second washed section I left uncarded and spun from handfuls. The unwashed section I also spun from handfuls. I did attempt to pull out a rough roving-type bundle of fibers, but after sitting in my bag a couple of minutes, there was little cohesion and it was just easier to spin small sections.
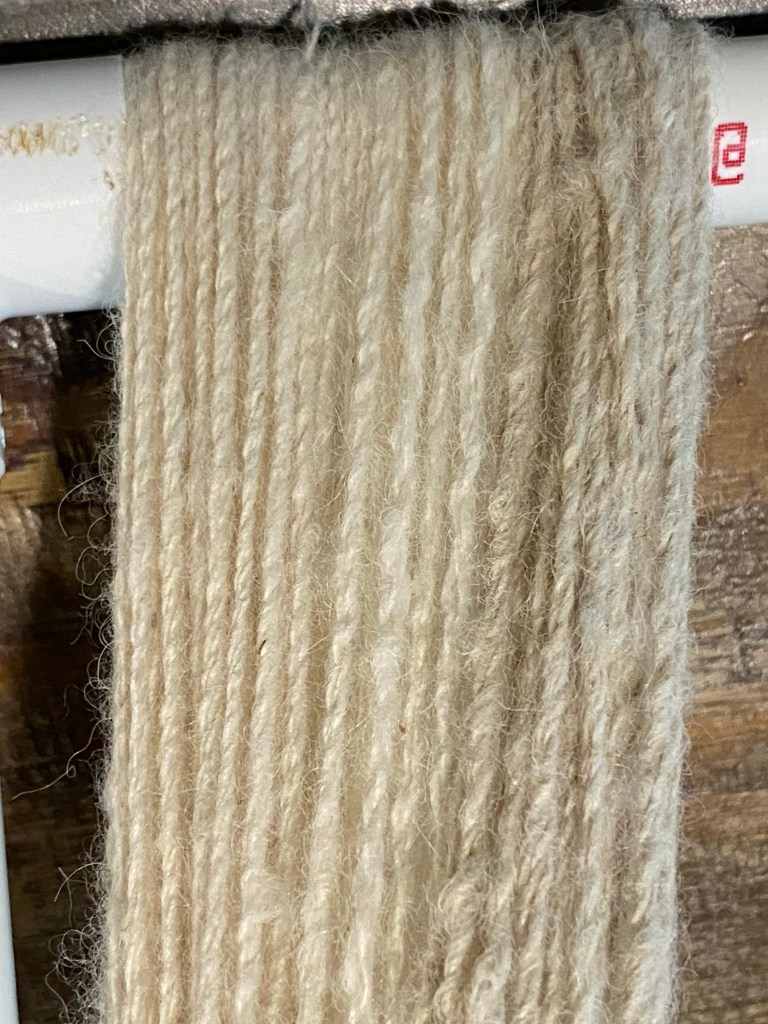
Cabled yarn plied from washed and carded alpaca, washed alpaca, and unwashed alpaca (respectively)
The biggest difference was in spinning the singles. The washed and carded fleece spun smoothly and consistently. The washed uncarded was a little more fiddly to spin especially when I reached clumps of thicker fibers. I had to distribute these sturdier hairs with the finer fibers to keep the yarn from drifting apart. The single also had considerably more halo (fibers sticking out), than the carded sample. It was the same with the unwashed fiber, clumps of fiddly bits and more halo, but in addition, my fingers felt like I had applied lotion. There is definitely some kind of coating on the unwashed alpaca fiber, but it was not unpleasant. I did wrap the unwashed single onto my niddy noddy and gave it a soak in warm water and no-rinse wool wash. Nothing came out of the water. Even though I know the color can change throughout a fleece, I still felt the darker color was due to trapped dirt.
Close up of cabled yarn on the niddy noddy from washed and carded alpaca, washed alpaca, and unwashed alpaca (respectively)
I decided to cable the yarn (ply twice to get a four strand yarn). The differences in fiber preparation made no difference in the mechanics of plying. The uncarded samples still have a more pronounced halo as you can see in the photo above, as well as a less smooth appearance. My plan is to nålbind all the samples with the same stitch (I want to practice a new stitch, so this is a good opportunity).
So how do I stand on the wash or no wash discussion? If I had fleece with very little vegetable matter (VM) and mud, perhaps from a coated animal (the farmer can put coats on to keep the dirt off somewhat, but I don’t know how the animal feels about that), I wouldn’t mind spinning directly from the fleece. The fleeces currently in my possession are not that clean, so I will be washing and carding henceforth.