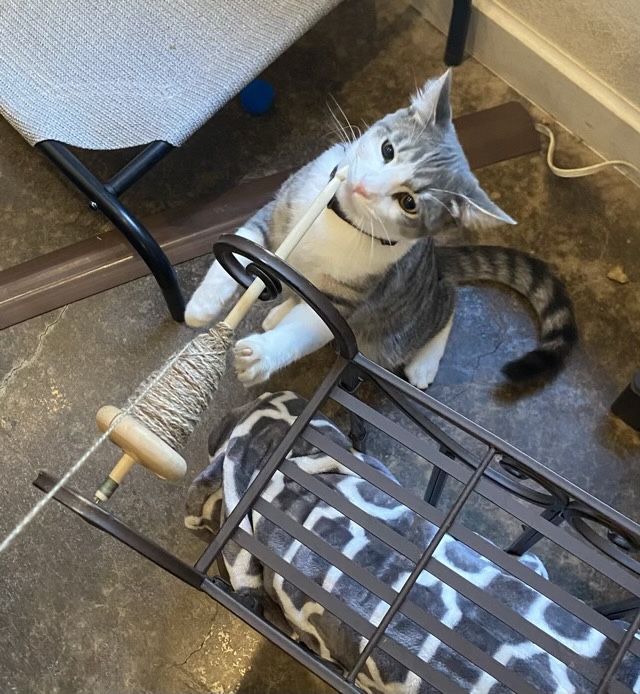
Ok, not a baby cradle, but the cat is definitely interested in what is going on when my spindle is in the makeshift cradle formed by an upside down side table. I put my spindle there because it makes it easier to wind the yarn onto my niddy noddy. As I unwind the yarn, the spindle skips and jumps and makes interesting scritchy noises against the metal.
Photo description: Wooden drop spindle set into the curved legs of an upside down metal side table. Gray tabby sniffing the end of the spindle with one claw caught in the yarn.
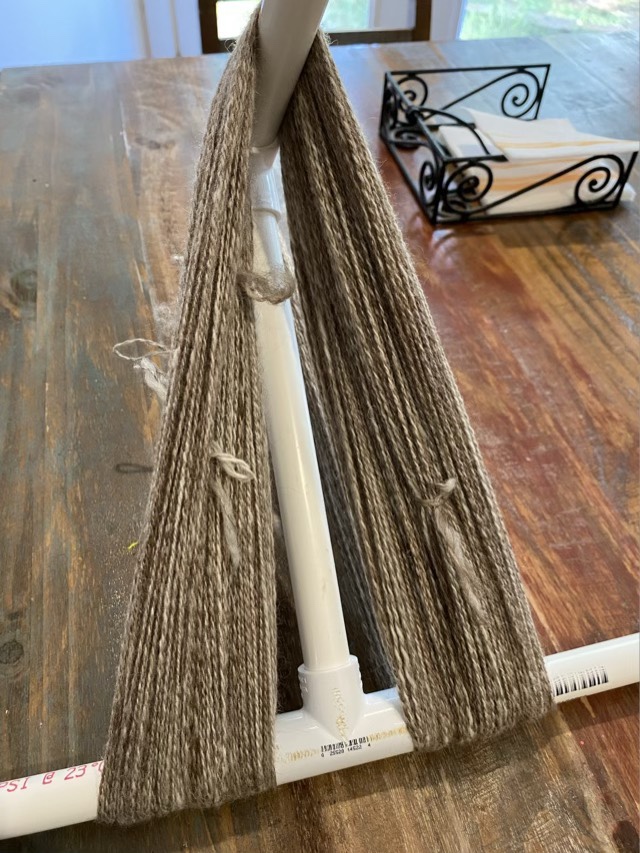
Despite the extra “assistance,” I did manage to get all the yarn onto my niddy noddy. This is the multi-fiber blend from Anniewhere. I’ve wet down the fibers and set them to dry out of the cat’s reach.
Photo description: Several bundles of 2-ply yarn wrapped onto a PVC niddy noddy.
Cats and fiber arts really don’t mix, but it is remarkable how often they do anyway.
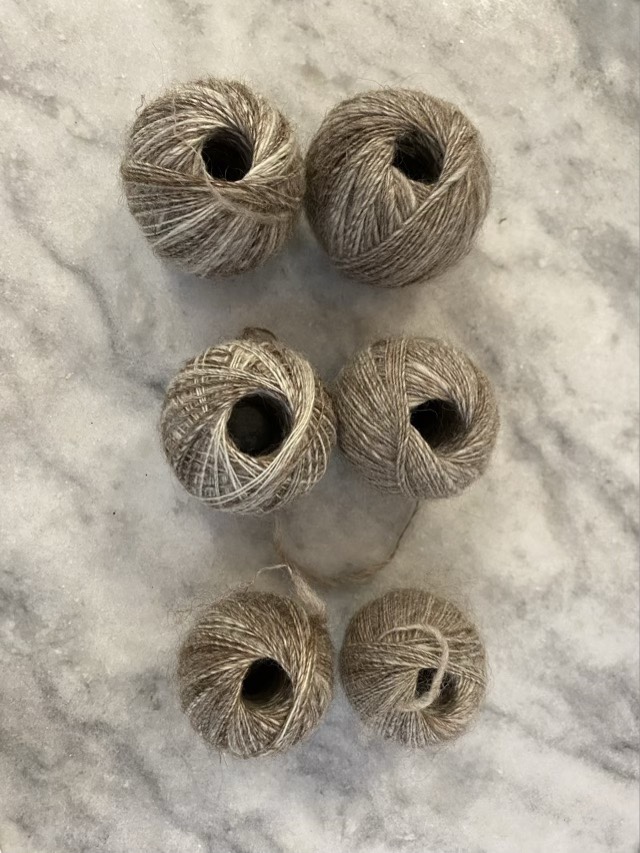
I have spun all my fiber blended by Anniewhere. I searched my fiber stash and didn’t find any more, so it is time to ply. I have six balls of singles, all slightly different colors. To even out the tone I decided to ply two balls together, so sorted the balls by weight.
Photo description: six nostepinne style wound balls of blended fiber, paired by size.
To control the balls while I plied, I decided to stretch the use of my rosewood distaff. The shaft of the distaff fits through the center of the yarn balls, so I put two on, and to keep the yarn from flying off, placed a spherical pencil eraser on top.
Photo description: On the left a rosewood ring distaff with two balls of yarn and a bright yellow heart-eyed emoji eraser on top. On the right my hand made drop spindle with wooden top whorl and metal hook.
This setup works great. I was able to complete my walk and complete the plying without tangling issues, which is huge for a spinner.
Photo description: Same distaff, same spindle, but now there is only one small ball on the distaff and a large cop of two ply yarn on the spindle.
I’ve been trying different ways to dress my distaff. A distaff is a way to hold fiber in preparation for spinning, and placing the fiber on the shaft is called “dressing” because it is very much like placing clothes on a doll.
My first method involved laying out parallel tufts of fiber on a handkerchief, making sure the ends went the same direction and stuck out the bottom. I would then roll up the fiber and fabric on the distaff and tie it loosely with a cord. This worked OK until the fiber was mostly gone, then it preferred to stick to the cloth instead of itself, which made drafting difficult.
The second method I tried didn’t use the handkerchief, rather just the fiber parallel to the distaff shaft, tied round with cord. As I drafted the fibers off, the cord slipped down and became a restricting collar at the base of the shaft, also making it hard to draft.
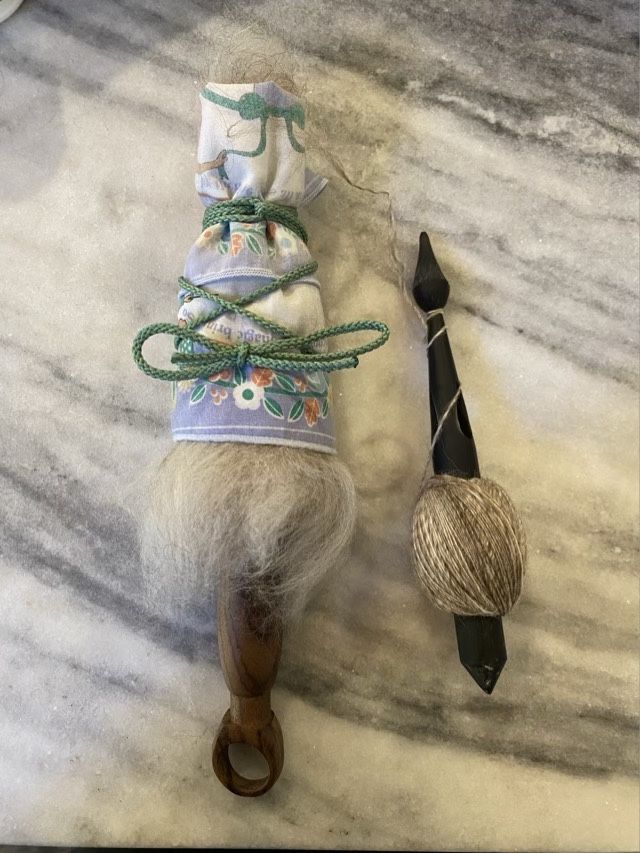
My third method involved rolling the fiber parallel to the shaft, then adding the handkerchief around the fibers in a layer, and tying the cord so that it was tightest at the top. This top secured trick is the key. It was much easier to draft the fibers off the distaff, the dressing behaved itself to the near end when I had enough fiber to hold in my hand without tangling.
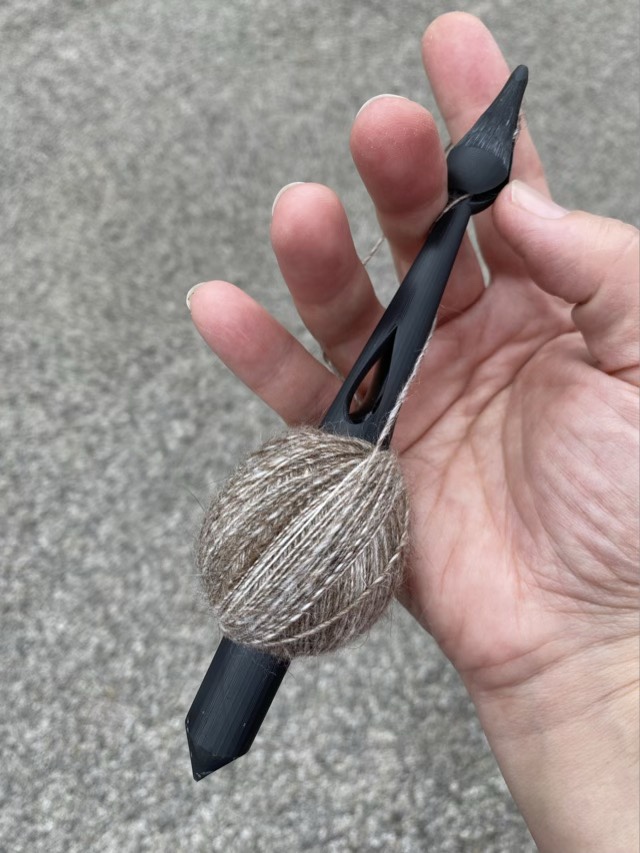
Photo description: Rosewood ring distaff dressed with a blended carded fiber, handkerchief, and cord in a inverted cone shape (left). 3D printed Tough resin spindle with single spun yarn wound nostepinne style (right).
I am still testing the newest spindle design, even though I had a batch run, something was still off, but I couldn’t put my finger on what bothered me. I was having trouble getting a good spin. I thought maybe it was weight, but it didn’t improve as the cop of yarn increased. So I looked at the head, and decided to thin down the top. I used my oscillating drum sander, and with the curve of the drum was able to make just the top of the spindle concave rather than convex.
Photo description: Closeup of the head of my 3D printed spindle, showing a convex surface from tip to midline.Photo description: Same spindle after some sanding with an oscillating drum sander to make the tip to midline concave.
This small change made a huge difference. My fingers now had more contact with the surface of the top of the spindle and I could get it spinning much easier. The grooves left by the rough sandpaper also aided my grip, so I think I will not sand that part smooth. I now need to be careful not to spin the spindle so fast that it flies up sideways, unwinds itself, and falls to the ground. I probably dropped the spindle a dozen times on my walk; there are a couple marks, but it did not break, even when hitting asphalt.
Photo description: 3D printed spindle with a ball of blended single spun yarn on the shaft, held in my hand with the road in the background.
I will sand down the rest of the spindles, then before posting them to Etsy, I still need to develop a decoration and packaging. Development is slow, but inching forward!
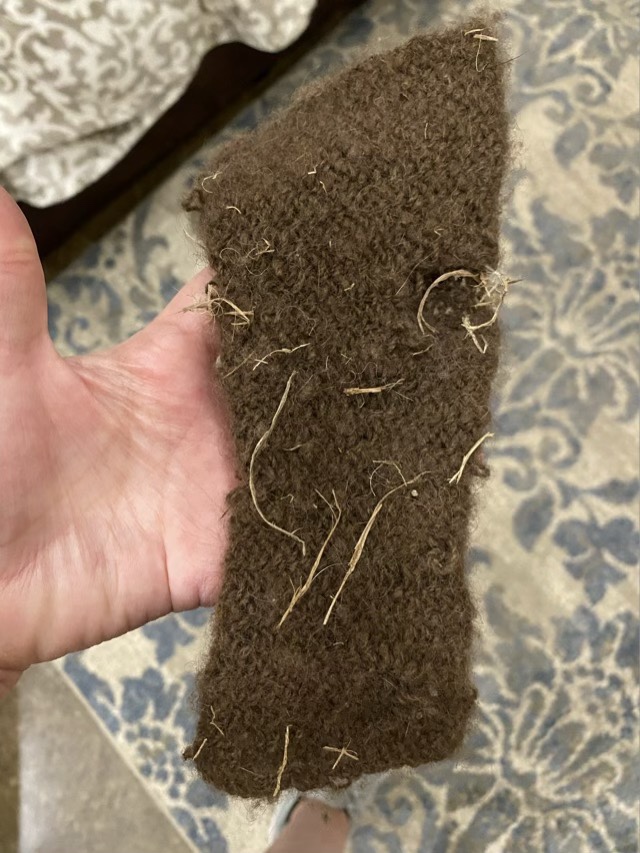
Thor the technical kitten (since he is still under a year old), likes to carry around his toys. One of his favorites is a wrist warmer that I nålbound from home spun bison down. Materials alone make it a pricey toy, but if time invested is considered, it vaults into precious territory. Apparently he took it on a field trip to the catio, then back inside, because I found it on the rug covered in dried grass.
Photo description: Brown wrist warmer made from American Bison fiber, covered with bits of dried grass. There is some felting, and a couple pulled loops in the fabric.
Allowing the wrist warmer to become a toy was a calculated event. The one donated to the cat was a tight fit and I wasn’t wearing the pair. Now it becomes a test of how durable I made the spinning and nålbinding. I’m actually quite amazed that it is holding up to kitten attentions as well as it is.