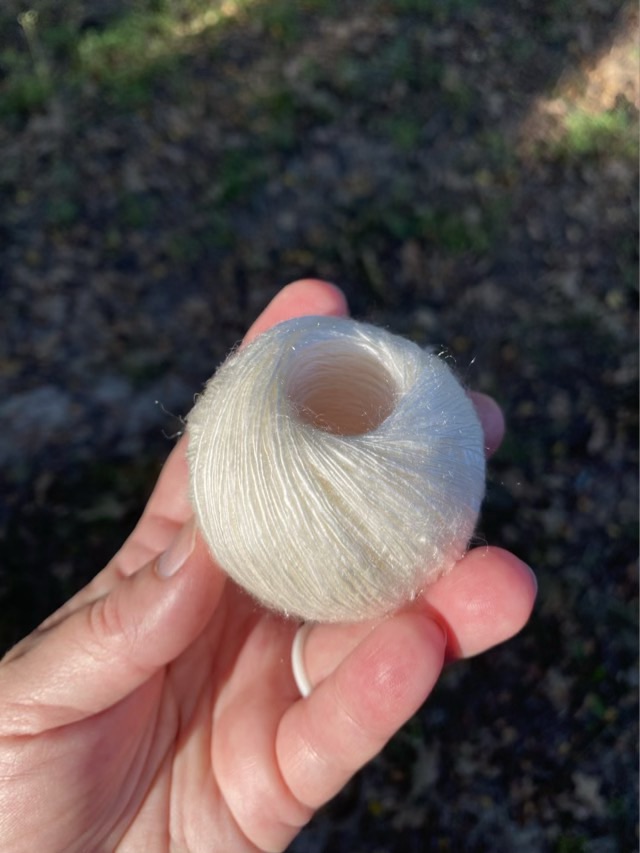
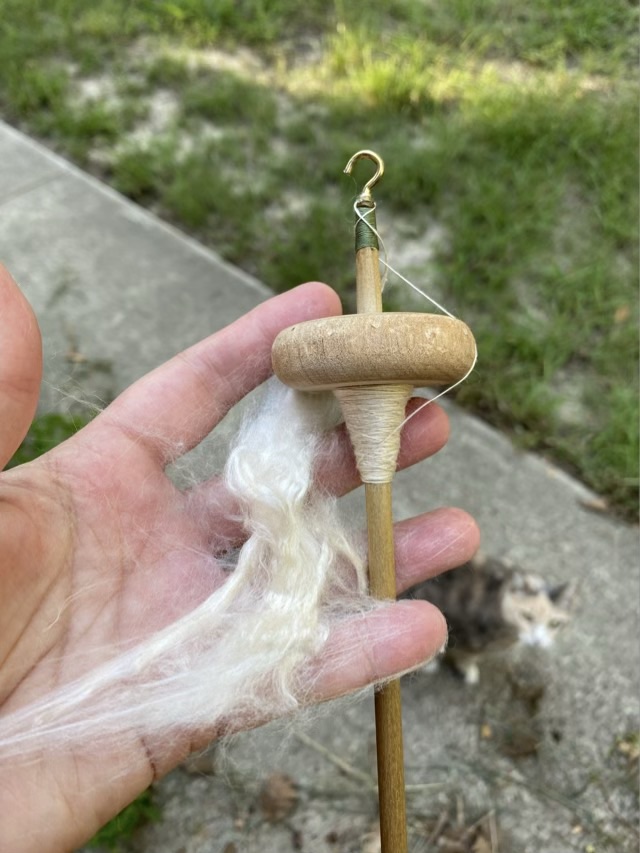
Fiber Page: Ramie

I completed the fiber page for my spindle spun Ramie top fiber from Hearthside fibers. Ramie was pleasant to spin and has a cottony feel but with a long staple length. I experimented with three and four ply yarns.

Photo description: 12 x 13.5 inch fiber page with (clockwise) a sample of macrame on a bamboo stick, the card from Hearthside Fibers that says “Ramie Top Developed in China about 4,000 BC Non-stinging member of the nettle family”, paper bobbins containing single spun, 3-ply, and 4-ply yarn, finger woven sample, crocheted basket weave swatch, plain weave swatch, knitted swatch, unspun fiber in a clear topped drawer
Photo description: sample fiber page with the swatches flipped up to show the descriptions written in white ink on the blue card stock

Caking yarn

Because of the bulk and quantity of yarn I produced on the Ashford Traveller spinning wheel, I decided to let time set the twist rather than do a wet block. Setting the twist in freshly spun yarn gives a more balanced yarn which doesn’t kink up when slack, making it easier to work with be it knitting, crochet, or weaving. A quick way to set to twist is to get the yarn wet and let it dry (there are many variations, but it boils down to this). Time will also set the twist; sitting under tension for a while lets the fibers relax and accept their formation.

Photo description: three-ply bulky alpaca merino blended yarn wrapped on a niddy noddy
Photo description: very thick skein of bulky yarn

I did not have to transfer the yarn to a niddy noddy, I could have wound it directly to a cake, but I wanted to see it in skein form. It was an overfull skein, though, so wasn’t as pretty, but I wasn’t willing to cut the yarn, or make a bigger skein. Oh well. I wound it all into cakes using a Royal New Wool Winder.

Photo description: four cakes of bulky yarn

I have many projects that need completing before I can get to this yarn, so it has some time to sit and settle. It is all queued up though, with the needles and the knitting plan in the bag with the yarn cakes.

Blocking the swatch

My small swatch of hand-spun merino/alpaca dyed yarn experienced a small amount of shrinkage after I rinsed it and let it dry.

Photo description: moss stitch swatch straight off the needles measuring 7 inches
Photo description: same swatch after blocking measuring 6.75 inches, but looking more tidy

The good news is that there was no visible bleed when I blocked the swatch. I was concerned that the beautiful dark red would bleed.

Dividing the last

I spun up nearly a whole bag of alpaca/merino roving, filled up six small bobbins of singles, and two large bobbins of three ply yarn. The roving that remained was not enough to fill three more small bobbins, so I weighed it and divided by three.

Photo description: “rose hip” dyed alpaca and merino roving divided up into three roughly equal parts and put back in the bag, separated by clips. Ashford Traveller spinning wheel in the background with left over single spun yarn on the bobbins.

Dividing the roving worked well, but I still had one bobbin run out of single spun before the other two when I was plying. To use up all the singles, I chain plied the last bits. Since chain plying creates a slightly different yarn than plying from three bobbins (there are U bends in the yarn, but it is still three ply), I knit up my swatch with this last bit of yarn. So I didn’t loose track of which part was chain plied, I knit straight off the spinning wheel. The yarn was nicely balanced, so this wasn’t difficult.

Photo description: knitting a moss stitch swatch straight off the spinning wheel

My spinning and plying created a “bulky” yarn, about 8 wraps per inch (wpi), so I knit with size 11 needles by Prym.

Finger weaving

I’ve wanted to try finger weaving since I heard about it on a Sprang group (it was misidentified as Sprang). In Sprang, there are no weft threads, the vertical warp threads are overlapped consecutively. In finger weaving the warp threads become the weft threads, similar to braiding, but with more threads. I watched video after video before I found this video showing the weaving going out from the center, which made sense to me, and seemed balanced.

Photo description: start of a finger woven band made from hand spun Ramie four ply yarn, anchored on a bamboo skewer resting on a spinning wheel
Photo description: weaving continues, the characteristic chevron pattern emerging
Photo description: the end of the weaving secured with two rows of macrame knots

I wasn’t sure how to end the weaving, I’ve seen some bands just knotted at the end, but I want to put it in my fiber book, so the finish needed to be relatively flat. I opted to run two rows of double half hitch knots along the angles of the weave, which I think came out complimentary.

Photo description: back of the weave, showing the back of the knots and the sewn hem at the top

This was an interesting exercise, and finger weaving is a nice addition to my craft repertoire. It is nice that it can be done by anchoring one end, rather than needing a loom, and it comes out thinner and more flexible than macrame. It is more interesting with multiple colors.