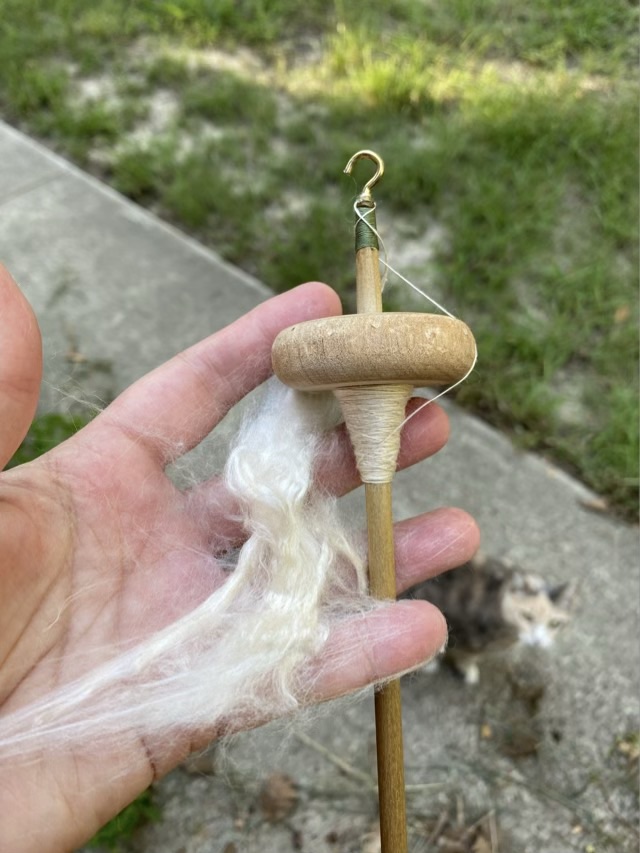
I finished spinning Egyptian cotton single spun yarn onto three bobbins on an Ashford Traveller spinning wheel (Yes! I spun cotton on a wheel using a high speed whorl.) I found the largest diameter on the high speed whorl, the one that matches the bobbin end diameter, worked best for me. The smaller diameter gears went too fast and I over spun. I also had the wheel set up with Scottish tension with a very light take up on the bobbin. I prefer to dictate the amount of spin in my yarn rather than have it controlled by the wheel.
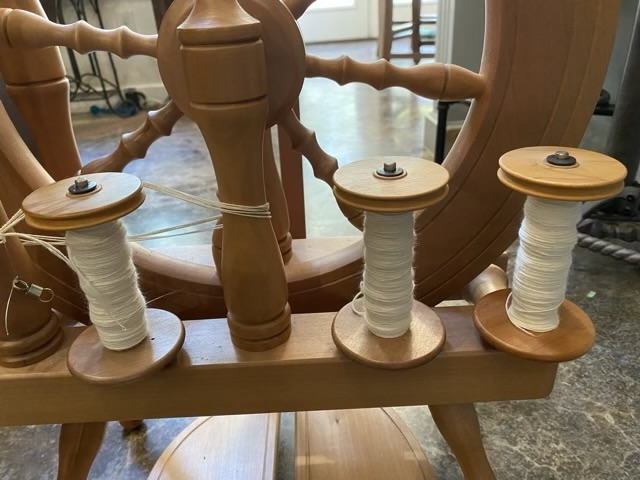
The next task was to ply the cotton. I was nervous about this because the singles had a high degree of twist, and liked to kink up. If a strand broke I would also be dealing with the rapid unwinding of the single, which results in a whole sale unbinding of a large section of yarn (ask me how I know). I did let the singles sit on the bobbin for a few days to set the twist a little. Remarkably, I was able to ply the yarn from the three bobbins with no breakage and only a few missed kinked knots.
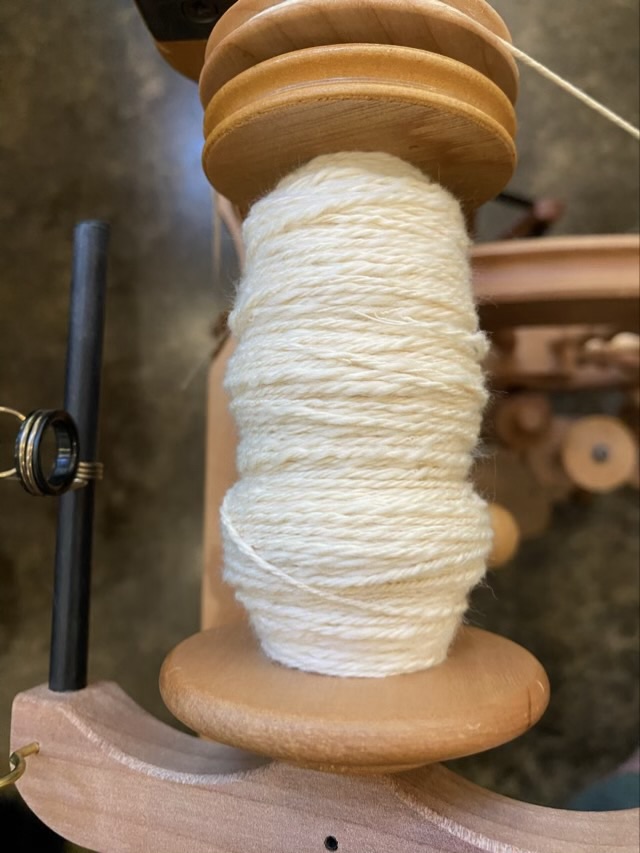
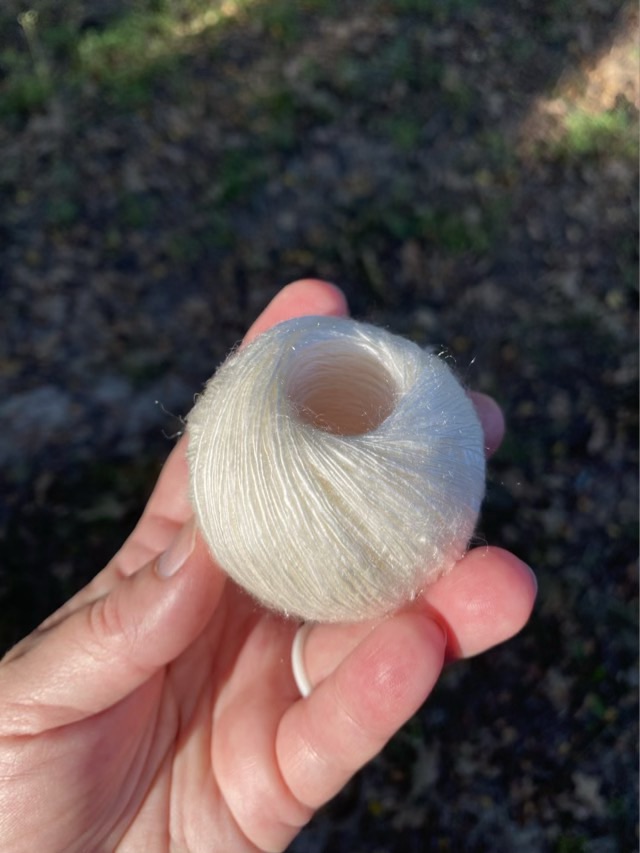
My spinning definitely looks like homespun, but as I practiced, my technique improved and there were some sections of smooth and even spun yarn.