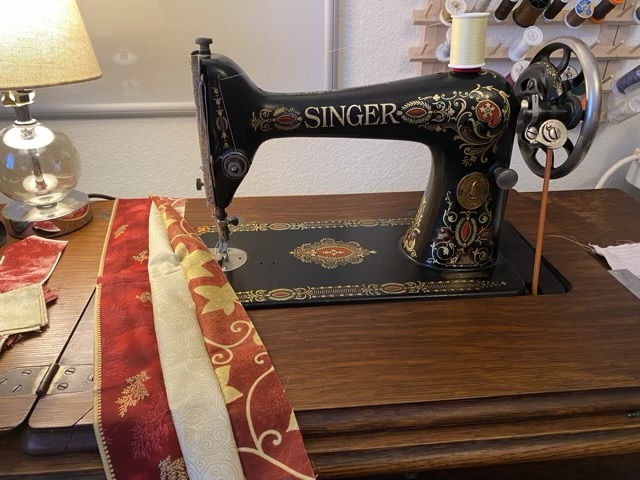
Now I’m sewing strips of scrap fabric together with the Singer model 66 treadle sewing machine. I’ll figure out something to make with the pieced together fabric later (probably bags, I like bags), but for now it is an easy way to exercise the machine. My treadling is getting better as well; in those long straightaways I can really get the speed up!
Photo description: Singer model 66 treadle sewing machine from 1916 with strips of red and cream fabric sewn together lying on the work surface.
With an electric sewing machine there isn’t quite the thrill going top speed as there is with a treadled machine, knowing you are providing the power boost.
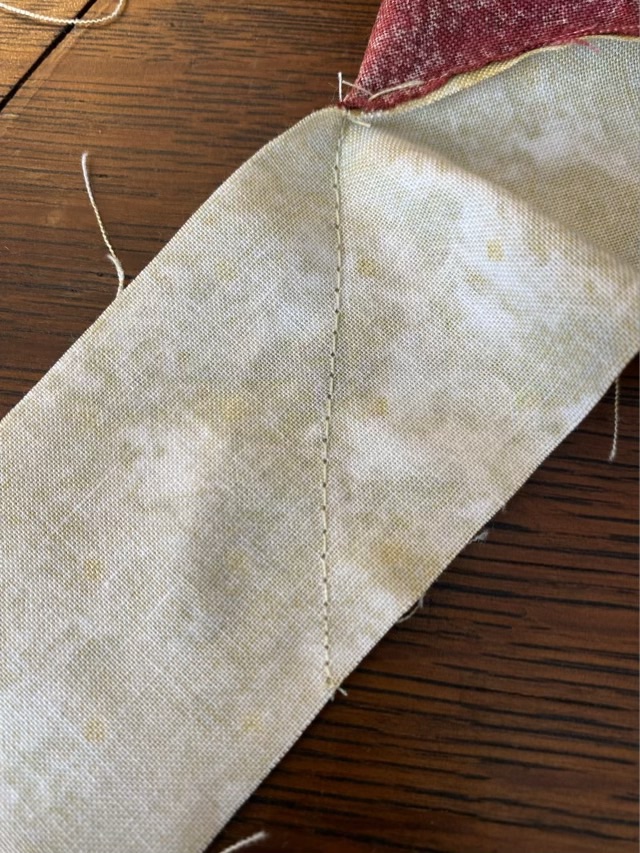
Here is another way to reduce the likelihood that machine sewn stitches with unravel: tiny stitches. On a sewing machine that doesn’t have a reverse stitch, like my Singer model 66 treadle, turning the knob to the left to make the stitches smaller for a few stitches, then back right to increase the stitch length for the rest of the seam, is a little extra insurance. It also helps work the sewing machine oil (SMO) into the threads of the knob. Bonus.
Photo description: seam stitched on the diagonal of a light colored fabric strip showing smaller stitches at each end of the (wavy) stitch line.
This actually takes about the same time as turning the fabric and making a “reverse” stitch, currently. The stitch regulator knob of the 107-year-old machine is still a little stiff.
Yes, I can sew a straight line. I just need more practice sewing a straight line while turning a regulator knob and controlling the balance wheel so it doesn’t go backwards and break the thread. Goals.
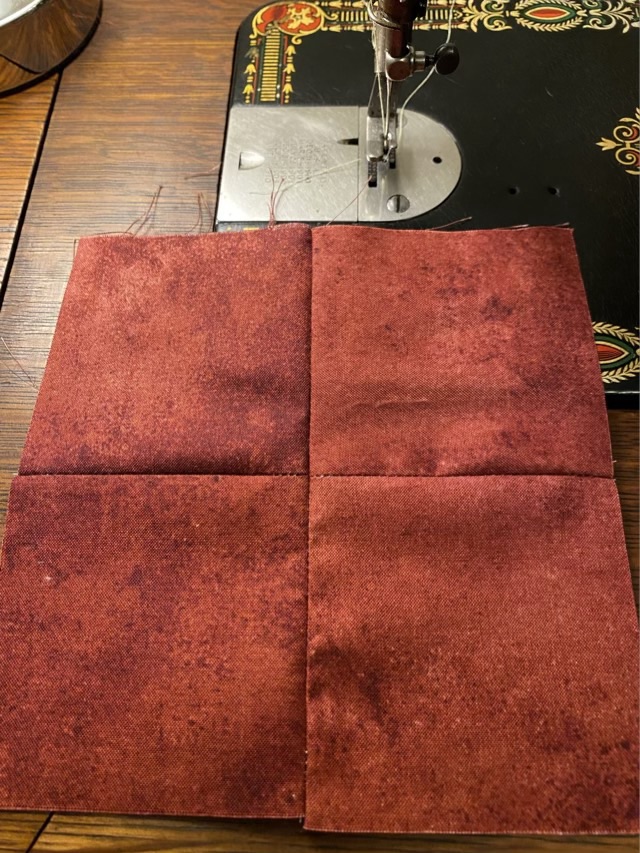
I bought a grab bag of scraps from the local quilt store because it had fabric that matched what I have in my stash. I set it on the sewing table of the Singer model 66 and later decided to try sewing some squares together. I haven’t pressed the seams yet, but I love the way the machine works. It is the advice from The Treadle Lady to take these old machines on a “Sunday drive”. Using them weekly encourages proper regular maintenance, and keeps everything moving.
Photo description: Four squares of red fabric sewn together on the surface of a Singer model 66.
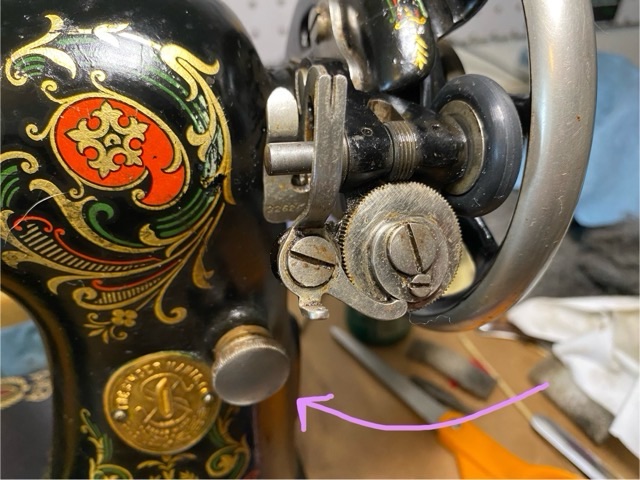
I thought the Singer model 66 was set at the tiniest stitch, so I’ve been gradually turning the stitch length knob, pictured below and marked with an arrow, to the left. This knob on both my machines was quite difficult to turn and needed extra sewing machine oil, and a wrench with the jaws wrapped in leather, so as not to damage the knob.
Photo description: Balance wheel side of a Singer model 66 sewing machine, with an arrow pointing to a large silver round knob which controls the stitch length.
My assumption was wrong. Turning the knob to the left makes the stitches even tinier!
Photo description: Light colored fabric with concentric rectangular stitches. The outer stitches were done after turning the knob to the left. The inner stitches were after turning the knob almost all the way right.
So now it makes sense that I have seen these knobs all the way screwed in, the longest stitch works well for sewing the most common fabrics. There wouldn’t have been much call for changing the stitch length, so more time for the knob threads to seize up.
I also figured out a way to “reverse” stitch on the treadle machine that absolutely does not have a reverse capability: I turn the fabric around. I sew a few stitches, bury the needle, lift the pressure foot, turn the fabric 180 degrees, lower the pressure foot, sew a few stitches back to the beginning, then turn again and continue with my seam. Here is a video. These stitches are so small I probably don’t need the extra reinforcement, but it makes me feel better.
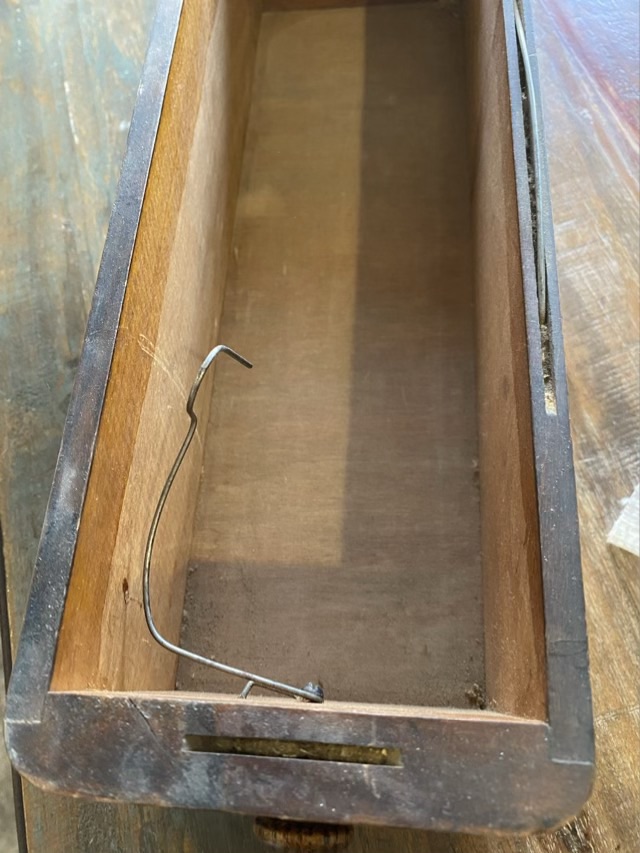
In one of the drawers of the Singer model 66 cabinet, there was a metal wire hook. Very strange.
Photo description: Inside of a wood drawer from a Singer treadle cabinet, with a wire hook attached to the screw for the wood knob.
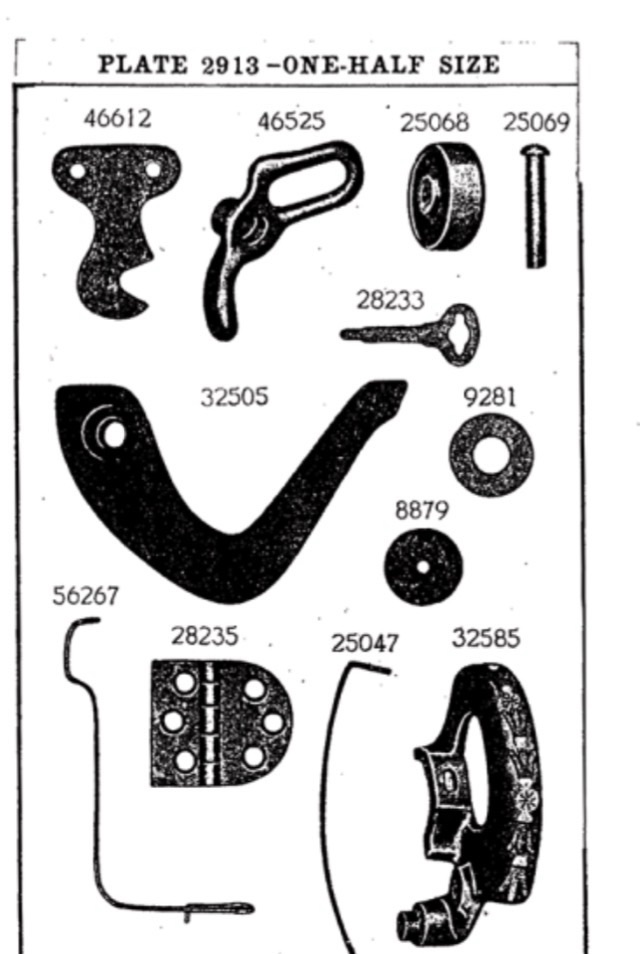
I asked on a couple FaceBook groups what the purpose of this hook was, and had many guesses, but no firm knowledge. I also signed up for the email list for TreadleOn.net, which talks exclusively about people powered sewing machines. It took a few days, but then a couple people chimed in with their informed guesses. From what I can piece together, this was intended to hold bobbins, and was an original Singer part 56267, as pictured in an illustrated plate (shown below) from MillardSewing.com.
Photo description: Illustrated plate of Singer sewing machine parts.
From what we could gather, this part was only produced for a short time. Users found it annoying and often removed it. Many people answered my question with better solutions for bobbin storage.
My hypothesis, as a long time crafter and person who sews, is that the hook was intended for bobbins, but not for storage. It is mentioned in the Singer manuals, frequently and with urgency, that bobbins should not be wound with additional thread. The old thread should be removed before winding on a new color. I have personally seen evidence that the sewing machine users blithely ignored this advice, because ALL (yes, all) of the bobbins from my model 27 and model 66 had multiple colors of thread. I believe the Singer engineers fashioned this hook to make unwinding the bobbin easier. I tested with this in mind, and it works beautifully for that purpose. A single bobbin can be threaded on to the hook, it holds the bobbin securely while letting it spin, and while unwinding the thread, the bobbin does not jump across the room and hide under the dresser, as happens every time I have unwound a bobbin previously. Maybe users found the need to not waste thread more urgent than the smooth operation of the machine. I don’t know. The modern solution is to have a plethora of bobbins, minimizing the need to unwind. I will be keeping the wire as is, and will use it for unwinding. I do appreciate good engineering.