I can’t go up to my craft room without sitting down and sewing on the Singer model 66 sewing machine. Regular use keeps it in working order, moving the oil around the parts and keeping things from seizing up. I just have to plan an extra ten minutes (minimum) when I wander up there to sew a few more scraps together.
Photo description: sewing fabric scraps together on a Singer model 66 from 1916.
I also need to plan extra time to extradite Izzy the cat, who knows as soon as the craft room door is open and makes a beeline for the bed.
Photo description: Pleased calico cat sitting on the day bed.
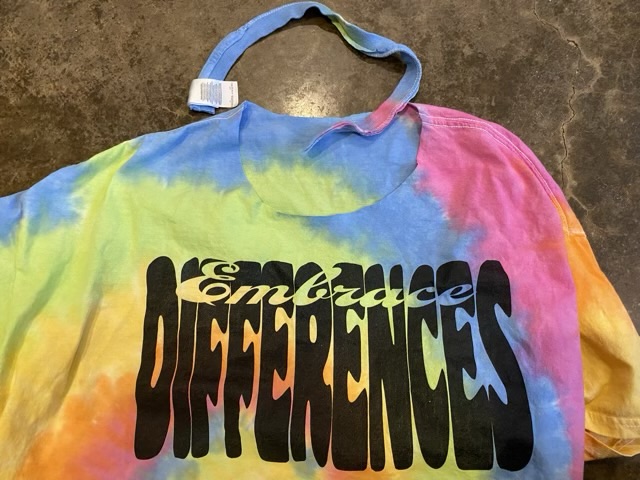
Crew neck t-shirt necklines bother me. I don’t like things touching my neck, but I do like the longer short sleeves and longer hem of crew neck shirts. I have found a new way to fix the problem.
Photo description: rainbow tie-dye crew neck t-shirt with “Embrace Differences” in black (my design and available on TeePublic), with the neckband cut off.
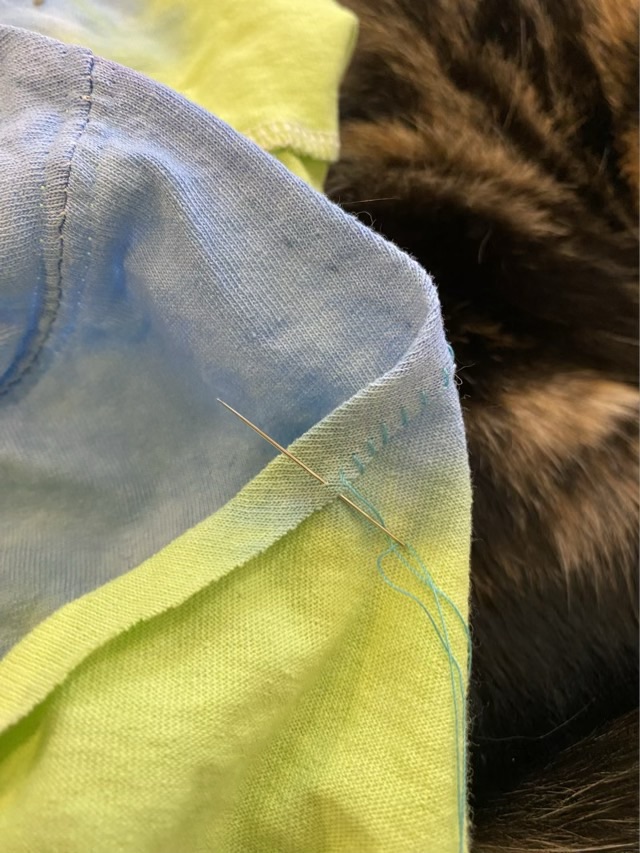
Rather than leave the raw edge, which looks OK from a distance but untidy up close, I whipped stitched a tiny hem around the neckline.
Photo description: picking up a single thread from the back side of the fabric with a needle.Photo description: whip stitch continues through about a 1/4 inch of the raw edge of the hem.Photo description: inside-out view of the finished neckline hem.
Yes, it is hand-sewing. I did see a tutorial that used a narrow zigzig machine stitch, but I’m not good with knits and machine stitching. I like sewing some things by hand because it gives me more control.
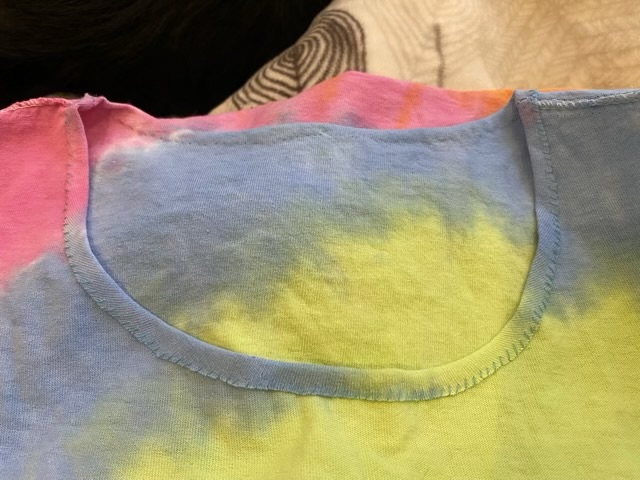
Photo description: three t-shirts with new hand-sewn necklines.
I liked this method so much, I pulled shirts from my closet and redid them as well!
I purchased a bag of quilt scraps from my local quilt store. I love the owner’s eye for color, and it gives me something to exercise the Singer model 66 treadle sewing machine. I know that the scraps I sew together will eventually be used to make something purposeful, and this time I didn’t have to wait long.
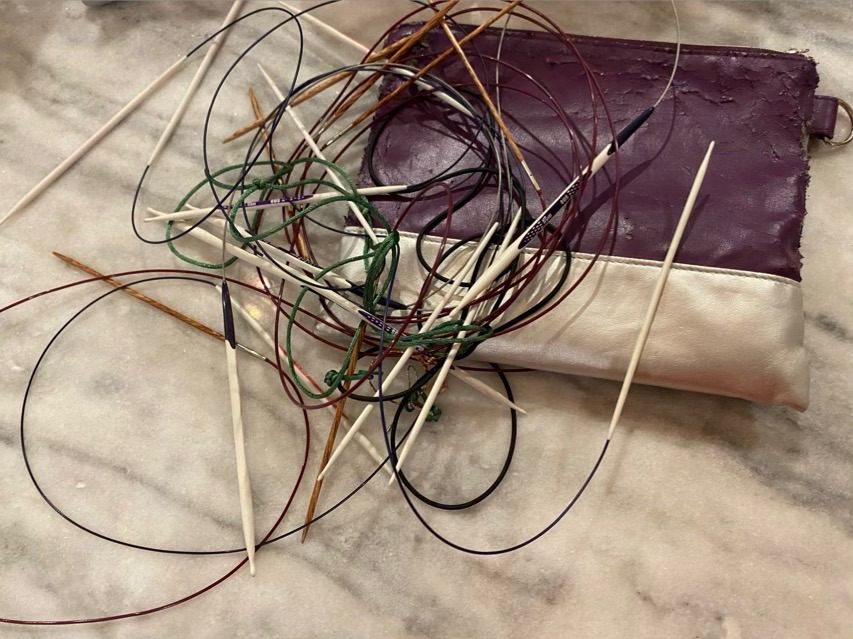
The free bag I was using to hold my circular knitting needles disintegrated, literally. The outer coating was peeling off. Storing circular needles in a pouch is also problematic as they tend to tangle and be a right mess.
Photo description: tangle of knitting needles, cable, and cord, laying on a purple and silver ragged bag.
I decided that the long strips of fabric that I have been sewing together would do well for the base of a knitting needle case. I paired it with coordinating fabric from my stash (yes, I had matching fabric for the quilt scraps), and layout a folded design that will create 12 inner pockets and two outer pockets.
Photo description: long red and cream strips of fabric sewn together matched with an ivy print fabric laid out right sides together and double folded at each end to make pockets.
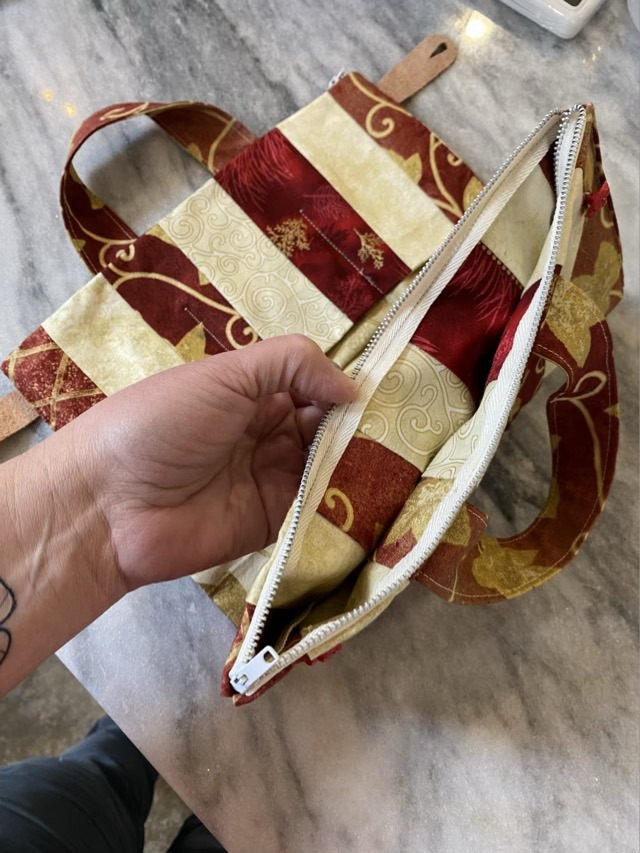
I sewed the two base pieces of fabric together using the treadle sewing machine, leaving a small gap, then turned the case right-side out. I pressed the whole piece, then laid out the side pocket folds. I sewed zippers across the edges of the outer pockets using oversized vintage zippers.
Photo description: two zipper halves, sewn facing away from each other on a flat piece of fabric will create a pocket when zipped together.Photo description: two zippered pockets shown closed and laying on the table top of my treadle machine.
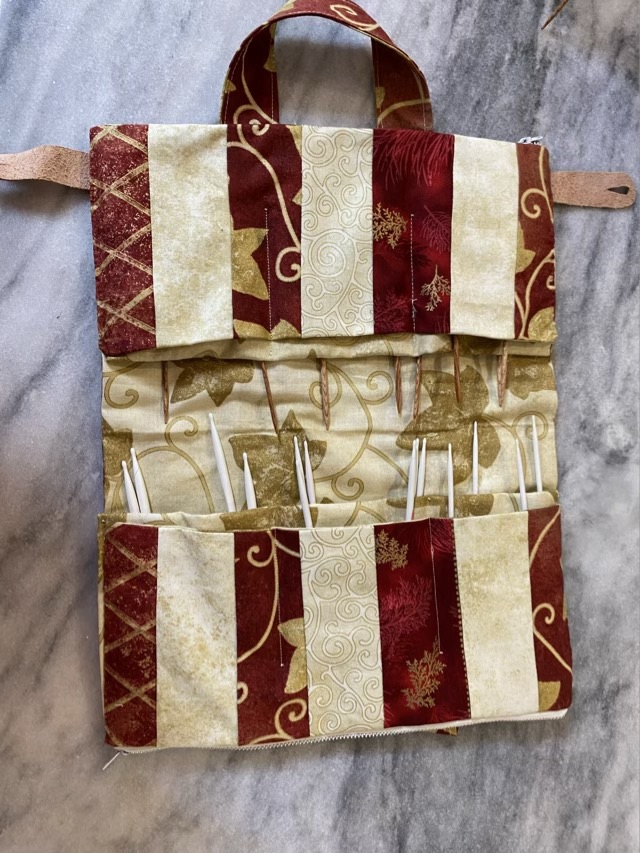
To make the inner pockets, I measured out three sections on each side and sewed from the top of the inner pocket down to a couple inches shy of the zipper. This is so when accessing the pockets from the zippered side, the bottom is closed, but the pockets aren’t too deep to reach the bottom. This took some experimentation. And seam ripping.
Photo description: 12 inner pockets shown with circular needles tucked inside and the dividing seam stopping two inches from the bottom.Photo description: zippered pocket open to show two inches of clear space.
I hand-sewed the sides of the pockets together because there were 16 layers of fabric at the edge. None of my machines can handle that fabric load. A simple straight stitch with teeny tiny outside stitches did very well to pull the fabric together neatly.
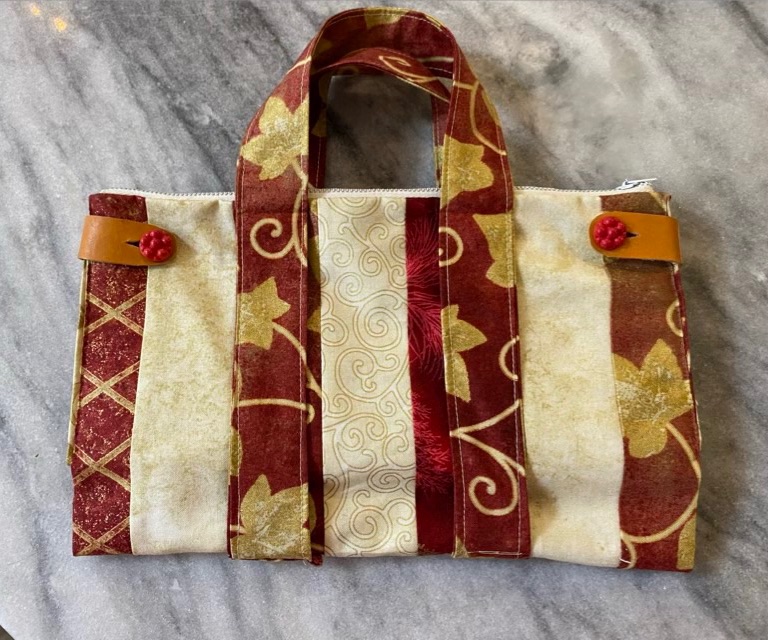
I used the treadle machine to sew two long strips of fabric together, turned it right-side out, stitched along the edges, then sewed it into a circle to make the handles. I machine sewed the handle to the bottom of the bag, then hand sewed the handle to the top of the bag. To keep the bag closed, I cut some thin pieces of finished leather, cut in button holes, and sewed them to the sides of the bag. I found vintage red buttons in my button stash and hand sewed them on.
Photo description: finished knitting needle case
All done! All the sewing was done either by hand or with the 1916 treadle sewing machine. The zippers and buttons are vintage, and the whole project cost me only time, since the fabric was sourced from my stash. Now my circular knitting needles are neatly stored and organized, with space for stitch markers, rulers, and other knitting necessities in the zippered pockets.
Ok, so this is probably the silliest I’ve ever made, and that’s saying something. I repaired the broken leg in an old side table that had been used as a bench (yesterday’s post), and rather than tempt fate by putting a solid top back on, I made it into a cat hammock.
Photo description: elegant wood table with curved legs with a light pink fuzzy padded edge cat hammock attached.
I had a pink fuzzy blanket that had already been cut into for another project (we couldn’t find the fabric by the yard, so bought a blanket), and sewed a two sided mat. I stapled the mat down to the table top, over the central opening. I then sewed a long tube of the fabric, stuffed it with polyfil and sewed that down on the mat. It is quite the sight. The cats are not too sure of it, so I put it beneath the front window where it will get some sunlight. I’ve sequentially put all three cats on the bed; all have rejected it. I’ll give it some time.
Photo description: Thor the gray tabby standing on the new fancy cat bed.Photo description: Sophie the dilute calico standing on the new fancy cat bed.Photo description: Izzy the calico sitting on the new fancy cat bed. After the photo she moved up to the window sill.
Running out of thread on the sewing machine bobbin two inches from the end of the seam happens on antique machines as well as modern machines. Sigh.
Photo description: empty bobbin on a Singer model 66 treadle sewing machine along side an unfinished seam on yellow and red quilting fabric.
Despite the frustration, this was good practice to see if I remembered how to wind the bobbin and rethread the machine. I didn’t. I rethreaded the machine three times, wondered why the feed dogs weren’t moving, so took off the foot and the needle to look, forgot to disengage the bobbin winder, and put the needle in backward. After another few minutes of troubleshooting I realized the stitch length knob was set for teenie tiny stitches, so fixed that (feed dogs work fine). Then I disengaged the bobbin winder (which is easy to accidentally bump into position). It took seven practice seams before I finally went looking online for reasons for skipped stitches and then discovered the needle was in backwards. Oh for crying in the mud. The machine works great, the operator still needs some training.