What? I’m advocating the return of the mini skirt? That is very unlike me, what is going on?
It is the legging craze. So comfy, with bright colors, no zippers or buttons, easy on and off. Leggings are a great option for my very flexible youngest, who struggles with tight jean buttons. But schools are not keen on leggings and t-shirts (and there are so many t-shirts with great messages!) So here is my solution: the mini skirt. In particular, a knit skirt made from material that flexes like leggings but covers past the fingertips like a tunic or dress.
The skirt my youngest is modeling (she insisted our dog be in the picture, and he is so cute) is made from the bottom of a t-shirt. Following the rules and repurposing? Win win. I sewed some soft elastic at the top to help it stay on. I am going to make her some in every color! She gets to wear her favorite leggings and t-shirts, and we follow the rules. So, I’m advocating a mini skirt return… with leggings.
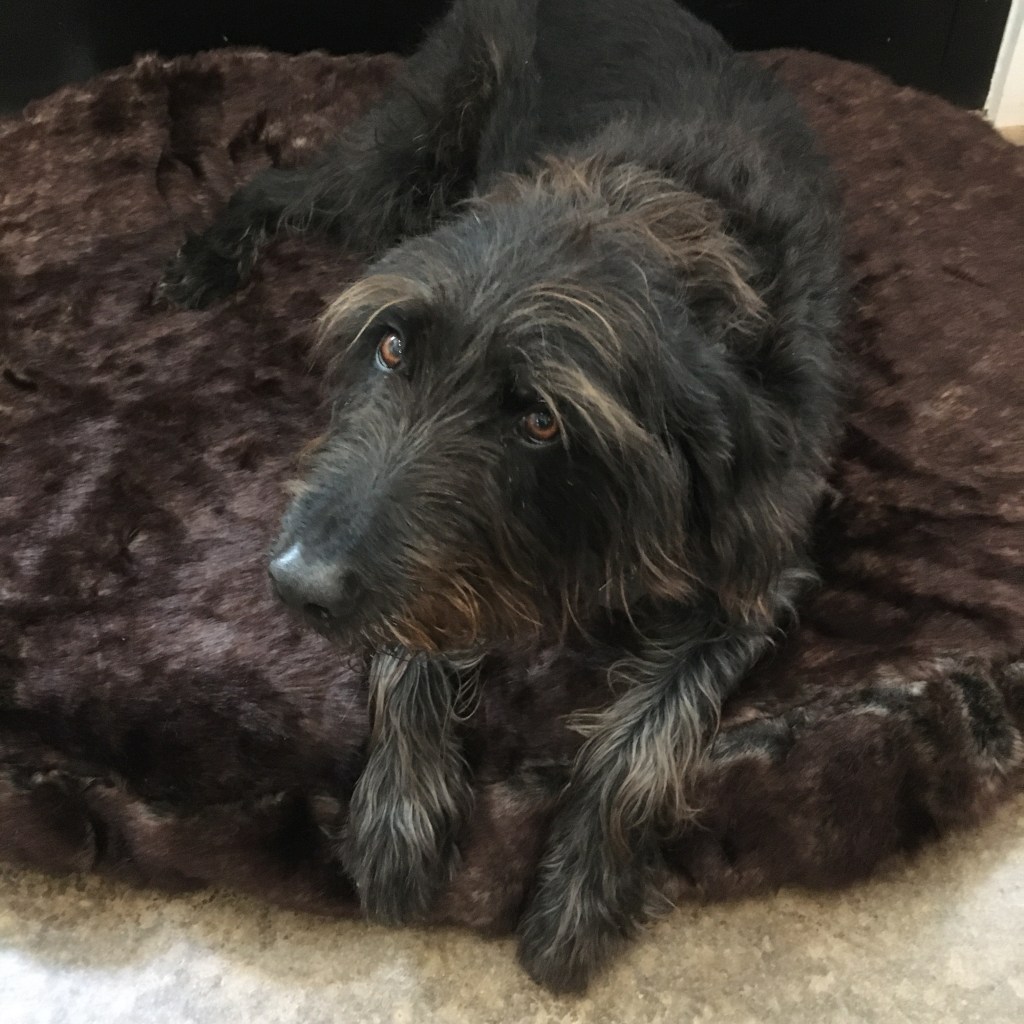
My puppy is getting old. He will be 7 this summer and it will be time to switch to senior food. Wha? I thought his middle aged bones might need a cushy bed. All previous cushy beds died a torn death, so he sleeps on a pile of blankets with no hems (he has a thing against hems and nibbles them off). He will still have blankets in his kennel, but when laying out in the living room with the family, I thought he needed something better than the concrete floor. We have tried the “chew proof” dog beds, but the thick canvas like material made too much noise for him (yes, I have prissy dog). I also didn’t want to spend much in case he rejected it. What I found on sale had a white fluffy top. All the fluffy soft quiet tops of reasonable price were white. I have a black dog. It only took a week to see the dog hair.
Black dog and white beds don’t mix well
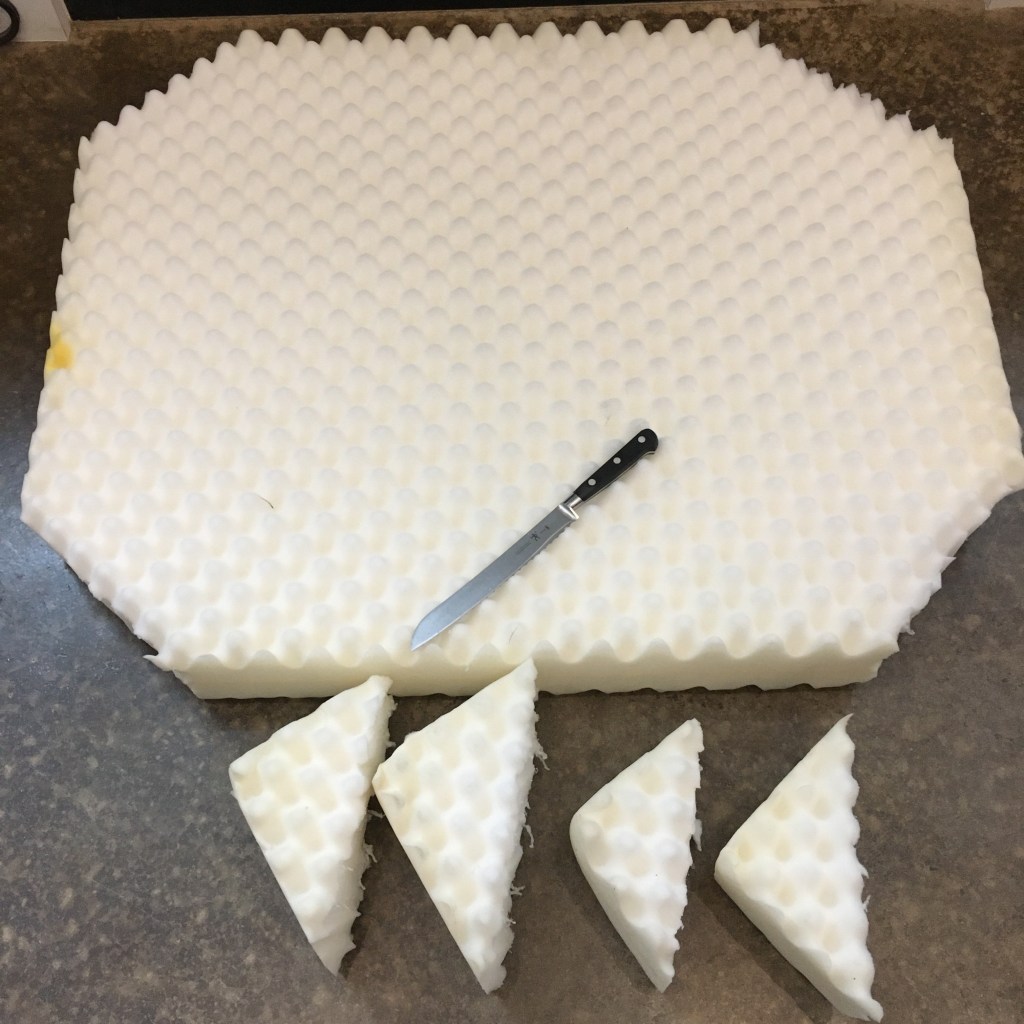
The good news is he likes it. So since he likes it, what do I do about that no longer white top? Recover it, of course. I found some beautiful fake fur fabric at the hobby store, and purchased some less expensive fleece for the bottom. Sewing square corners is not my favorite activity, so I trimmed the corners of the cushion (which is just two layers of egg crate foam glued together). Scissors couldn’t handle the thick foam, but a serrated knife slid through easily.
Trimmed corners on dog bed foam
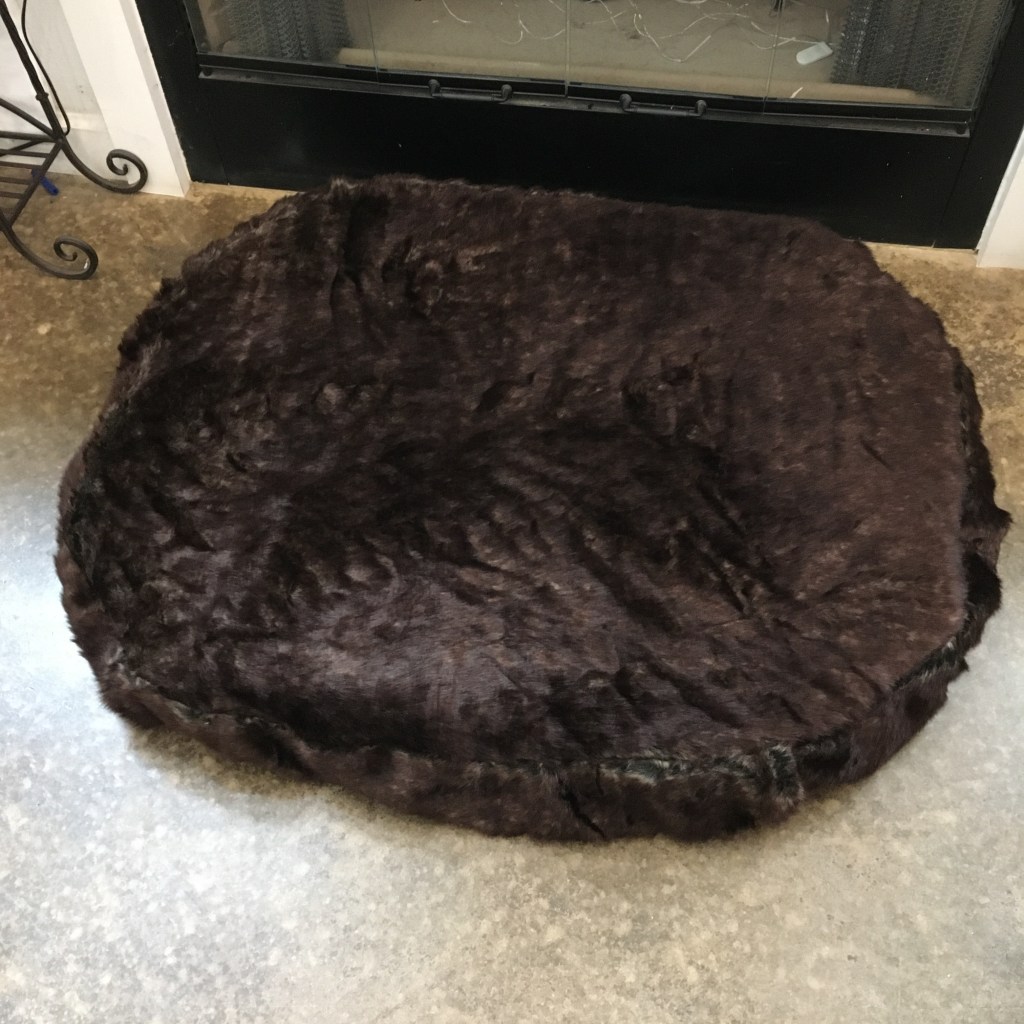
I also literally ripped out the zipper from the old cover and reused it for the new cover because I couldn’t find a zipper longer than 36” at the store. I did pick the stitches on the end of the zipper, but then it ripped out quite nicely (and much faster than using the seam ripper the whole length, ugh). I cut an oval out of the fake fur, and a matching oval out of the fleece, then cut strips for the sides. Sewing fake fur is a tricky business as the thick fur slides and doesn’t like to line up, but I finished sewing it and put it in the foam.
Recovered dog bed
I measured for 1” seams, but ended up with an average 1/2” seam, so the fit of the cover is loose. The fur is forgiving, though, so I think it still looks good. Not neat and crisp, but homey and comfy, which fits our style. And I spent less overall than the high end beds at the store. Phew!
He likes the bed, but doesn’t understand why I am taking a picture
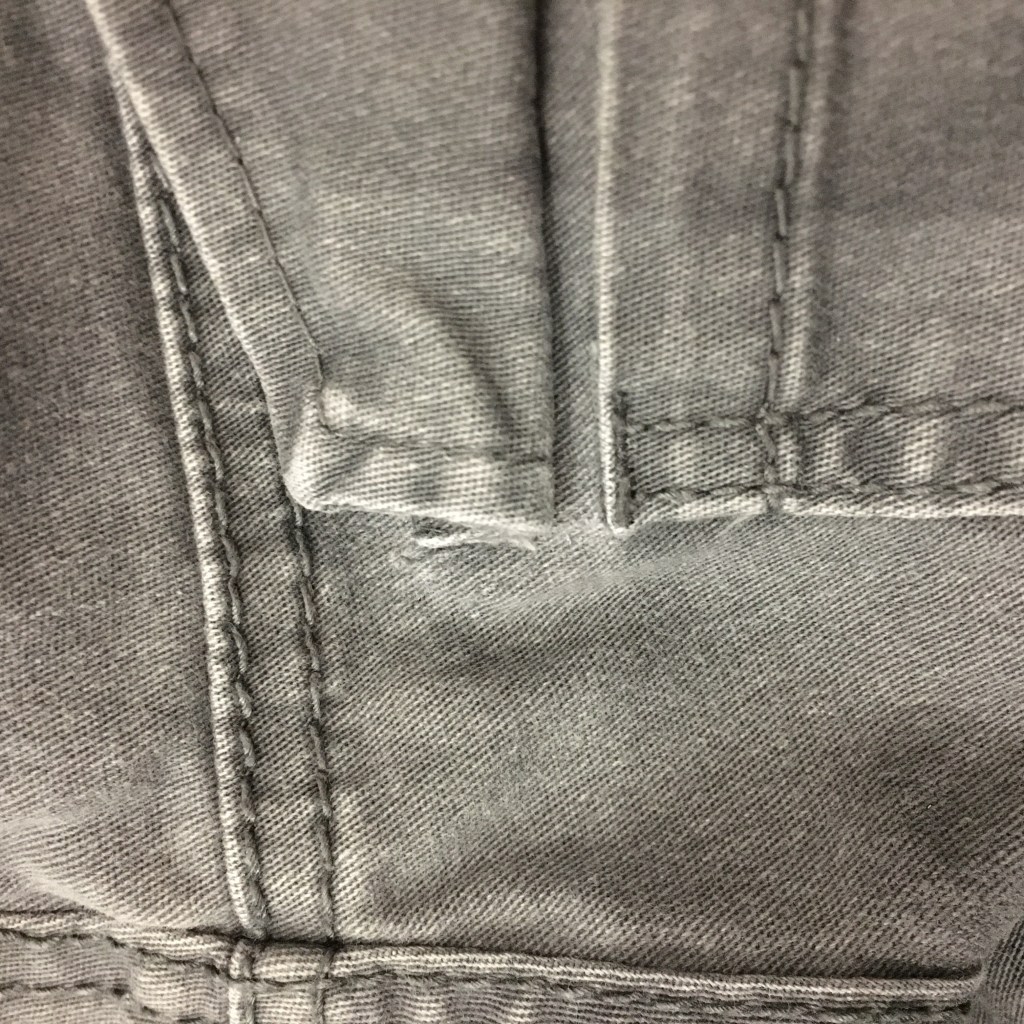
I tried a new method of rip repair on my eldest’s pants. It always seems to be the back pocket the pulls apart at the corner. Probably because this is where she puts her phone! I’ve tried a whip stitch, which looks bad and pulls apart, a mattress stitch, which also pulls apart, and reweaving which is effective but visible. I had the idea this time to use the weaving method, but only pick up fabric threads from the wrong side of the fabric. So I sewed back and forth across the rip rather than along the rip. The hope is that I caught enough fabric to support the thread, and the thread will hold the rip closed.
Repair barely visible from right side of the fabric
The idea came from browsing all the beautiful embellished repairs on Pinterest. However, my eldest likes subtle, so didn’t want me to use rainbow thread on the outside! I can report that at the end of the day, the stitching still held. Hurray!
My youngest likes to dance, and we are now in the sparkly costume part of the year gearing up for performance. The group costume this year is awesome: sassy yet covering, stretchy, easy on, one zipper (this is the big one for me, I’ve had to lace corsets on other costumes. No thank you.)
Hemming up sleeves
However, the sleeves are super long on her. I found some invisible thread (clear monofilament designed for sewing) and folded the sleeve inside out, and did a straight stitch around the existing cuff seam. I stretched the stitches out, but not enough. Oops. The stitches lasted through dress rehearsal, then popped. So I had to sew them again.
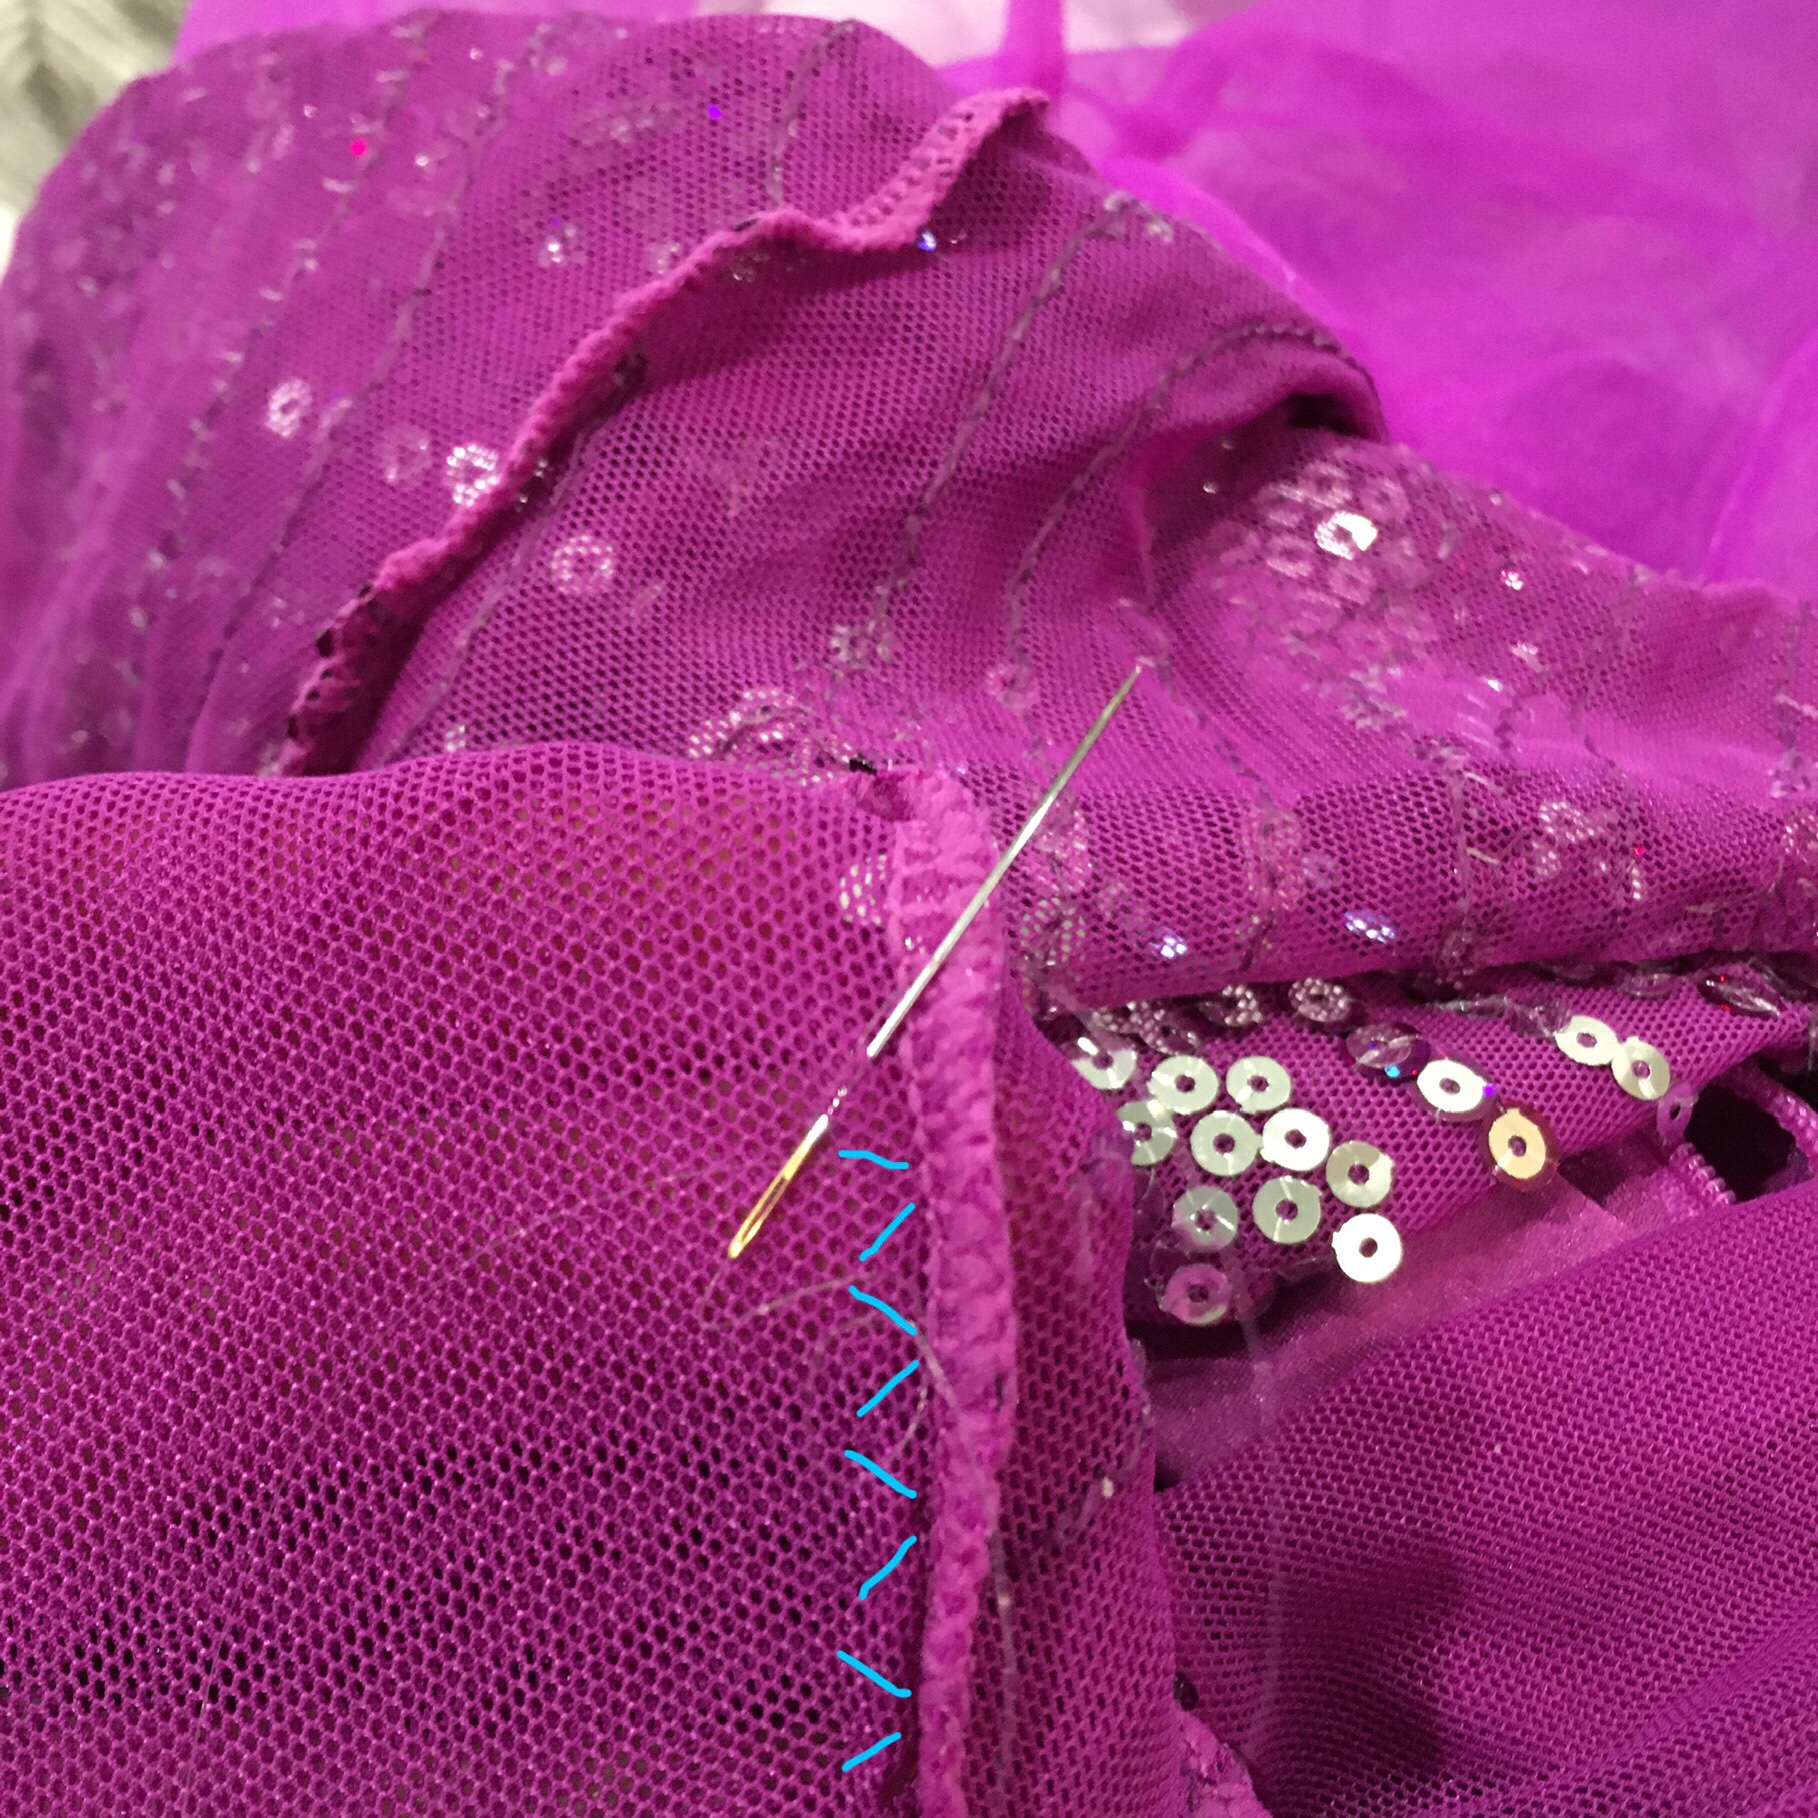
Zig zag stitch (with thread lines marked in blue)
This time, I used a zig zag stitch. Not with my machine, but by hand. The material is a stretchy net, no way was I going at this with my sewing machine especially with a slippery thread. We might need to let down the sleeves at some point, and I wanted to minimize potential damage both with the stitch going in, and eventually coming out. It took a little longer, I had to do the stitches one at a time, but the result is so much stretchier!
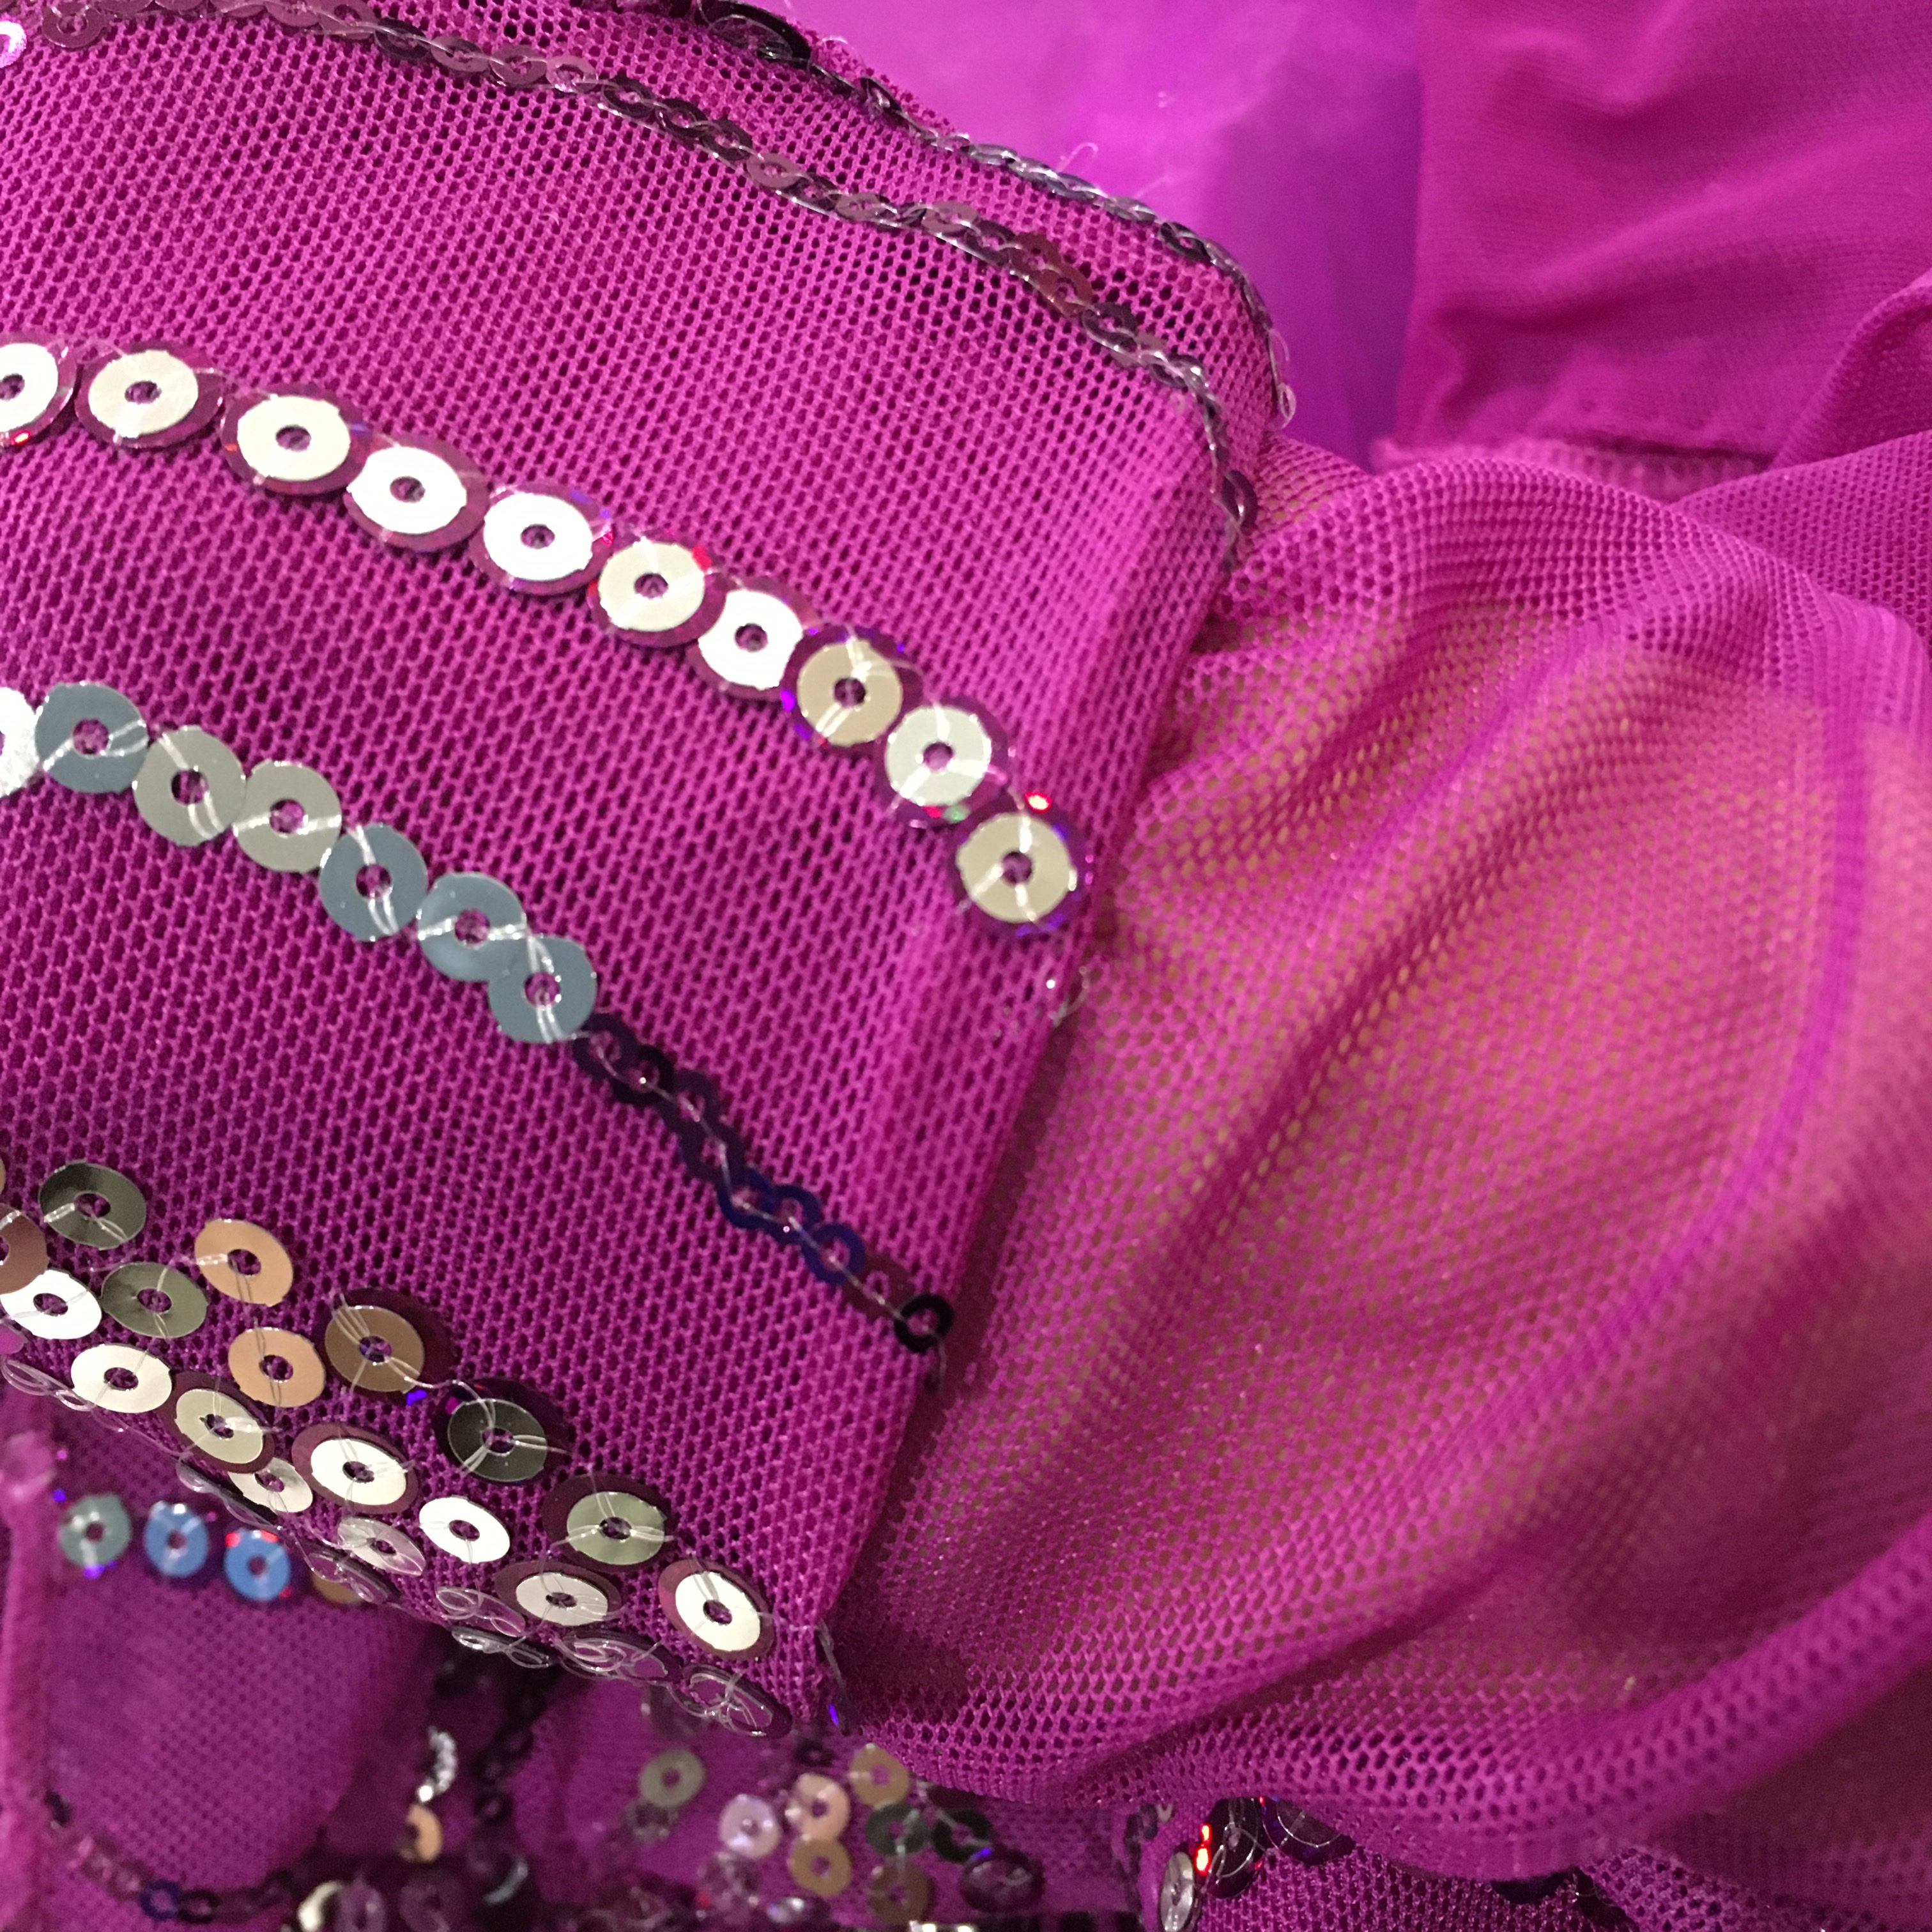
Cuff turned right side out
I also examined all the inside seams for partial sequins, and clipped them out. My daughter was much happier wearing the outfit without the scratchy bits of plastic poking her.
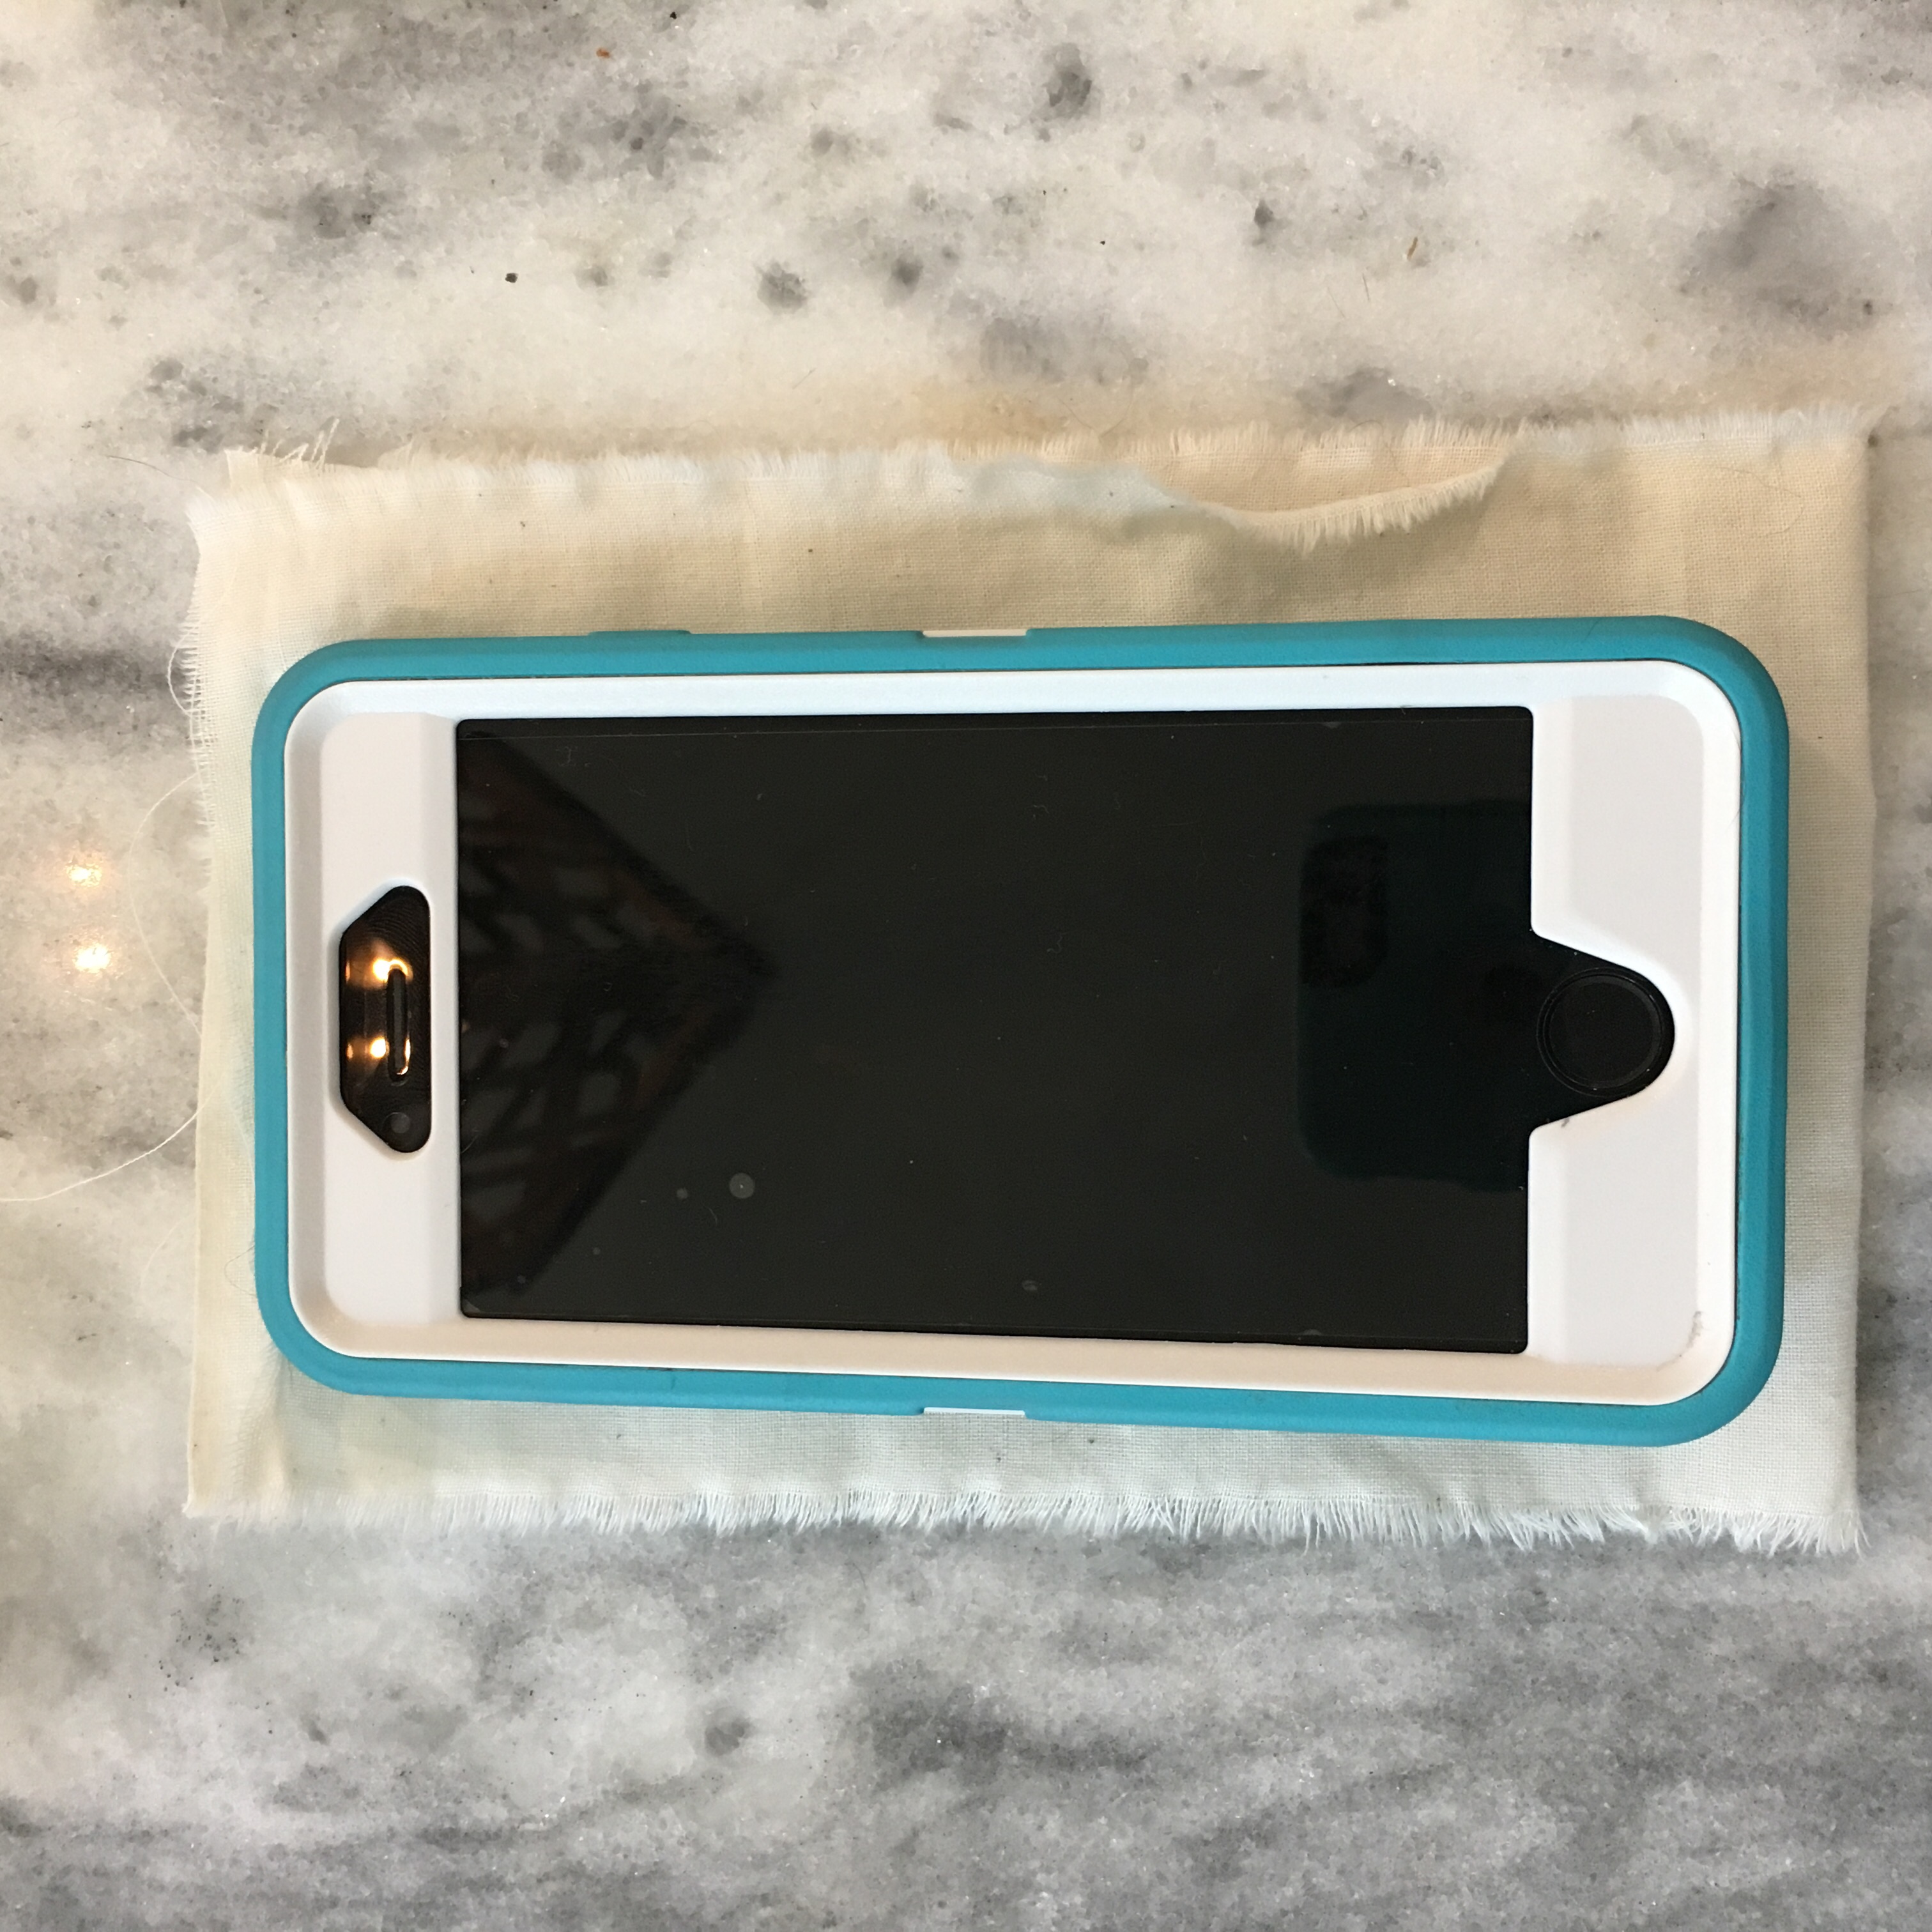
Small pocket size (or no pockets at all!) in clothes drives me crazy. But finding cargo shorts, capris, or trousers in woman’s sizes that fit nice is difficult. Either they have useful pockets, or they fit nice, not the two together. Grr. I get that women usually have purses or bags, so don’t “need” pockets. I like having my phone with me, especially when the kids are in school. I also have become quite attached to my instant information (and if I don’t write something down right away, I will forget), and don’t want to walk to my purse to pull out my phone to look something up. (I’d likely forget what I wanted to look up anyway; my phone is my assistive technology.)
So I came up with a way to add a pocket. I like the mid-leg pockets because there is less stress on the phone (I’m not sitting on it!). I tried some surface pockets, but these inside pockets hold the phone better and look nicer.
To make the pocket, cut a piece of fabric about 1 1/2” wider than your phone, and twice the length plus 2”.
Measuring fabric for pocket
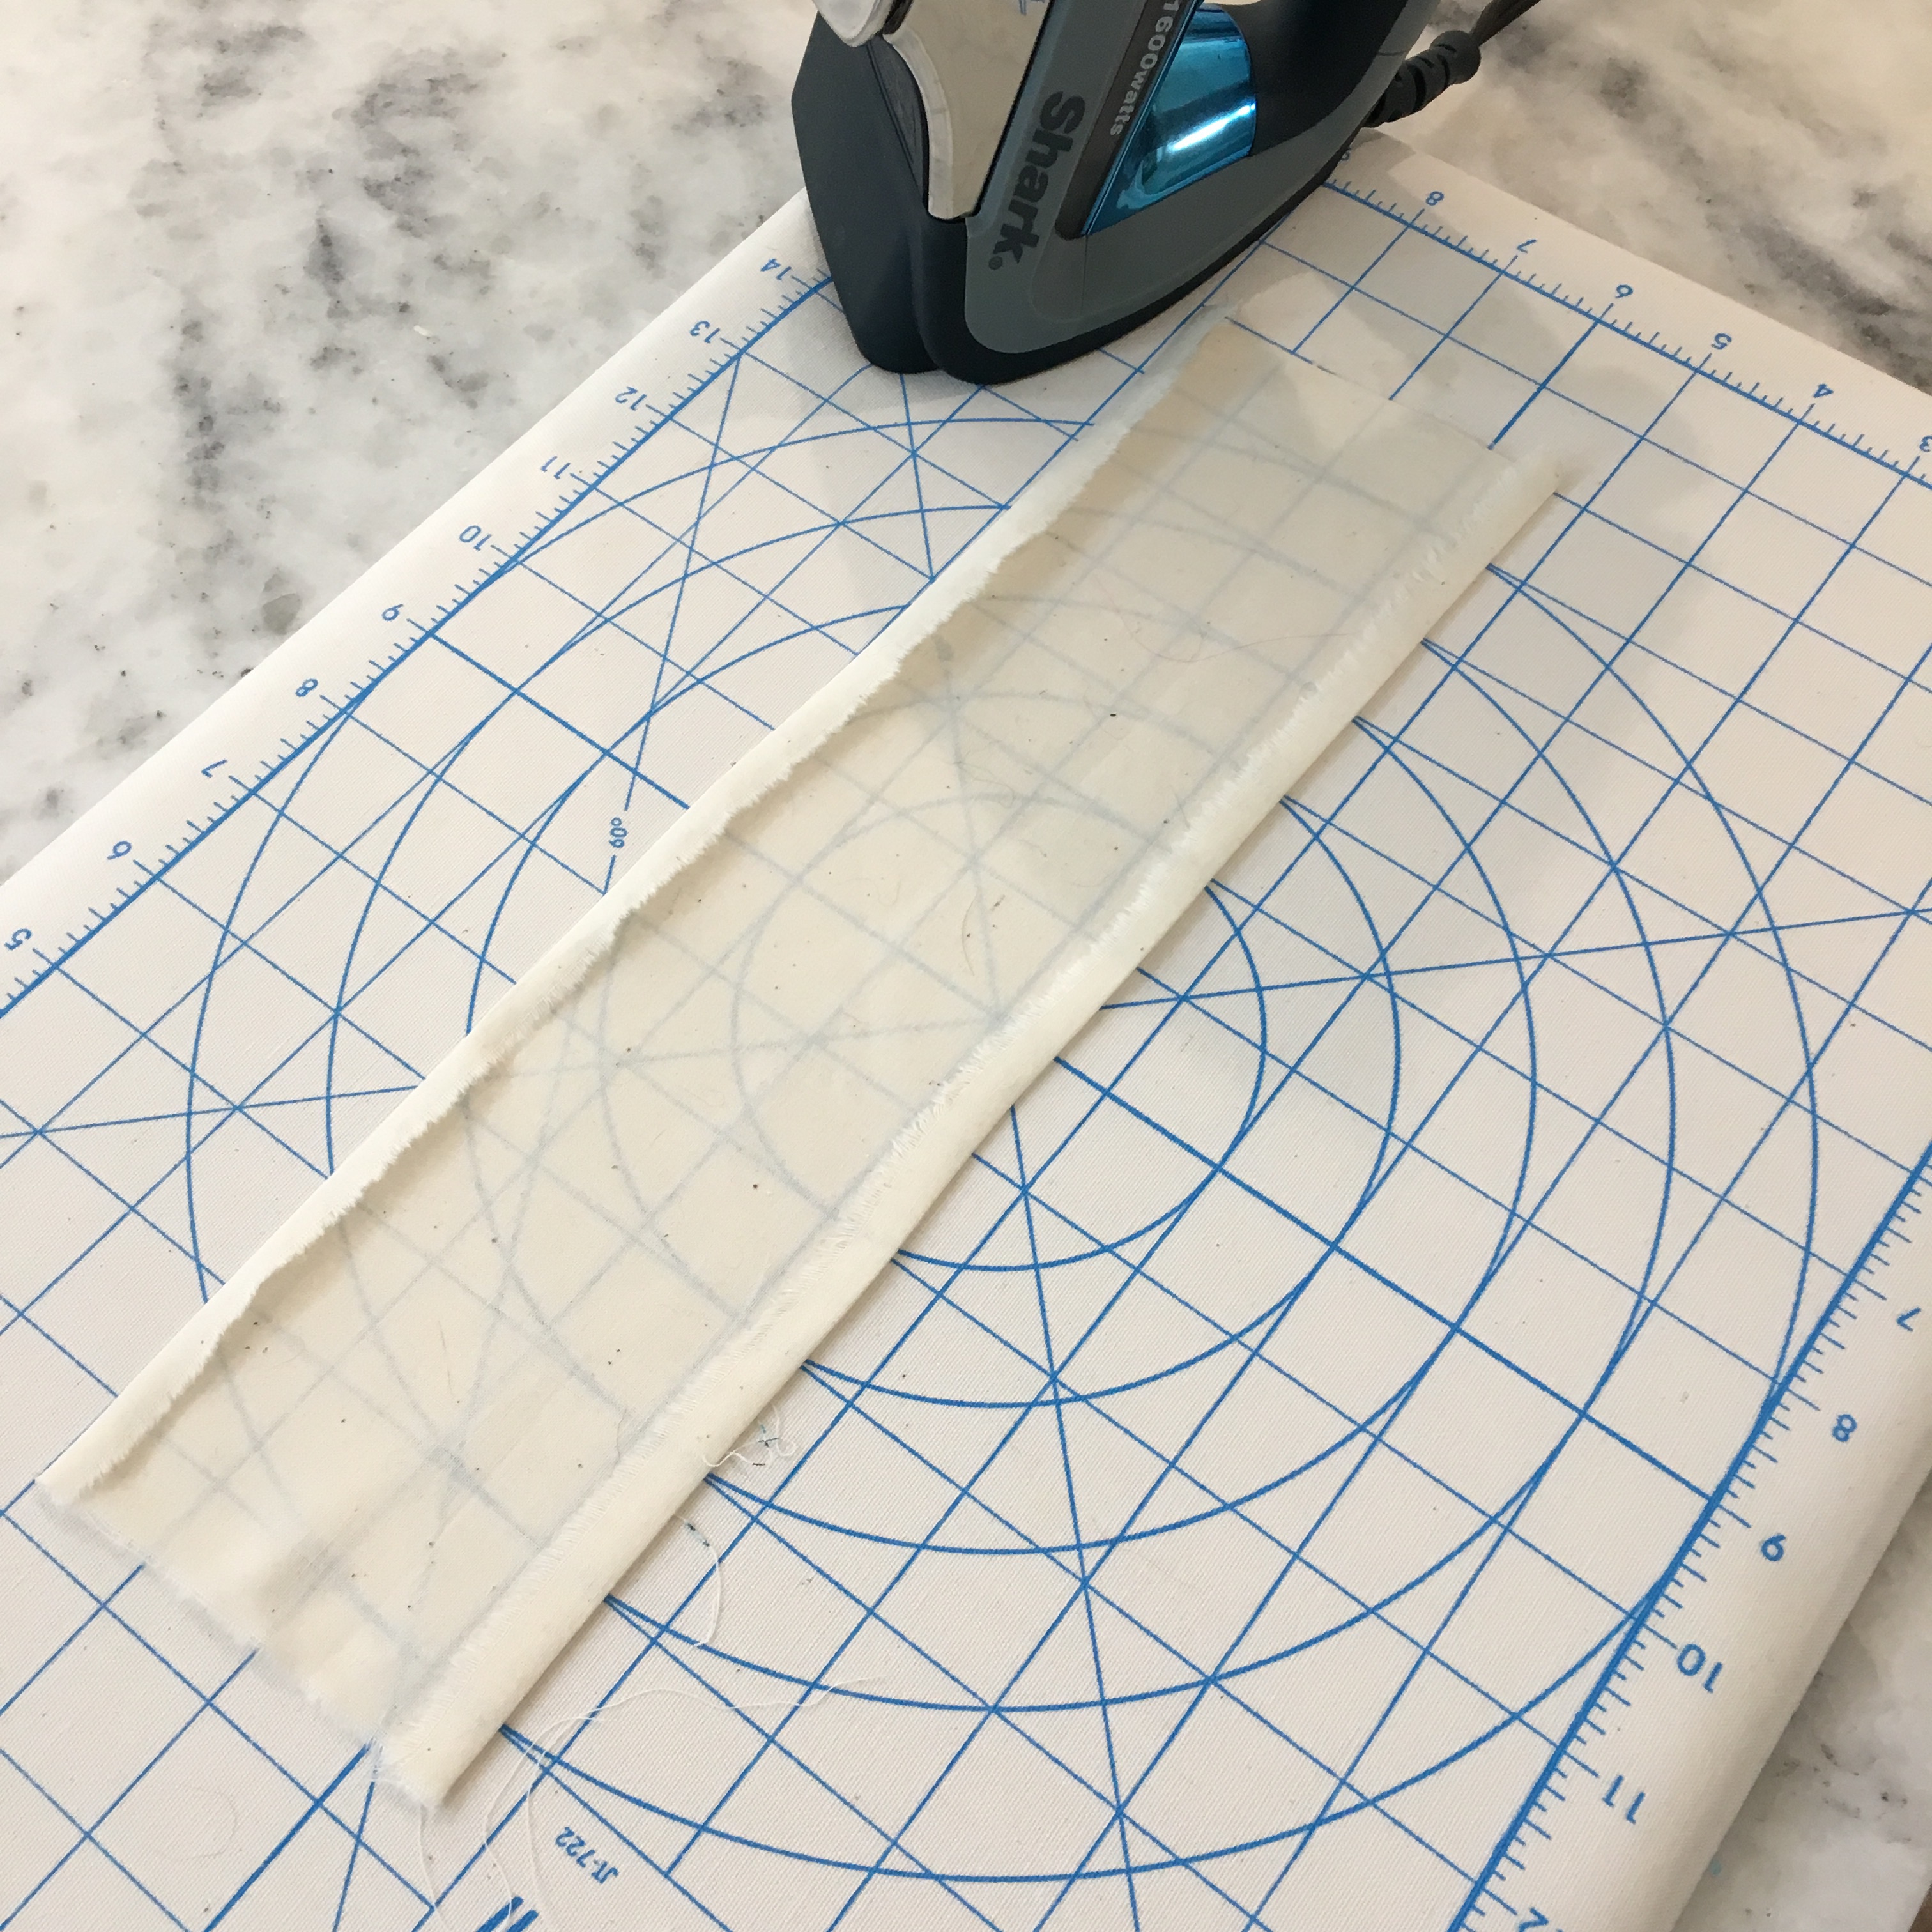
Iron about 3/8” up the long sides of the fabric.
Iron folds
Put on the garment and mark where you want your pocket opening. Cut a slit the width of the ironed fabric.
Cut a slit in the garment (measure twice, cut once!)
Turn the garment inside out and pin the right sides of the pocket to the right sides of the cut.
Pin the pocket to the garment
I used a whip stitch to sew the edge all the way around. Remove the pins, and turn the garment right side out and tuck in the pocket. Lay the pocket flat and adjust the pocket fabric to evenly fold around the cut (note, the garment fabric should not fold, just the pocket material).
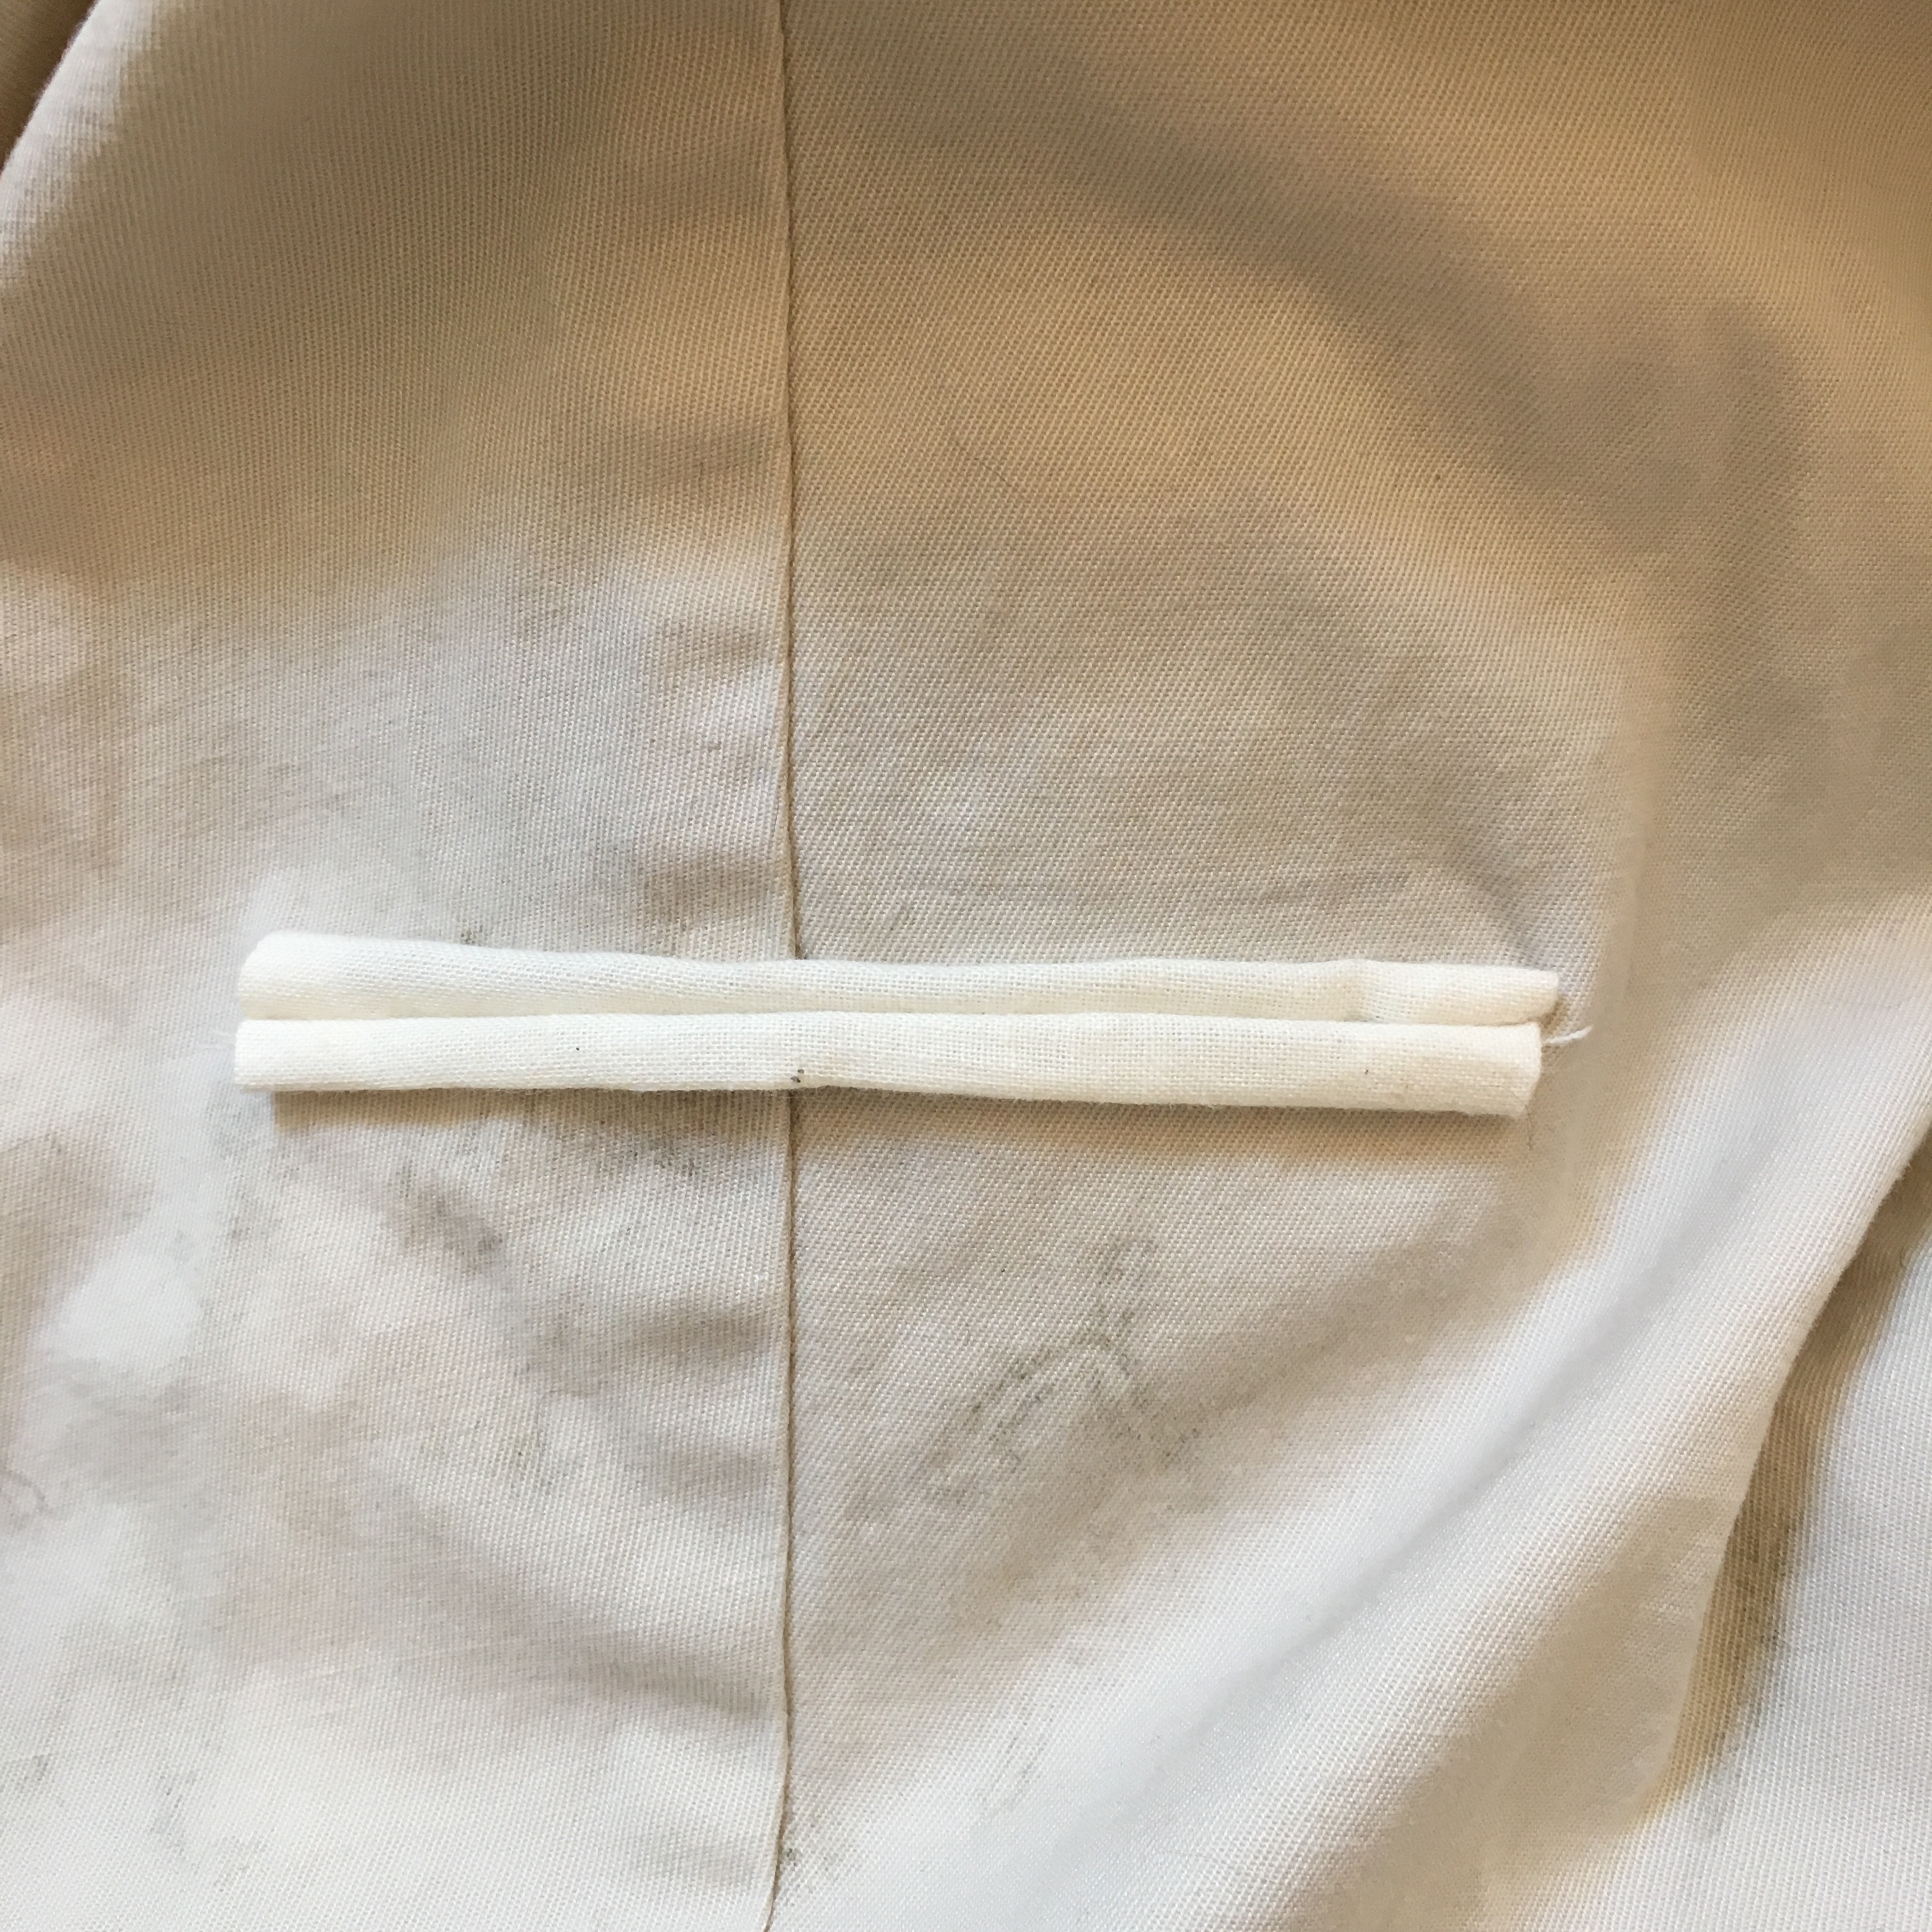
Pocket material adjusted
I used a hidden stitch or hem stitch to attach the edges of the pocket material all away around. Make sure to add extra stitches at the ends of the cut to reinforce. Turn the garment inside out and sew the edges of the pocket closed. I used a whip stitch again. I saved this part until last because it is easier to adjust the folds with the sides of the pocket unsewn.
Sew up sides of the pocket
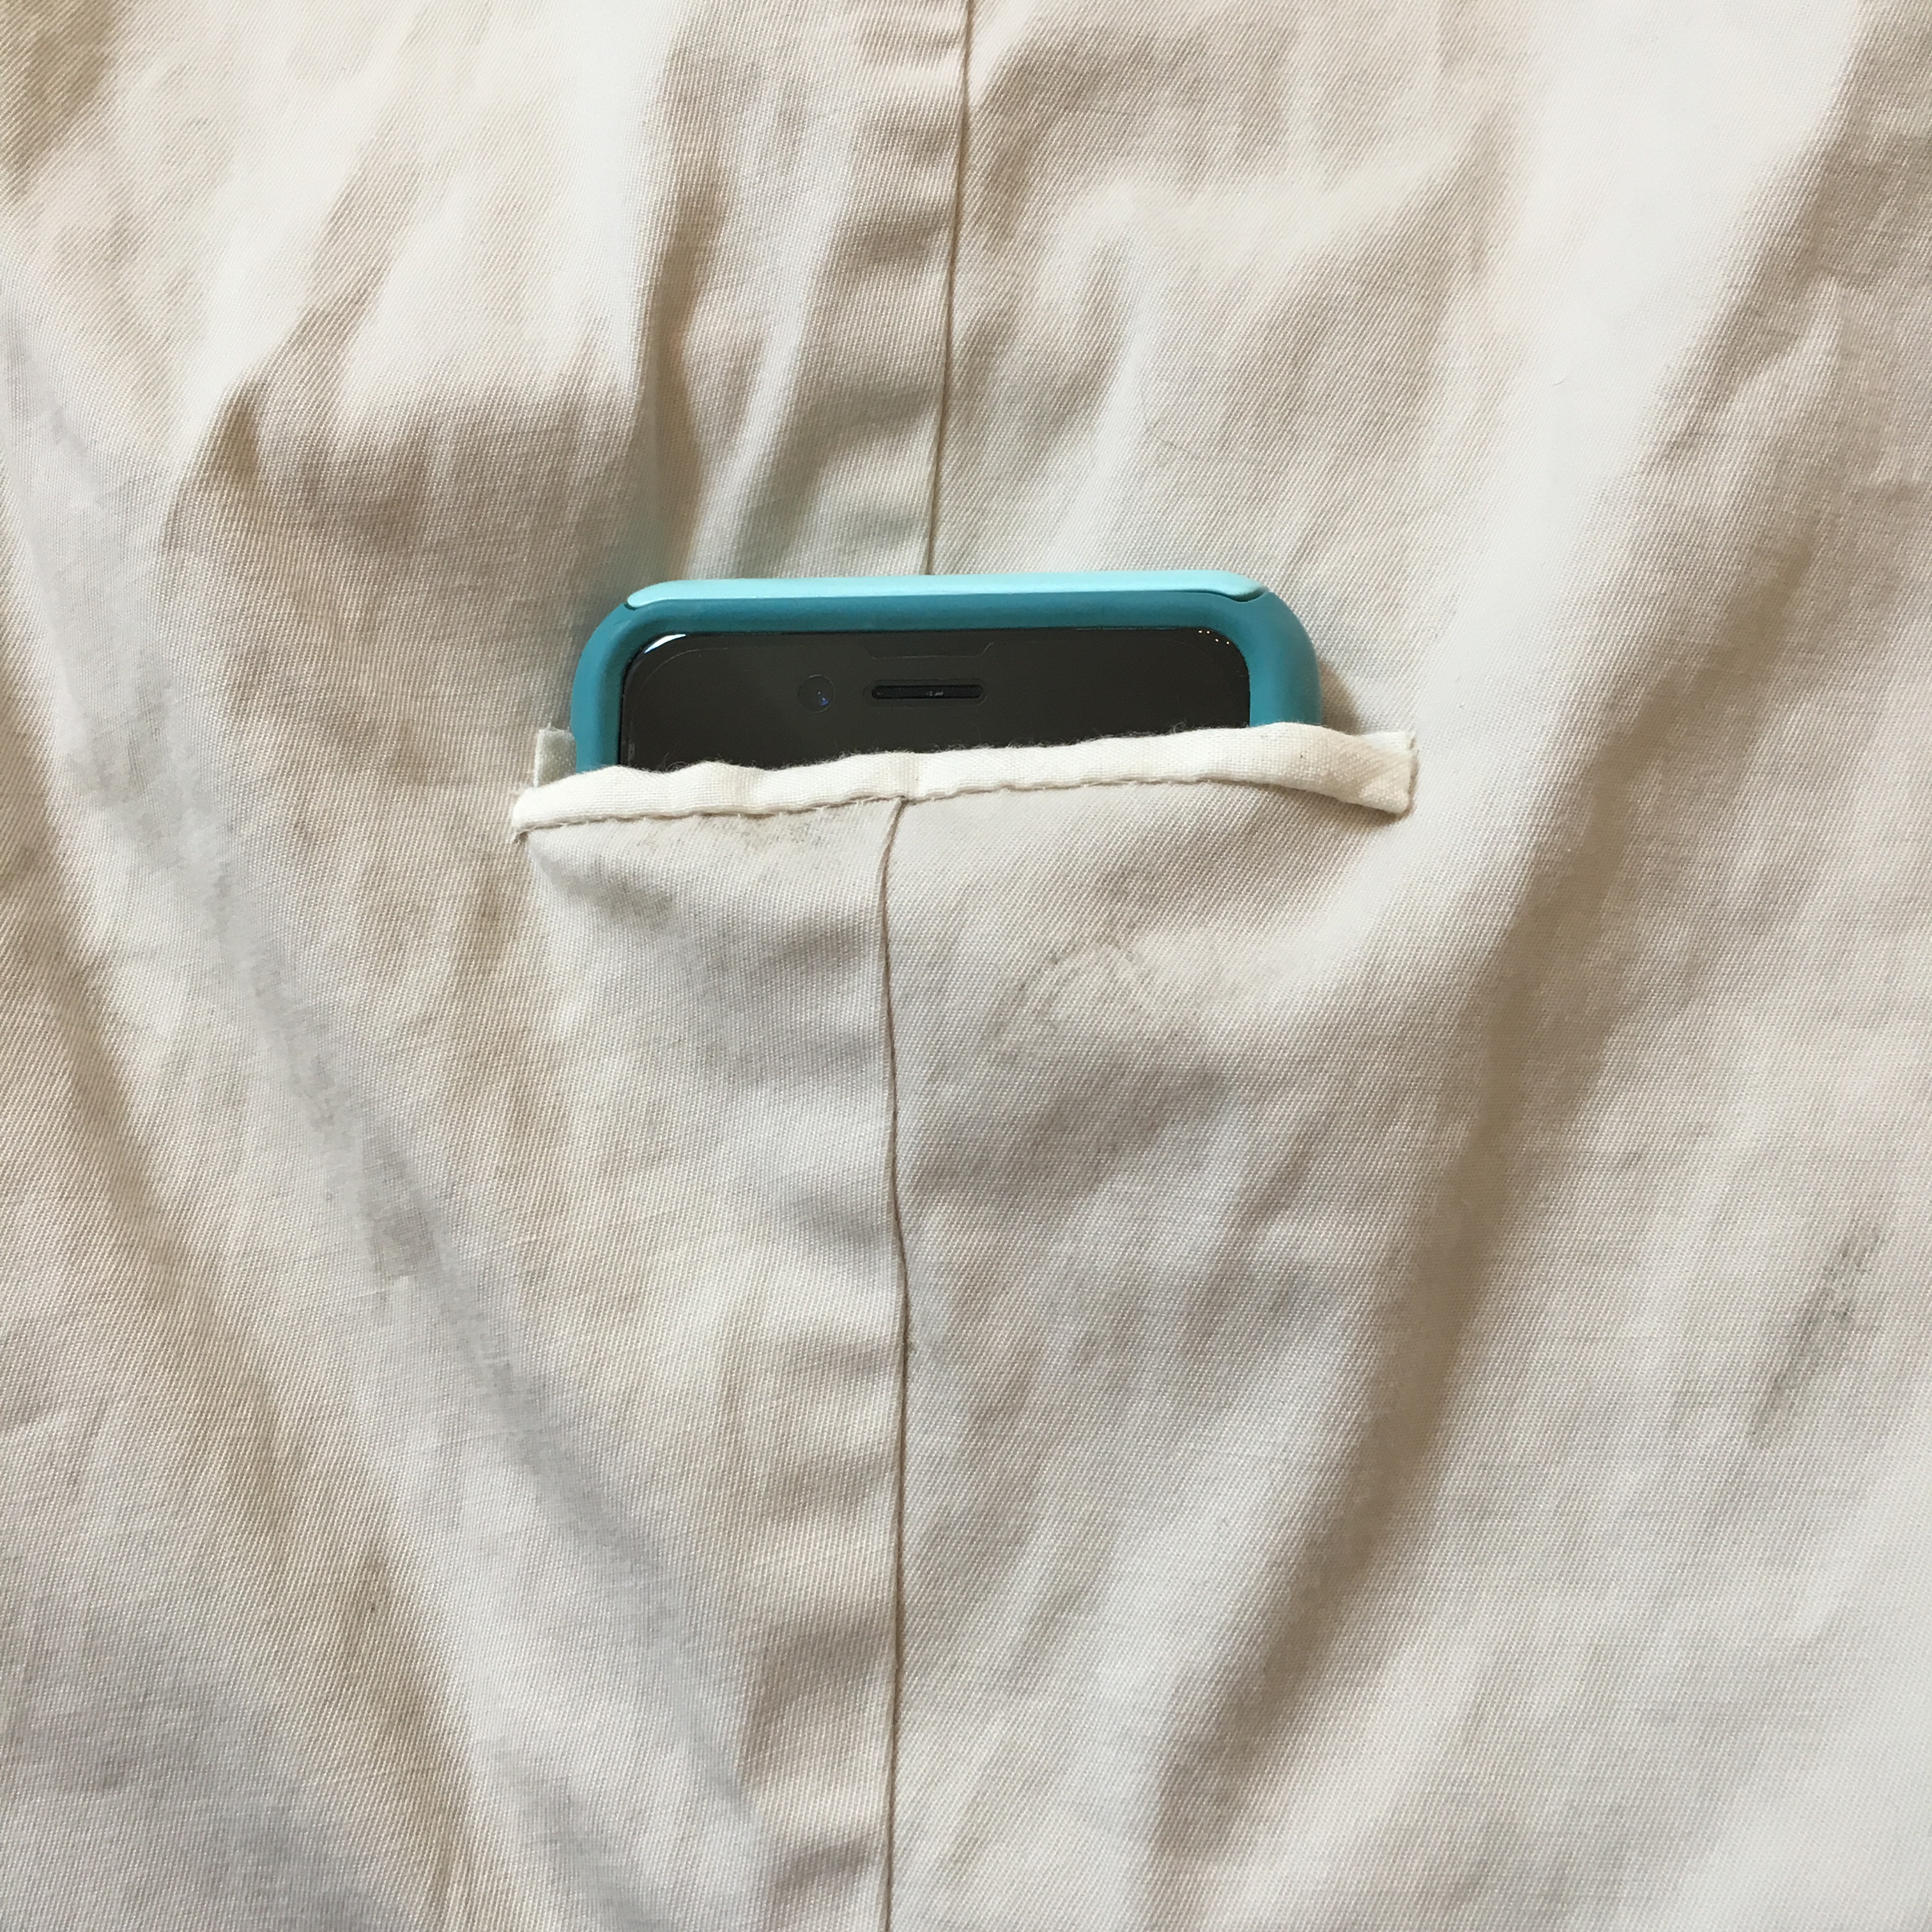
Yay! New functional pocket!
Added phone pocket
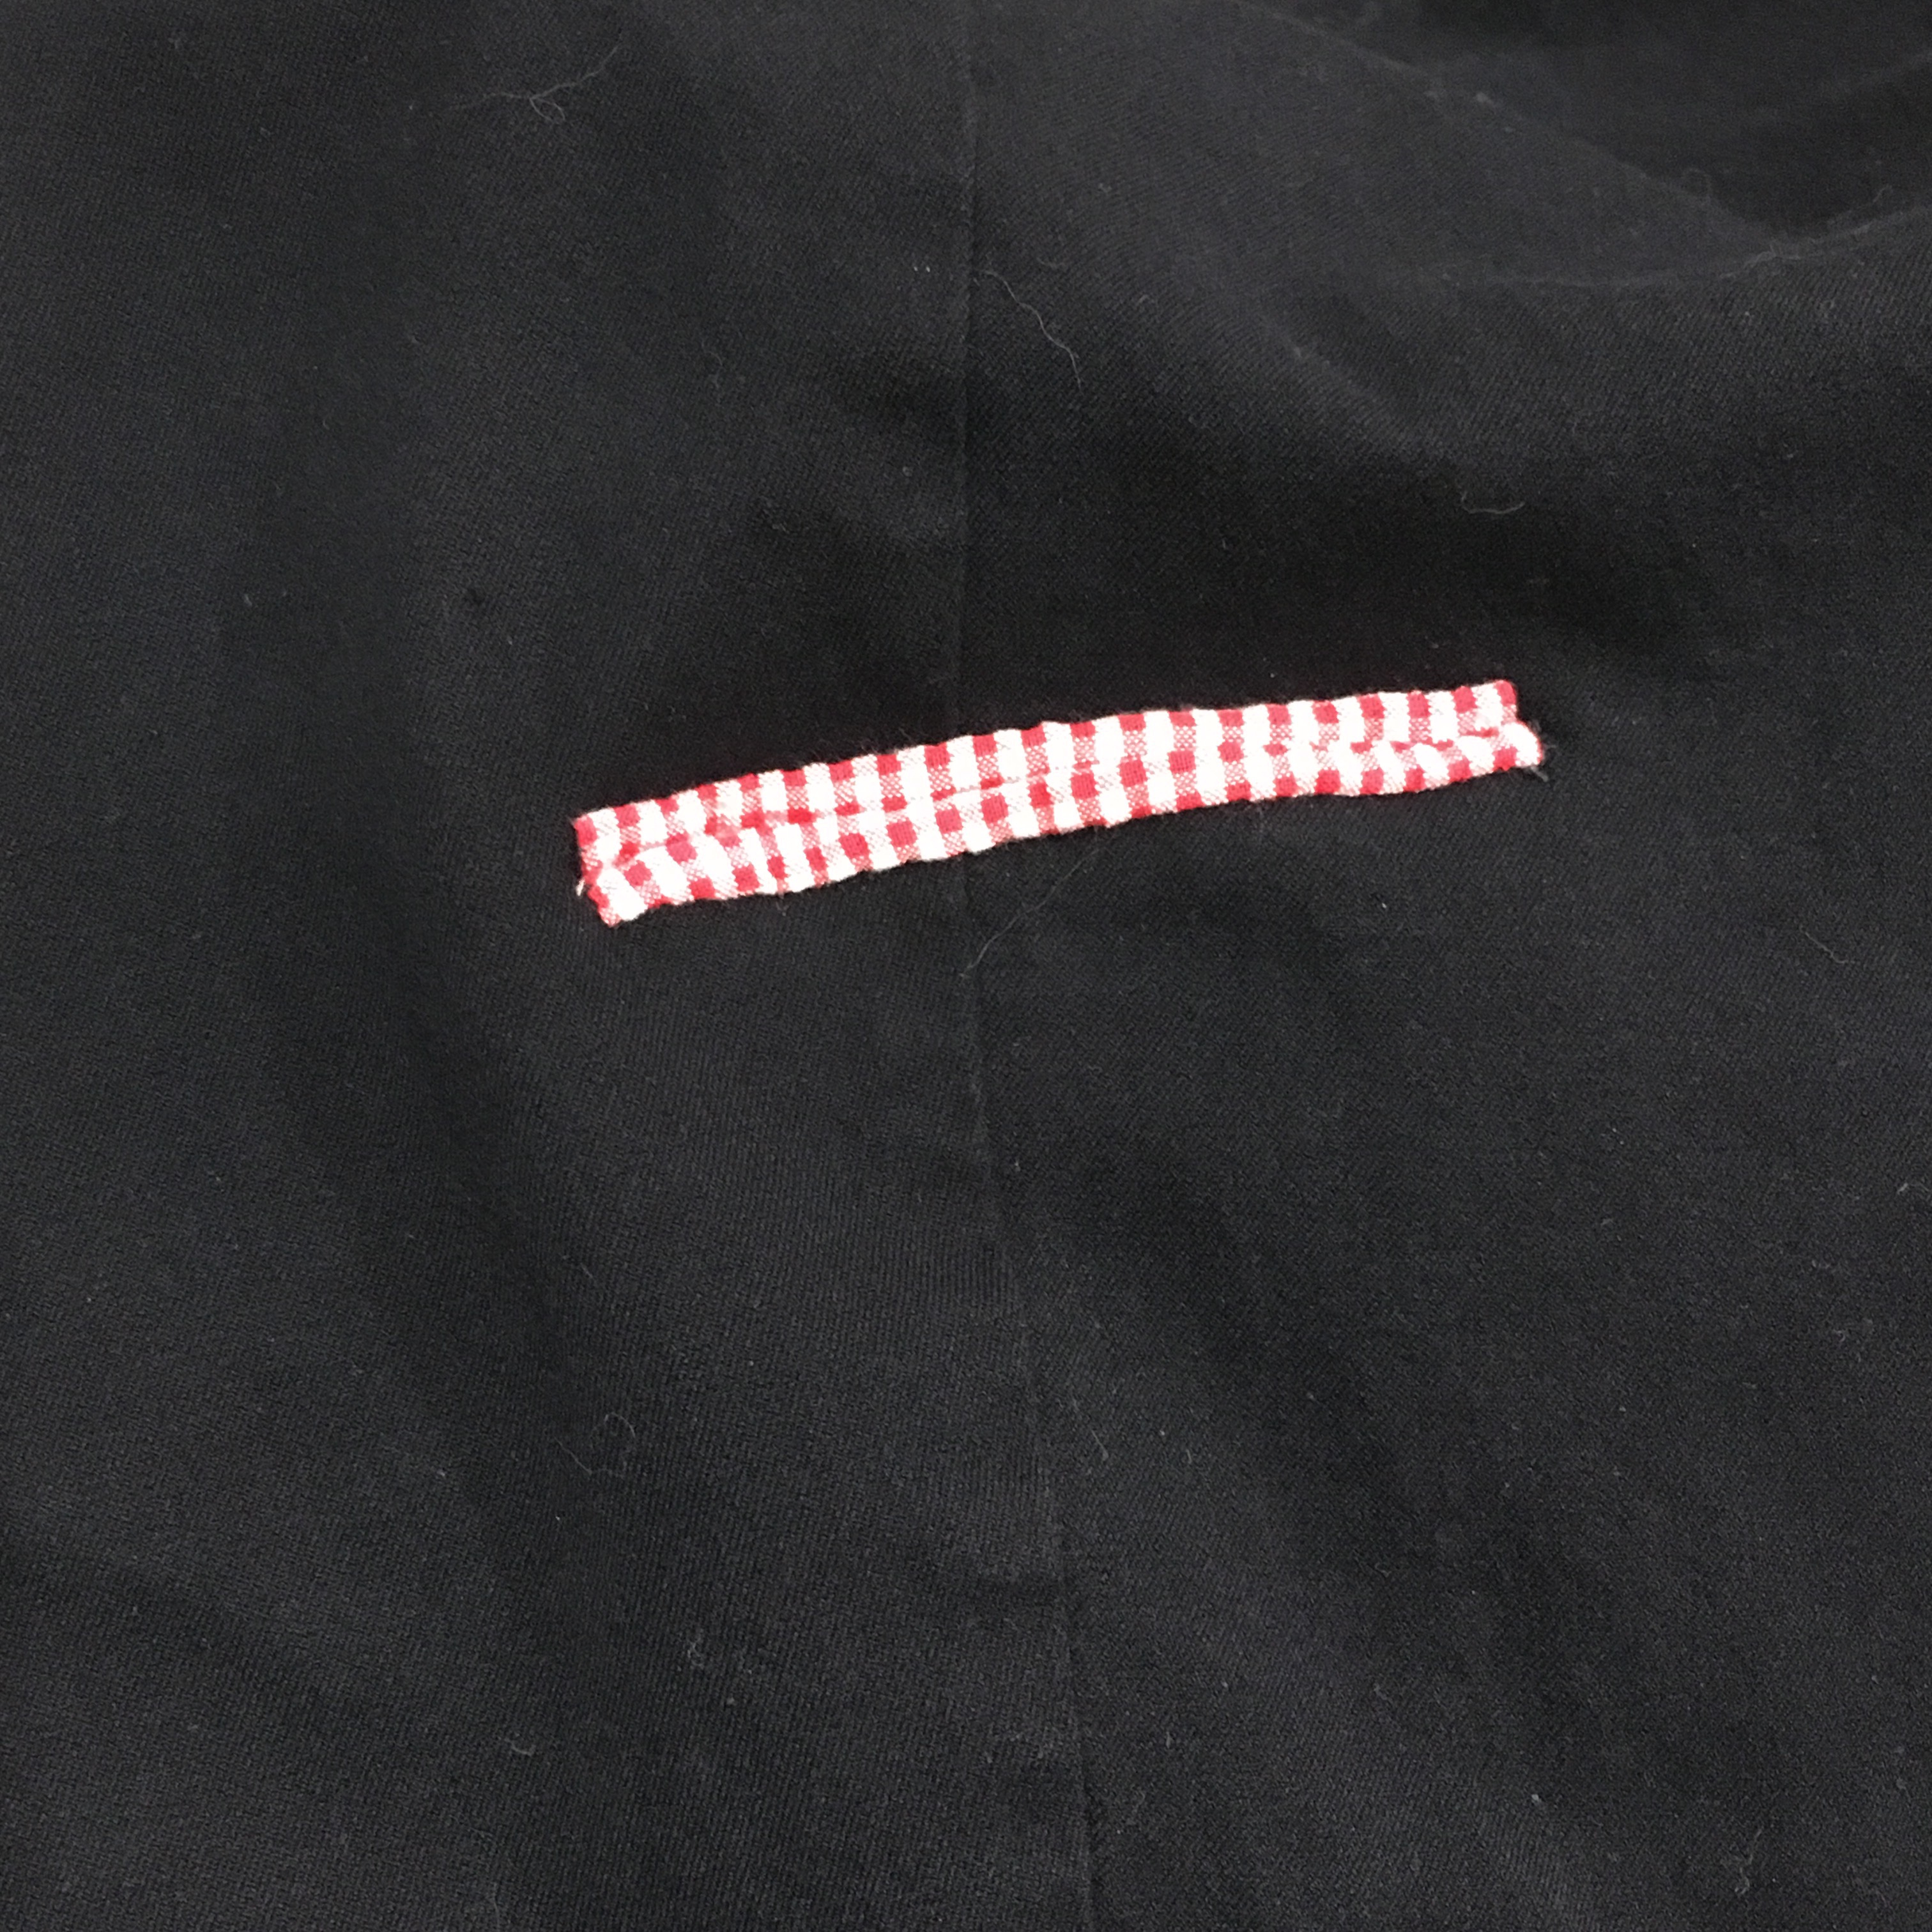
If you want a bit of pop, you can use a contrasting fabric.
Contrasting fabric pocket
And yes, I hand sewed the whole thing. I like hand sewing; I can stitch while sitting in my chair in the living room with my family, and I find it relaxing.