Back in February 2013 I was volunteering at my youngest’s elementary school library, shelving books and decorating their bulletin board. I really wanted to use my CRICUT cutter to make giant flowers and thought they would make a neat wall display.
Photo description: colorful bulletin board with large paper flowers labeled by name and The Cat in The Hat on an elephant with the words “The more that you read, the more things you will know. The more that you learn, the more places you’ll go.” from Dr Seuss
This is now a rare sight, because paper with that much dimension was deemed a fire hazard and it had to be taken down. The rest of my designs had to be 2D.
My youngest needed Valentine cards for school, but didn’t want store bought. I like toy-type cards, and if I can sneak some science in all the better. This line of pursuit led us to create a Thaumatrope, which is a spinning toy invented in the 1800s with two different pictures on each side of a disc. When the disc is spun, the pictures appear to combine. The original thaumatropes used string to suspend the circle, but a similar action can also be achieved with a stick mounted disc, and rolling a stick between two palms is easier than twisting string. My youngest chose the elements to go on the card, and I drew them up in Adobe Illustrator. Pro tip for getting colors right from screen to print: don’t go by screen color. If you want a bright yellow, go into the color picker and make sure that your CMYK color is all Y, with no cyan or magenta. High contrast images work better for this visual trick as well. I printed the images on card stock, and used my laser cutter to cut the circles (so much more precise than my old electric cutter). I used hot glue to secure the paper stick (I used a 6” stick marketed for cake pops), and keep the front and back together.
Photo description: finished stick-style thaumatropes in the background, glue gun to the left and the front and back of the disc in the foreground
I like that when the disc spins, the bee and sun are smiling at each other. It came out cute. What wasn’t cute was making 35 of them. Phew.
Here is a trip in the Wayback machine to 1988. My Mom was into quilling and we were decorating eggs. My Dad recently sent me photos of one of the eggs we worked on together.
Photo description: white egg with yellow and orange shades of quilling paper and a double brass ring basePhoto description: back of the same egg with different quilling patterns
This is a 37-year-old paper, glue, and egg project that has lived in a cupboard and been moved around the country a few times. I don’t think the colors faded or pieces fell off. Quilling is great for developing fine motor control and patience. (The egg was blown out before it was decorated.)
I found a Polyphemus Moth cocoon! These giant silk moths are native to Texas and form a beige colored oblong cocoon made of silk. It was on the ground outside my house, one end open where the adult moth escaped.
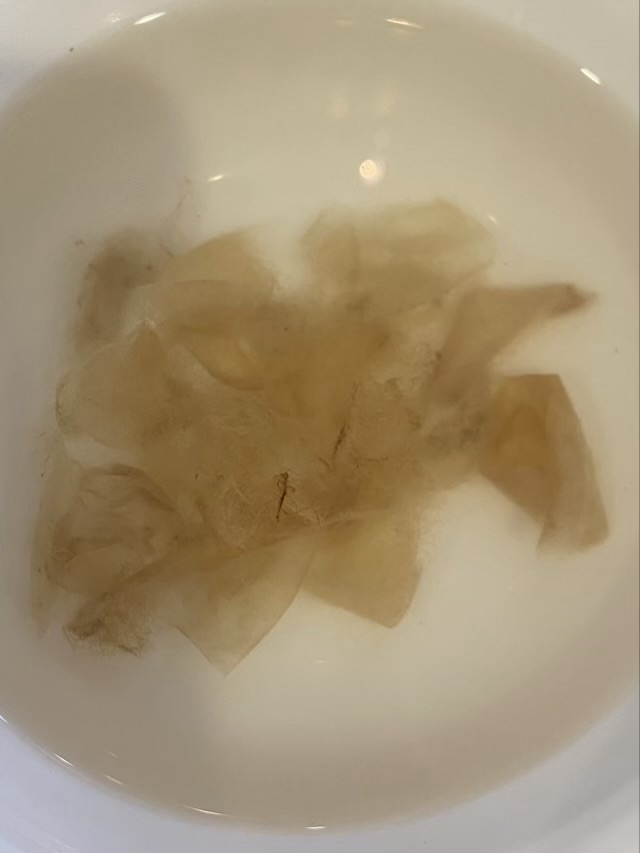
I decided to see what I could do with the cocoon. I started attempting to pull the silk fibers away from the cocoon, but it was difficult, so I soaked it in water. Then I realized the remains of the pupa was still inside the cocoon, so I cut the cocoon open to get it out. With the side split, I was able to tear sheets off the cocoon with some success. I left the cocoon to soak in water and over several days was able to pick more of the cocoon apart. I picked away the soiled bits, and gave it a wash with dishwasher soap.
Photo description: cocoon layers soaking in water
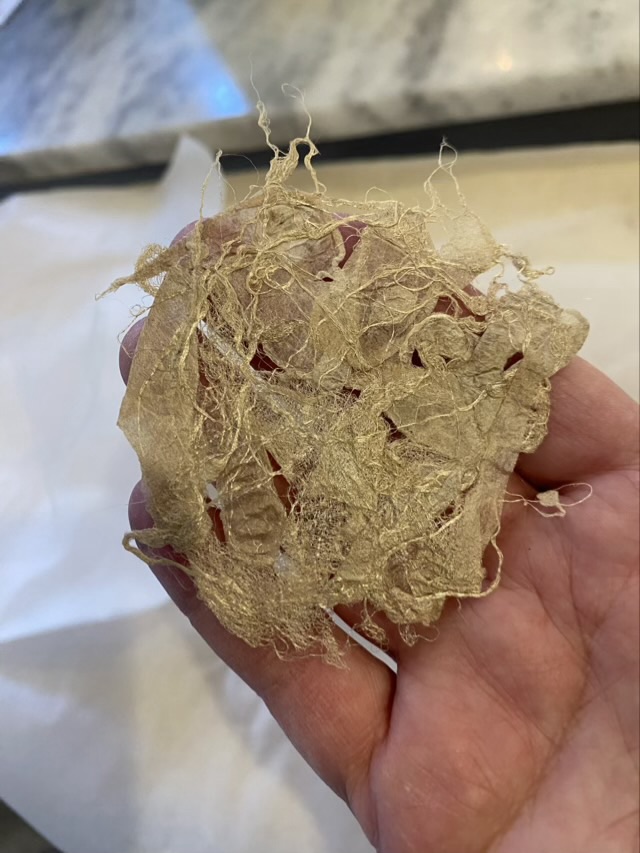
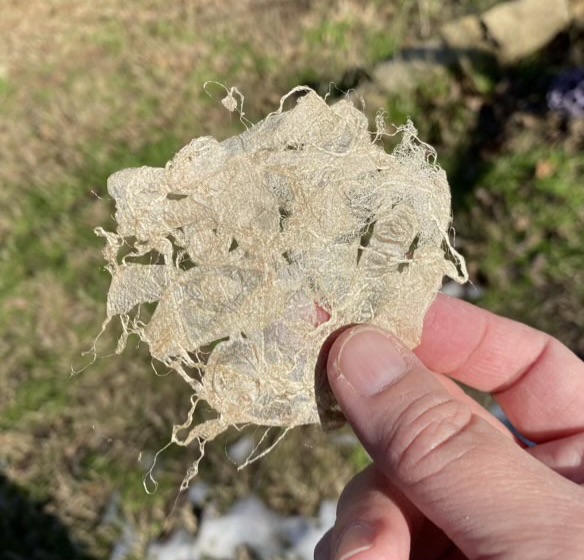
During the soaking, Camaj fibers released an instructional PDF on making silk paper. Hm. I ordered the PDF and read the whole thing, and using their method, made a single small piece of silk paper from the cocoon.
The pictures really don’t do the paper justice. It is soft to the touch and has a pretty luster. I have no idea what I’m going to do with it, but it was a satisfying project.
I designed a snowflake cutout to use with my laser cutter for my holiday cards. Laser cuts can be much more precise than electric cutters like Cricut because there is not a dragging knife blade, however, there is a potential for burn. What I found interesting is that colored card stock had less burn than white card stock at the same settings. Hm. A product of reflection, maybe? Something in the way the paper is made?
Photo description: delicate snowflakes cut from card stock, the white showing burnt edges
I accidentally stacked two white sheets in the cutter at one point, which was disastrous with the burn marks, especially on the bottom page.
Photo description: burned cutouts as a result of cutting two pieces of paper, same settings as the picture above
Now I can see an artful application of this smoke effect, but not on snowflakes.
To design the snowflakes, I did traditional paper cutouts, took photos, converted the photos to scalable vector graphics, them combined them in Adobe Illustrator.
The cards are printed and cut, but are still on the craft table and not in the mail. Why? I want to write on the back and that desire became a stumbling block. I had to choose to send them out before the New Year, or send them with writing, whenever I could find the words to write. I obviously chose to send late.