Here is the completed highland-coo-in-a-honey-pot shelf sitter, complete with clear UV coat and chunk of mesquite wood to keep it grounded.
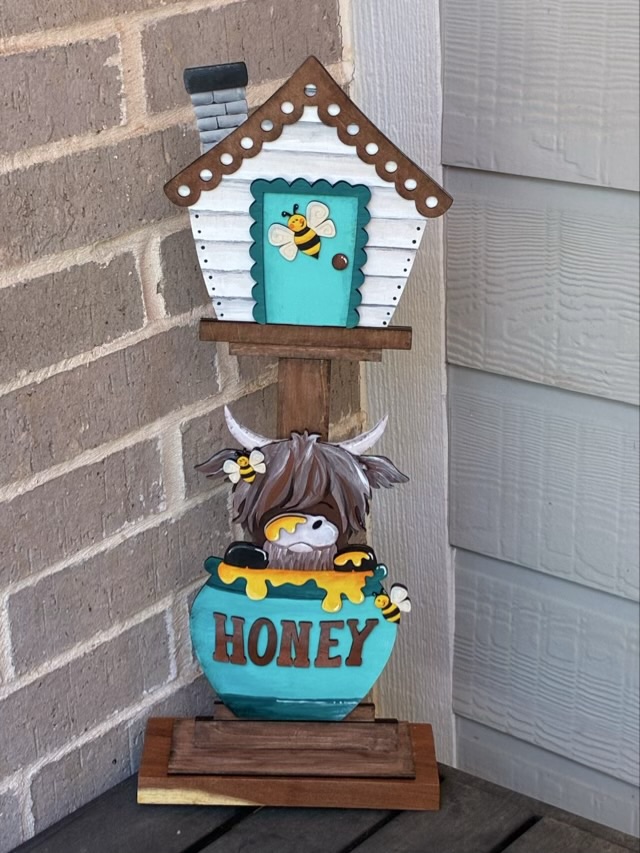
This is a cute project offered by the local Hobby Hut. I will be looking for the next painting day!

Here is the completed highland-coo-in-a-honey-pot shelf sitter, complete with clear UV coat and chunk of mesquite wood to keep it grounded.
This is a cute project offered by the local Hobby Hut. I will be looking for the next painting day!
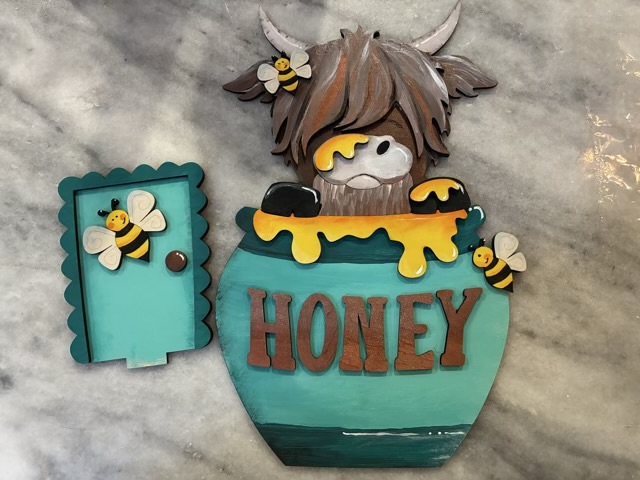
I went to a painting class at our new local Hobby Hut to do an interchangeable shelf sitter. Very cute design, there is a “bird house” base and the door and central design can be changed out. I painted the base at the studio but took the highland coo in the honey home to paint.
The original design had antenna on the highland coo, which I didn’t care for, so I cut them off before painting.
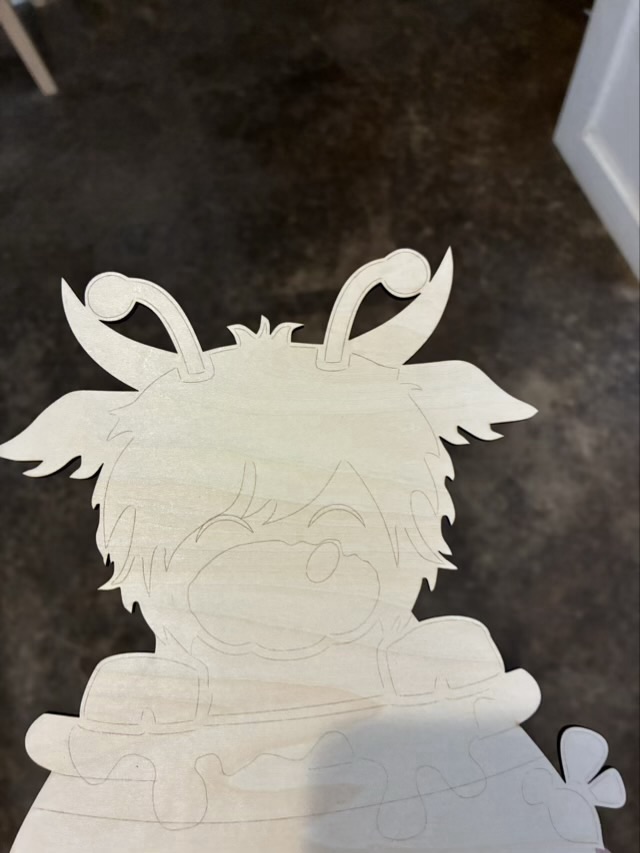
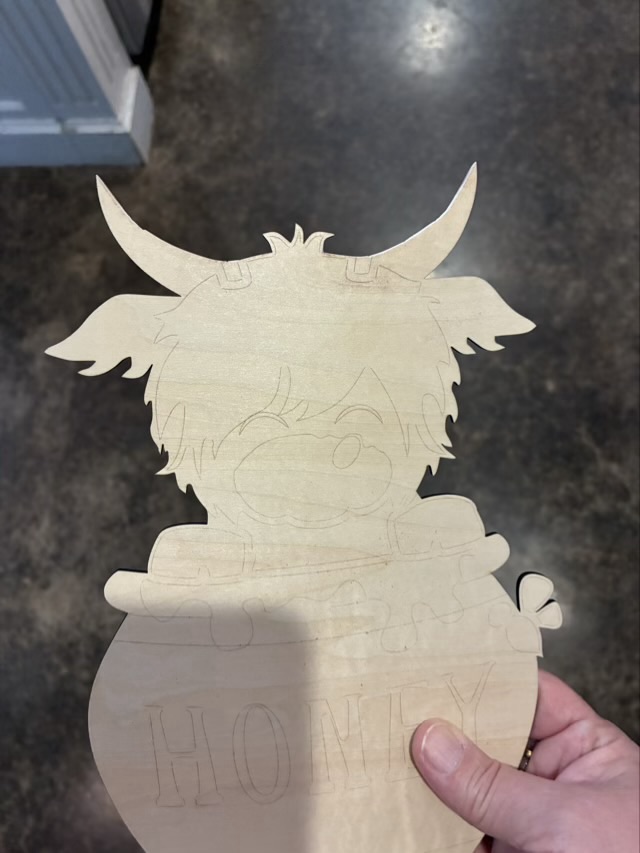
I did have to fill the space on the next layer where the antenna were supposed to go, but some cutoff bits of wood and a heavy layer of paint did the trick.
I will post the glued together finished project once I’ve done a clear UV protectant spray coat. It has been raining almost every day, so I haven’t had the chance yet.
Last year my youngest and I assembled and painted a small wood birdhouse. I sprayed a clear coat of UV protection on it and left it in the garage to dry, for a year. The year was not intentional, life got busy, and whenever I would see it in the garage I was on a different mission. Then iNaturalist popped up a message that it is chickadee breeding season and showed a bird house the same size as the one we had in the garage. That was my sign.
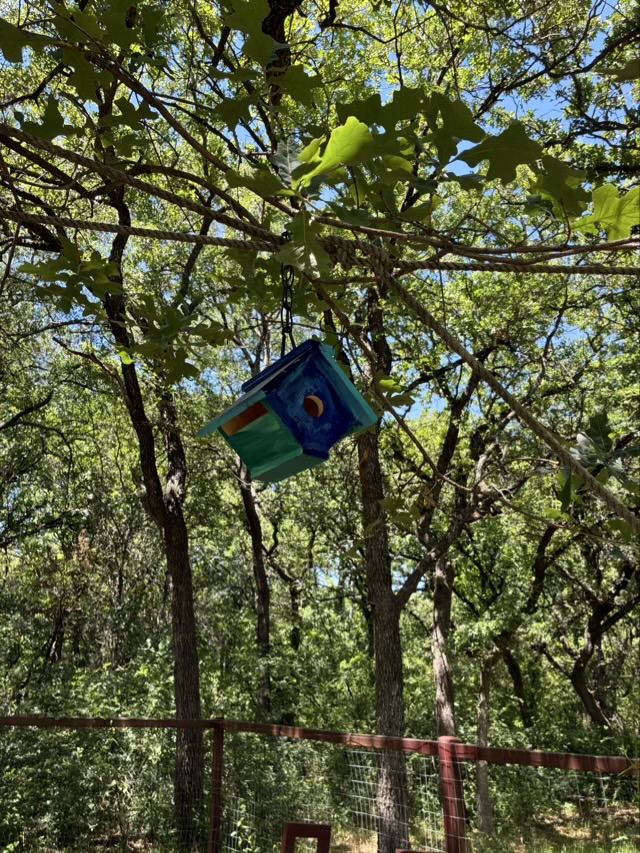
I found a length of chain and a spring hook and attached the bird house about 7 feet above the ground at the back side of the yard. I can just barely see the small house from my kitchen table, so now we wait and see if any birds find it acceptable.
In March of 2017 I hand carved and painted a fishing lure for my Dad.
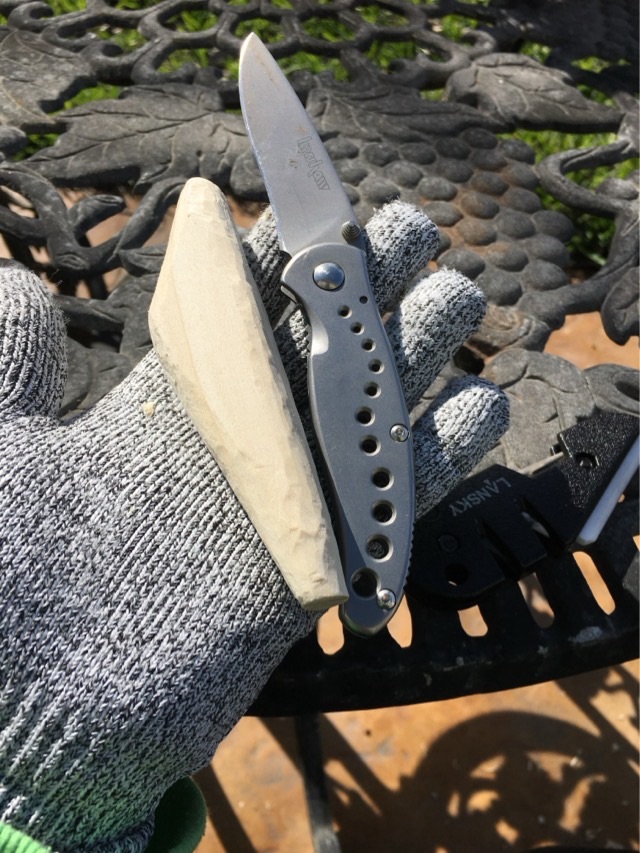
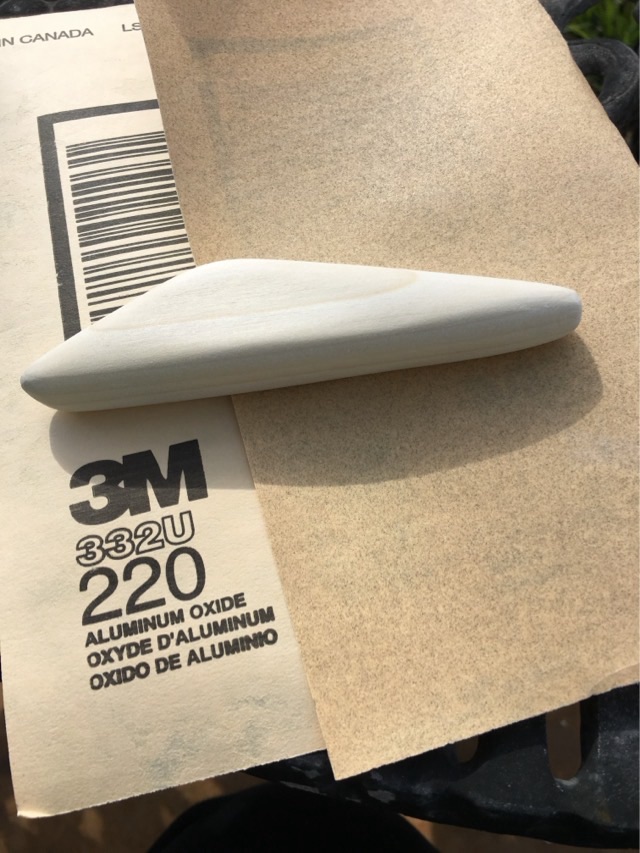
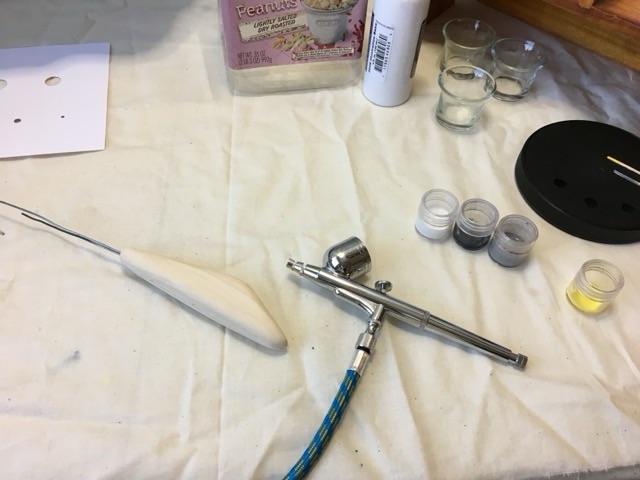
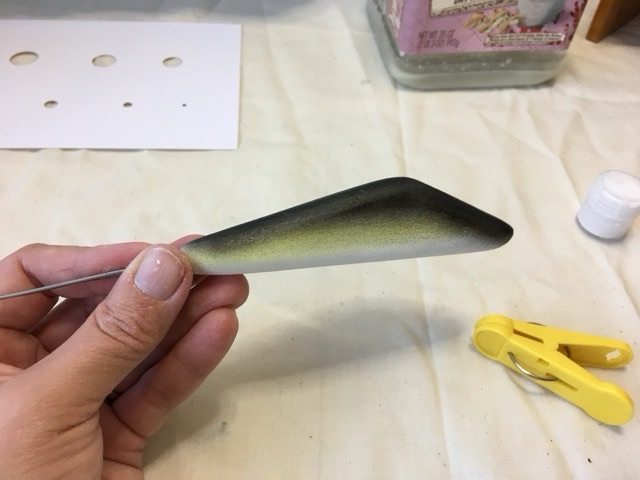
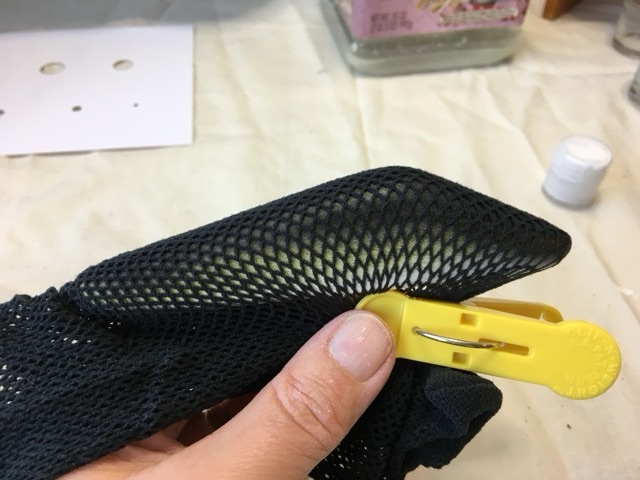
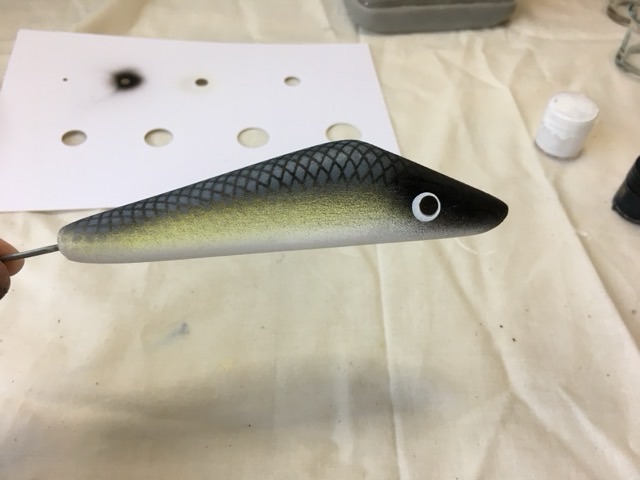
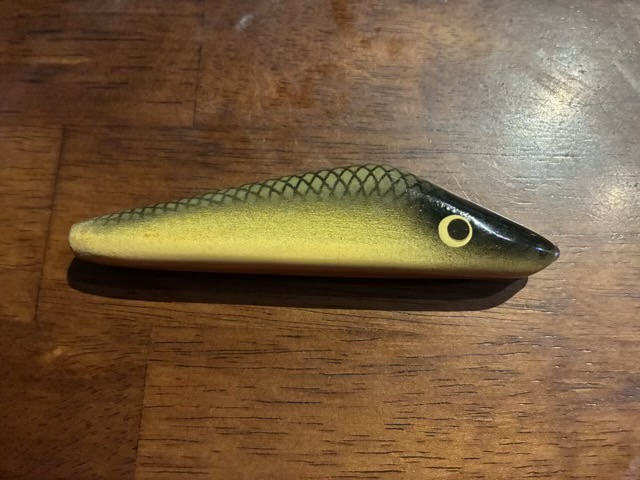
I did coat the lure in a water proof gloss finish, but didn’t take a picture at the time. Below is a picture of the lure in 2026.
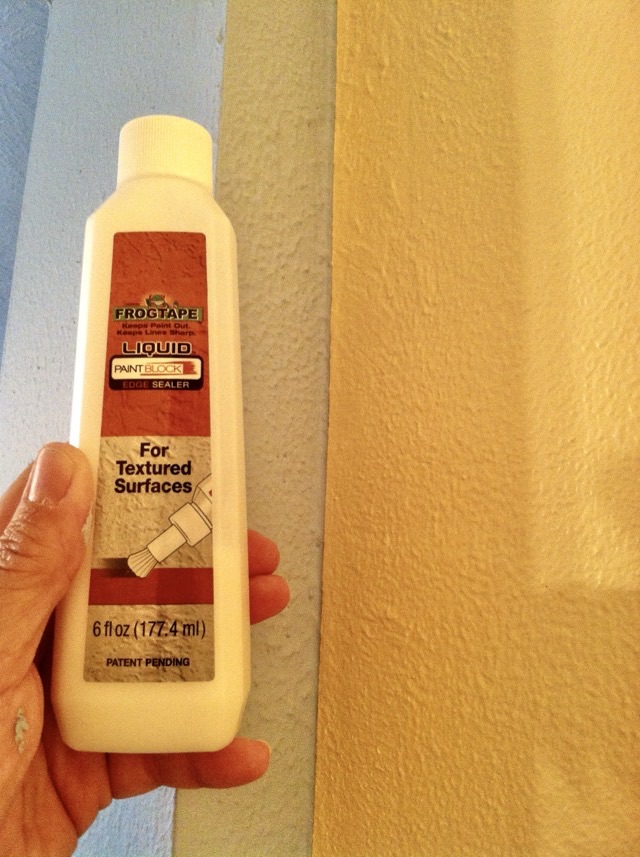
In September of 2013, I was repainting the rooms of our house and discovered liquid paint block. Essentially it is clear latex paint that you apply over the edge of the painter’s tape so that it sucks down into the cracks and crevices not blocked by the tape, rather than the colored paint. It makes for much crisper color changes, especially for inside corners.
This has become a Throwback Thursday post not only to share the trick, but so that I have it documented in a different place and will perhaps remember it when it comes time to paint again.
And because it is May Day, and I can’t make it to get flowers to everyone’s porch, here is a picture of white bearded iris blooming in my current front yard.

